A clear workflow does more for your footage than any plugin. Pick the editor that matches the job, prepare media before you touch a timeline, and the rest of the process stops feeling like guesswork. Whether you are cutting family clips, weekly social posts, or high-bitrate client timelines, Apple computers give you native performance and hardware media engines that do a lot of the heavy lifting quietly.
The Short Version
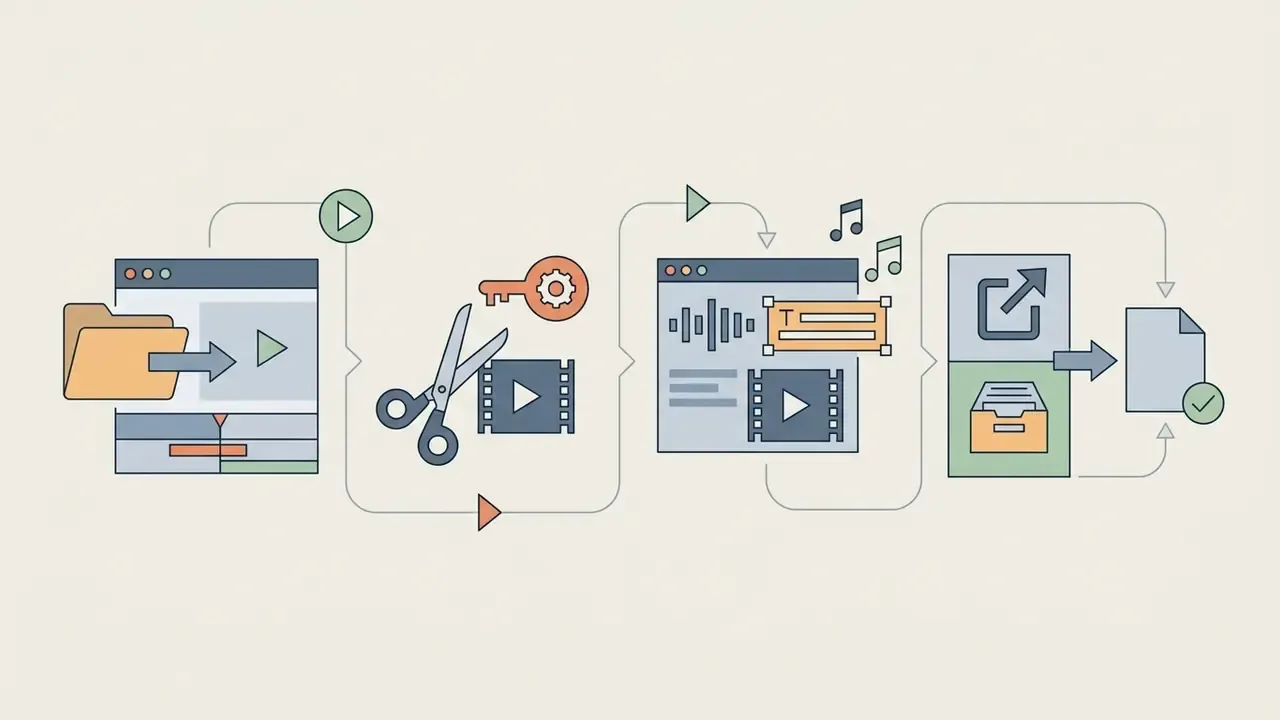
Command-B, add titles and music, then export with File > Share > File.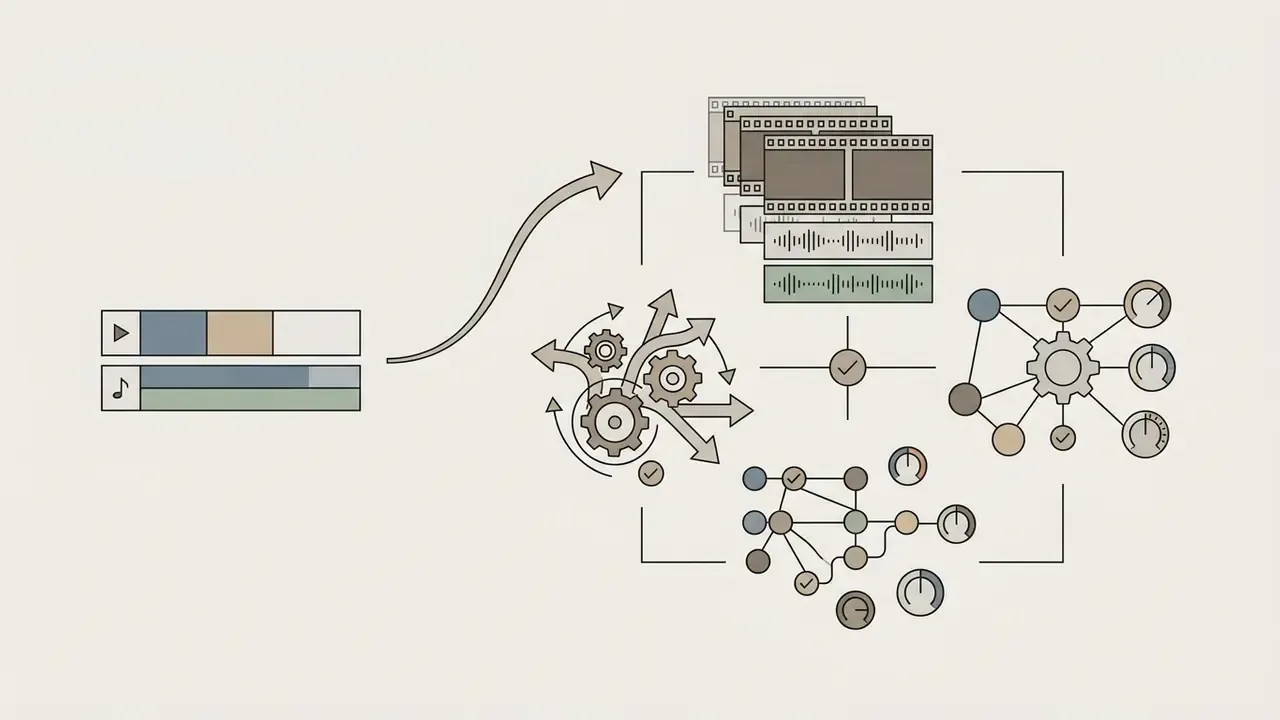
Three Decisions That Shape Every Mac Edit
Before the first cut, three choices quietly decide how the whole project goes. Get them right and the timeline stays fast. Get them wrong and you will be re-exporting at midnight.
- Which editor?Track count, multicam support, and grading depth decide this, not price. A two-track ceiling is a hard wall, not an inconvenience.
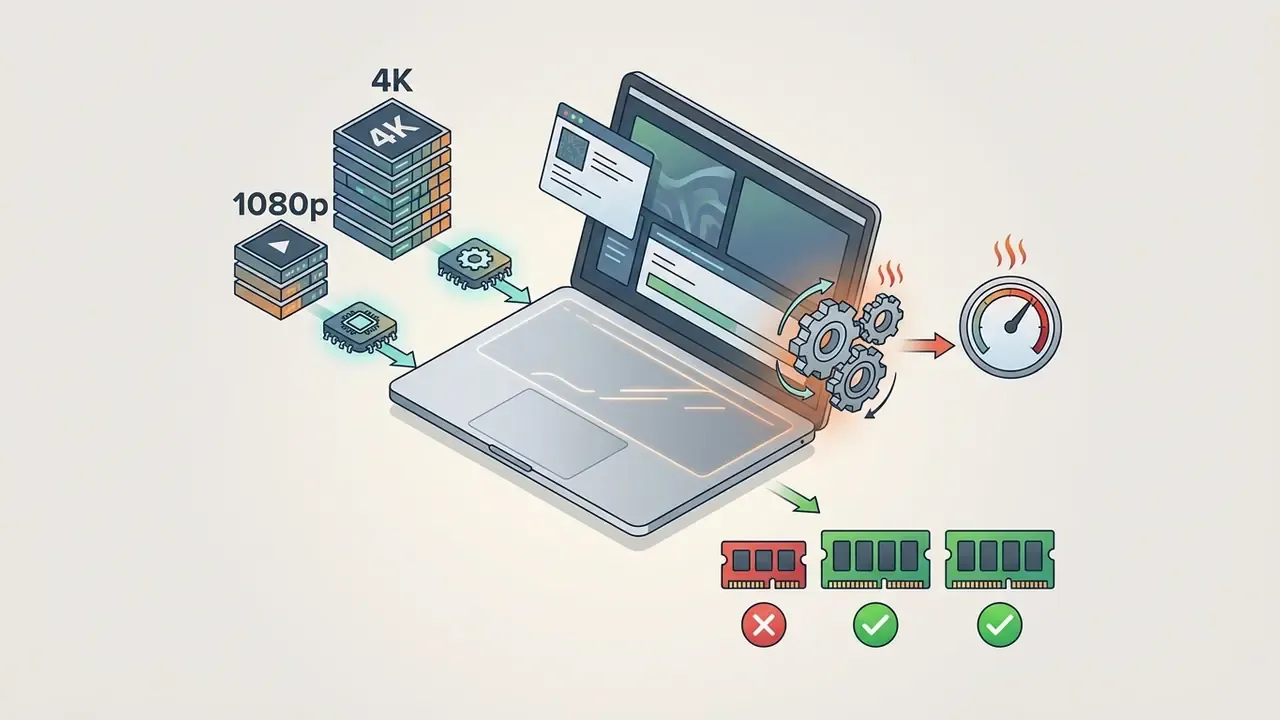
- Where does media live?Internal SSD for 1080p, external NVMe for 4K. Managed library for portability, external linked media for shared storage.
- What is the delivery spec?Aspect ratio, frame rate, bitrate, and caption format. Decide them first, because they drive every setting upstream, including project properties and proxy strategy.
Simple, yes. Skipped constantly.
Who This Guide Is For, and What Your Mac Needs
This guide serves two audiences at once. Beginners who have never opened a timeline will find complete iMovie and QuickTime Player instructions with exact menu paths and keyboard shortcuts. Intermediate and professional editors will find hardware specifications, codec behavior, color management settings, export bitrate targets, and quality-control thresholds.
Baseline system expectations for 2026:
Choose the Best Video Editing Software for Your Mac
Selecting the right video editing software for a Mac depends on project complexity, budget, and system resources. Beginners benefit from free built-in tools like iMovie, while professional editors need multi-track performance in Final Cut Pro, Adobe Premiere Pro, or DaVinci Resolve.
Comparison of major video editing tools available to Mac users
| Editor | Typical user level | Key editing features | Cost / free version | Common use cases on Mac |
|---|---|---|---|---|
| iMovie | Beginner | Basic cutting and trimming, simple transitions, titles, basic audio adjustment, simple color correction | Free on macOS | Introductory editing for personal videos, school projects, simple social media clips |
| Final Cut Pro | Intermediate to professional | Magnetic timeline, multicam editing, Apple silicon acceleration, robust effects, advanced color tools | 30-day trial, then $299.99 one-time purchase (or from $12.99/month via Apple Creator Studio) | Professional post production, documentaries, YouTube channels, broadcast content |
| Adobe Premiere Pro | Intermediate to professional | Layered timeline, Creative Cloud integration, advanced audio tools, cross-platform project support | Subscription starting at $22.99/month | Cross-platform professional editing, team projects, advanced motion graphics integration |
| DaVinci Resolve | Intermediate to professional | Non-linear editing, industry-standard color grading, Fusion visual effects, Fairlight audio engine | Free standard version; paid Studio version ($295) | Color-driven workflows, film and TV post production, complex grading on Mac |
| Browser-based editors | Beginner to intermediate | Template-driven assembly, cloud rendering, automated captions, collaborative workspaces | Freemium with paid subscription tiers | Rapid social media editing, browser video tools, quick team drafts |
Each application targets specific production requirements. Entry-level software minimizes setup time, whereas advanced suites unlock multi-track layering and precision color management. If you want a wider budget-oriented shortlist before committing, compare the free and paid options side by side rather than trusting a single review.
In practice, that finding means one thing: choose the editor that solves your actual output problem, whether that is multicam, captions, grading, or delivery specs, rather than the one that looks simplest on the first launch screen.
Technical Feature Matrix: What Each Mac Editor Can Actually Do
Marketing copy hides the hard limits that stop projects mid-edit. The matrix below lists track ceilings, tracking capability, immersive-format support, and codec acceleration.
Technical feature matrix: Mac video editors comparison
| Editor | Max video tracks | Motion tracking | 360° VR support | Multicam editing | Hardware codec acceleration | Pricing model | Target use case |
|---|---|---|---|---|---|---|---|
| iMovie | 2 tracks | No | No | No | ProRes / HEVC (basic) | Free (pre-installed) | Personal clips, quick home edits |
| Final Cut Pro | Unlimited (trackless Magnetic Timeline) | Yes (native object tracker) | Yes (360° monoscopic and stereoscopic) | Yes (up to 64 angles) | ProRes RAW / HEVC / H.264 (Apple silicon optimized) | $299.99 one-time | Commercial video, YouTube series, broadcast delivery |
| Adobe Premiere Pro | Unlimited | Yes (point, shape mask, and AI object mask tracking) | Yes (VR headset and immersive video workflows) | Unlimited angles | Multi-GPU plus Apple silicon media engine | $22.99/month subscription | Cross-platform team post-production |
| DaVinci Resolve | Unlimited | Yes (planar tracker and Fusion tracking) | Yes (Fusion / Studio) | Yes | ProRes / H.264 / H.265 / AV1 (Studio version) | Free / $295 Studio one-time | Color grading and Fairlight audio mastering |
| CyberLink PowerDirector | 100 tracks | Yes | Yes | Yes | H.264 / HEVC export, XAVC-S source support | Subscription or one-time license | Enthusiast YouTube and family projects with heavy effects |
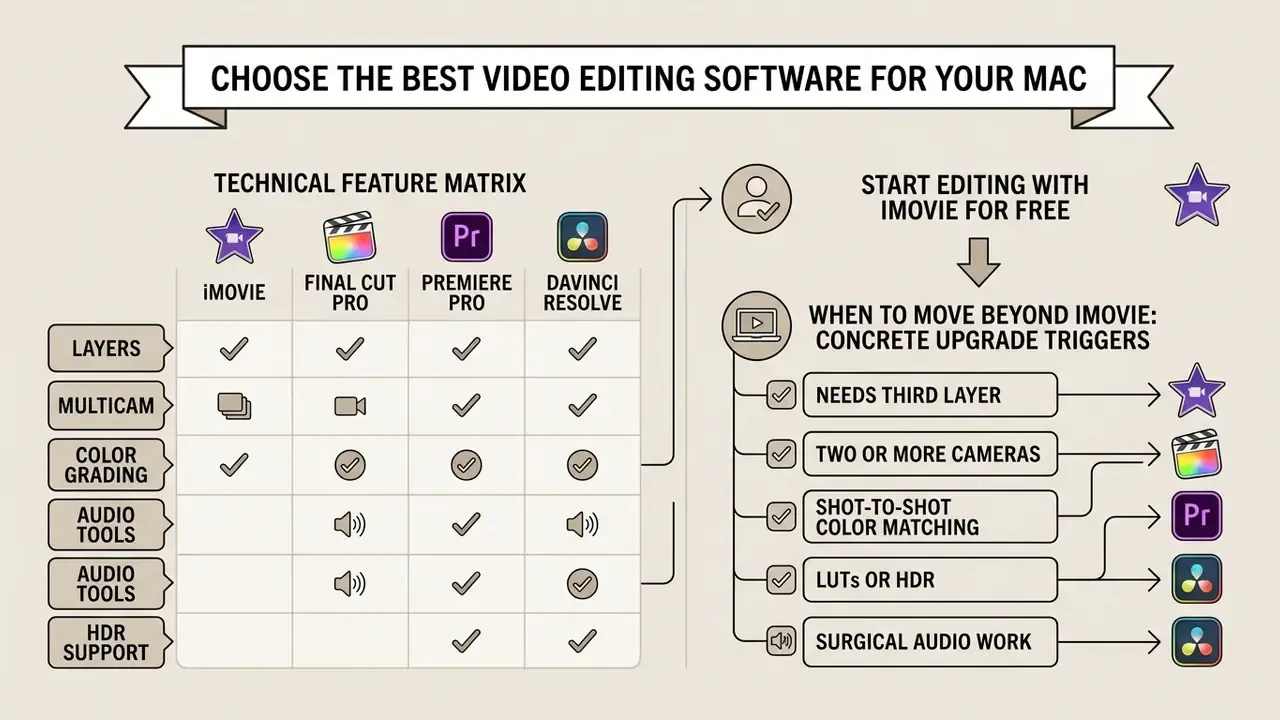
Three practical takeaways. First, iMovie's two-track ceiling blocks lower-third graphics stacked over a picture-in-picture insert. Second, only the pro apps offer tracking that locks a blur or a graphic to a moving object. Third, immersive or multicam projects rule out iMovie entirely, no workaround worth the trouble.
Start Editing With iMovie for Free
iMovie gives you a beginner-friendly video editing environment pre-installed on macOS, with no subscription attached. You get linear timeline trimming, basic color adjustment, and pre-built title templates that suit personal projects and simple edits.
Apple designed iMovie to make the first assembly painless. You can trim clips, apply Ken Burns pan-and-zoom effects, stabilize shaky video, and share finished projects straight to local storage. It also includes chroma-key green and blue screen compositing, split-screen and picture-in-picture overlays, freeze frames, speed ramping, movie themes, trailers, and storyboard templates. The catch: two primary video tracks, which rules out complex layering and multi-camera workflows.
If terminology like "timeline," "keyframe," or "chroma key" is new to you, check how AI Media Workflows classify editing features before you pay for an upgrade path you may not need.
When to Move Beyond iMovie: Concrete Upgrade Triggers
Moving to Final Cut Pro, Adobe Premiere Pro, or DaVinci Resolve becomes necessary when projects demand multi-camera editing, advanced color grading, or complex audio mixing. These professional tools remove iMovie's two-video-layer restriction and support multi-track timeline organization.
Use these measurable triggers to decide when to switch:
- You need a third layer. A logo bug, a lower third, and a picture-in-picture insert cannot coexist on two tracks.
- You shot with two or more cameras. Synchronized multicam angles require Final Cut Pro (up to 64 angles), Premiere Pro, or Resolve.
- You need shot-to-shot color matching, LUTs, or HDR. iMovie exposes sliders, not scopes, nodes, or color-managed pipelines.
- Your audio needs surgical work. Multiband EQ, noise gates, compressors, and per-role audio stems live only in pro apps.
- Your project exceeds simple length and codec expectations. Long-form timelines, camera RAW, 10-bit sources, and delivery stems require pro-grade render and codec handling.
- Someone else finishes the project. iMovie projects sent to Final Cut Pro carry some adjustments over as baked effects, which shows how much of iMovie's processing is fixed rather than editable.
Final Cut Pro runs natively on Apple silicon, offers one-time pricing, and integrates deeply with macOS. Adobe Premiere Pro provides cross-platform flexibility and connects directly with After Effects and Audition. DaVinci Resolve delivers high-end color correction and audio post production with a genuinely usable free tier.
A typical escalation path looks like this (illustrative scenario, not a client case study). A small team starts with single-camera interview clips in iMovie. Then they add a second camera, a separate lavalier track, and branded lower thirds. At that point the two-track ceiling forces either awkward pre-renders or a migration. Moving the same footage into Final Cut Pro restores sync handling through the Magnetic Timeline and keeps one consistent color profile across every deliverable. The lesson is boring but useful: the upgrade is usually triggered by layers, not by ambition.
Browser-Based and Online Video Editing Tools for Mac Users
Browser-based video editors let Mac users assemble short-form social media content without burning local storage or GPU cycles. Platforms like Runway, Descript, and CapCut Web provide cloud-based collaboration, automated text editing, and template-driven workflows.
Descript edits video by rewriting the text transcript in a web interface, and adds shared cloud storage, comments, remote recording, and version history for team projects. Runway layers in diffusion-based AI generation for localized style changes and positions its Edit Studio around short vertical sequences. CapCut Web offers real-time co-editing, team workspaces, invite-by-link access, role permissions, and pre-formatted vertical templates. These online video editing options suit creators who need fast output for TikTok, Instagram Reels, and YouTube Shorts. If sharing the raw files is the bottleneck instead, see how to send large video files online free before uploading everything into a cloud editor.
Data Security and Confidentiality in Cloud and AI Editors
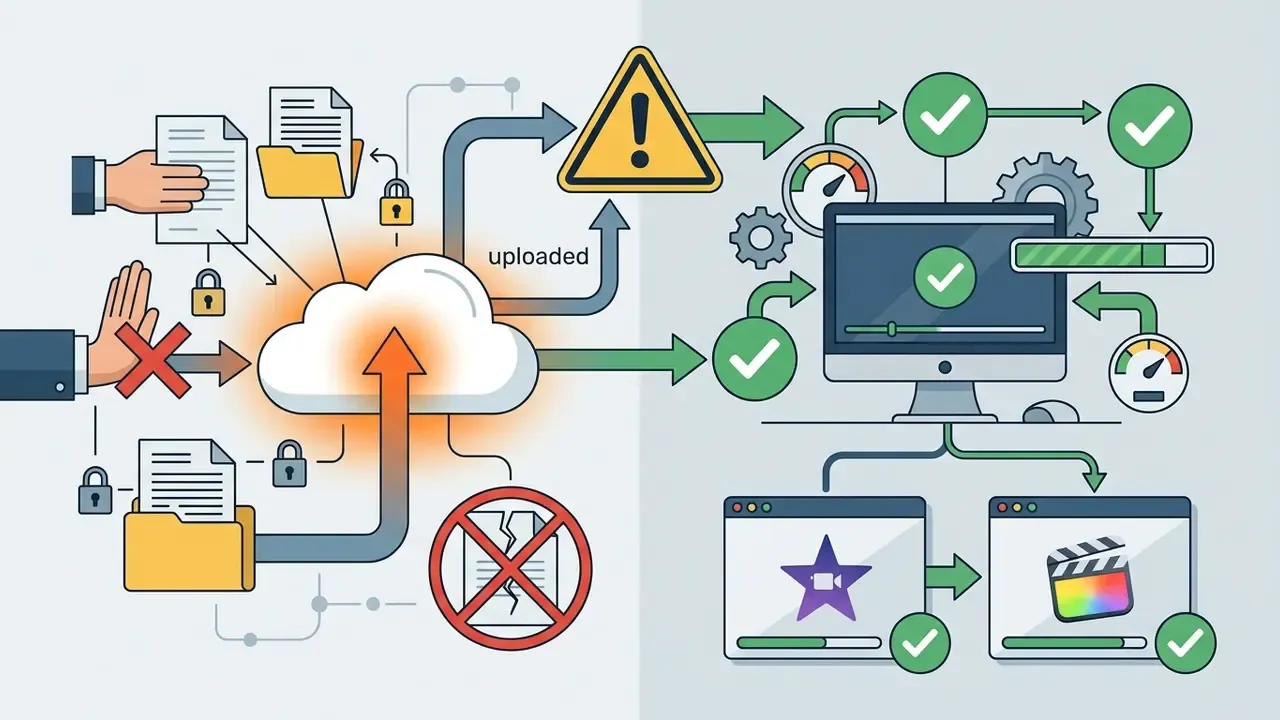
Cloud editors trade privacy for convenience: your footage leaves the Mac and gets processed on somebody else's infrastructure. That distinction matters enormously for regulated industries, internal training material, customer screen recordings, and anything covered by an NDA.
What stays local on macOS:
- iMovie renders and exports entirely on-device.
- Final Cut Pro processes media locally, including caption transcription, which runs on Apple silicon Neural Engines rather than a remote server.
- DaVinci Resolve (non-cloud projects) keeps media, cache, and renders on your own storage.
What leaves your Mac:
- Browser editors (CapCut Web, Flixier, Adobe Express) upload source media to vendor infrastructure for processing and rendering.
- AI features in cloud tools, including transcription, background removal, voice cloning, and generative fill, typically execute on remote GPUs.
- Collaboration links and shared workspaces may expose drafts to anyone holding the URL unless role permissions are restricted.
A practical five-point control checklist before you upload anything sensitive:
- Confirm in writing whether uploaded media may be used for model training, and whether opt-out is available.
- Check data residency and retention periods, then delete assets from the cloud workspace after export.
- Restrict sharing to named accounts with explicit roles instead of open invite links.
- Redact personal data before upload, not after. Blur passwords, faces, account numbers, and internal URLs locally first.
- For NDA, financial, healthcare, or HR footage, default to local-only editing in Final Cut Pro or iMovie.
Published material carries a second-order risk too: once a frame is indexed, removing it is slow. If that is a concern, review how to remove ai images from google search and treat takedown as part of your publishing plan, not an afterthought.
Prepare Your Media Before You Edit Videos on Mac
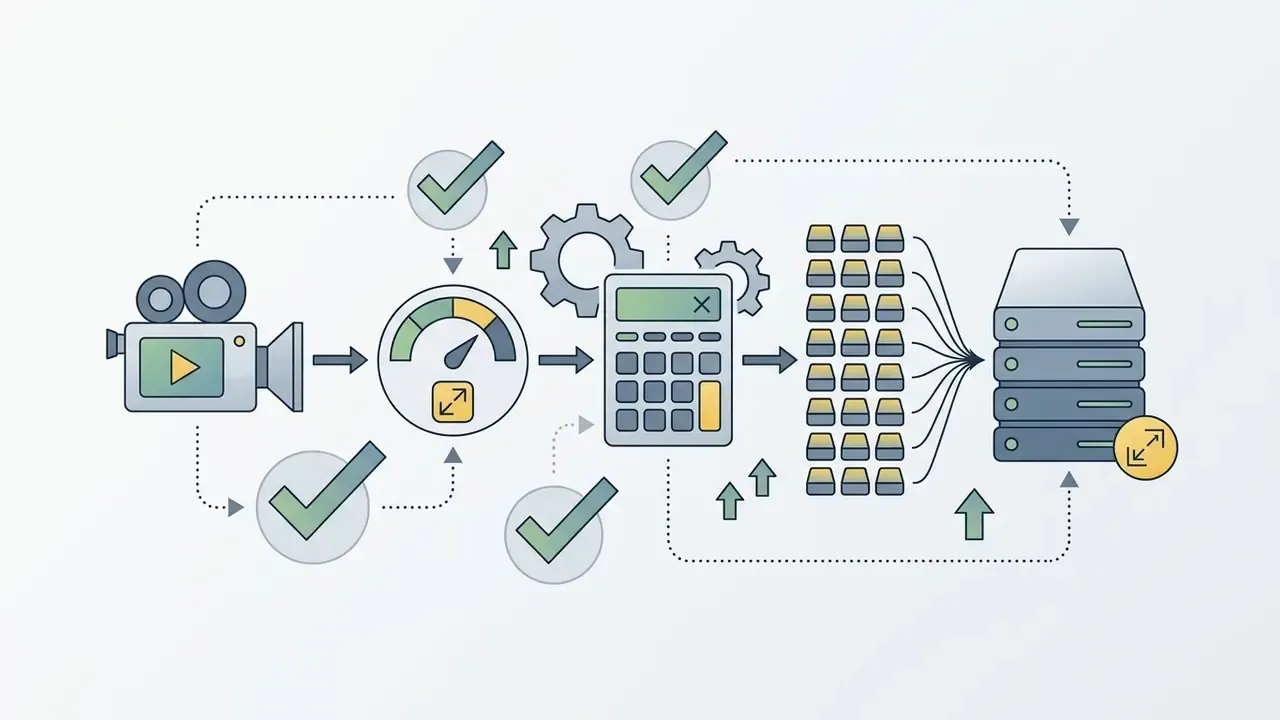
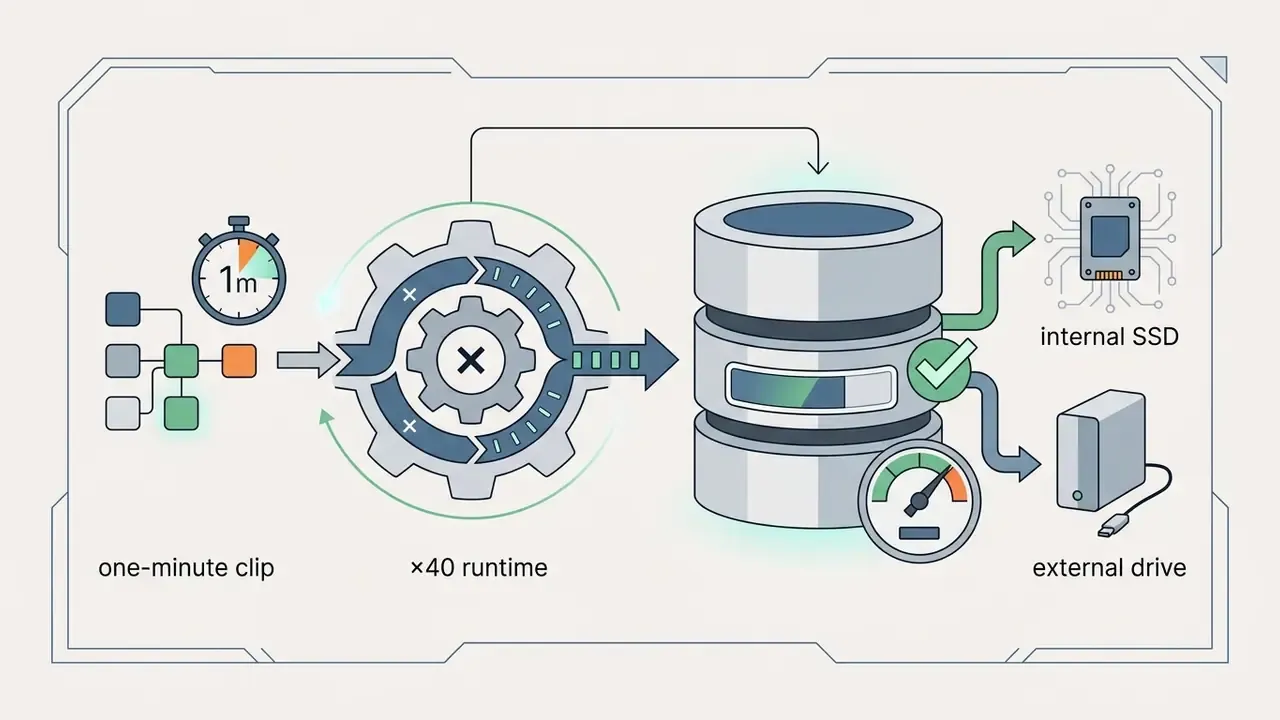
«Record a one-minute test clip, transfer it to your computer, measure the file size, and multiply by 40, since a typical project uses about 40 minutes of footage.»
Apply that rule. A one-minute 4K clip at roughly 400 MB implies about 16 GB of source media for a typical project, before optimized media, proxies, render files, and exports, which can easily double or triple the total. Reserve at least 20% free space on the destination volume so macOS can manage cache and swap. Want the math done for you? Our calculators cover storage and bitrate estimates for common camera formats.
Gather, Organize, and Import Video Files
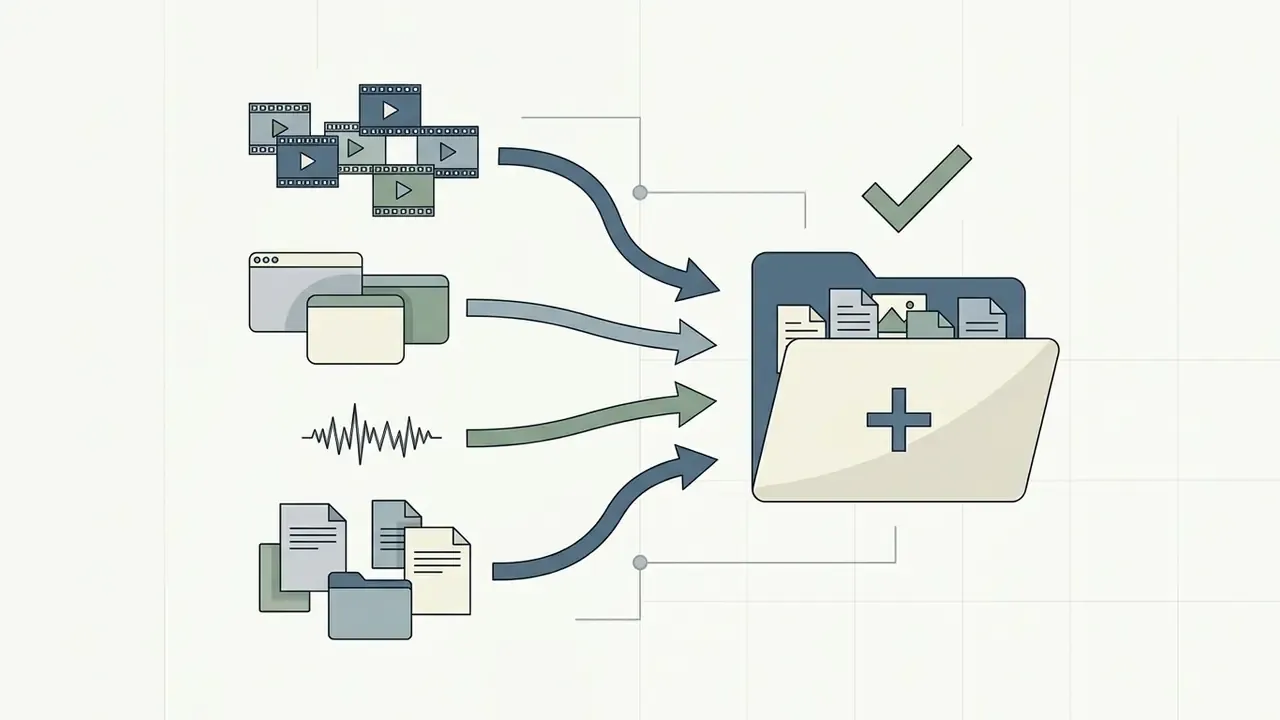
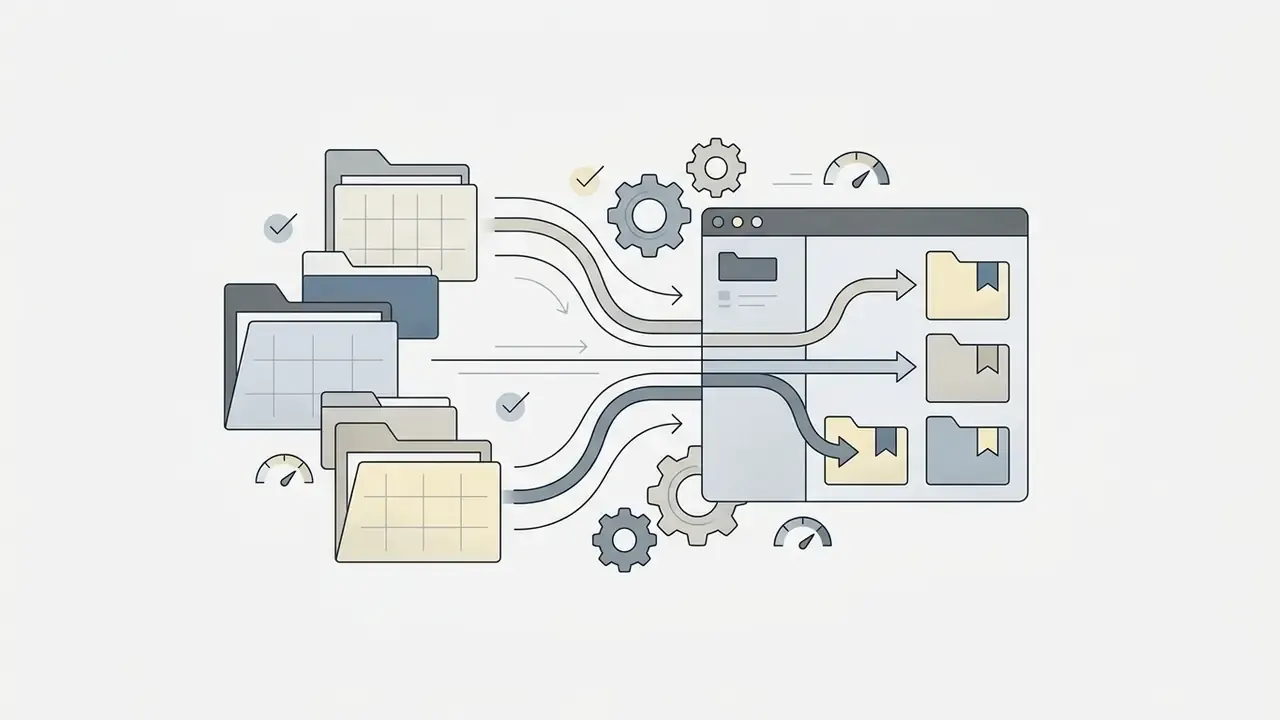
Sorting video and audio assets into standardized folder structures in Finder simplifies the import process into any macOS video editing software. Clear file names plus keyword tags during import protect data integrity through the whole post-production cycle.
Before launching an editor, move raw files into labeled subfolders such as Footage, Audio, Graphics, and Exports. Finder's batch rename tool (select files, right-click, Rename, then choose Replace Text, Add Text, or Format) standardizes asset names by date, camera angle, or scene number. Importing structured folders into Final Cut Pro or Premiere Pro preserves that organization. Final Cut Pro can assign one keyword per imported folder automatically, which rebuilds your Finder hierarchy as searchable keyword collections inside the library.
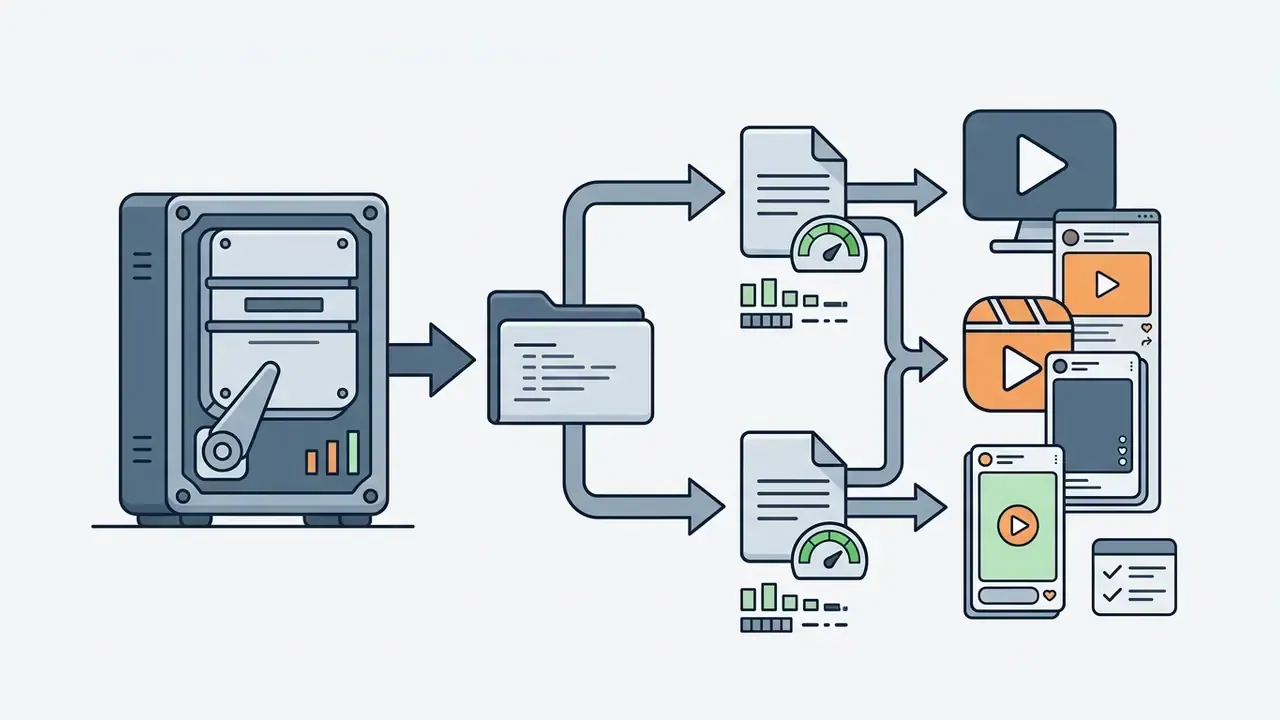
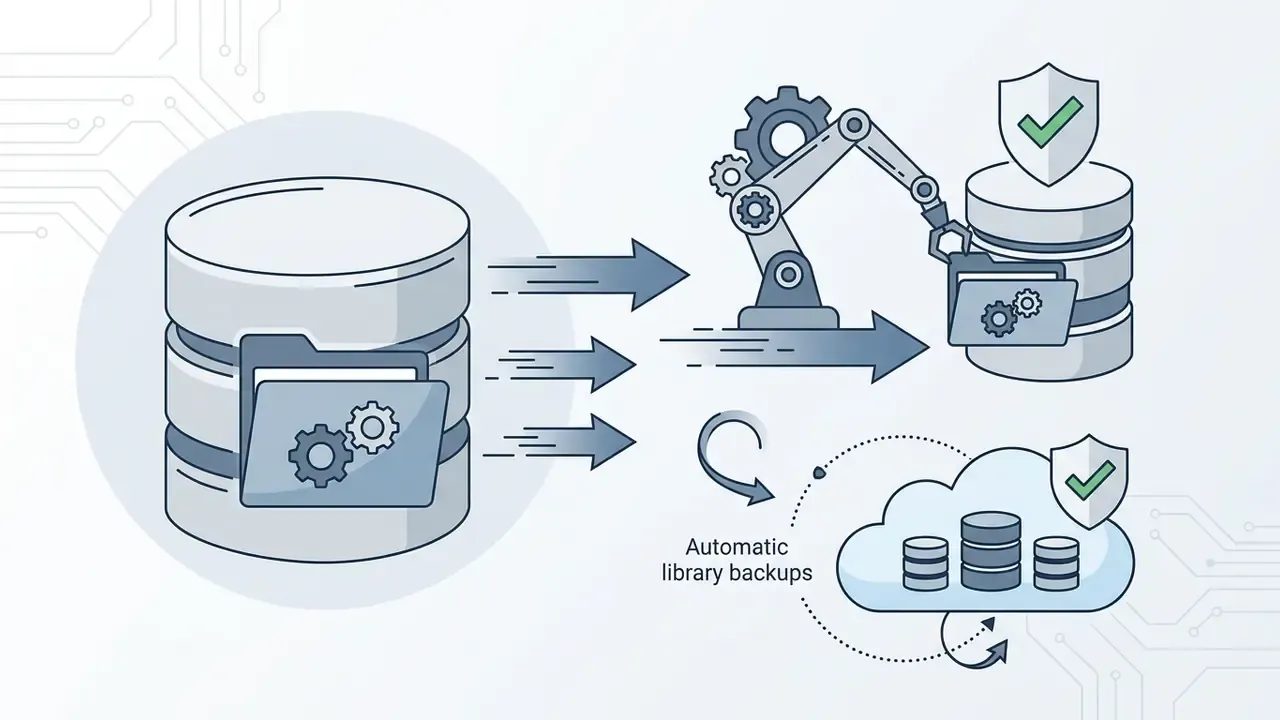
Decide early whether media lives inside the library as managed media or outside it as linked external media. Managed libraries are portable and hard to break; external media suits shared network storage but demands disciplined folder hygiene. Creators publishing regularly should also standardize naming against the delivery pipeline, including thumbnails, chapter files, and caption sidecars stored next to the master edit. One small habit that saves hours: put the frame rate in the folder name.
Create a Project and Check Footage Before Editing
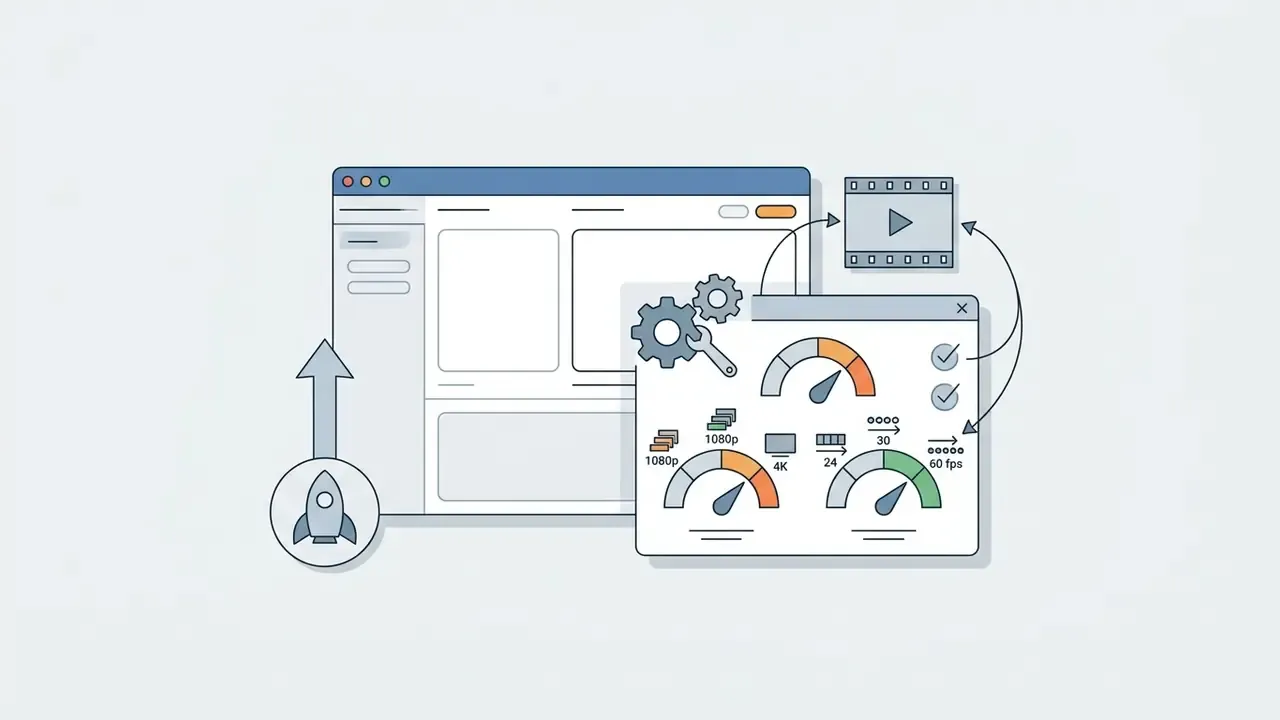
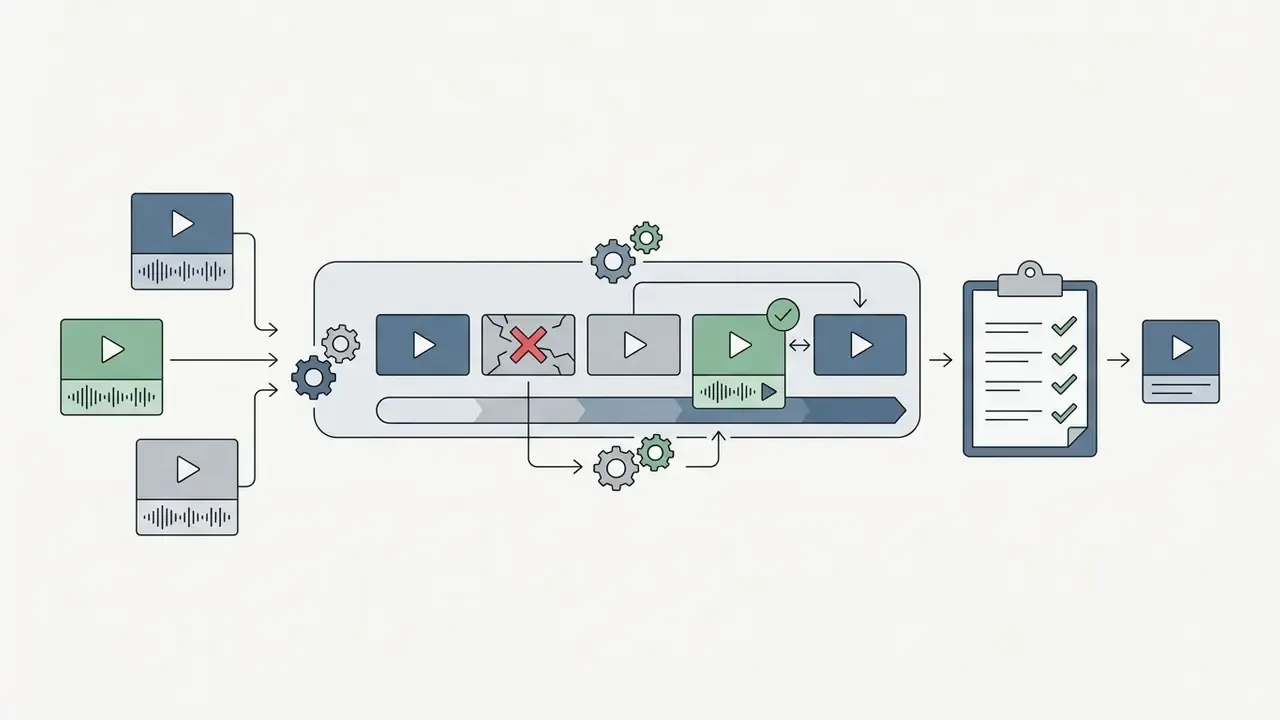
Setting project timeline properties to match native source frame rates and resolutions prevents unnecessary clip scaling and sync drift. A preliminary assembly pass surfaces missing assets or corrupted clips early, while a reshoot is still possible.
Final Cut Pro configures new project settings automatically from the resolution and frame rate of the first clip added to the timeline, and both frame size and frame rate can be changed later in project properties. Checking footage in QuickTime Player or the editor browser verifies audio levels, shutter speed consistency, and focus errors before fine trimming begins.
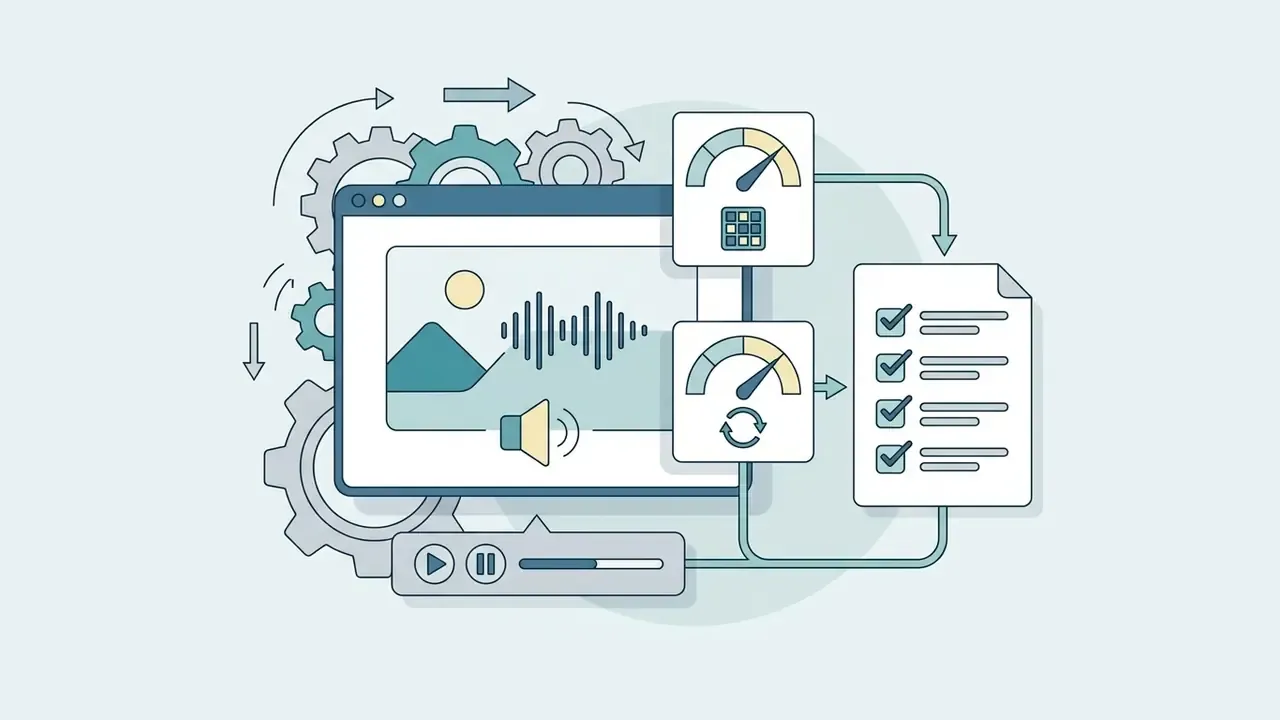
Pre-edit preparation checklist
How to Edit Videos on Mac Using iMovie
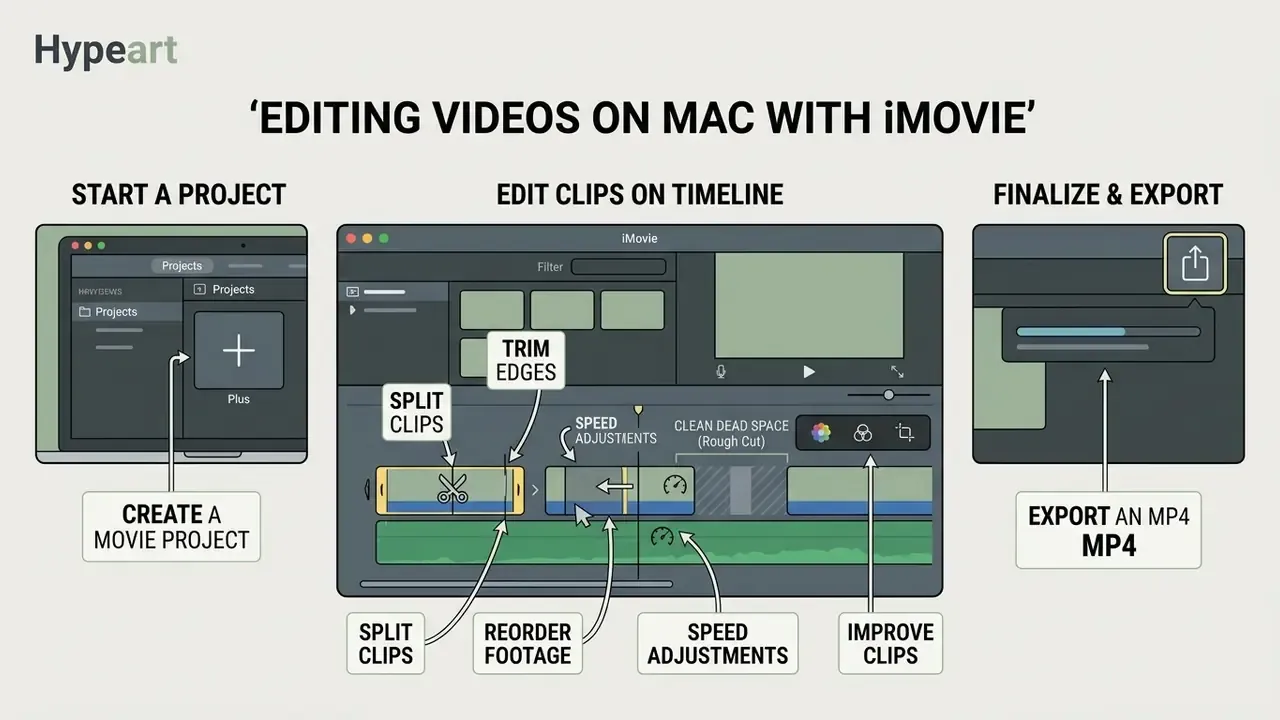
Editing videos on Mac with iMovie follows a predictable sequence: create a movie project, place media on the timeline, cut, then export an MP4. The app hooks into macOS hardware acceleration, so playback stays steady even on modest machines.
Learning how to edit videos on mac with built-in software gives beginners a real foundation in non-linear assembly. You can finish clean edits without buying a single third-party application, and most people never outgrow it for family or classroom projects.
Open iMovie and Create a New Video Project
Launching iMovie means opening the app from Finder or Spotlight, switching to Projects view, and clicking Create New Movie. From there you import raw clips from local storage or a connected device into the project event library.
- Open iMovie from the Applications folder or Launchpad.
- Click the Projects button in the top navigation bar.
- Click the Create New plus icon and select Movie.
- Click the Import Media arrow button to select video files from your Mac. If the button is hidden, use Media > Import.
- Choose an existing event or New Event as the destination for imported clips.
- Drag imported clips into the project browser or straight onto the lower timeline.
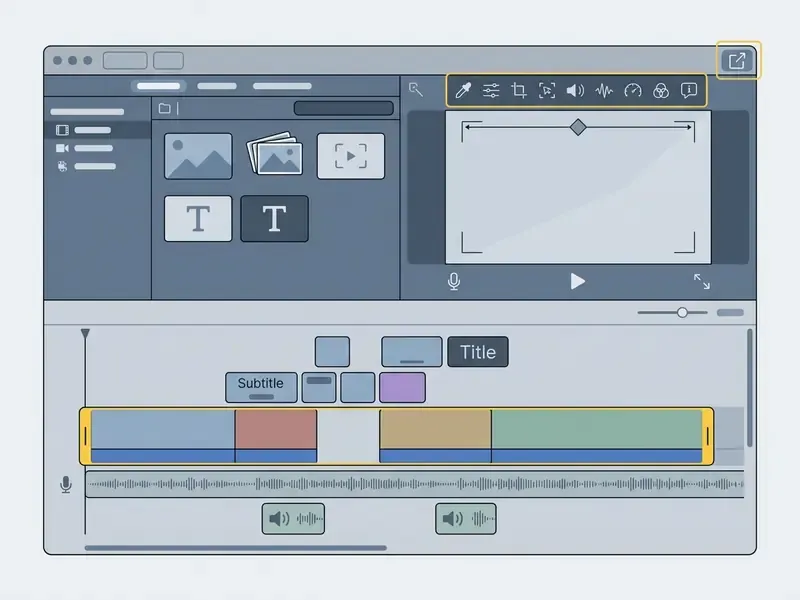
After creation, the project window shows three working areas at once: the browser (media), the viewer (preview), and the timeline (assembly).
Cut, Rearrange, and Improve Clips on the Timeline
Timeline editing in iMovie runs on a handful of shortcuts. Command-B splits clips at the playhead; drag handles trim the edges. Sequencing clips and adjusting speed is where the narrative actually takes shape.
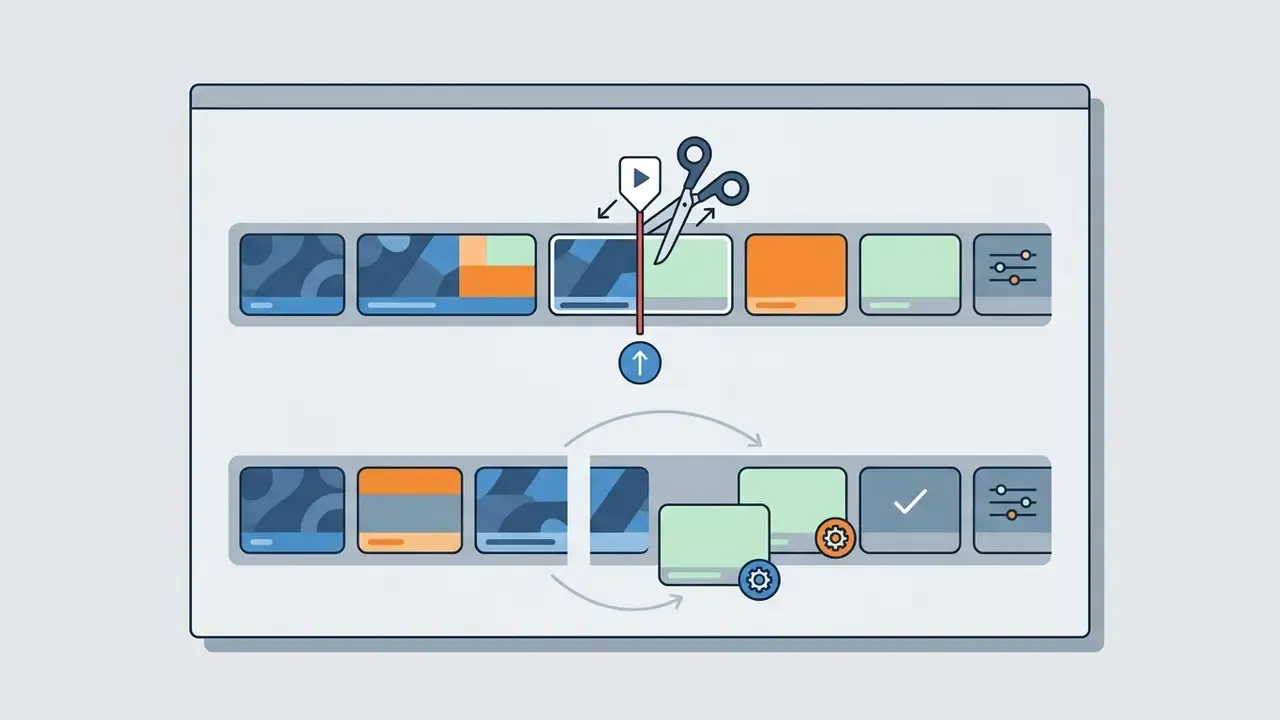
Command-B to cut the clip into two segments.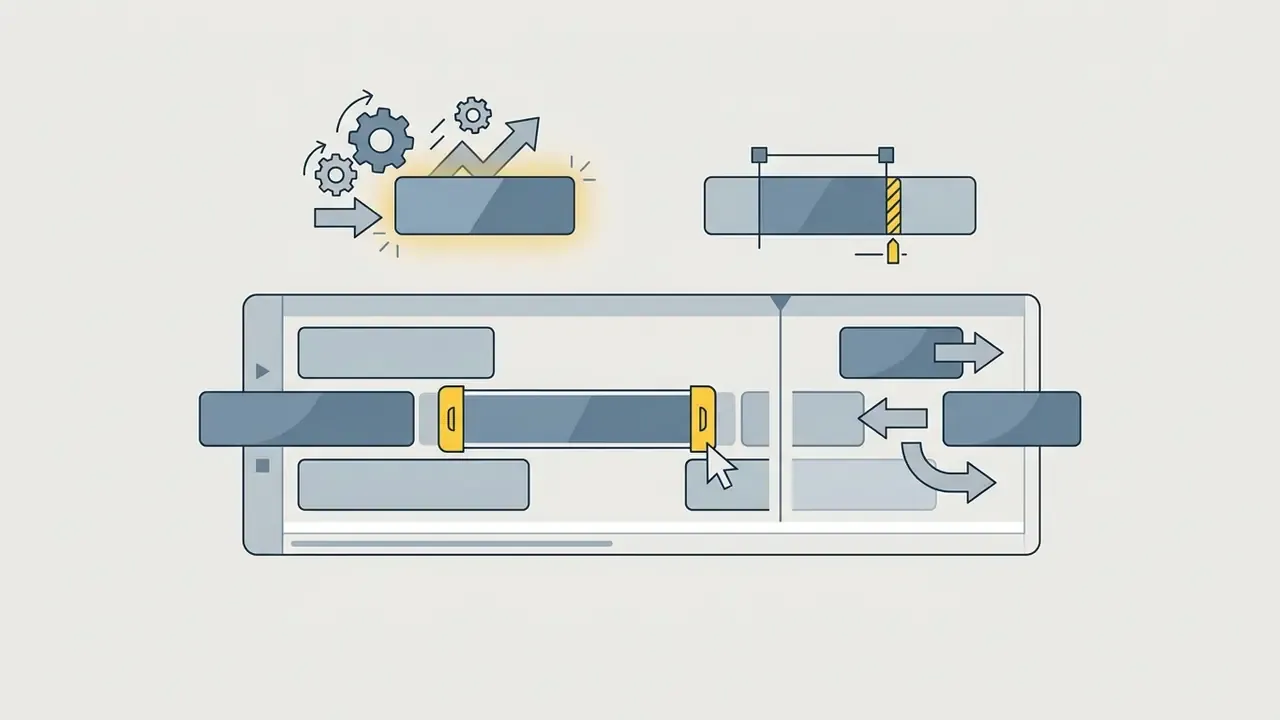
Option-/ trims a clip to the selected range.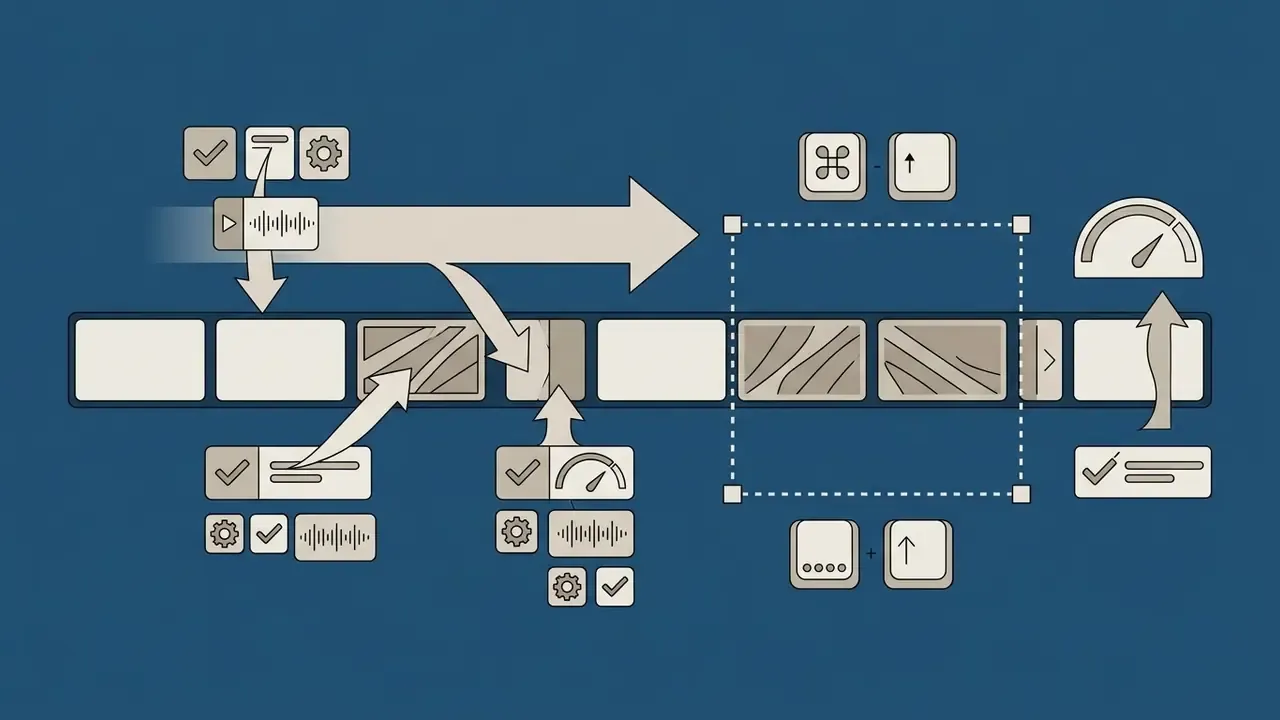
Command-click, Shift-click, or a selection rectangle to move several clips at once.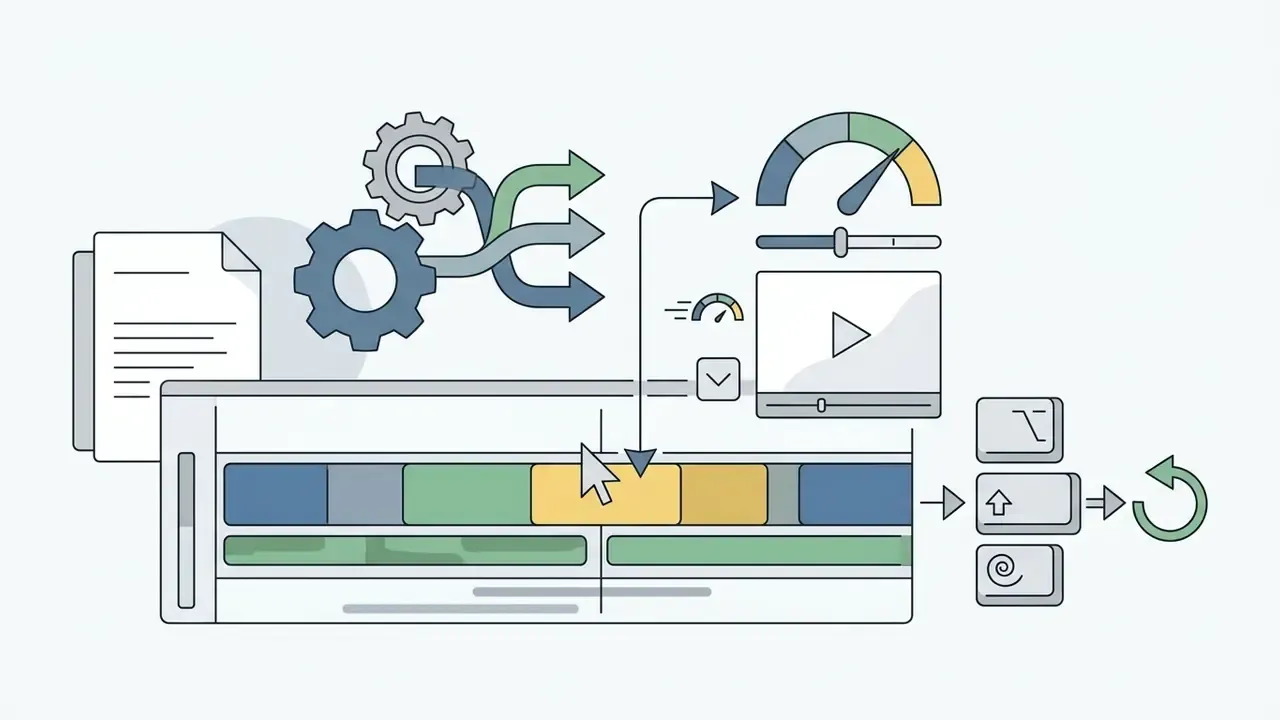
Option-Shift-R to reset.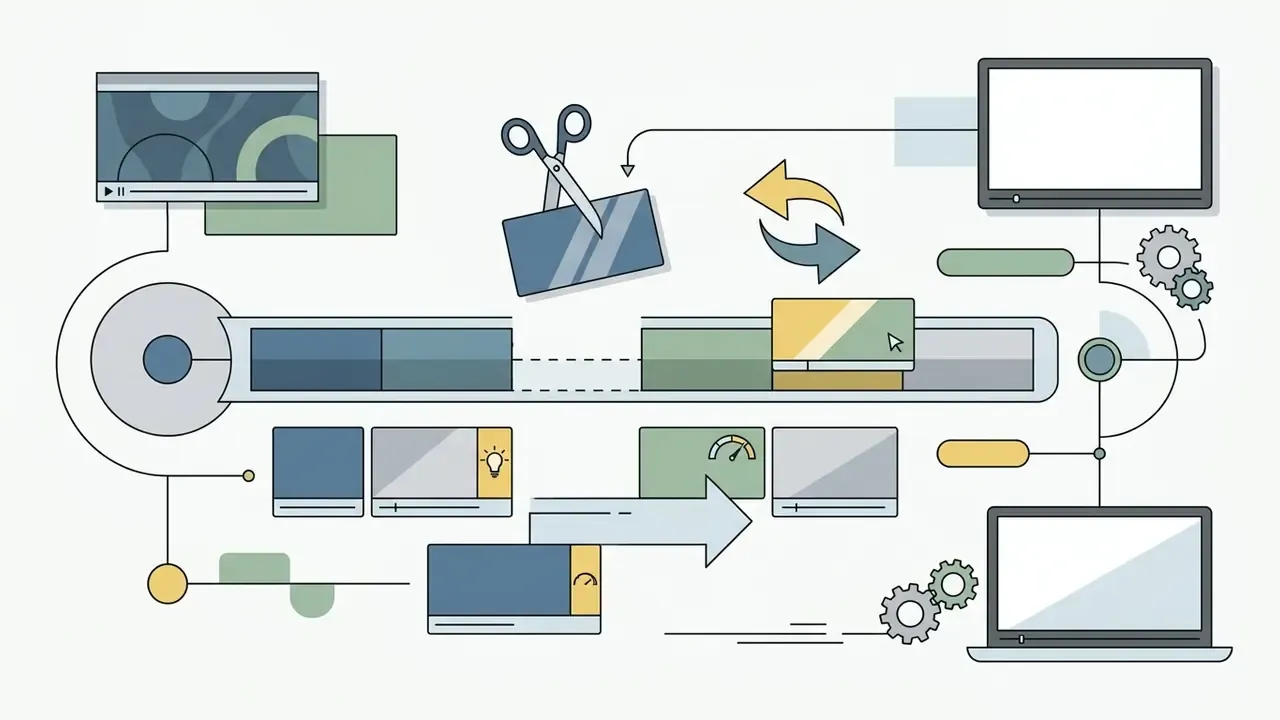
Command-X removes the selected frames; Command-Z undoes the last timeline action.«EditBoard defines four dimensions of editing quality: fidelity to source frames, preservation of unedited regions, execution of the intended change, and consistency across frames.»
Those four dimensions translate directly into timeline discipline. Cut where the speaker's cadence allows it, avoid re-rendering untouched segments, and keep effects consistent shot to shot.
Cleaning Dead Space and Filler Words (Rough Cut Workflow)
Most amateur videos feel slow, and it is rarely the shots. It is dead air. Beginners underestimate how much "um," "ah," breath noise, and pre-roll silence sits at the head and tail of every take.
- Position the playhead immediately before the filler word or pause.
- Press
Command-Bto split. - Move the playhead to the start of the next spoken phrase and press
Command-Bagain. - Select the isolated segment containing the silence or filler word and press
Delete. iMovie shifts trailing footage left automatically, closing the gap without breaking sync.
- Identify silence in waveformsExpand timeline audio with
Command-Equal (+)to zoom in and locate low-amplitude gaps between sentence takes. - Ripple trim the filler:
- Keep the best takeIf you shot several attempts, the last take is usually cleanest. Favorite it before deleting alternatives.
- Watch for breath cutsTrim two to four frames before the first consonant rather than exactly at it, otherwise dialogue sounds clipped.
- Review pacing once at 1.5× speedSections that drag at speed will be unbearable at normal playback.
Add Titles, Subtitles, Audio, Effects, and Color Correction
iMovie handles visual polish through built-in title overlays, background audio mixing, and basic color correction sliders. Adjusting exposure, saturation, and noise reduction lifts presentation noticeably before export.
To add titles, select the Titles tab above the browser, drag a template onto the timeline above a clip, enter your text, then set font, color, size, style, and alignment. Titles can sit over video, a solid-color background, or an Apple-designed animated background. Audio controls let you duck background music when dialogue plays; music, sound effects, and recorded voiceovers each occupy their own timeline lane. The color correction controls above the preview window provide an Auto button plus sliders for shadows, highlights, contrast, brightness, saturation, and color temperature.
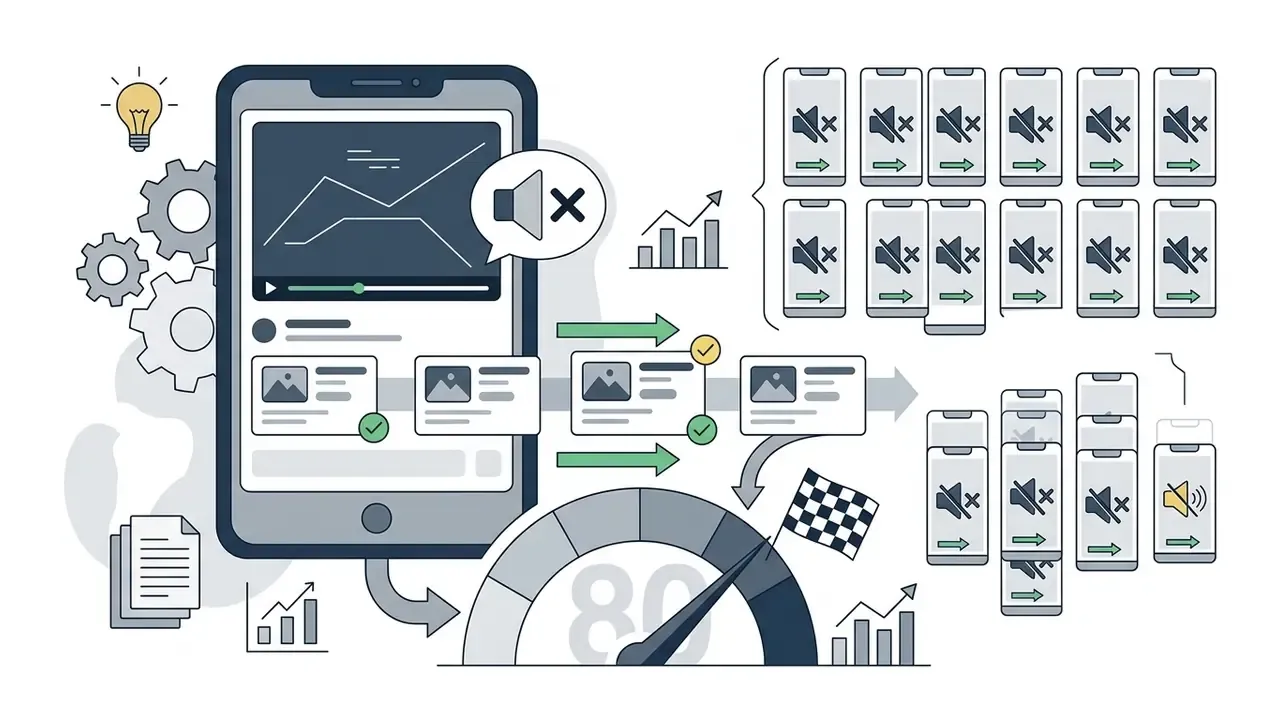
Why subtitles are effectively mandatory: industry research indicates that 92% of mobile video views happen with the sound muted, and adding burned-in captions or open subtitles increases full-video completion rates by roughly 80%. If your video exists to sell, teach, or recruit, captions are not an accessibility afterthought. They are the delivery format.
Step-by-step subtitle workflow in macOS editors:
Formatting rules that keep captions readable: two lines maximum, roughly 32 to 42 characters per line, high-contrast text with a subtle shadow or semi-transparent backing plate, and safe-area margins so platform UI never covers the text on vertical video. If your titles fight the background instead of sitting on it, the layout logic behind how to put text over an image html applies to video thumbnails and end cards too.
- iMovieOpen the Titles tab, drag a lower-third or centered text overlay above the clip, trim the title bar to match the spoken phrase, then sync text visually against waveform peaks. Repeat per sentence for burned-in captions.
- Final Cut Pro (macOS Sequoia)Select the timeline range, choose Modify > Transcribe Captions, pick the local language model, review and edit the generated CEA-608 or iTT/SRT caption tracks, then adjust duration so each caption stays on screen at least one second.
- Adobe Premiere ProOpen the Text workspace, click Transcribe Sequence, choose Create Captions, style caption tracks with Essential Graphics presets, then export as a burned-in track or a sidecar SRT file.
Edit Professional Video on Mac With Advanced Software
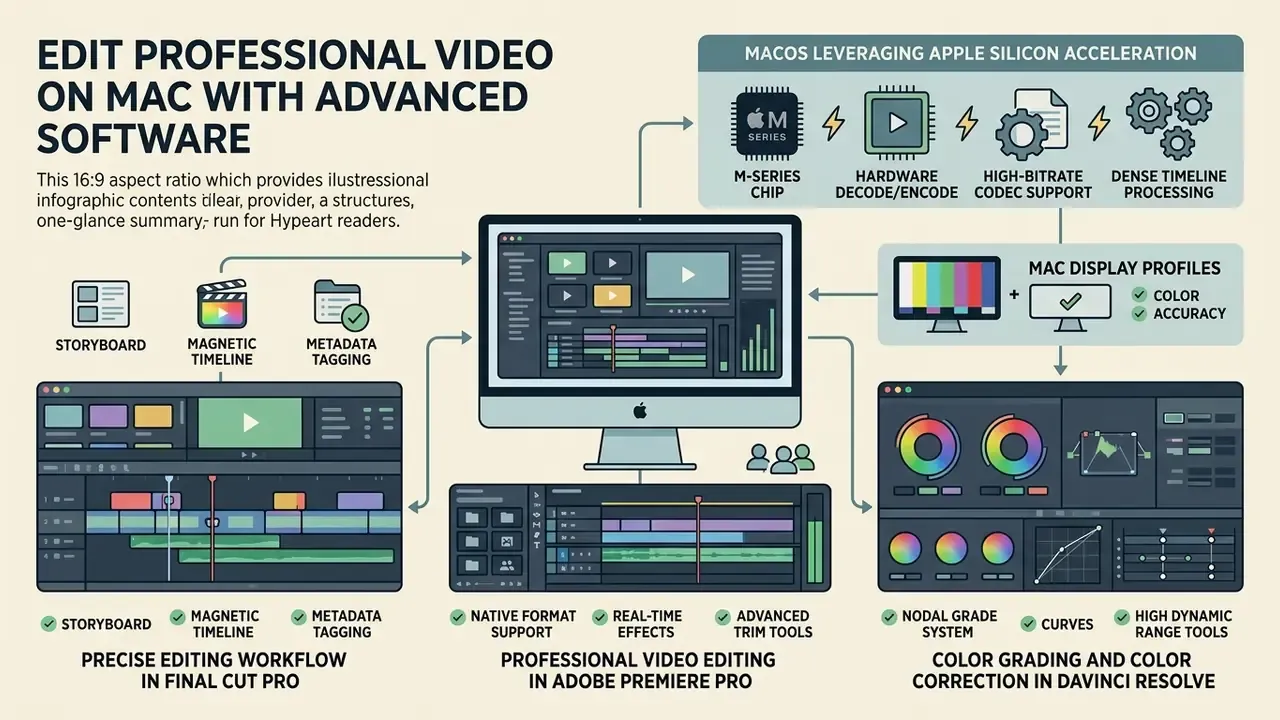
Advanced video editing software on macOS leans on Apple silicon hardware acceleration to process high-bitrate codecs and dense timelines without stuttering. Professional editors pick Final Cut Pro, Adobe Premiere Pro, or DaVinci Resolve based on specific post-production requirements, not brand loyalty.
These platforms handle camera RAW formats, 10-bit color depth, and multi-track audio routing. They support large plugin ecosystems and the precision trimming that commercial broadcast demands, plus delivery of separate media stems for dialogue, music, and effects.
Build a Precise Editing Workflow in Final Cut Pro
Final Cut Pro uses a trackless Magnetic Timeline that closes gaps automatically and keeps clips in sync while you rearrange. Smart Collections organize media metadata dynamically, and native Apple silicon optimization speeds up background rendering and playback.
The Magnetic Timeline prevents audio and video sync errors when you shuffle primary storyline clips, and it avoids clip collisions entirely. Smart Collections filter footage automatically by camera angle, frame rate, or custom keyword tag without duplicating a single file. The recommended six-step sequence: import media, organize into events and keyword collections, create the project, edit in the timeline, add effects, transitions, and titles, then share or export, including stems for broadcast delivery.
A representative professional scenario: a team must process several hours of 4K Apple ProRes footage under a tight submission deadline. Using Smart Collections for angle filtering and proxy media for playback on Apple silicon, they organize multi-gigabyte events efficiently and finish multi-track edits without dropped frames. Switching back to optimized or original media before export restores full quality. Illustrative, not a documented client result.
Use Adobe Premiere Pro for Professional Video Editing
Adobe Premiere Pro integrates deeply with Creative Cloud applications like After Effects and Audition, which matters when motion graphics and audio sweetening happen in parallel. Native Apple silicon support delivers hardware-accelerated effects processing and multi-track timeline editing.
On macOS, Premiere Pro supports third-party audio and video plugins installed in shared system library directories (/Library/Application Support/Adobe/Common/Plug-ins/<version>/MediaCore). The Essential Sound panel streamlines dialogue clarity and noise reduction, while Dynamic Link lets you update After Effects compositions without an intermediate render. Shape masks and AI object masking make it easier to confine GPU-accelerated effects to a single subject, and Adobe reports substantial render speed gains on Apple silicon compared with previous-generation hardware. Teams automating parts of this pipeline can review our AI Media API Guides for headless render and transcription options.
Use DaVinci Resolve for Color Grading and Color Correction
DaVinci Resolve delivers professional color grading and color correction through node-based image processing and serious color management. It supports Display P3 profile matching on Mac displays and ACES transformations for high-end cinematic finishing.
Resolve links color spaces directly to macOS ColorSync profiles, which keeps display output accurate on Retina and Liquid Retina XDR screens. The software includes dedicated workspaces for editing, visual effects compositing in Fusion, audio mixing in Fairlight, and final master delivery. Increasingly, finishing pipelines also ingest synthetic B-roll and title plates; before dropping generated shots into a graded timeline, check resolution and licensing terms in the AI Media Commercial-Use Hub.
Official documentation for verification:
- Apple iMovie User Guide for macOS: official documentation for iMovie tools, clip editing, and export workflows.
- Apple Final Cut Pro Technical Specifications: official system requirements, supported codecs, and feature guides.
- Adobe Premiere Pro User Guide: system compatibility, hardware acceleration details, and editing documentation.
- Blackmagic Design DaVinci Resolve Support: official reference manuals, color management guidelines, and updates.
- QuickTime Player User Guide for macOS: screen recording, trimming, and export options built into macOS.
Improve Video Quality With Audio, Effects, and AI Tools
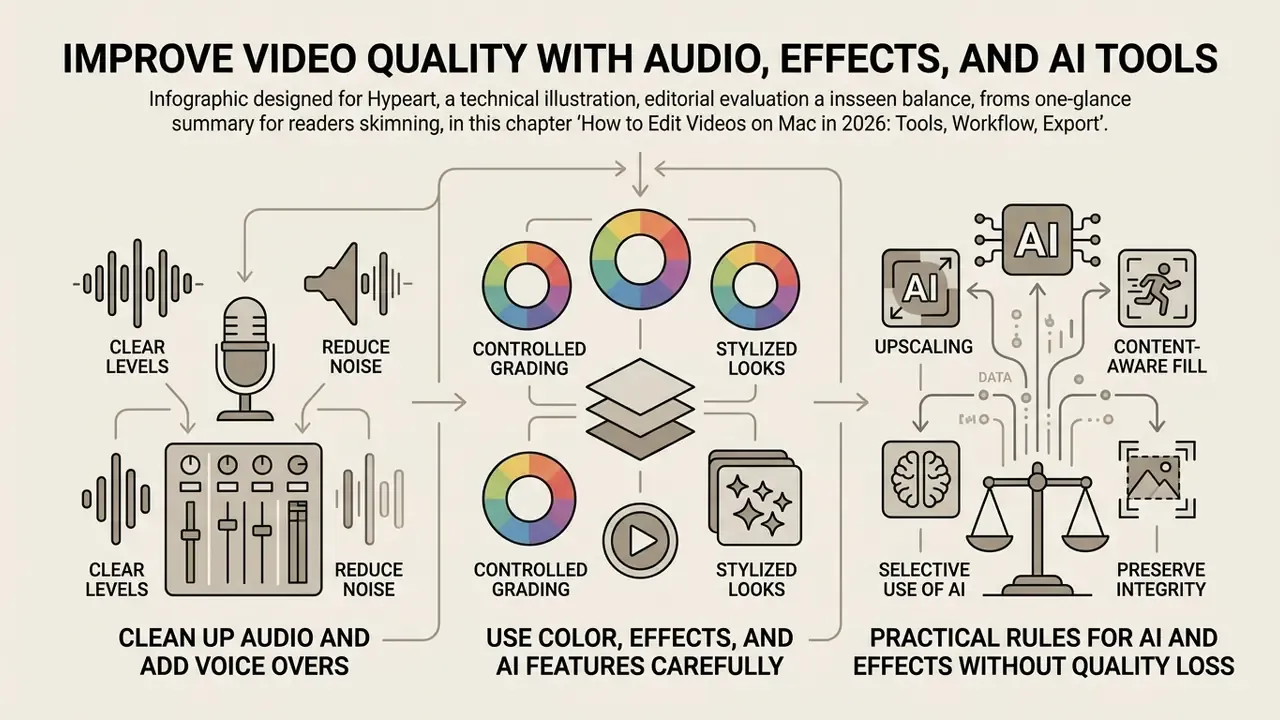
Better quality comes from balance: clear audio levels, controlled grading, and selective use of AI tools. Overprocess either video or audio and you introduce visual artifacts or phase distortion that no amount of sharpening will fix.
Viewers forgive mediocre picture far more readily than bad sound. So audio gets the first pass. Only after dialogue is clean, level, and de-noised should color and effects work begin.
Clean Up Audio and Add Voice Overs
Cleaning audio means removing ambient background noise with speech reduction filters and normalizing levels to avoid clipping. Voiceovers on separate audio tracks keep dialogue cleanly separated from music beds.
In iMovie, check the Reduce background noise box and adjust the percentage slider from 0% to 100% to attenuate hums, then use Auto volume to raise the average level of selected clips. Premiere Pro and DaVinci Resolve add multiband parametric equalizers, noise gates, and compressor plugins that hold voice clarity steady across every scene edit. Logic Pro normalizes audio files directly through Audio File Editor > Functions > Normalize (Control-N).
Recording a clean voiceover or screencast narration on a Mac:
- Open System Settings > Sound > Input and speak at your normal volume; adjust Input volume so the meter peaks around two-thirds of the scale, never pinned at maximum.
- Prefer a USB or lavalier microphone over the built-in array. If you must use the built-in mic, sit 25 to 40 cm away and off-axis to reduce plosives and fan noise.
- Record five seconds of room tone before speaking. Noise-reduction algorithms use it as a reference profile.
- In iMovie, use Window > Record Voiceover, then place the voiceover on a separate audio lane so music can be ducked beneath it.
- Normalize dialogue first, then set music 12 to 18 dB below the voice track.
If you would rather synthesize narration than record it, compare accuracy, accent range, and licensing terms across AI voice tools before committing to a production voice. Independent listening tests in our AI Media Benchmarks and Review Proof hub are a better guide than vendor demo reels.
Use Color, Effects, and AI Features Carefully
AI-assisted editing and advanced effects should be applied selectively to maintain temporal consistency and image fidelity across every shot. Localized, masked adjustments preserve source frame integrity far better than heavy global filters pushed across a whole sequence.
«EditVerseBench spans 100 videos and 20 editing categories, showing that localized edits preserve source integrity better than global filters.»
Modern macOS editors embed machine learning models to generate closed captions, isolate speech, and remove backgrounds. Final Cut Pro uses Apple silicon Neural Engines to transcribe captions locally on macOS Sequoia, and its speech enhancement reduces background noise without shipping audio to a server. DaVinci Resolve Studio adds an AI Audio Assistant that builds an automatic final mix, while After Effects supplies Roto Brush subject isolation for compositing. Applying these features during final post production preserves rendering bandwidth while you are still cutting. And if a clip arrives with burned-in watermarks or stray labels, how to remove text from image online covers the frame-level cleanup options before you commit the shot.
Practical rules for AI and effects without quality loss:
- Mask and track effects to the subject instead of applying them to the full frame.
- Keep grading decisions inside a color-managed pipeline so properties stay independent of the final compression bitrate.
- Render effects-heavy segments to optimized media before layering more processing.
- Re-check flicker and temporal consistency at full resolution, not on a proxy.
- Never stack two noise-reduction passes. The second one produces plastic-looking skin and smeared motion.
Export and Share Your Video From a Mac
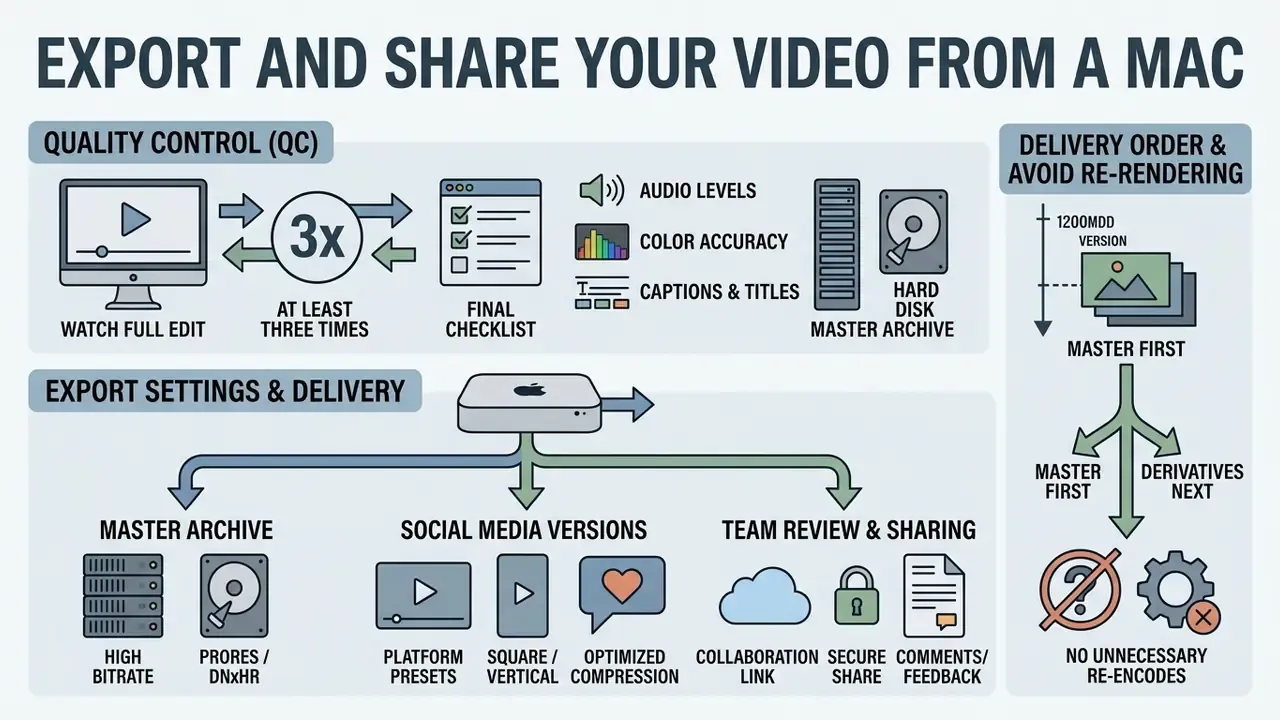
Exporting starts with a quality control pass, then the right settings for each distribution target. Keeping a high-bitrate master alongside compressed social versions is what protects archival quality years later.
Apple editors compile media through dedicated hardware encoding engines, which speeds up H.264 and HEVC file creation (QuickTime Player User Guide, Apple). Final Cut Pro exports from optimized media where available to guarantee the highest quality in the shared file, and iMovie offers resolution presets such as 540p, 720p, and 1080p 60, plus an Allow export segmentation option that speeds up exports of projects roughly three minutes or longer.
«Server-side cloud architectures with CDN distribution offload rendering from the client device, which matters for Macs with limited resources.»
Need smaller files without re-exporting an entire timeline? A dedicated compressor reduces delivery size while leaving your ProRes master untouched, and it beats dropping the export resolution.
Check Your Video Before Exporting
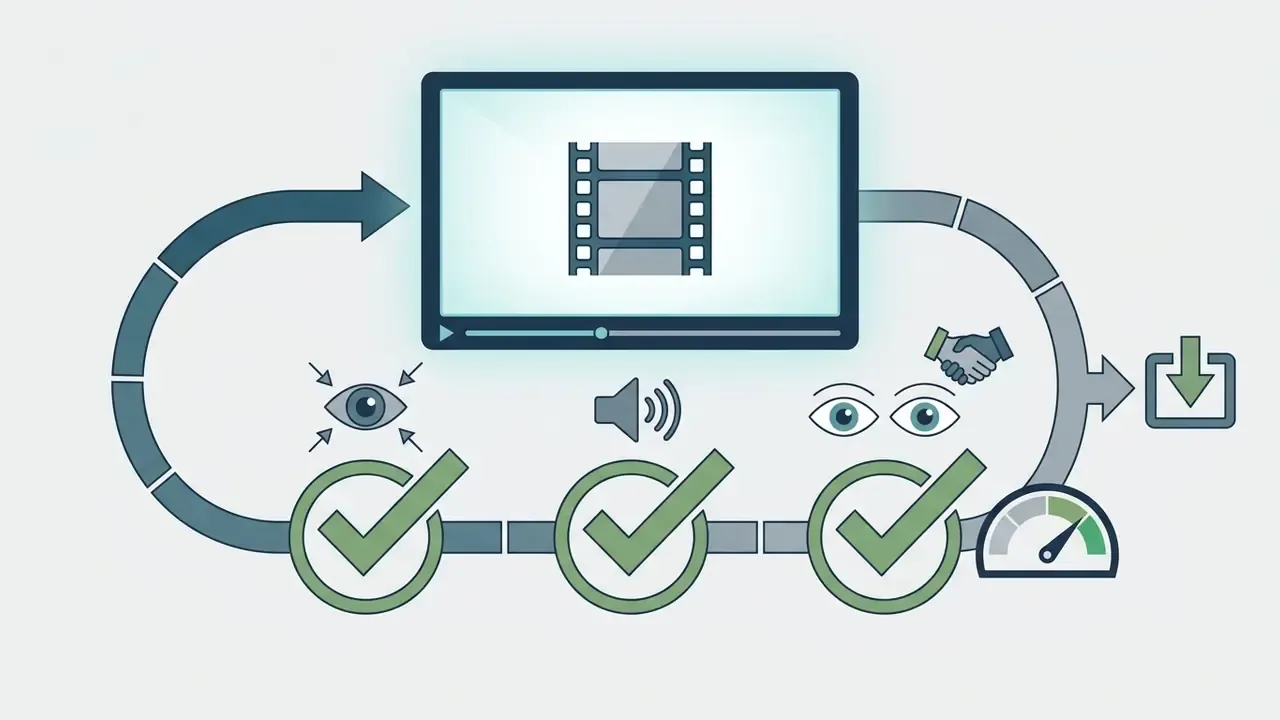
A thorough pre-export check verifies audio peak levels, frame continuity, color space tagging, and subtitle readability across the whole timeline. Inspecting playback in preview mode catches encoding errors and visual glitches before they reach an audience.
- Verify dialogue audio peaks stay between -6 dB and -12 dB to prevent clipping, and confirm no channel is silent or duplicated.
- Check transitions for black frame gaps, dropped frames, or duplicated frames between edits.
- Confirm aspect ratio and cropping end to end, with no unintended letterboxing or stretched shots.
- Ensure titles and captions stay legible over background colors, stay in sync, and sit inside platform safe areas.
- Confirm color tags match target display profiles (sRGB or Rec.709) to avoid gamma shifts after export.
- Scan dark, mid, and highlight ranges for banding, color shifts, or crushed blacks.
Can You Edit Videos on a MacBook Air?
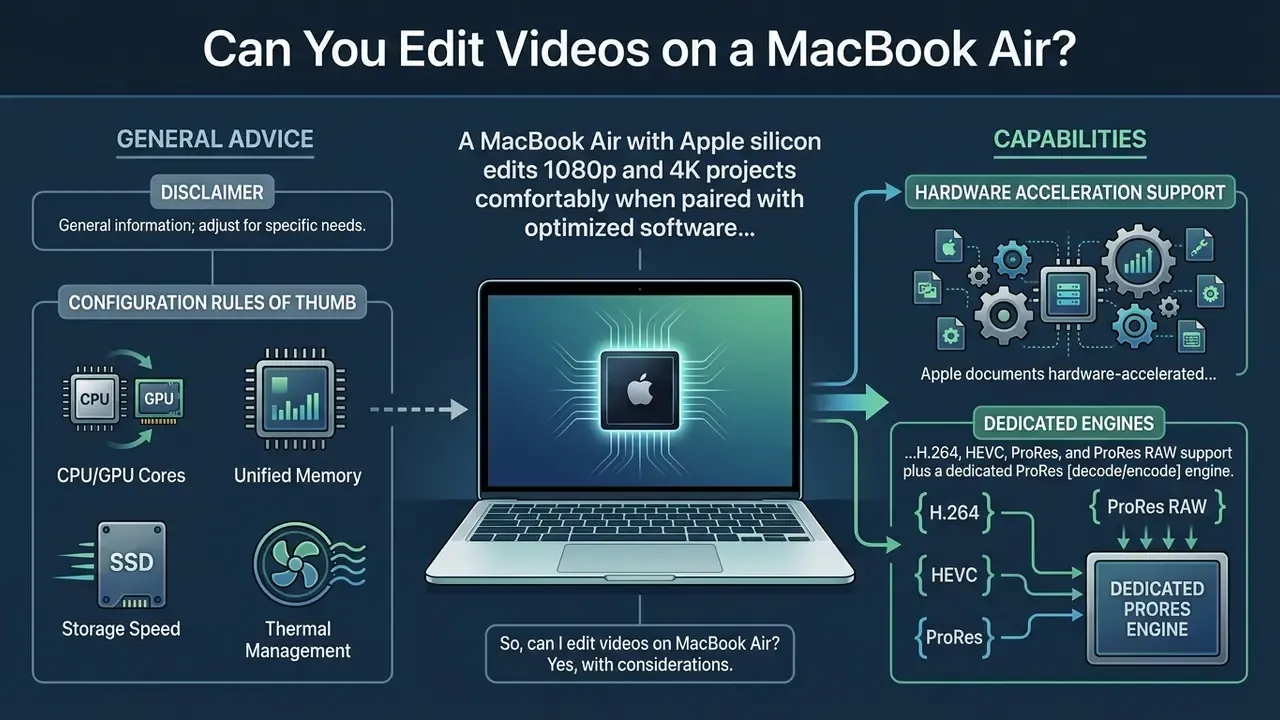
A MacBook Air with Apple silicon edits 1080p and 4K projects comfortably when paired with optimized software like iMovie or Final Cut Pro. Hardware media engines chew through ProRes and HEVC, but sustained heavy rendering on fanless Air models will trigger thermal throttling during long exports.
Apple documents hardware-accelerated H.264, HEVC, ProRes, and ProRes RAW support plus a dedicated ProRes encode and decode engine on M3-class MacBook Air hardware, which is exactly what makes multi-stream 4K timelines feasible on a fanless laptop. Independent review testing shows the generational gap is modest: in one transcode test converting a 6.5 GB 4K file to 1080p, an M4 MacBook Air finished in about 5 minutes 34 seconds against roughly 6 minutes 32 seconds on the M3, a difference of under a minute. Short-form editing, cuts, color correction, and audio balancing all run without lag. For continuous multi-hour 4K rendering or heavy 3D compositing, though, actively cooled machines like the MacBook Pro or Mac Studio hold peak export speeds much longer, because fanless designs limit sustained performance by design.
Configuration rules of thumb:
| Project type | Unified memory | Storage strategy |
|---|---|---|
| 1080p social clips, screencasts | 8 GB workable, 16 GB comfortable | Internal SSD, 20% free space |
| 4K single-camera YouTube edits | 16 GB minimum | Internal SSD plus external NVMe SSD for media |
| 4K multicam, heavy grading, Resolve | 24 GB or more | External NVMe SSD (USB 3.2 or Thunderbolt) for media, cache, and renders |
Avoid 8 GB configurations for 4K work. Proxy generation, cache, and browser tabs all compete for the same memory pool, and once macOS starts swapping to SSD, playback stutters no matter which chip generation you bought.
«When editing on laptops, close background applications, keep the machine connected to power, and use external drives for high-quality files.»
So, can i edit videos on macbook air? Yes, with habits. Close background browser tabs, disable unnecessary background sync, work from proxy media, and keep a fast external SSD attached for source footage and cache. Those four changes do more for timeline performance on a fanless laptop than any preference-pane tweak. If your Mac still struggles with a heavy timeline, lighter tools help: a low-overhead cutting app for rough assembly, or a cloud generator when you need finished clips without local rendering at all.
FAQ About Editing Videos on Mac
Most follow-up questions cluster around native screen recording, quick trims in QuickTime Player, and the built-in utilities that handle simple media adjustments without a full editor.
How Do You Edit a Screen Recording on a Mac?
Mac screen recordings captured via Screenshot (Shift-Command-5) or QuickTime Player can be trimmed directly with QuickTime's Trim function (Edit > Trim). Dragging the yellow timeline handles removes unnecessary start or end frames before you save.
- Press
Shift-Command-5, select the screen area recording controls, and capture your screen. Alternatively, use QuickTime Player: File > New Screen Recording. - Before recording, open System Settings > Sound > Input and set the microphone level so narration peaks around two-thirds of the meter. Screencast audio recorded too hot cannot be repaired later.
- Open the recorded file in QuickTime Player.
- Choose Edit > Trim (
Command-T) from the menu bar. - Drag the yellow handles to set new start and end points; everything outside the handles is discarded.
- Click Trim, then File > Save to store the edited recording. For anything more involved, import the
.movcapture into iMovie or Final Cut Pro to add voiceovers, title captions, zoom effects, or internal cuts. Live Photos can join the same timeline as source clips; see how to save live photo as video for the conversion path.
«Assembly-edit principles apply to screen recordings too: lay every segment in chronological order first, then identify technical problems before detailed editing.» The Open University, Principles of Video Editing (OpenLearn). https://www.open.edu/openlearn/
How to Obscure Sensitive Information in Screen Recordings
Screencasts leak data constantly: autofill email addresses, account numbers, customer names in a CRM, internal URLs, notification banners. Redact them before the file leaves your Mac. In iMovie (no blur effect available, so use a mask overlay):
- Capture a clean screenshot of your app background, or create a solid black or white image in Preview.
- Import that image into iMovie and drop it on the overlay lane directly above the segment containing sensitive data.
- Select Video Overlay Settings > Picture in Picture, resize and reposition the mask precisely over the password field, account number, or face, then trim its duration to match the exposure window. In Final Cut Pro (true blur with tracking):
- Open Effects Browser > Distortion > Censor, or apply Gaussian Blur.
- Drag the effect onto the screen recording clip.
- Set the shape to Rectangle or Circle, adjust radius and amount over the sensitive element, and enable the tracker so the mask follows moving UI or a moving subject. Before publishing, verify: step through the clip frame by frame at the mask boundaries. One uncovered frame is enough to expose a credential. Also enable Do Not Disturb before recording, and hide bookmark bars and desktop files. Composing side-by-side callouts for documentation? The same alignment principles as how to put an image next to text translate neatly into on-screen annotation layouts.
What Is the Fastest Way to Trim a Video on a Mac Without Installing Anything?
Open the file in QuickTime Player, press Command-T, drag the yellow handles, click Trim, then save. For frame-accurate work, or anything beyond a single cut, use iMovie instead. QuickTime performs only head-and-tail trims, not internal edits.
Does iMovie Reduce Video Quality on Export?
Not if you match settings. Choose the highest resolution preset available for your source, for example 1080p 60 for 60 fps footage, and the highest quality option. Quality loss usually comes from exporting a 4K timeline at 720p, or from re-exporting an already-compressed export a second time.
Can I Move an iMovie Project Into Final Cut Pro Later?
Yes. iMovie projects can be sent to Final Cut Pro, but some iMovie adjustments arrive as baked effects rather than editable parameters. If you already know a project will be finished professionally, start it in Final Cut Pro.
Which Mac Editor Should I Pick If I Only Publish Vertical Short-Form Video?
iMovie plus a caption pass handles simple talking-head Shorts and Reels. Once you need tracked graphics, multiple overlays, or templated hooks, move to Final Cut Pro or a template-driven editor, and export at 1080 × 1920 with 10 to 15 Mbps H.264.
Appendix: macOS Editing Shortcut and Settings Reference
| Action | Application | Shortcut / menu path |
|---|---|---|
| Split clip at playhead | iMovie | Command-B |
| Trim clip to selected range | iMovie | Option-/ |
| Cut selected frames | iMovie | Command-X |
| Reset speed adjustments | iMovie | Option-Shift-R |
| Zoom into timeline (read waveforms) | iMovie | Command-Equal (+) |
| Select multiple clips | iMovie | Command-click, Shift-click, or drag a selection rectangle |
| Import media | iMovie | Media > Import or the Import button |
| Export finished file | iMovie | File > Share > File |
| Transcribe captions locally | Final Cut Pro | Modify > Transcribe Captions |
| Export master file | Final Cut Pro | File > Share > Export File (default) |
| Transcribe sequence for captions | Premiere Pro | Text workspace, then Transcribe Sequence |
| Normalize an audio file | Logic Pro | Audio File Editor > Functions > Normalize (Control-N) |
| Start screen recording | macOS Screenshot | Shift-Command-5 |
| Trim a recording | QuickTime Player | Command-T (Edit > Trim) |
| Export 4K/1080p with codec choice | QuickTime Player | File > Export As |
Quality targets worth memorizing: dialogue peaks between -6 dB and -12 dB; music 12 to 18 dB under dialogue; captions two lines maximum; Rec.709 or sRGB tagging for web delivery; ProRes 422 for archive; H.264 or HEVC MP4 for distribution.