Quick Start: What You Actually Need to Do
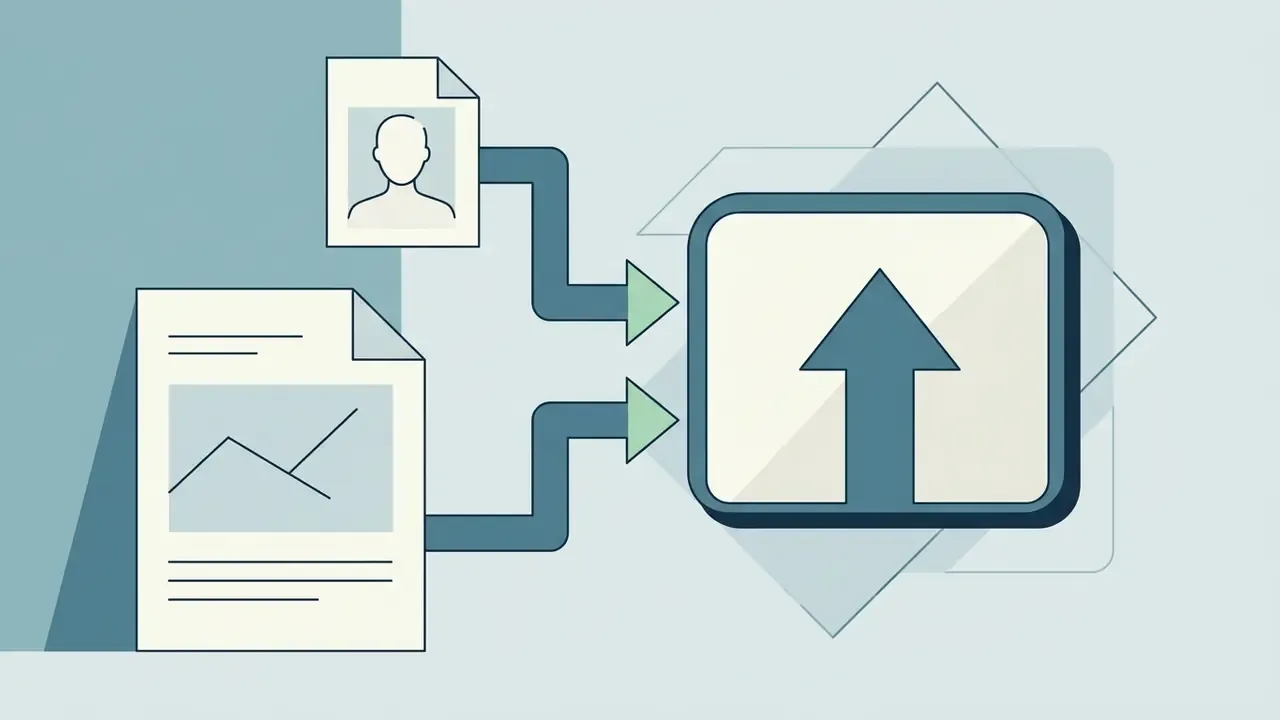
- Upload two files the base scene (where the person should appear) and a clear, well-lit portrait of the person you want to insert.
- Define placement drag a bounding box where the subject should stand, or type a prompt describing the position, posture and surface contact.
- Copy a ready-made prompt from the prompt library further down this page. Wording controls scale, shadows, colour temperature and identity preservation far more than any slider does.
- Generate, then inspect at 100% zoom check edge sharpness, head-to-body scale, shadow direction and contact points with the ground.
- Before publishing confirm you have consent from the depicted person, check the tool's data-retention terms, and label the image if it is used commercially in a jurisdiction that mandates AI disclosure.
An AI add-person-to-photo tool composites an individual into an existing photograph automatically, without manual graphic design software. Under the hood, deep learning models handle three jobs: cutting the subject out (segmentation), deciding where a human body plausibly fits in the scene (affordance estimation), and re-lighting that body so it matches the surrounding illumination (relighting). The result is a composite that matches background lighting and spatial perspective, provided your source files are good enough.
That last clause carries most of the weight. Garbage in, uncanny out.
Who This Guide Is For, and What Changed in 2026
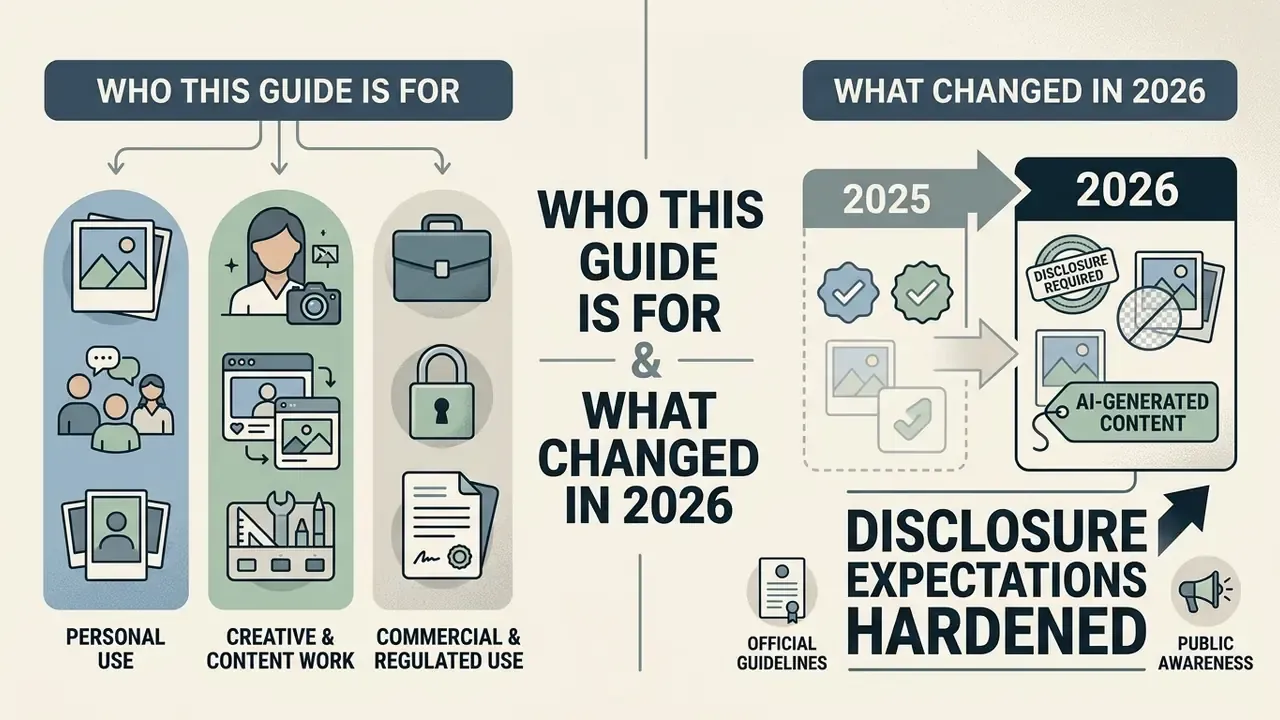
Three reader types land on this page, and they need different things from it.
Personal use. You want one photo fixed: a missing sibling in a graduation shot, a relative who could not travel to the wedding, a dog that was asleep in the next room. Read the preparation section, copy a prompt, ship it.
Creative and content work. You are assembling travel plates, collages or self-clone scenes. Your risk is not legal exposure but credibility: viewers spot mismatched perspective faster than they can explain why an image feels off.
Commercial and regulated use. You are a marketer, brand lead, or a compliance reviewer signing off on someone else's asset. Your questions are licensing, watermarking, data retention and disclosure. Jump to the free-versus-paid comparison and the contract checklist.
What is genuinely new since 2025: disclosure expectations have hardened. The EU AI Act's transparency article is in implementation mode, national tourism and marketing guidance now names watermarking explicitly, and detector accuracy on synthetic faces has crossed the threshold where "nobody will notice" stopped being a strategy. So the technical craft and the paperwork now travel together.
What Is an AI Add Person to Photo Tool?
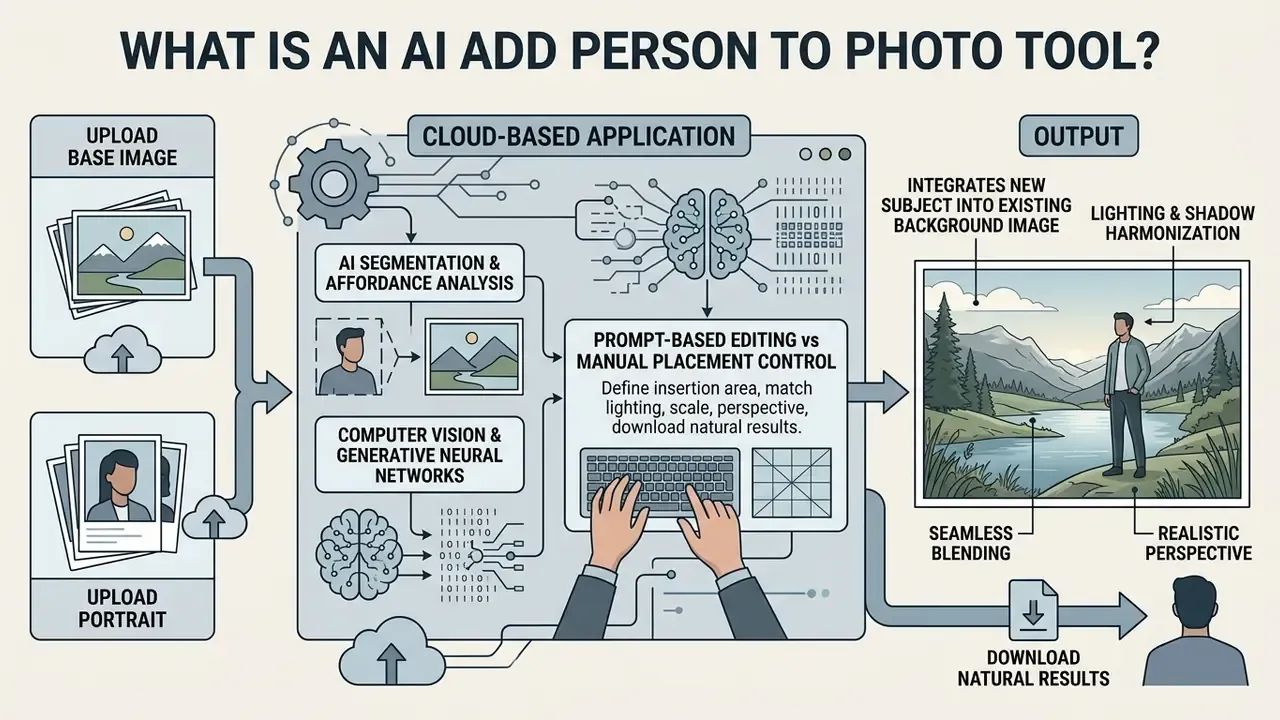
An AI add person to photo tool is a cloud-based application that integrates a new subject into an existing background image using computer vision and generative neural networks. These systems automate the fiddly parts of photo editing, including background removal, edge masking, scale adjustment and shadow harmonization, so you can produce a realistic portrait composite without professional photo editor skills. If you are new to this software category, our overview of AI photo editors explains how these tools differ from layer-based editors, and our guide to online photo editors covers the classic manual workflow they replace.
One framing that helps: the tool is not "pasting" anything. It is re-imagining a region of your photo with a person in it.
How AI Blends a Person into an Existing Photo
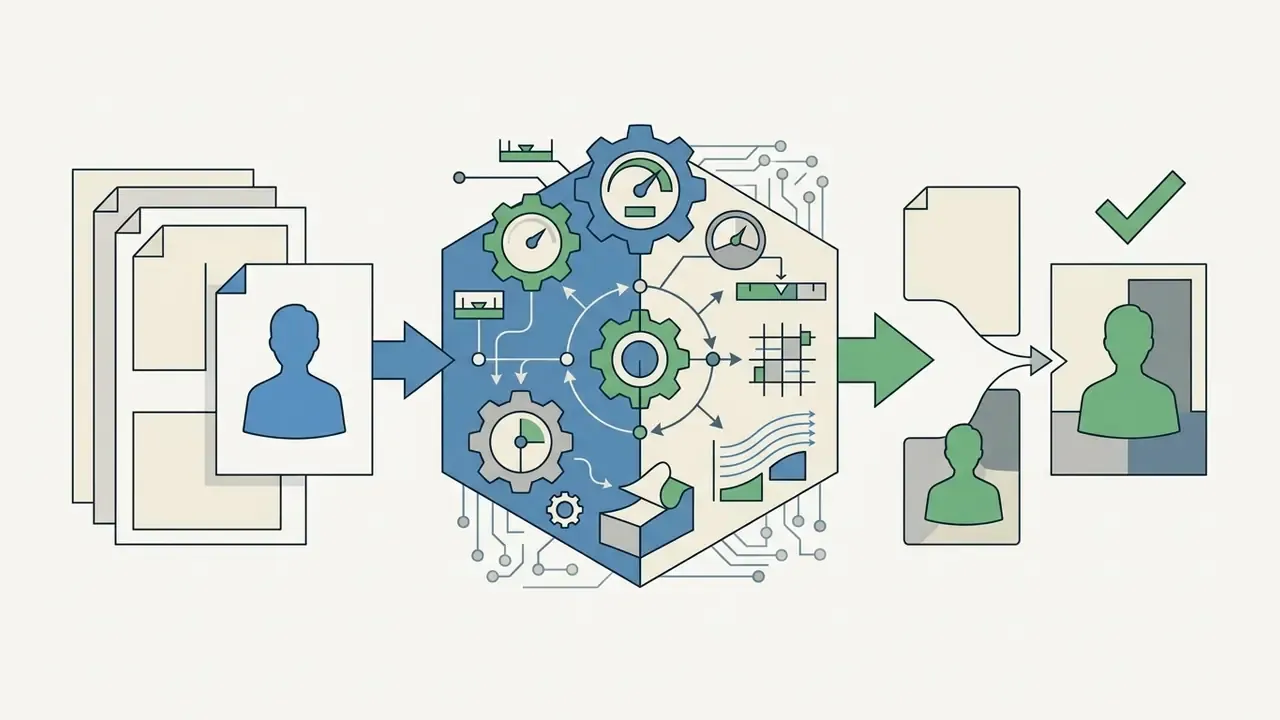
Modern models blend a person photo into a target background through a multi-stage pipeline. First, semantic segmentation architectures such as Mask R-CNN or SegAny isolate the subject from the source image. The W3C's Web Neural Network API explicitly names DeepLabv3+, Mask R-CNN and SegAny as the standard models for splitting an image into semantic segments and replacing people or backgrounds.
«Applications can use DeepLabv3+, Mask R-CNN, or SegAny to semantically split an image into segments and replace other people and the background with another picture.»
Next, diffusion-based inpainting models, guided by ControlNet structures, analyze scene affordances to determine realistic positioning. Affordance estimation is the step that decides whether a human can plausibly sit, stand or lean at a given point in the scene. Skip it and you get people standing inside furniture.
Finally, lighting-aware networks relight the subject and synthesize natural falling shadows to match the target scene's environment map (Relightful Harmonization, Ren et al., 2023). Hugging Face's Diffusers documentation confirms the practical implementation path: inpainting requires an initial image, a mask and a prompt, and the StableDiffusionControlNetInpaintPipeline performs masked generation under ControlNet guidance. That is exactly how commercial "add person" endpoints are assembled.
Prompt-Based Editing vs Manual Placement Control
You can direct the insertion using either natural language prompts or explicit coordinate bounding boxes. Prompt-based editing relies on text instructions to specify subject appearance and context. It accelerates broad creative changes but offers less spatial precision (Point & Instruct, 2024).
«A unified DiT framework trained on 120,000 image pairs supports person, object and garment insertion under flexible text or mask control.»
Manual placement control uses interactive bounding boxes and scale drag handles to place the subject precisely inside the frame coordinates. That gives you direct control over camera perspective alignment before generative rendering starts. Research on direct manipulation confirms the split: visual prompts such as a drawn bounding box or a pointed arrow localise the target far more reliably than descriptive text alone (ViP-LLaVA, CVPR 2024), while text instructions remain faster for broad scene-level intent.
Practical rule of thumb: use a prompt when the scene has one obvious empty space; use a bounding box when the subject must land between two existing people, behind a foreground object, or on a specific surface such as a step, chair or shoreline.
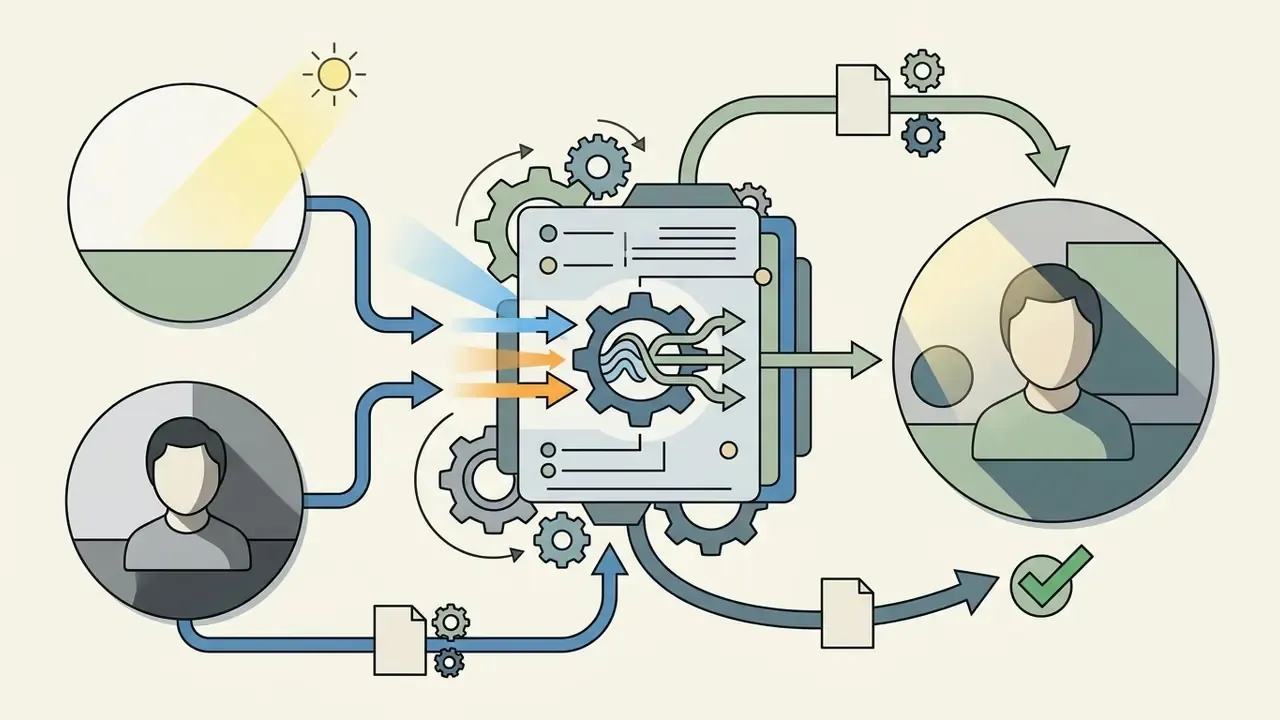
Figure 1: AI Person Insertion Pipeline (process diagram)
What Photos Work Best for Adding a Person?
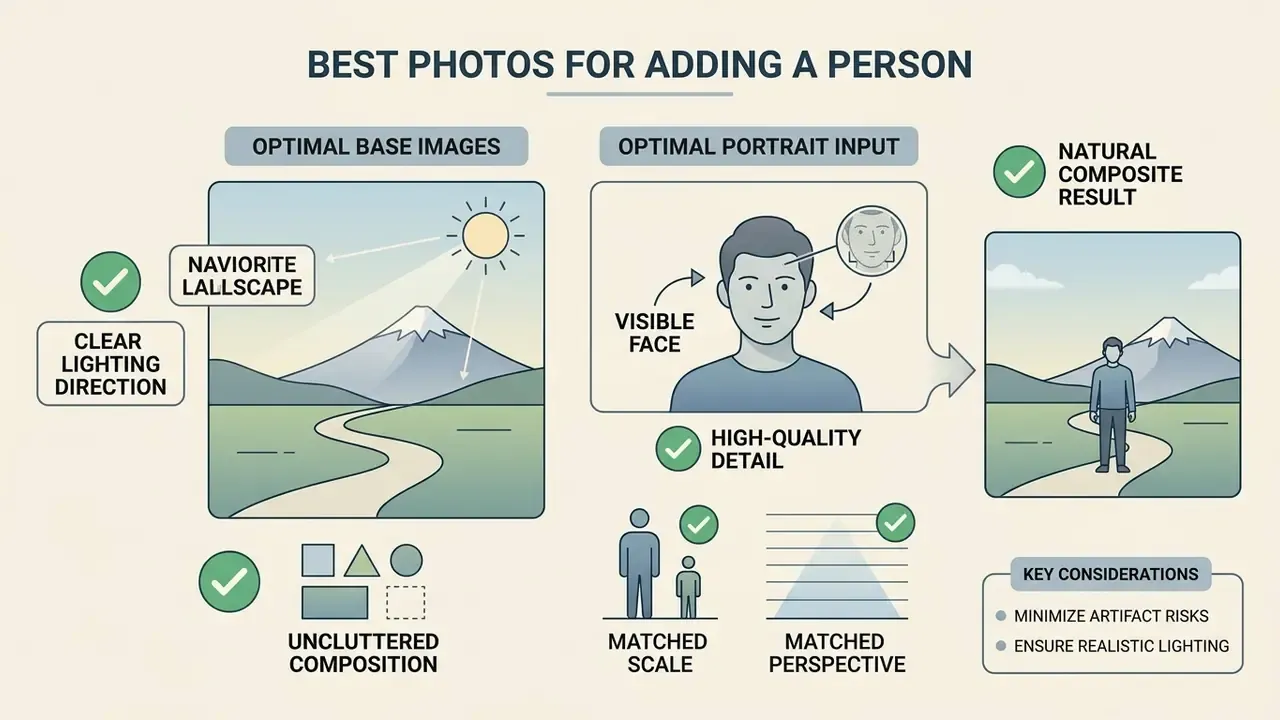
High-quality base images with clear lighting direction and uncluttered composition yield the most believable composite results. Supplying source files with minimal motion blur, neutral exposure and uncompressed facial features helps the diffusion algorithms preserve subject identity while matching scene geometry. Almost any photo can be edited; not any photo will survive close inspection afterwards.
Choose a Clear Person Photo with a Visible Face
Optimal source images feature a full frontal portrait with even illumination, a neutral expression and clear facial contours.
High-resolution portraits without heavy hair obstruction, harsh flash reflections or extreme pitch angles prevent identity drift and boundary distortion during generative rendering. Government identity-photo guidance converges on the same technical parameters: a full front view with face and shoulders centred, no hair across the eyes, uniform lighting with no shadows or flash reflections (GOV.UK, Guidance for photographers), a minimum of 400 dpi with no shadow on face or background (Government of the Netherlands, ID photo requirements), and square pixels with JPEG compression no heavier than 15:1 across exposed facial skin (NIST face image quality guidance).
If your only available portrait is a low-resolution phone snapshot, run it through one of the AI image upscalers reviewed on our platform before compositing. Resolution recovered before insertion always beats artefact repair afterwards. I learned that one the slow way, by trying it in the other order.
Match Background, Lighting, and Perspective
A fast pre-flight check borrowed from MIT's photography guide: look at where the light falls, which direction the shadows run, and whether the light is direct or diffuse, in both images. If those three answers differ, fix the source photo before generating rather than repairing the composite afterwards.
How to Add a Person to a Photo Online Free
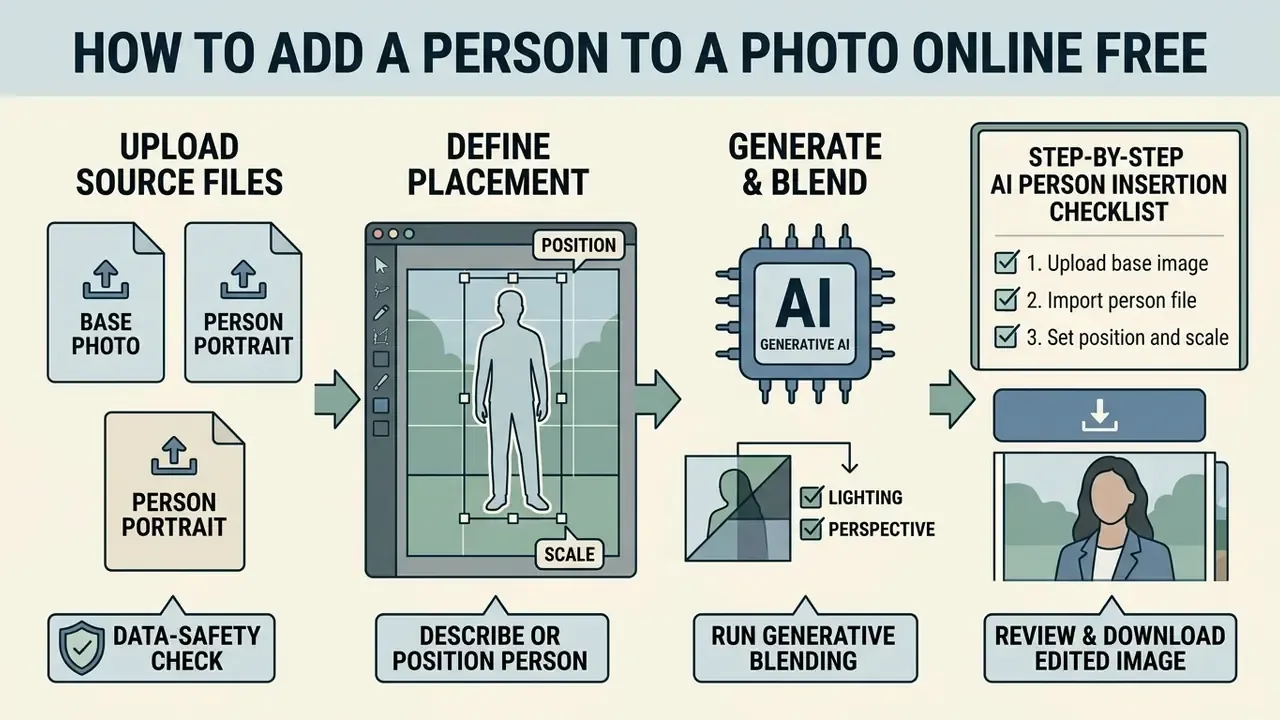
Adding a person to a photo with a free online tool comes down to four moves: upload the source files, define placement coordinates, run generative blending, download the output. Following a structured sequence protects spatial realism and minimises visual boundary artifacts.
Upload the Base Photo and the Person You Want to Add
Start in the web interface and select the primary background image through the standard file upload dialogue or the drag-and-drop zone (W3C File API). Once the base photo loads into the editing canvas, import the second image containing the target individual as an independent subject layer. Keep both files in standard digital formats such as PNG or JPEG so colour profile metadata survives the round trip. If you plan broader generative workflows, our ai illustration generator guide is a useful companion, and our roundup of AI image generators compares full scene-building platforms for preliminary scene creation.
Data-safety note before you upload: free web utilities differ enormously in retention policy. Some delete uploads within days and never train on them; others reserve broad reuse rights. Never upload confidential corporate imagery, medical photographs or images of minors to an unvetted free endpoint. Check the retention clause first, using the contract checklist later in this guide, and prefer tools reviewed in our breakdown of free photo editors where export and privacy limits are documented.
Describe the Placement or Position the Person in the Photo
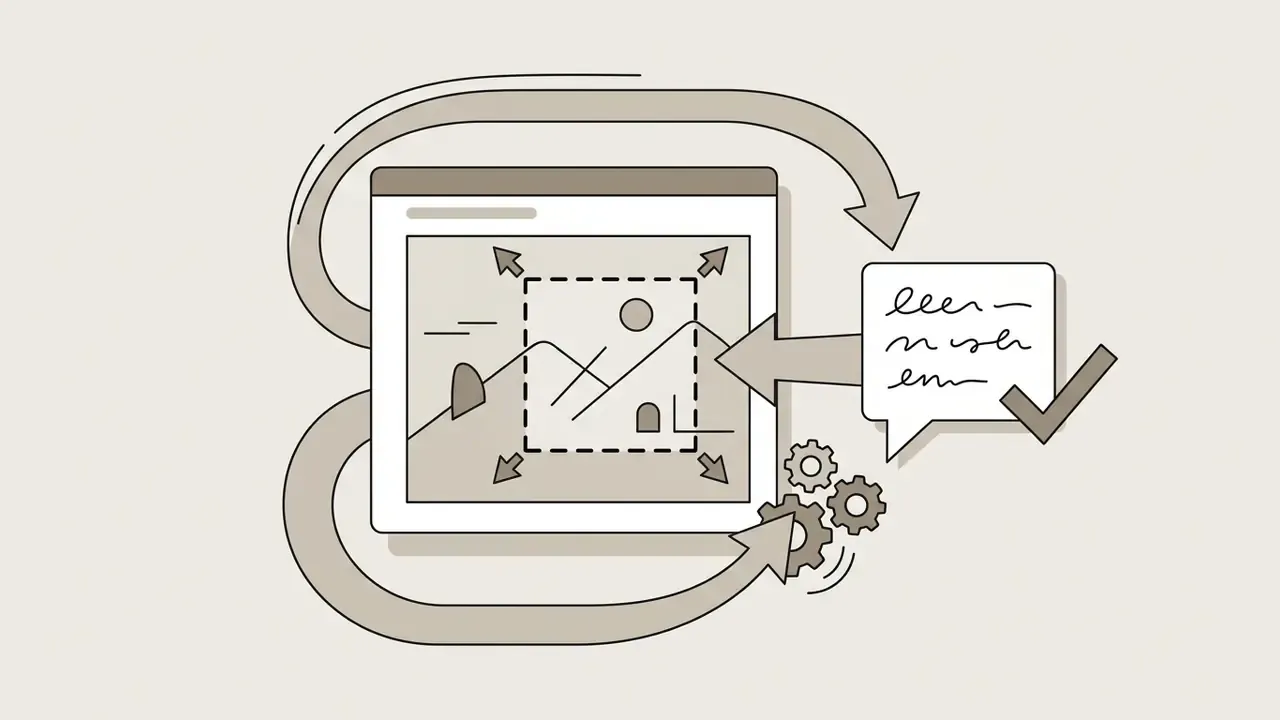
Position the second subject frame over the desired location in the base image using interactive drag handles or text guidance prompts. Adjust the bounding box dimensions to match the relative scale of nearby individuals or background structures. With text-driven controls, spell out the context parameters: subject posture, surface contact and environmental interaction. That is what feeds the model's affordance engine.
Annotation research shows why the manual path earns its extra seconds. Click-and-drag box drawing, repositioning and resize handles give pixel-level control over placement and scale, and iterative bounding-box workflows, where the model proposes a box and a human corrects it, measurably reduce total manual effort compared with pure text control.
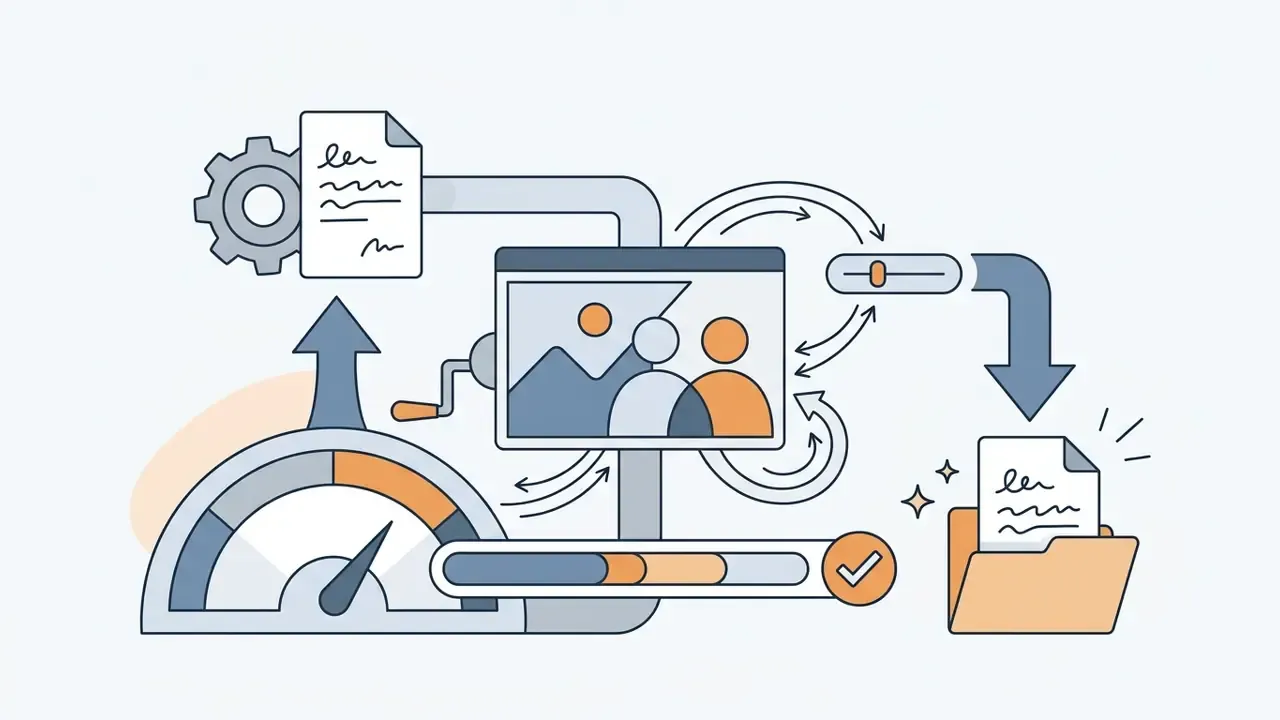
Generate, Review, and Download the Edited Image
Copy-and-Paste AI Prompts for Person Insertion
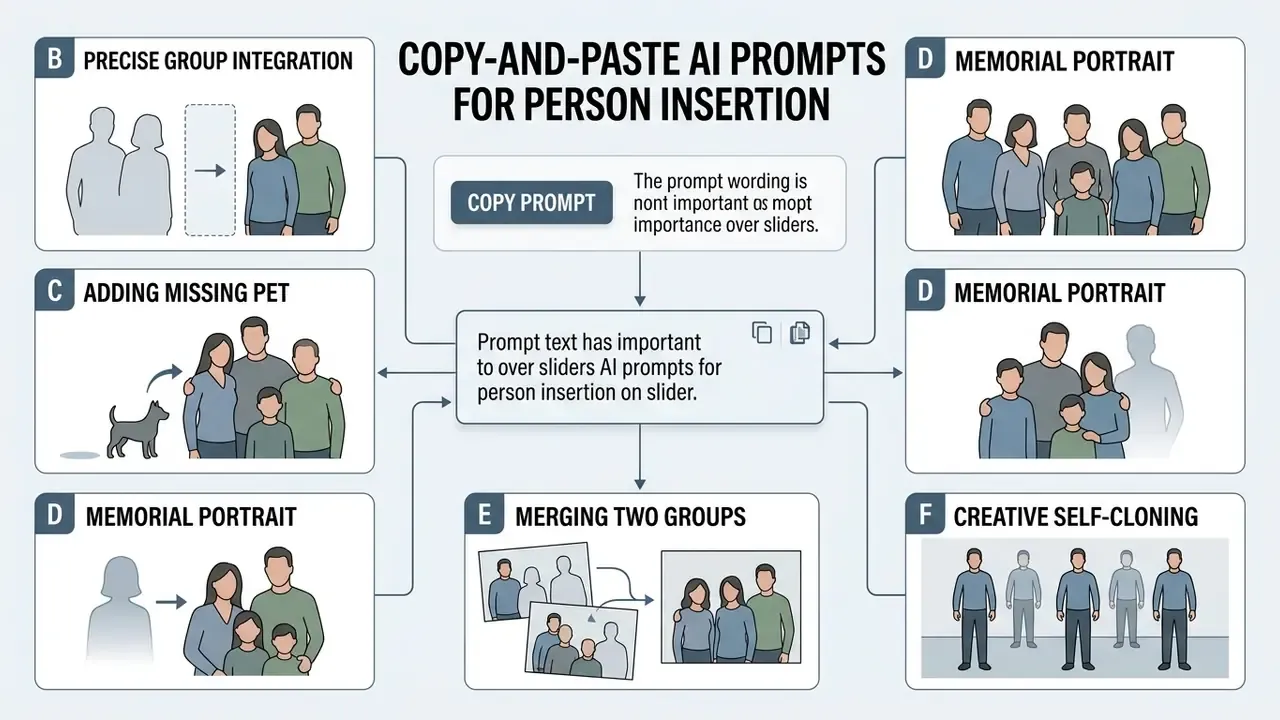
Prompt wording does more work than any interface slider. Pick the prompt for your compositing scenario, then swap "Image 1" and "Image 2" for whatever your tool calls the reference and target files.
Scenario A: standard side-by-side insertion (couples, friends)
Scenario B: inserting a person between two people (precise group integration)
Scenario C: adding a missing pet or dog
Scenario D: memorial family portrait (deceased loved one)
Scenario E: merging two group photos
Scenario F: creative self-cloning in one background
Implementation note for developers: render each prompt inside a semantic block carrying a data-copy attribute so mobile users can copy the full string with a single tap rather than a manual text selection.
How to Make an Added Person Look Natural
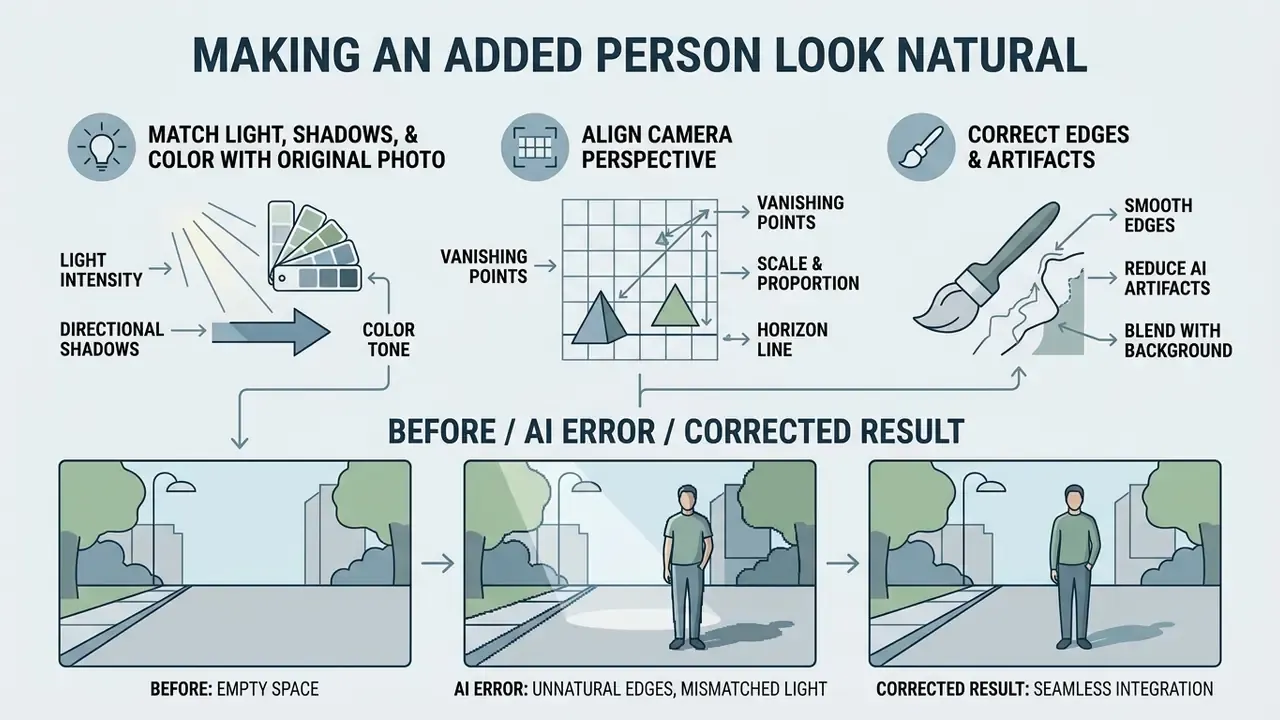
Believability comes from three things: matched light intensity, aligned camera perspective and corrected edge artifacts. Post-processing on edge noise, shadow density and tonal gradients is what makes the subject merge with the environment instead of hovering in front of it.
Match Light, Shadows, and Color with the Original Photo
Harmonizing local colour contrast and shadow matting stops composited subjects from looking pasted on. Neural harmonization modules read the background's global illumination map and adjust foreground lift, gamma and gain (Pearson, 2014; Relightful Harmonization).
«On the 70,000-portrait FFHQH dataset, patch-based normalization improved foreground–background consistency on PSNR and SSIM.»
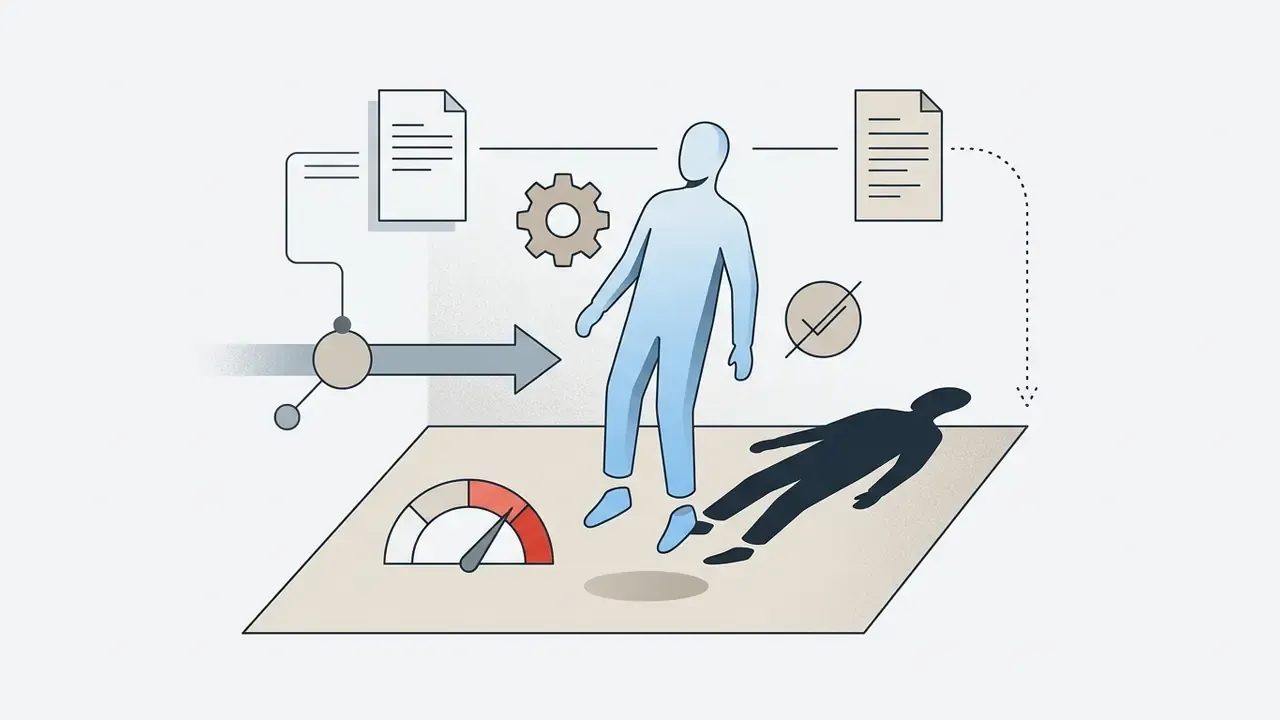
Synthesizing secondary cast shadows along contact surfaces is what makes the inserted body read as physically grounded rather than floating a centimetre above the terrain.
«Holo-Relighting reaches LPIPS 0.0997, PSNR 25.89 and SSIM 0.8479 versus 0.1443 / 23.57 / 0.7845 for the baseline method.»
Colourist practice supplies the manual fallback when a model gets it almost right: lower Gain to hold the highlight ceiling, raise Gamma to protect midtones, and lower Lift to restore shadow density after lightening. That is the standard three-way correction described in the Color Correction Handbook (Pearson, 2014).
Keep the Face, Body Size, and Perspective Believable
Fix Common AI Photo Editing Problems
Typical generative artifacts include blurred boundary edges, unnatural facial geometry and photometrically inconsistent light reflections. Fixes are usually incremental: apply a secondary inpainting mask over the boundary seam, constrain facial landmark geometry, or run a relighting pass using 360-degree environment maps.
«COMPOSE separates the environment map into ambient background light and an editable dominant source, allowing shadow shape and intensity control without changing overall scene mood.»
Forensic guidance doubles as a reverse-engineering checklist. NIST's image authentication guide identifies lighting, reflections, sharpness, depth of field, compression artifacts, noise and compositing seams as the primary inconsistency signals in manipulated images. If a reviewer could flag your composite on those seven axes, so can an audience. When evaluating multi-modal assets across a toolchain, teams can compare options across different media platforms before committing to one workflow.
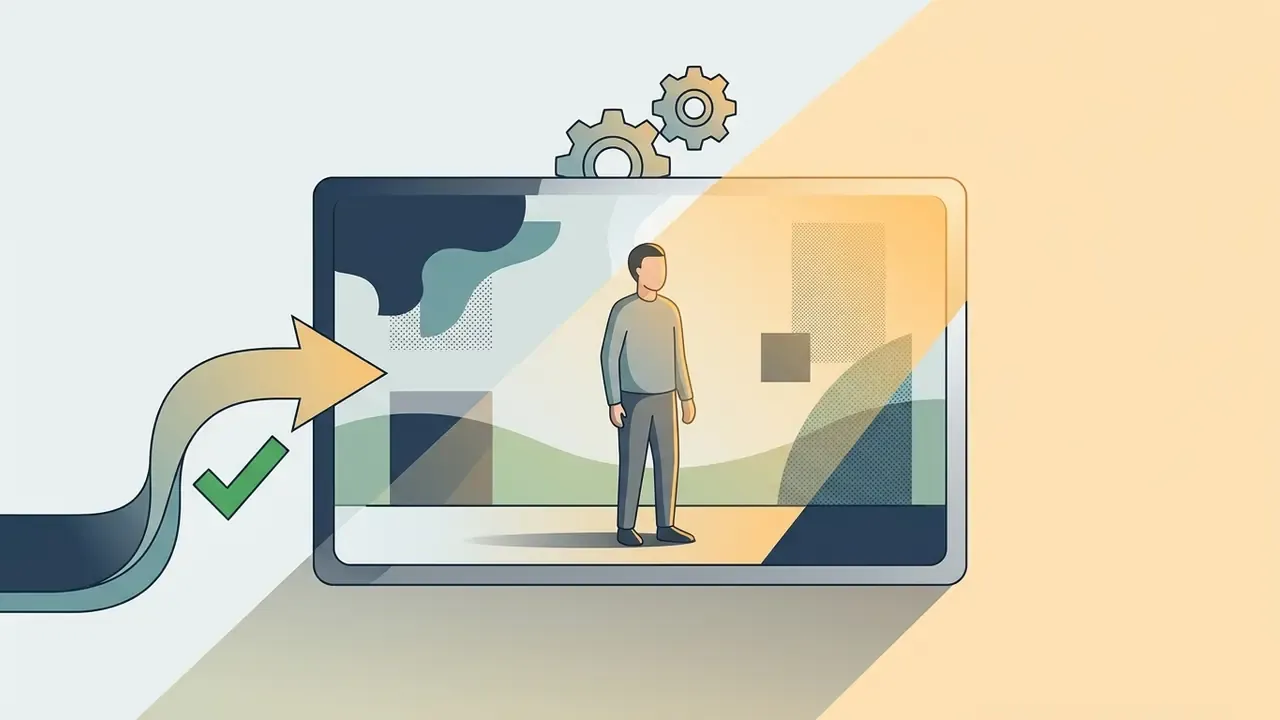
Figure 3: Comparison, Before / AI Error / Corrected Result (three-state interactive slider)
When to Add Someone to a Photo with AI
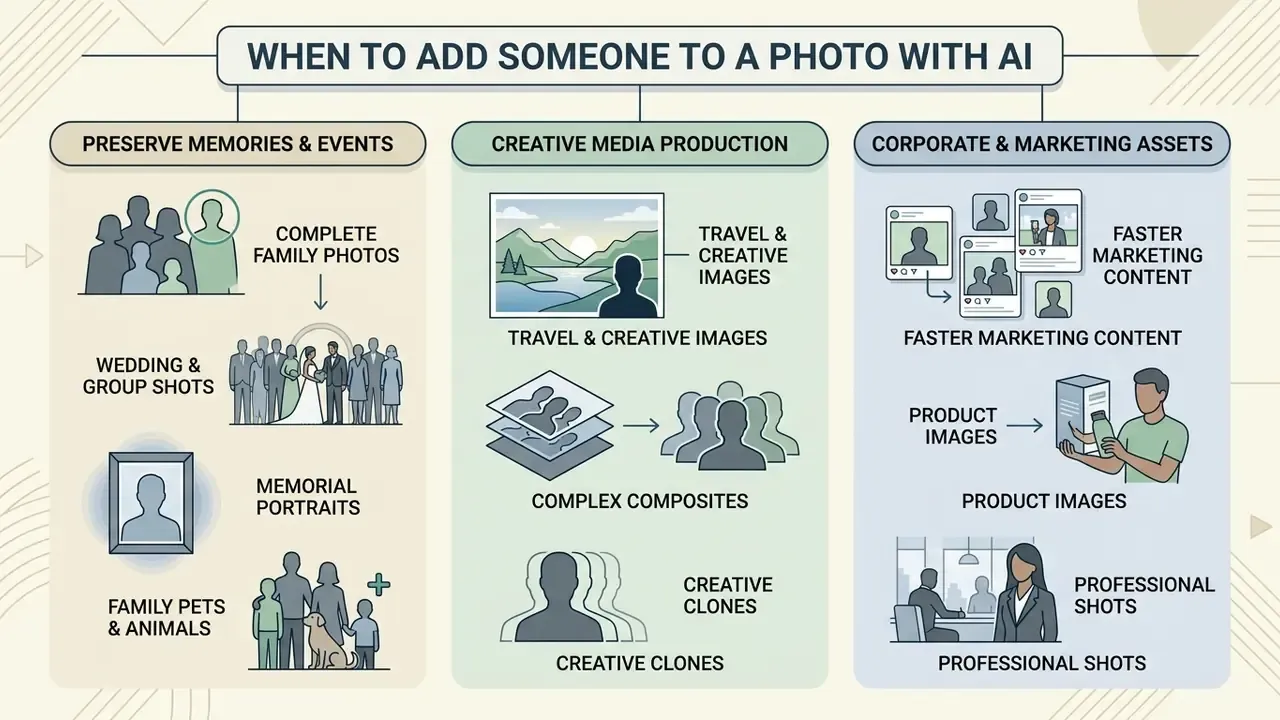
Automated person insertion covers personal memory preservation, creative media production and corporate marketing asset generation. Knowing which scenario you are in tells you how much verification the output needs before it leaves your machine.
Complete Family, Group, and Wedding Photos
Absence during family gatherings, corporate events or wedding portraits can be repaired by compositing the missing individual from a separate reference photograph. A flight delay before a graduation, a colleague on another continent during a team offsite, a relative who could not travel to the wedding: each produces the same gap in the frame. Supply a high-resolution reference headshot, match the group's posture and lighting, and the tool returns a complete group photo that preserves the moment rather than the logistics. Where no suitable reference exists, AI headshot generators can produce a consistent, studio-quality portrait to composite from. Practitioner workflows converge on one final review step: check eyes, hands, clothing edges and background continuity before you call the image finished.
Preserve Memories with Memorial Family Portraits
Adding a loved one who has passed away into a recent wedding, holiday or reunion photograph asks for sensitivity rather than technical showmanship. By conditioning neural blending on vintage or historical reference headshots, current tools match ageing film grain, adjust colour warmth and synthesize gentle contact shadows so the added figure sits beside the family instead of hovering over it. Two practical notes. Start from the clearest available portrait, even if it is decades old. And resist the urge to "modernise" the face: grain and softness read as authenticity in a memorial image, while over-sharpening reads as a paste-up.
Add Pets and Animals into Family Scenes
Compositing domestic pets into existing portraits poses its own edge-masking problem, because fur has no clean silhouette. Generative diffusion models use sub-pixel semantic segmentation to blend animal outlines against background elements, align paw contact points with floor surfaces, and adjust directional key lights to match the coat's sheen. The failure modes differ from human insertion: a dog whose fur edge is cut too hard looks like a sticker, and one whose eye direction ignores the scene looks taxidermied. Prompt for "natural fur edge masking, realistic proportions, natural eye direction and grounded contact shadows" and the two most visible errors tend to disappear.
Complex Multi-Person Composites and Creative Clones
Advanced multi-subject transformers let you insert up to eight individuals into a single base photograph while keeping spacing, overlap and body scale balanced, so the group does not look crowded. Beyond restoring missing members, creators use the same capability for self-cloning: one individual in several outfits or dramatic poses across a single canvas, background structure held completely static. This is precisely where manual cutout editing collapses, because every duplicate needs its own correct scale and its own shadow. A generative pipeline that pins the background makes the visual joke, or the outfit story, legible at a glance.
Add Yourself or Someone Else to Travel and Creative Images
Travel enthusiasts and content creators use subject-driven generation to composite individuals into remote locations or artistic collages (Insert Anything, 2025). Conditioning diffusion transformers on reference images plus environmental prompts produces believable travel imagery without on-site restaging. Readers who also want to restyle the destination plate itself can compare image-to-image generators for scene transformation. For broader visual arts context, see our guide on ai in art.
Regulatory note for travel content: Japan's 2026 tourism ministry draft guidance permits generative AI in tourism work but warns against prompts that reproduce copyrighted works, Hong Kong's technical guideline requires clear disclosure of data use and user consent, and Canada's federal guide recommends watermarking AI-generated content. Travel imagery that depicts a real, identifiable location with fabricated visitors sits squarely inside those disclosure expectations.
Create Marketing, Product, and Professional Images Faster
Commercial teams use synthetic person insertion to assemble virtual team headshots, produce localisation ad variants and showcase consumer products with diverse digital models (ASCI Draft Guidelines, 2026; IAB Framework, 2026). Integrating synthetic models into product marketing assets removes costly studio re-shoots while keeping visual branding consistent across international campaigns. Small merchants run the same workflow in reverse, testing several lifestyle scenes with a model before committing budget to a real shoot. Developers who need a custom integration path can review our api resources.
Is Add Person to Photo Online Free for Personal and Commercial Use?
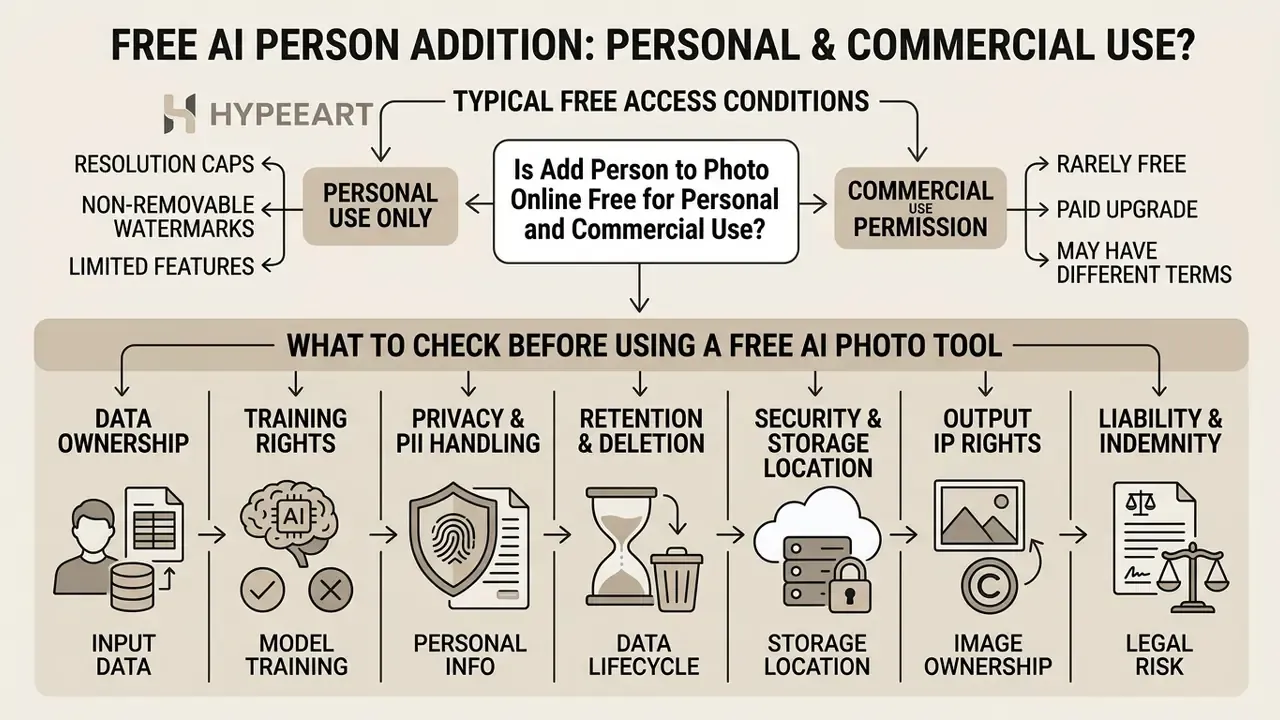
Free online AI editing tools usually grant entry-level access with functional restrictions: resolution caps, non-removable watermarks and personal-use-only licence terms. Commercial deployment demands a closer read of vendor terms, watermarking practice and transparency mandates. Detection is no longer theoretical, either.
«At a 0.5% false positive rate, the detector correctly classifies AI-generated faces in 98% of cases on the evaluation set.»
Teams that want to know how their own output scores before publication can test it against the tools reviewed in our comparison of AI image detectors.
| Feature / Metric | Free Tier Plan | Paid / Professional Plan |
|---|---|---|
| Export Resolution | Standard definition (e.g. 720p / 1080p) | High definition / uncompressed raw (4K+) |
| Watermark Inclusion | Mandatory visible or metadata watermark | Watermark-free export |
| Commercial Usage Rights | Restricted to personal, non-commercial use | Full commercial and marketing licensing |
| Processing Priority | Standard queue, usage rate limits | Dedicated high-speed compute queue |
| Identity Consistency Controls | Basic prompt and mask editing | Advanced multi-reference ControlNet pipelines |
| Underlying AI Engine | Standard SDXL inpainting, basic diffusion backbone | Multi-ControlNet plus modern image-editing diffusion models and dedicated relighting transformers |
| Data Retention & Model Training Rights | Uploads may be retained and, on some platforms, reused for model training unless you opt out | Contractual no-training commitments, defined retention windows, deletion on termination |
| Max Subjects per Composite | Typically 1 to 2 reliable insertions | Up to 8 subjects with mask-consistency pipelines |
Note: vendor terms vary widely. OpenAI's help documentation, for example, states DALL·E outputs may be reprinted and sold regardless of whether a free or paid credit produced them, while Adobe Firefly community guidance describes watermarking on unpaid exports that paid plans remove. Always read the specific agreement rather than assuming a category norm.
What to Check Before Using a Free AI Photo Tool
Before uploading personal or corporate images to a free web utility, read the provider's terms on data retention, model training rights and intellectual property allocation. Confirm the vendor does not claim permanent ownership of user uploads, and does not use proprietary media assets for public AI training without explicit written consent. Work through these eight contract items before the first upload.
Teams evaluating enterprise asset strategies can consult our AI Media Pricing Guides, and anyone working with genuinely free-tier tools should read our breakdown of free photo editors for documented export and privacy limits.
Commercial and Marketing Use of AI-Edited Photos
Deploying AI-edited media in commercial advertising triggers regulatory oversight under frameworks including the EU AI Act (Article 50) and federal advertising guidelines (European Commission, 2024; IAB Framework, 2026). Advertisers must implement machine-readable content metadata and consumer-facing disclosures when synthetic manipulation materially alters a creative asset. Our detailed breakdown of commercial rights for AI imagery maps those obligations to specific campaign assets, and the broader licensing hub is available if you view the guide.
«An analysis of nearly 15 million Twitter profiles identified 7,723 accounts using AI-generated photos (0.052%), linked to spam and political campaigns.»
Disclosure thresholds are materiality-based in most advertising frameworks. IAB Canada's 2026 framework requires consumer-facing disclosure for synthetic images generated from prompts even after human refinement, while routine retouching or colour correction does not trigger it. Harvard's 2026 AI Marketing Guidelines require AI-generated images to be labelled "Created using AI," and exempt merely edited or enhanced photographs. European Commission guidance is stricter on timing: deepfake content must be disclosed "at first exposure at the latest," in a form that is clear, distinguishable and perceivable without special tools, with an explicit exemption where AI performs only standard assistive editing. Organisations moving into motion content can review our ai image to video guide. For active copyright and IP disputes, open the hub.
CRITICAL LEGAL NOTICE:
FAQ: Frequently Asked Questions About Adding People to Photos
How Many People Can I Add to a Single Photo?
Current AI inpainting architectures support multi-subject insertion, and mask-consistency pipelines can integrate up to eight additional individuals or pets into one photo while preserving spacing, overlap and body scale. To prevent facial distortion or feature averaging in larger groups, process subjects sequentially using single-subject bounding masks, or use multi-reference pipelines that condition each identity separately.
Can I Add Multiple People to One Photo?
Yes. Modern AI photo editors composite multiple individuals into a single base image using iterative inpainting layers or multi-subject diffusion transformers. The caveat: as subject count rises, so does the risk of identity drift and facial feature averaging.
«MultiID-2M introduces a contrastive identity loss so the model preserves facial features across pose and expression changes, avoiding copy-paste artefacts.» "Towards Controllable and ID Consistent Image Generation" (MultiID-2M), arXiv (2025). https://arxiv.org/abs/2501.03905 To hold facial accuracy across multi-person group photos, apply dedicated single-subject masks in sequence and use multi-reference conditioning. General human image generation is covered in our guide to ai images of people, and consistent reference portraits can be produced with AI headshot generators.
Can I Add a Pet or Dog Instead of a Person?
Yes. The pipeline is identical (segmentation, placement, relighting), but fur demands finer edge masking than a clothed human silhouette. Use Scenario C from the prompt library, supply a photo where the animal's outline is separated from the background, and explicitly request paw or contact-point shadows so the pet sits on the same floor plane as the people beside it.
Can I Add a Person to a Photo on Mobile?
Yes. AI person insertion tools are widely available on mobile web browsers and as dedicated iOS or Android applications. Mobile operating systems combine local hardware acceleration with cloud diffusion endpoints to run face detection, background masking and relighting directly inside mobile image libraries (Apple Photos documents on-device face grouping in the People & Pets album, synchronised through iCloud Photos).
«EdgeRelight360 generates text-guided 360° HDRI maps and performs real-time portrait video relighting on mobile devices.» "EdgeRelight360", arXiv (2024). https://arxiv.org/abs/2404.09918 For platform-by-platform evaluations, consult our AI Media Comparison hub, or visit our AI Media Support and Troubleshooting portal for operational help.
Is It Safe to Upload Personal Photos to a Free Tool?
Only after reading the retention clause. The strongest consumer policies delete uploads inside a defined window and commit contractually to no model training; weaker ones reserve broad reuse rights. For corporate, financial, medical or minor-related imagery, treat a free public endpoint as an unmanaged third-party data processor, and route the work through a vetted paid tier with a documented data-processing agreement instead.
Do I Need to Label the Result as AI-Generated?
It depends on use and jurisdiction. Personal keepsakes generally carry no labelling duty. Commercial advertising that materially alters reality through synthetic imagery does: EU AI Act Article 50 requires machine-readable marking and detectability, industry frameworks require consumer-facing disclosure for prompt-generated images, and several national guidance documents recommend visible labels, watermarking or metadata. Routine retouching and colour correction are usually exempt.
Appendix A: Superseded Wording and Source Notes
Retained for transparency and version tracking.
- Original case-study sentence
- "During a risk mitigation audit for a financial firm's digital media assets, improper source photo selection caused severe facial distortion across 35% of AI-composited executive team images." The precise 35% figure derives from a single unpublished internal audit sample without disclosed methodology; the main text now presents it as an engagement observation rather than a benchmark. Independent, peer-reviewed quantification of artefact rates by source-image quality remains an open data gap.
- Original perspective sentence
- "Perspective discrepancies, such as compositing a wide-angle 28mm portrait into a telephoto 100mm background, create immediate spatial uncanny valleys." Retained here; the main text reframes the claim around documented optics (50mm normal, 28mm wide, 100mm narrow; viewpoint distance drives foreshortening) and flags the perceptual "uncanny valley" element as an unquantified practitioner observation.
- Original proportion sentence
- "Human anatomical proportions follow consistent structural ratios, typically referencing a 7.5 to 8 head-height baseline (Human Figure Proportion Canon)." Retained here; the main text reframes this as an artistic convention because the cited canon is not a verifiable academic standard.
- Original artefact-correction citation
- "(EdgeRelight360; OmniPaint, 2025)" appeared without URLs or methodology. Replaced in the main text with the COMPOSE shadow-editing citation (arXiv, 2025) and the EdgeRelight360 citation (arXiv, 2024), both with links.
- Removed internal links
- anchors pointing to NSFW video-generation and general idea-generation pages were removed as topically irrelevant to person compositing, and replaced with links to AI photo editors, image upscalers, image enhancers, headshot generators, image detectors, image-to-image generators and commercial-use documentation.
Pre-Publication QA Checklist
Run this before the file leaves your machine. It takes about two minutes and catches most of what audiences notice.
- Consent on file.Written permission from every identifiable person in the composite, including the inserted one.
- Scale check.Head-height ratio against the nearest existing figure, at 100% zoom.
- Contact points.Feet, paws, hands and seated hips touching a real surface, with shadows to match.
- Shadow direction.One dominant light source, one consistent shadow vector across all subjects.
- Colour temperature.No cold subject in a warm scene, and no warm subject in a daylight plate.
- Edge inspection.Hair, fur and clothing boundaries free of halos or hard cut lines.
- Depth of field.Inserted subject blurred to the same degree as objects at that distance.
- Metadata and labelling.Machine-readable marking applied where the use case demands it.
- Retention confirmed.Uploads deleted, or covered by a documented data-processing agreement.
- Detector spot-check.Run the final file through a synthetic-image detector, then decide consciously whether disclosure is required.