Key takeaways
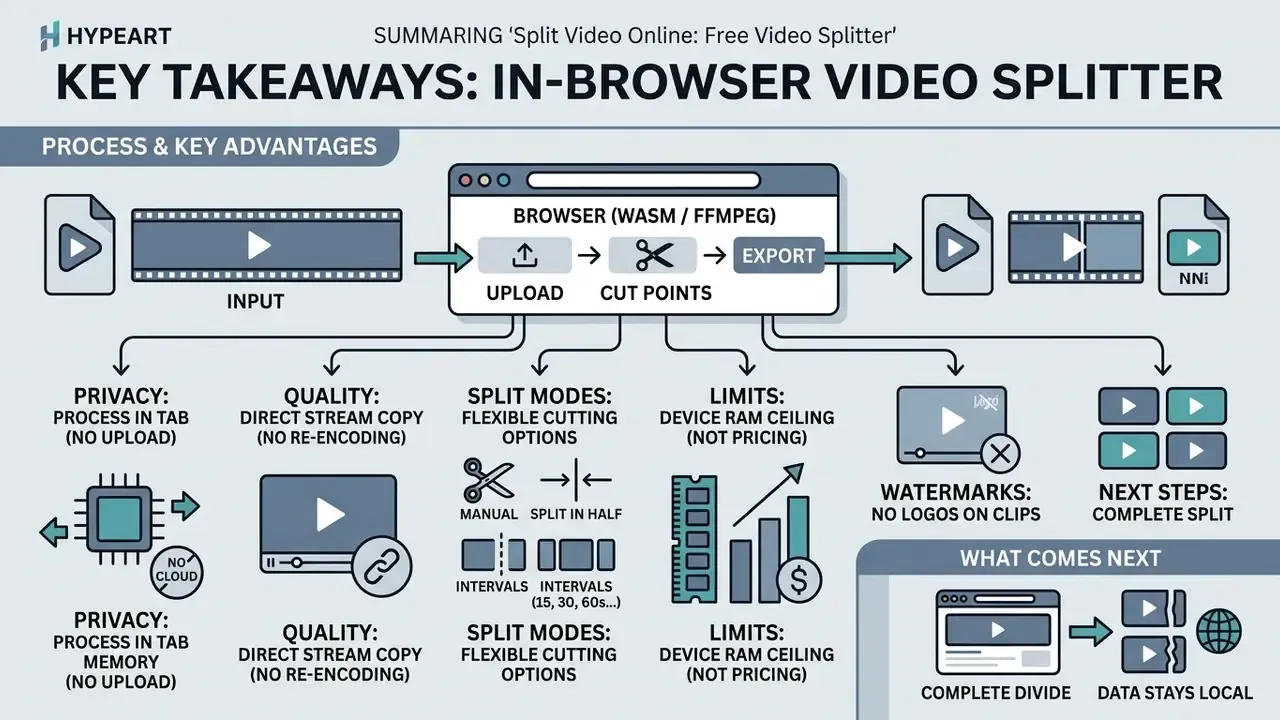
- What it is. An online video splitter cuts one long file into several independent clips inside the browser: upload, cut points, export.
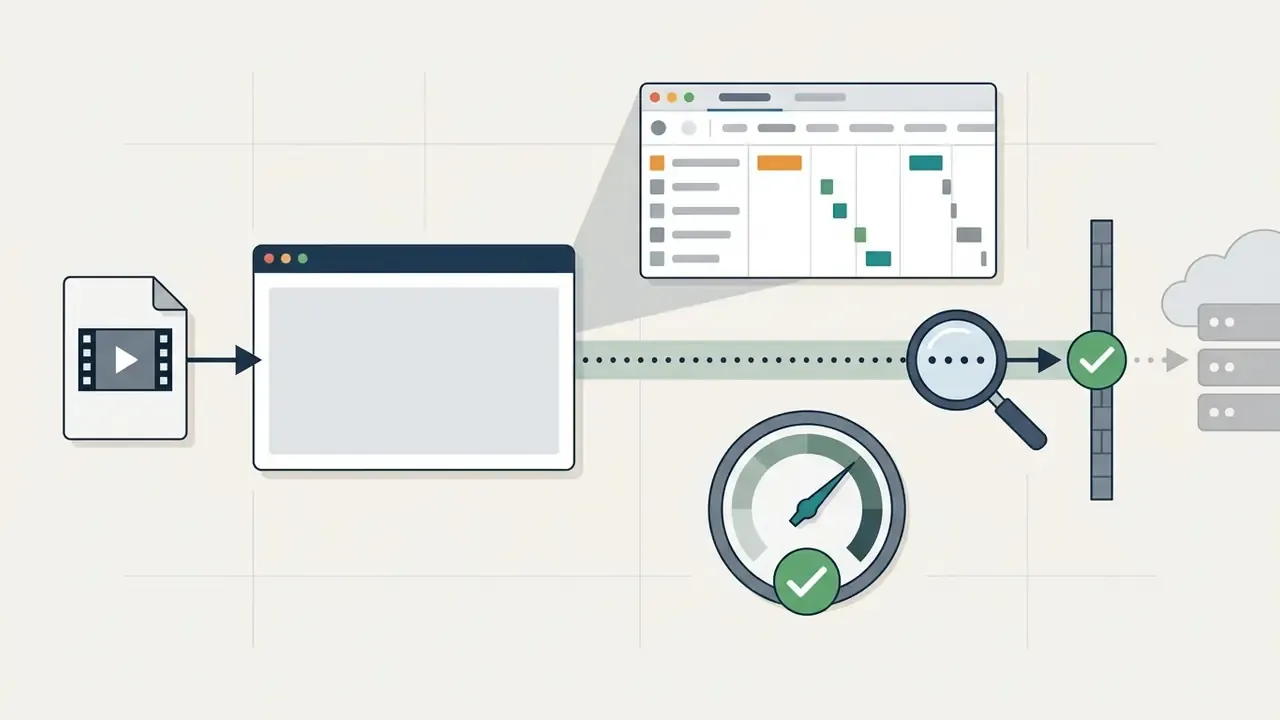
- Privacy. Tools built on WebAssembly and FFmpeg.wasm process the file in tab memory. Media bytes never leave the device (a no-upload, zero-egress architecture).
- Quality. Direct stream copy (
-c copy) moves encoded streams into a new container with no re-encoding. Full quality retention holds when cut points snap to the nearest I-frames. - Split modes. Manual cuts, split in half, automatic intervals (15, 30, 60, 90 seconds), and fragmentation of large files (1 GB and up) through streamed reads.
- Limits. For client-side tools the ceiling is device RAM, not a pricing tier. Cloud services declare anything from 500 MB to 8 GB per file, and up to one hour of runtime on free plans.
- Watermarks. Client-side splitters export clips without logos. Cloud editors (VEED, Clideo, Kapwing) remove the watermark only on paid plans.
- What comes next. After splitting, clips can be reordered by drag-and-drop, merged back together, and dressed with transitions, background music, and voice-over.
Modern in-browser media processing lets you divide a source file into standalone clips without sending data to third-party servers and without installing software. WebAssembly plus the browser port of FFmpeg.wasm keeps the cut fast while preserving the original picture quality. That combination is the reason this workflow finally became viable for regulated content, not just for hobby footage.
Split video online: what an online video splitter does
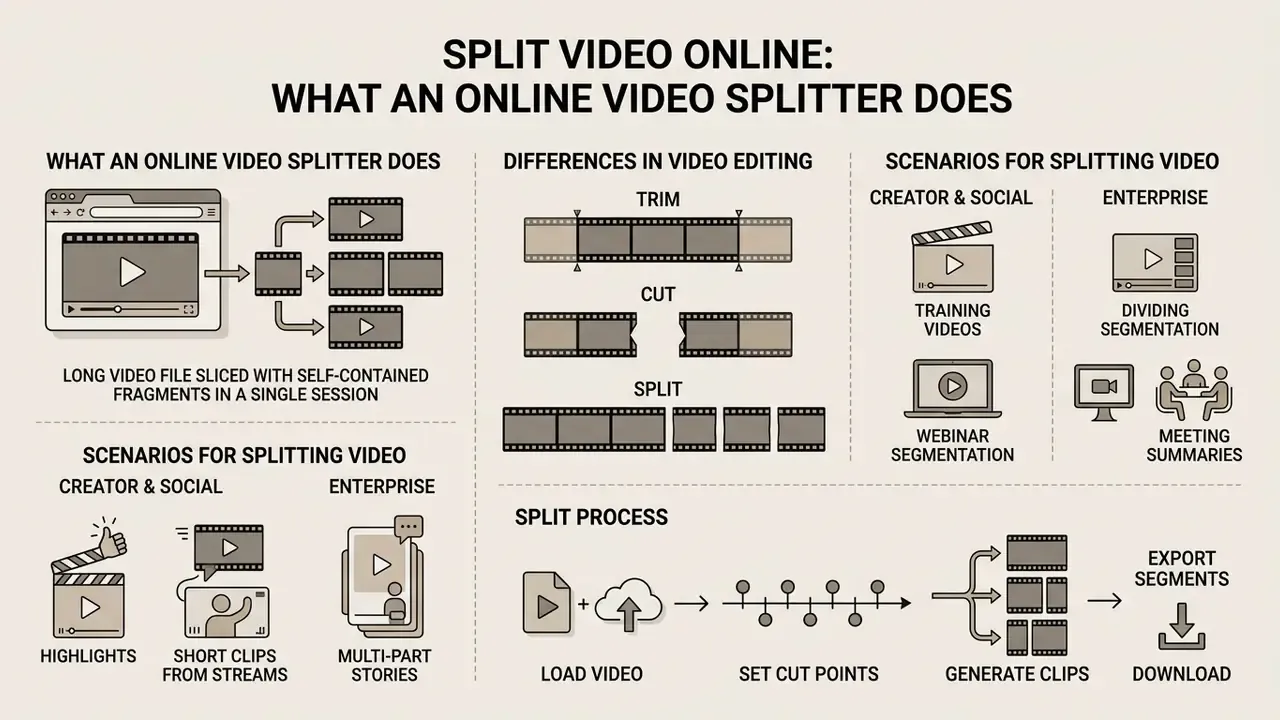
An online video splitter is a browser tool that slices long files into several self-contained fragments in a single session. A browser-based online video splitter processes the source video file directly on the user's device, producing multiple parts for quick edits.
Today's web splitters support client-side processing thanks to the WebAssembly stack and local virtual machines running inside the tab.
Updated. An earlier version of this section cited generic documentation with the claim that "the browser performs more than 30 operations without uploading the source". The accurate formulation rests on the architecture of a specific browser CLI implementation, not on an abstract browser capability.
A purpose-built video tool removes the need to deploy a heavy desktop suite or to research free video editing software when all you want is to pull out a few video clips. Technically, ffmpeg.wasm is a pure port of FFmpeg to WebAssembly, transpiled through Emscripten and designed to run inside a web worker, so a heavy split does not freeze the tab interface.
How split video differs from cut video and trim video
A split operation breaks one continuous recording into two or more independent segments at the chosen cut points. Every resulting part becomes a separate object that can be saved, moved, or deleted.
A cut removes an internal fragment from the middle of the runtime: you place two cut points, delete the interval between them, and join the remaining edges. A trim video action changes only the total duration, shaving frames at the very start or the very end. The difference sits in the final object. Split produces a set of several video clips, cut deletes defects inside the recording, and trim adjusts the outer boundaries.
| Operation | What happens to the structure | Output | Typical scenario |
|---|---|---|---|
| Split | One clip becomes 2+ independent segments | Several files or timeline segments | Slicing a webinar by topic, preparing Shorts |
| Cut | The internal range between two cuts is removed | One continuous clip without the middle | Removing a technical pause, a stumble, an ad |
| Trim | In and Out points move at the edges | One shortened clip | Cropping a cold open and a trailing tail |
What jobs require splitting a long video
Splitting a long media file becomes necessary when horizontal webinars have to fit social platform requirements, when messenger limits get in the way, and when archives need cataloguing.
Creator and social scenarios (B2C). Short vertical and square videos demand strict runtime hygiene. Updated: the "30 to 60 seconds" rule is not a platform standard. Official short-video guidance phrases the requirement differently: hook attention in the first 1 to 3 seconds and do not stretch the intro. That is precisely why creators slice hour-long talks into standalone fragments, each opening on a strong frame, and pick fixed durations (15, 30, 60, 90 seconds) to match a given platform's limits rather than a universal rule.
- republishing a long interview as a series of clips for Reels, Shorts, and TikTok;
- cutting a stream into highlights for fast sharing;
- preparing separate files for platforms with different allowed durations;
- splitting video into parts to stay under a messenger attachment limit.
Enterprise scenarios. Security, audit, and learning teams split recordings for control over data, not for reach:
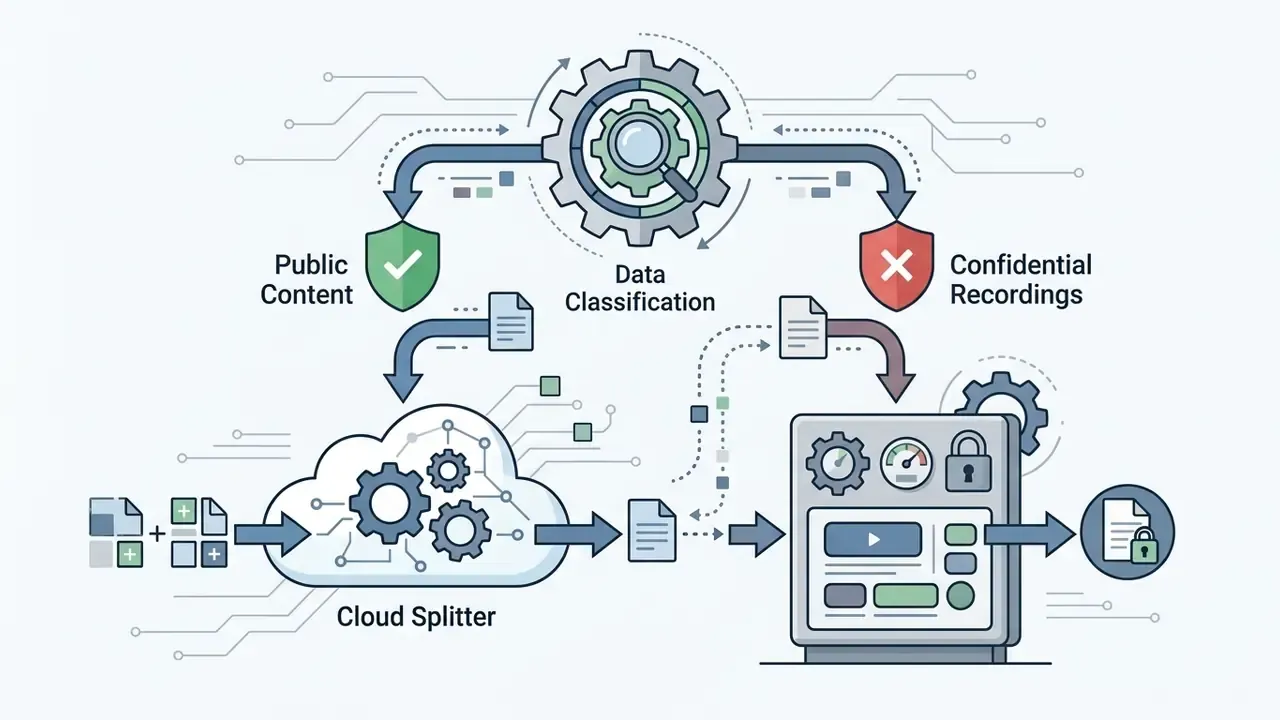
- fragmenting confidential recordings (board meetings, audit interviews) before distributing them to a limited group, so each recipient receives only the relevant segment and data minimization is respected;
- slicing multi-hour examination and compliance sessions into thematic sections for downstream speech recognition and analysis;
- breaking training courses into modules for corporate LMS platforms with file-size caps;
- fragmenting incident footage to attach to operational-risk reports;
- preparing demonstration excerpts for a regulator without exporting the full archive.
That last case is more common than it sounds. A supervisory request rarely needs four hours of footage; it needs eleven minutes.
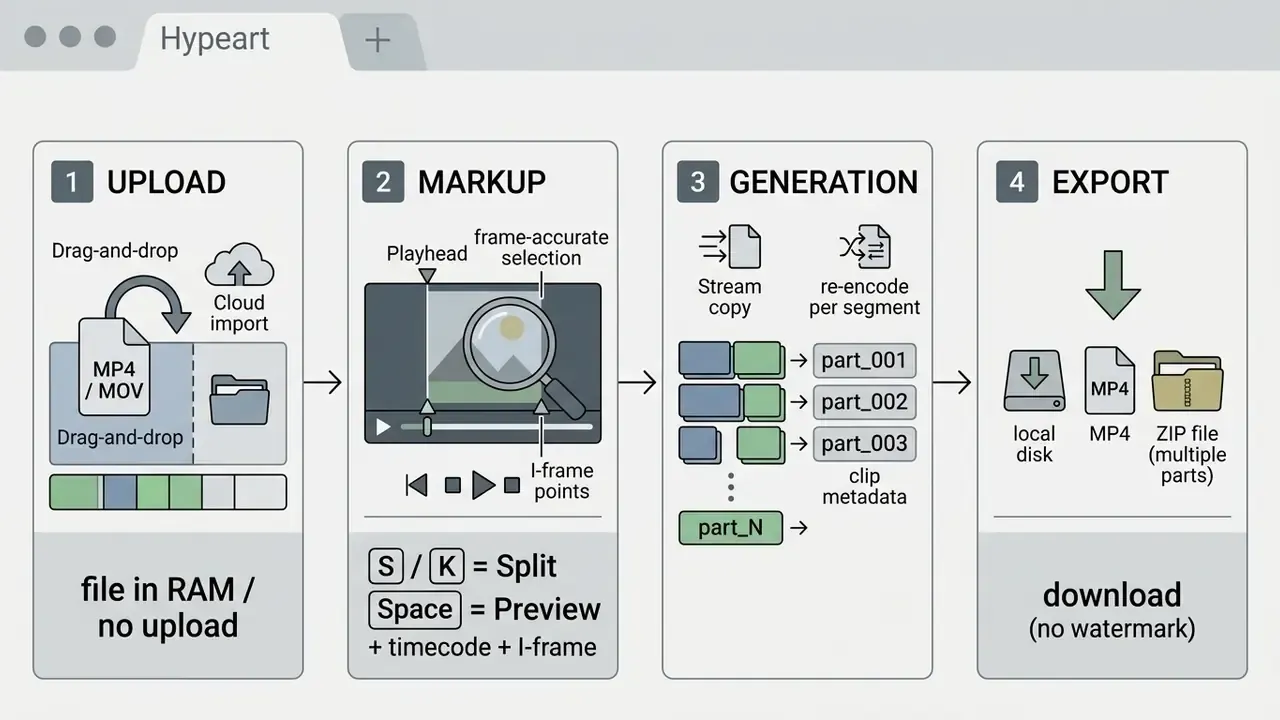
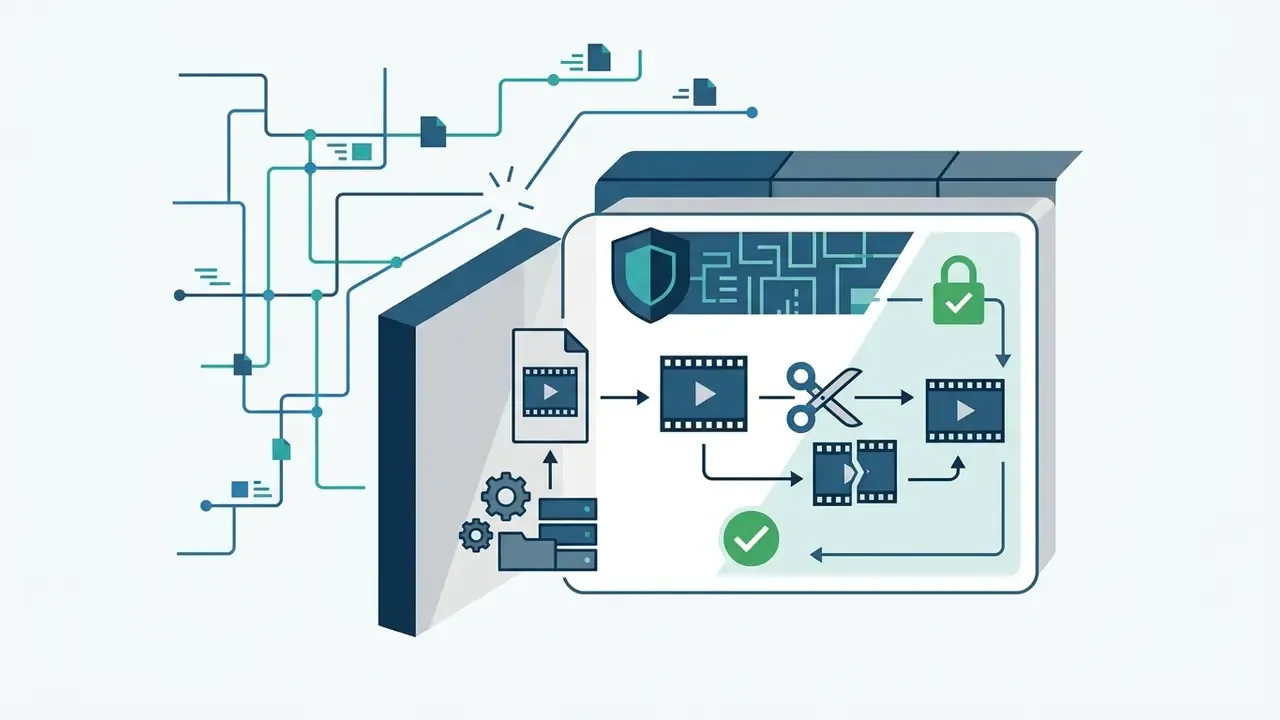
Process diagram (upload, cut points, clip generation, export):
How to split video online in 3 steps
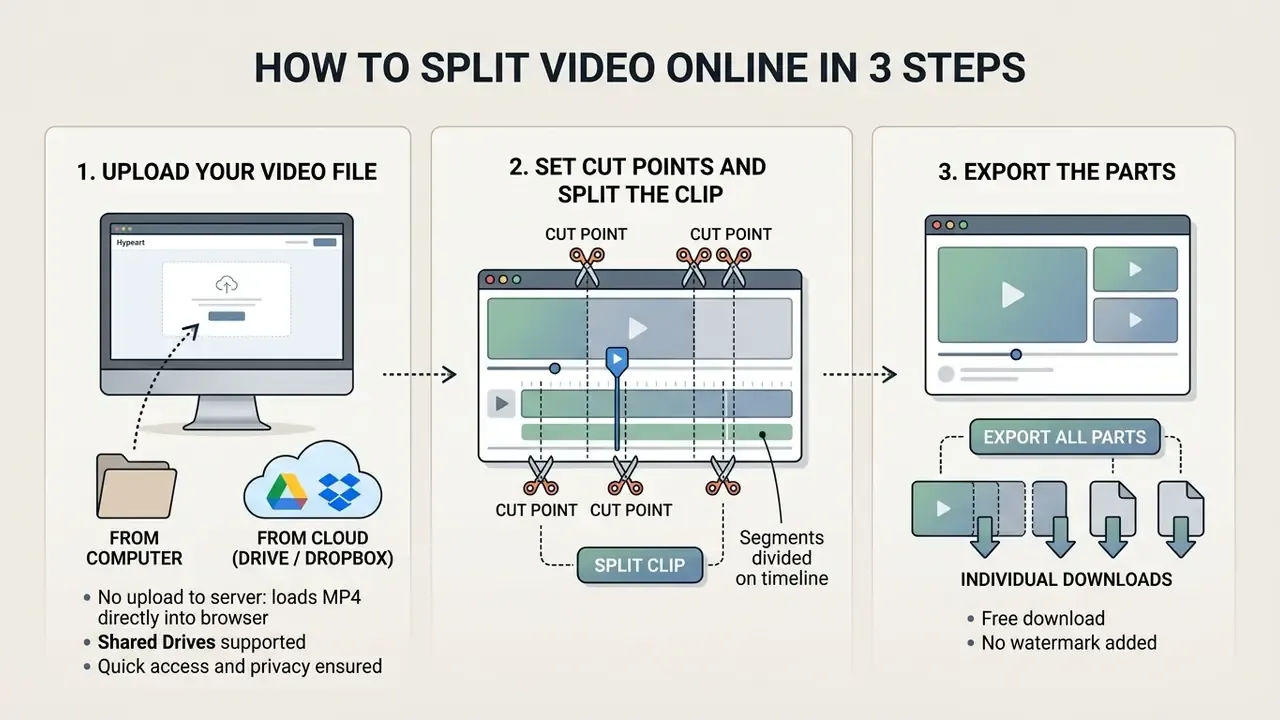
You can split a recording in a browser editor in three consecutive steps: upload the file, mark the timeline, export the parts. A cut and split video online tool takes over the routine slicing without asking for registration or payment details.
Using a dedicated online video splitter tool reduces editing to intuitive timeline actions. For maximum cut precision, work in a current browser build with HTML5 drag-and-drop and WebCodecs support.
Upload your video file to the online tool
First, open the splitter page and drag the source video file into the drop zone, or click the file-picker button.
A capable free online video splitter instantly reads the structured metadata of an MP4 or MOV container. The file appears on the editor timeline right away. With local WebAssembly tools the upload is effectively instant, because media bytes are read straight into browser memory instead of travelling to an external web server.
HTML specifications define drag-and-drop through drop targets and file filtering via the accept="video/*" attribute, so a correctly built drop zone accepts the file without intermediate dialogs. In cloud services the constraint arrives from the other direction: a server-side maxlength and the Client-file-maxlength header hard-stop anything above the plan limit.
How to import video from Google Drive or Dropbox
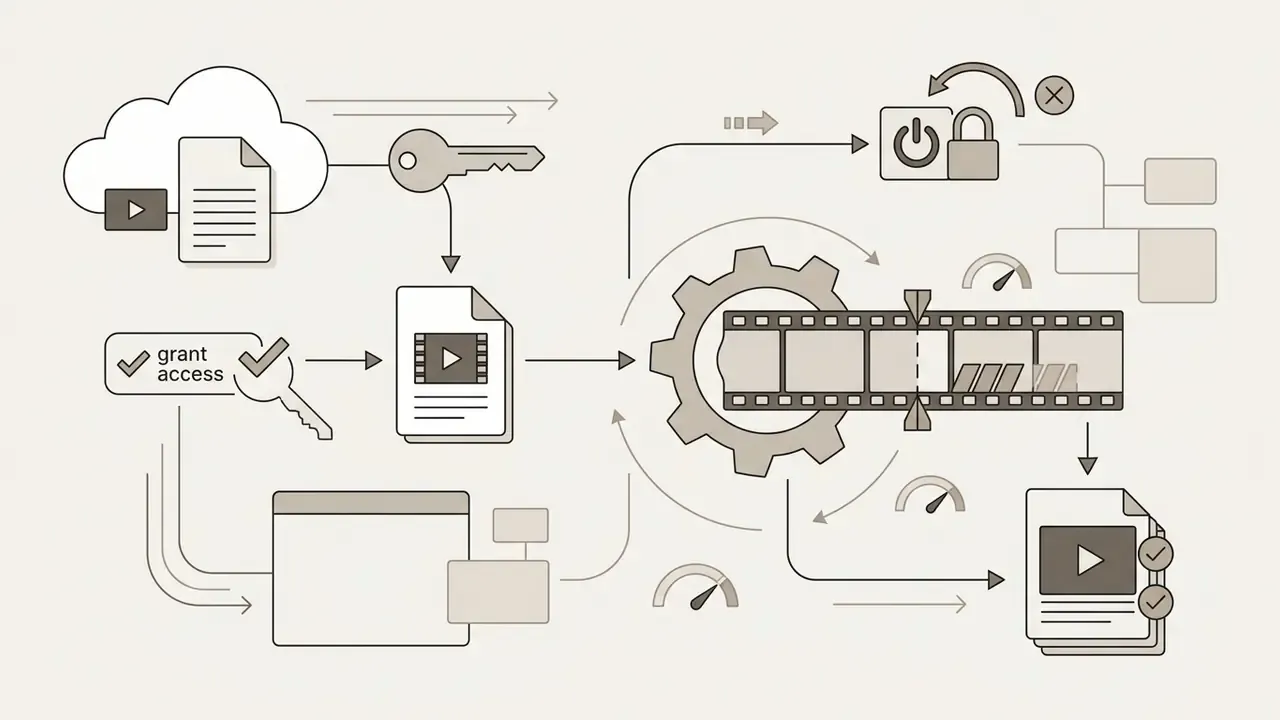
If the source file lives in the cloud, downloading it to local disk is optional. Click "Import from cloud", pick Google Drive or Dropbox, and grant one-time access through OAuth. The splitter receives the data stream directly into the browser buffer via the provider's secured API, with no intermediate storage on third-party processing servers.
Practical notes on cloud import:
- Scope. Grant read access to the selected file only (
drive.file), never to the whole drive. This is the core requirement in most corporate access policies. - Token revocation. Revoke access in your account security settings once the split is finished. A session token is enough for one task.
- Shared Drive. Files on shared team drives may need explicit domain-admin permission. On a 403 error, download a local copy instead.
- Speed. During cloud import the network becomes the bottleneck: a 4 GB file over a 100 Mbit/s link reaches the buffer in roughly 5 to 6 minutes, while a local file is read almost instantly.
- Privacy. For confidential recordings, local import is preferable. It avoids the cloud-to-browser chain and leaves no access logs at the storage provider.
Set cut points and split the clip
Second, move the playhead to the right position on the timeline and mark the cut points.
For precise positioning, use frame-by-frame navigation or type an exact timecode in HH:MM:SS:FF format. In OpenShot the timecode above the timeline shows playhead position, and entering a value jumps the cursor to that frame. In Final Cut Pro the timecode field accepts both absolute positions and plus or minus one-frame nudges. Accurate cut placement depends on keyframe positions (I-frames and IDR frames).
Click the scissors icon or press the hotkey (usually "S") to split the video into separate parts immediately. If you need more than cuts, look into how video editors with multitrack timelines are built.
Browser splitter hotkeys:
| Hotkey | Action in the splitter |
|---|---|
S / K | Split the video at the playhead position |
Space | Play / Pause |
Delete / Backspace | Delete the selected fragment |
Ctrl + Z (Cmd + Z) | Undo the last action |
Left / Right Arrow | Nudge one frame back or forward |
Shift + Arrow | Nudge one second back or forward |
I / O | Set the In or Out point of the current segment |
Ctrl + S (Cmd + S) | Save the project or start the export |
Review clips, export and download the result
Third, play back the resulting video clips in the built-in player, press export, and download the finished files to your device.
Once the split completes, the web service builds a list of parts with the duration and size of each. You can download every fragment separately or grab them all as a single ZIP archive. Before downloading, inspect the boundary frames for visual artifacts and audio desynchronization.
The practical takeaway: local browser preview reacts almost instantly, so that is where you should verify joins, not in a cloud preview with multi-second lag.
Three-screen interface checklist:
| Screen | Required elements | What to verify before moving on |
|---|---|---|
| 1. Upload | File-picker button, drop zone, Google Drive and Dropbox import, status indicator, format validation | Container and codec recognized, duration and resolution detected correctly |
| 2. Cut-point markup | Player, timeline, playhead, HH:MM:SS:FF timecode field, scissors button, segment list | All cut points placed, unwanted segments flagged for deletion, clip order correct |
| 3. Download | Export button, mode selector (copy or re-encode), file names, part list, ZIP archive | Clips play back, audio in sync, no watermark, total duration matches the source |
Ways to split video into parts online
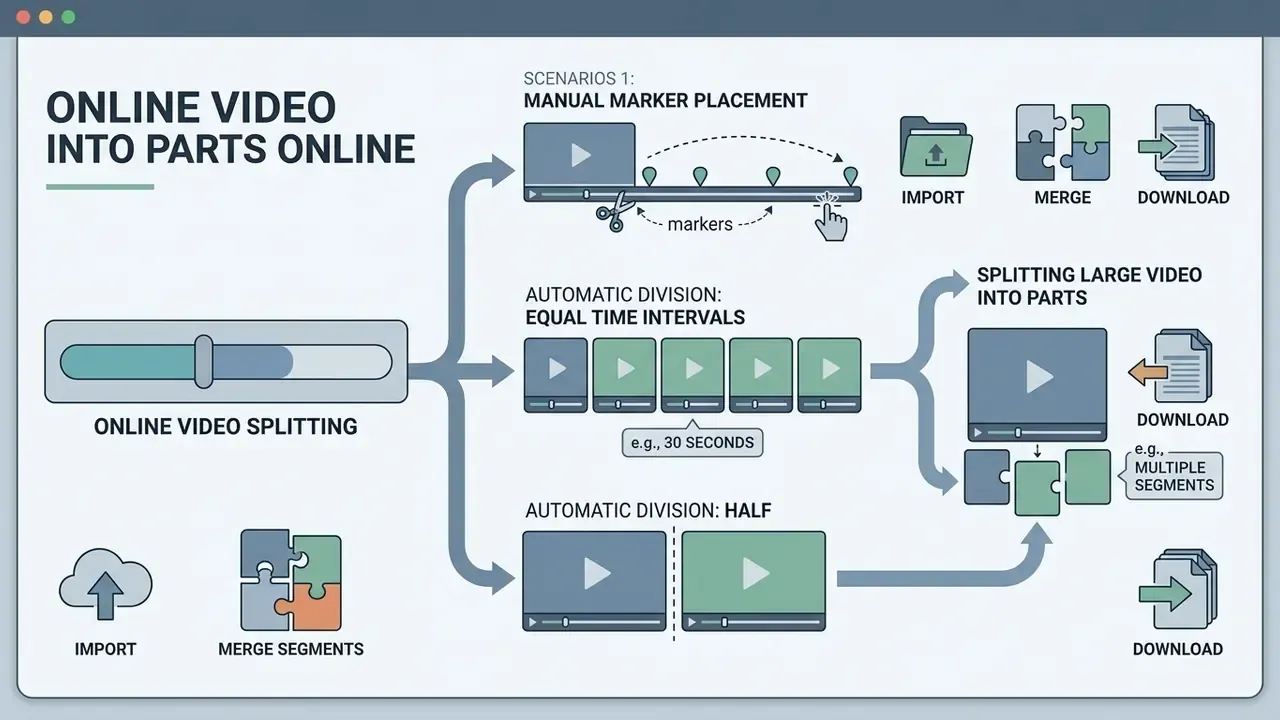
Online services offer three basic splitting scenarios: manual marker placement, automatic division into equal time intervals, and automatic division in half. Splitting by file size sits apart as a fourth mode. The choice depends on where the content is going and how tight the timing has to be.
Manual splitting keeps you in full control of meaningful pauses. Automatic algorithms suit batch preparation of clips for Stories, Reels, and Shorts. One caveat worth stating plainly: "automatic splitting" in service marketing almost always means equal intervals or an equal number of parts, not scene recognition. API tools say so directly, noting that scene detection is not performed and cuts come from user-supplied timecodes.
How to cut video in half online
To divide a clip exactly in half, read the total duration of the source file, halve the value, and place the playhead on the resulting median timecode.
For a recording of 04:20, for instance, the midpoint is timecode 02:10. A cut video in half online tool severs the source at that position and produces two fragments of equal length. The method is common for splitting two-part presentations or lectures into balanced blocks. After the cut, compare the timecodes: the end of part one and the start of part two should join with no one- or two-frame gap. A discrepancy means the cut snapped to the nearest I-frame.
How to split video into 30 seconds online
To slice a clip into 30-second segments, enable automatic interval splitting and set the duration value to 30 seconds.
The split video into 30 seconds online function then maps the whole runtime into equal blocks (0 to 30 s, 30 to 60 s, 60 to 90 s).
How to split large video into parts online
Handling files above 1 GB requires chunking and streamed reads so device RAM never overflows.
When you invoke split large video into parts online, the browser reads the file through JavaScript streams (fetch().stream() or File.stream()), which prevents the tab from crashing on memory exhaustion. The key anti-pattern is buffering the entire file (fetch().blob()): a multi-gigabyte clip then lands in memory in full and the tab dies. For scale, uploaders such as Resumable.js break a 2 GB file into roughly 2,000 independent 1 MB chunks. The same logic applies to reading the source during a split.
For background on playback buffering mechanics, the MDN Web Docs pages on the buffered property and the TimeRanges object are useful. They explain which parts of the media the browser has already read, though they are not evidence of chunking performance.
RAM requirements during a split:
| File resolution | File size | Recommended RAM | Processing mode |
|---|---|---|---|
| 720p | Up to 500 MB | 2-4 GB | Direct import into memory |
| 1080p (Full HD) | Up to 2 GB | 4-8 GB | Direct import into memory |
| 4K (2160p) | 2-8 GB | 16 GB+ | Streamed chunking (stream read) |
| 4K/8K, archival recordings | 8 GB+ | 32 GB or desktop software | Segment-by-segment batch processing |
Practical advice: close spare tabs (each one holds its own memory), disable heavy extensions, work in a 64-bit browser, and do not run a second export in parallel. If the tab still crashes, cut the file into two or three large blocks in copy mode, then refine each block separately.
Case (illustrative). While reviewing conference recordings, a legal department needed to divide a four-hour broadcast into thematic sections. Manual splitting with direct stream copy isolated 18 separate talks without re-encoding. Processing time dropped from 40 minutes to 20 seconds, and the original 1080p60 quality was fully preserved. A secondary effect mattered more to the reviewers: the source never left the workstation, so security sign-off required no separate vendor-risk assessment.
| Split mode | Precision | Speed | Complexity | Primary purpose |
|---|---|---|---|---|
| Manual cut | Frame-accurate (with re-encode) | High | Medium | Extracting specific scenes, removing defects |
| Split in half | To the second or frame | Maximum | Low | Breaking lectures and webinars into two parts |
| 30-second intervals | Fixed (30 s) | Automatic | Minimal | Clips for Stories, Reels, Shorts, WhatsApp |
| Split by file size | Nearest I-frame | High | Low | Bypassing attachment limits and corporate gateways |
| Large files (1 GB+) | Keyframe-based | Disk-dependent | Medium | Fragmenting long archives and streams |
If the resulting parts still exceed upload limits, the next step is video compression with controlled quality loss.
Video formats and exporting split files
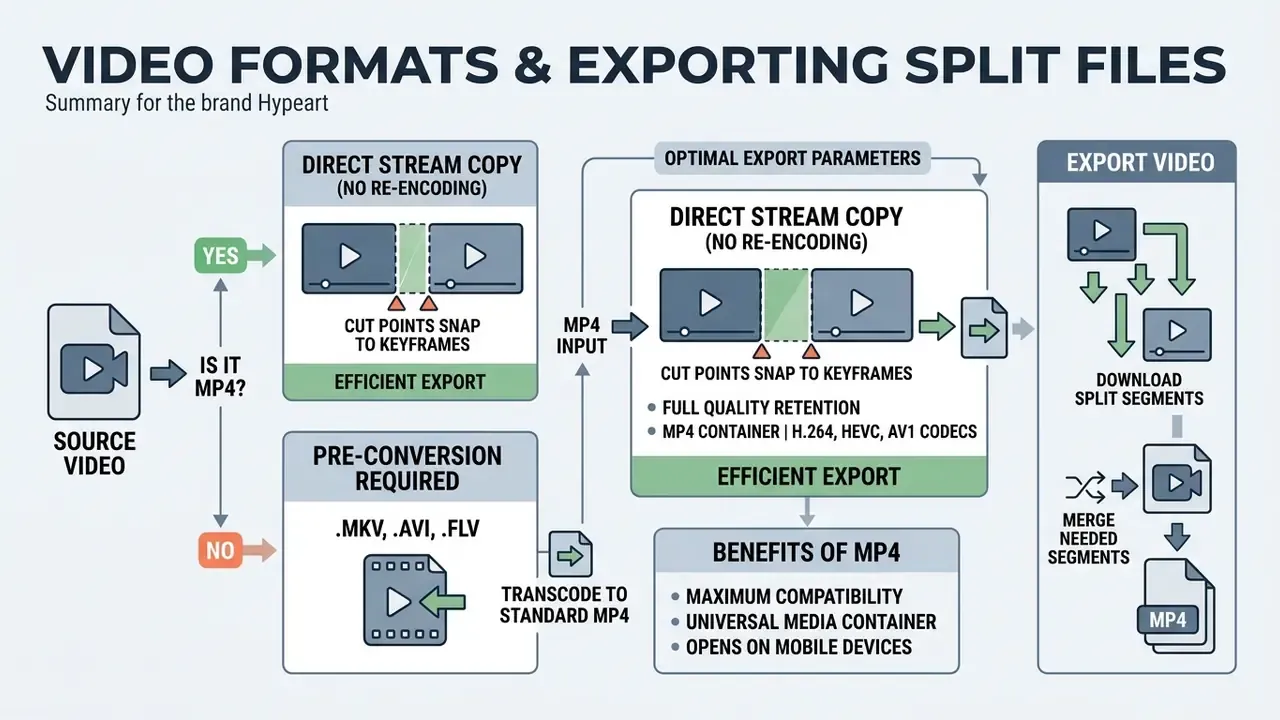
Most web splitters target the MP4 container and the H.264, HEVC (H.265), and AV1 codecs. Rarer formats may need preparation before the split.
Choosing export parameters correctly guarantees that the resulting video clips open on mobile devices and media players without playback errors. For reference: professional editors export to H.264, HEVC, ProRes, MXF, MPEG-2, and image sequences, but for web distribution H.264 plus AAC in an MP4 container covers roughly 99% of cases.
How to use an MP4 video splitter online
When you need a video converter before splitting the video
Pre-conversion is required if the source recording sits in a rare container (MKV, AVI, FLV) or uses a specialized codec the browser decoder does not support.
In those cases a general-purpose video converter transcodes the source video file into standard MP4 (H.264/AAC). The updated file then imports into an online video splitter without friction for further splitting and export.
One principle carries most of the weight here: the file extension does not guarantee compatibility, the codec inside the container does. An MKV with an exotic video codec will fail even where MKV is formally supported. MOV is accepted only as a self-contained file with a supported codec (H.264, ProRes, HEVC, MPEG-2, and several others). AVI, in many pipelines, is input-only. Additional learning material on adjacent media-processing tasks sits in the AI Media Glossary.
Free online video splitter: watermarks and capabilities
The search for a free online video splitter no watermark often collides with hidden restrictions in commercial cloud editors. Understanding the monetization models helps you pick a tool that is genuinely free.
Services that run entirely client-side can be completely free because they carry no cost for rented rendering capacity. Cloud platforms, by contrast, pay for compute and traffic, so they recover the cost through a watermark, a resolution cap, a low-priority queue, or expiring credits.
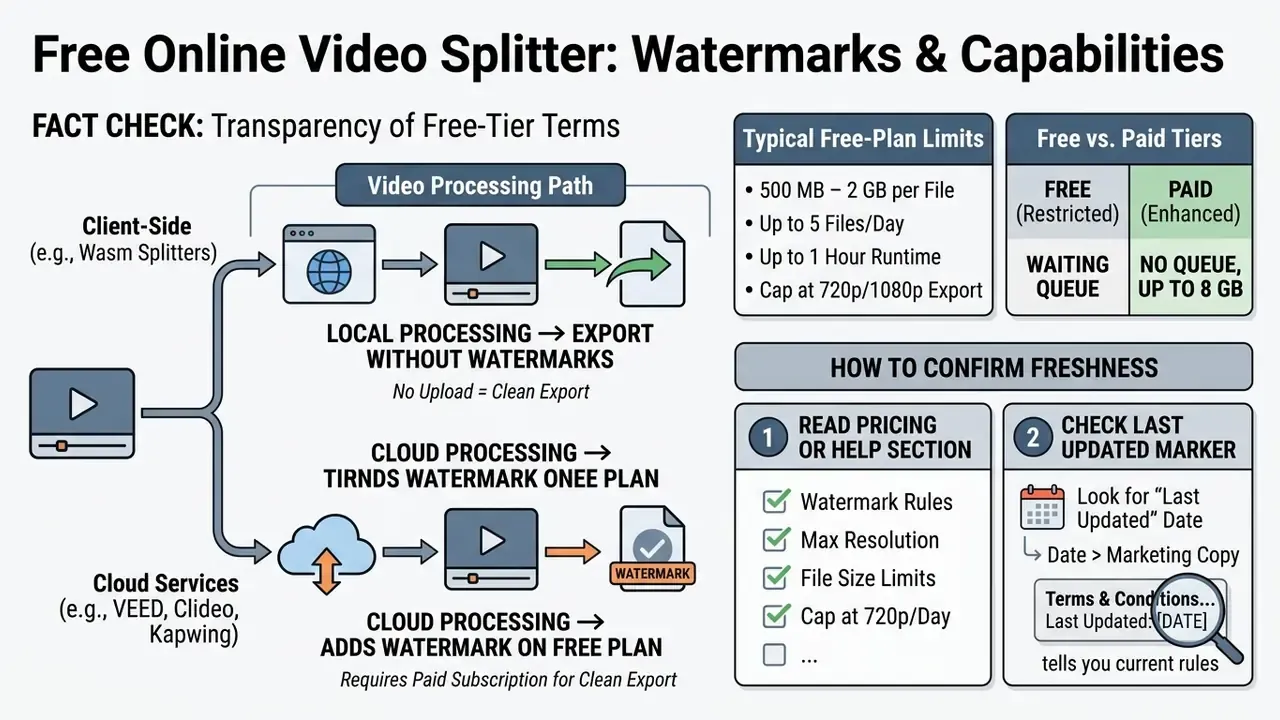
What a free online video splitter gives you
A free video splitter online covers the basic set: upload, cut-point placement, preview, and saving fragments.
A solid online video splitter free handles core splitting jobs with no paid subscription. You get precise file division, fast trimming, and fragment saving at the source resolution. A related review of tools that leave no branding in the frame is collected in the guide to free AI video generators without watermarks. Broader background on media-service pricing structures sits on the AI Media Pricing Guides page.
How to verify export of videos without watermark
To confirm that a service returns clips without branded overlays (videos without watermark), run a test export of a 3-second segment before the real work.
Updated (wording refined): a number of cloud editors allow free splitting but stamp their logo into the corner of the frame on download. Their own help pages confirm it, since watermark removal is tied to a paid plan. No universal "many" or "all" claim can be made here. Policy varies by service, and with some tools a clean free export is granted once and expires.
A three-minute verification routine:
- Open the Pricing or Help page and find the watermark line in the free-plan description.
- Check whether clean export is tied to trial conditions (once per account, three days, and so on).
- Export a 3-second test and open the file in a local player at 100% zoom. Inspect the frame corners and the final frames.
- Compare the resolution and bitrate of the result against the source. A drop to 720p signals a hidden cap.
If you specifically need split video online free no watermark, choose WebAssembly or FFmpeg.wasm tools, or cross-check the reviews in AI Media Comparison Matrices.
Quality, privacy and security when you split video online
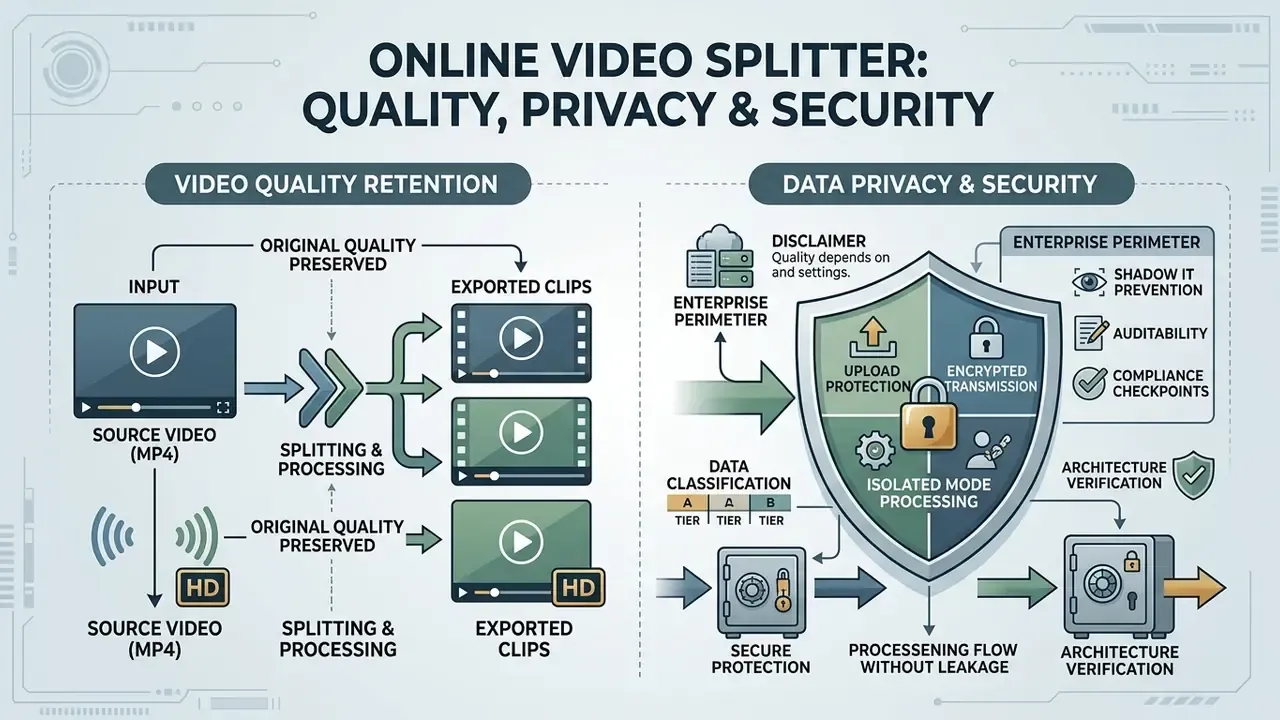
Preserving source quality and protecting personal data are the decisive criteria when picking an online tool. Uploading personal or corporate recordings to unknown third-party servers creates disclosure risk.
Direct stream passthrough plus client-side processing addresses both quality loss and confidentiality in one move.
Do video clips keep quality after export
Clip quality is preserved in full only when cuts follow keyframes with no re-encoding.
If a cut point lands on an ordinary frame (P-frame or B-frame), the splitter either shifts the cut to the nearest I-frame or re-encodes a small adjacent fragment. According to video-quality research, recompression at a low bitrate reduces visual sharpness.
Choose a split video free online mode that retains the original codec. A working rule of thumb: if the service shows no "copy / re-encode" toggle, check the output size. A combined part size close to the source size means no re-encoding took place.
How your video file is protected during online upload
With local processing, file security comes from a simple fact: the video never leaves your browser's memory.
The enterprise perimeter: shadow IT, auditability and compliance
For financial institutions and other regulated industries, the material risk is not the watermark. It is staff quietly running sensitive footage through random web converters. Below is a practical framework for evaluating a tool before it enters a corporate standard.
| Evaluation criterion | Client-side (WebAssembly) | Cloud-based processing |
|---|---|---|
| File transfer beyond the perimeter | None (zero egress): bytes stay in tab memory | Mandatory: the file uploads to the vendor's server |
| Vendor-risk assessment | Minimal: no processor on the other side | Full procedure required (DPA, sub-processors, location) |
| Data retention | No server copies; memory cleared when the tab closes | Set by vendor policy, needs written confirmation |
| Audit trail | Produced on the organization's side (workstation logs, DLP) | Depends on whether the vendor exposes access logs |
| Use in an isolated environment | Possible with self-hosted static assets and network off | Not possible: outbound internet access is required |
| Encryption in transit | Not applicable (no transfer) | TLS 1.2/1.3 mandatory |
| Typical data class | Internal, confidential, personal (with security sign-off) | Public and marketing materials |
A checklist for an internal standard:
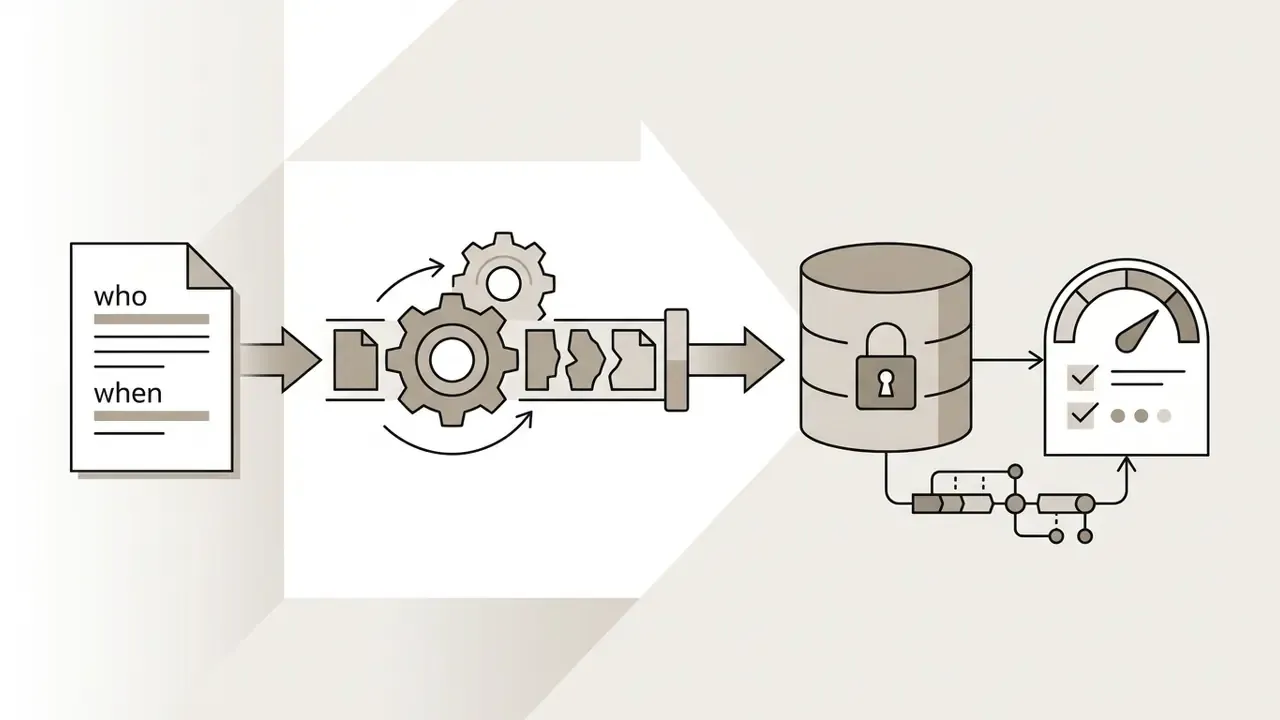
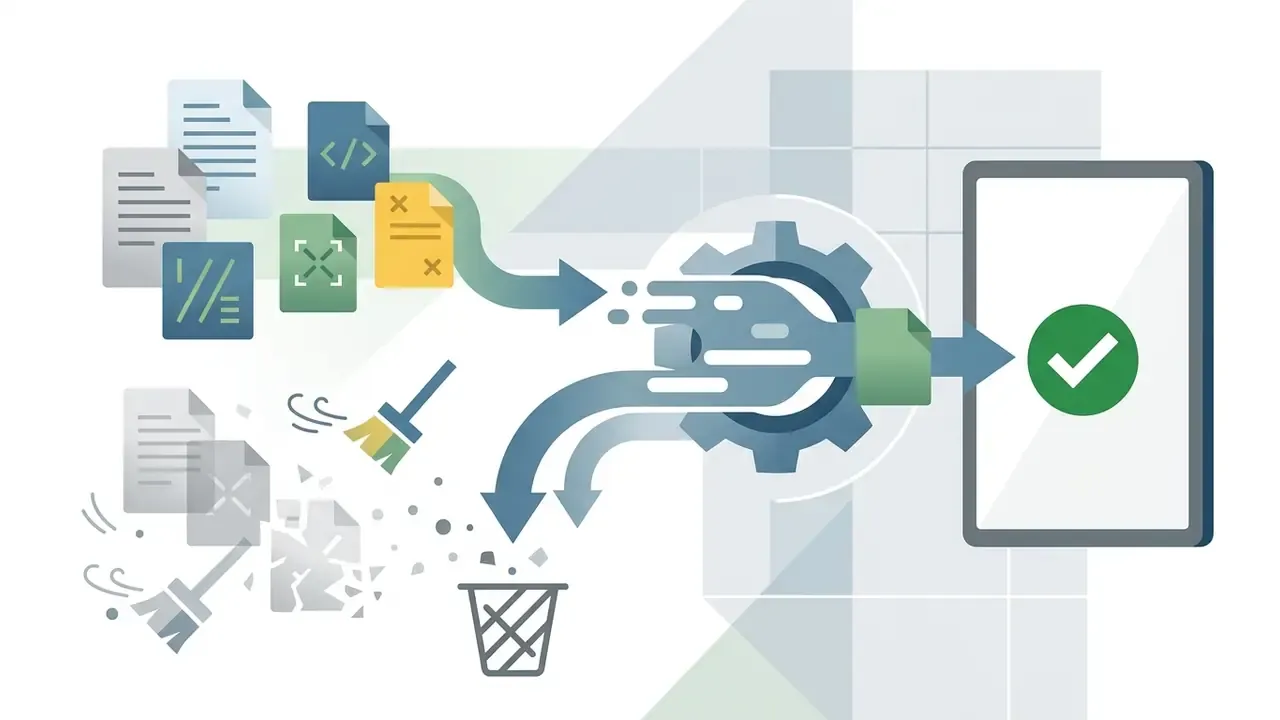
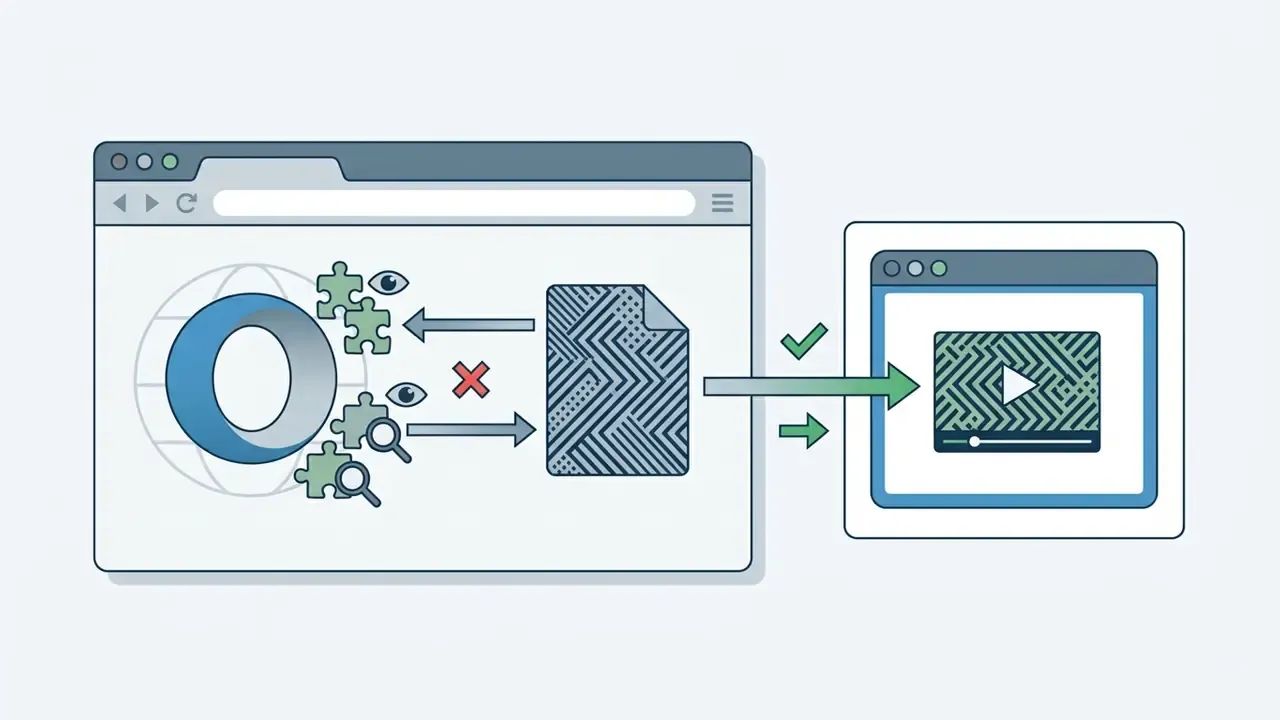
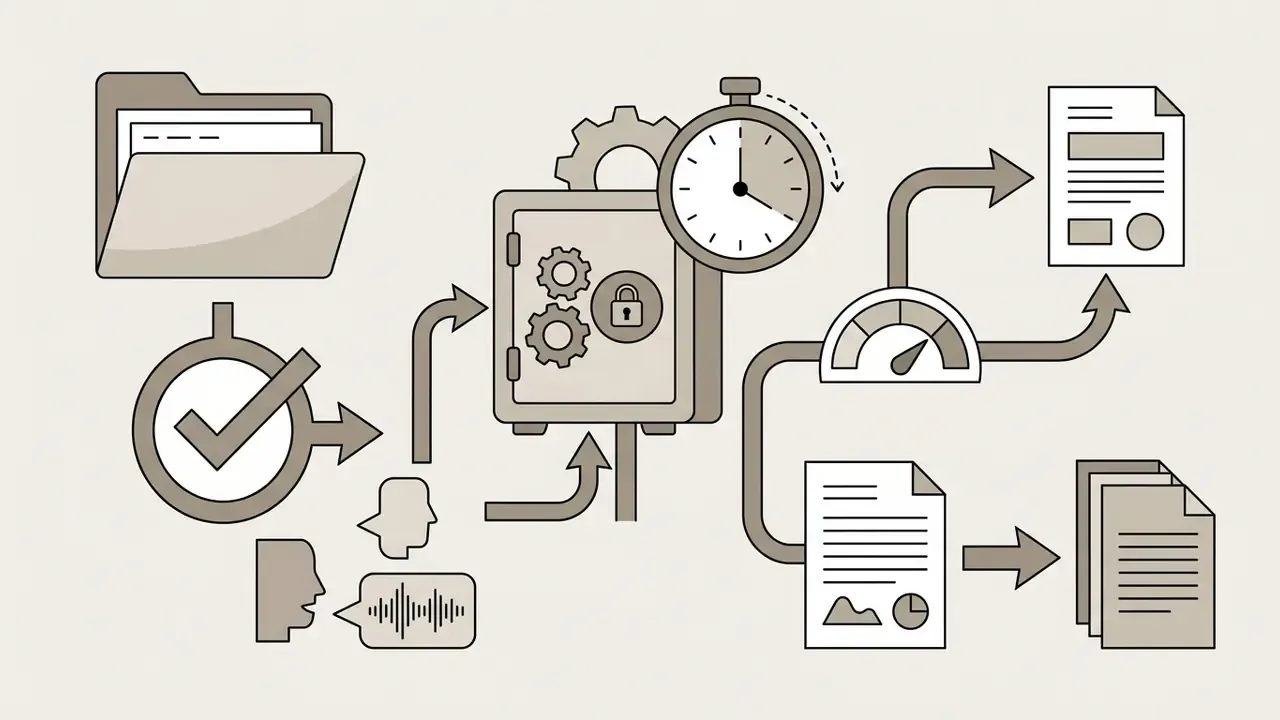
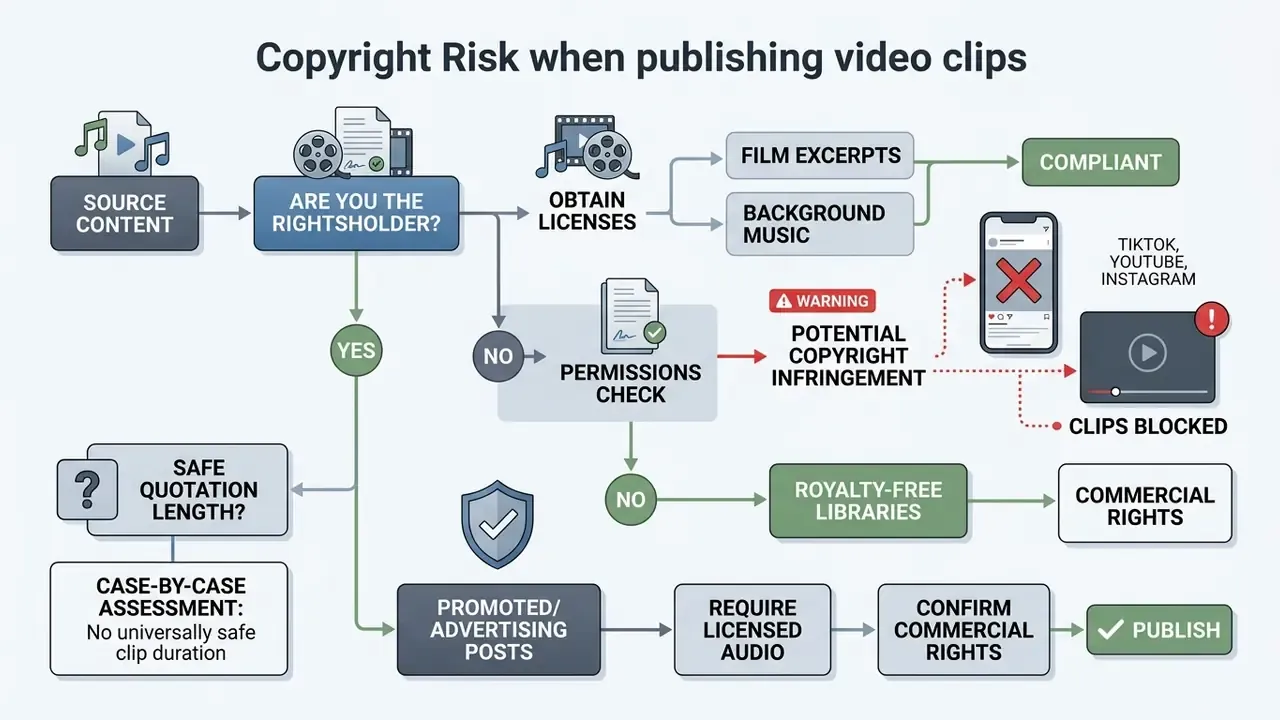
If the split clips are headed into advertising, review the rules on commercial use of media content and the licence terms for every track in advance. Case law on this keeps moving; the running summary sits in AI Litigation and Case Timelines.
Additional editing after splitting the video
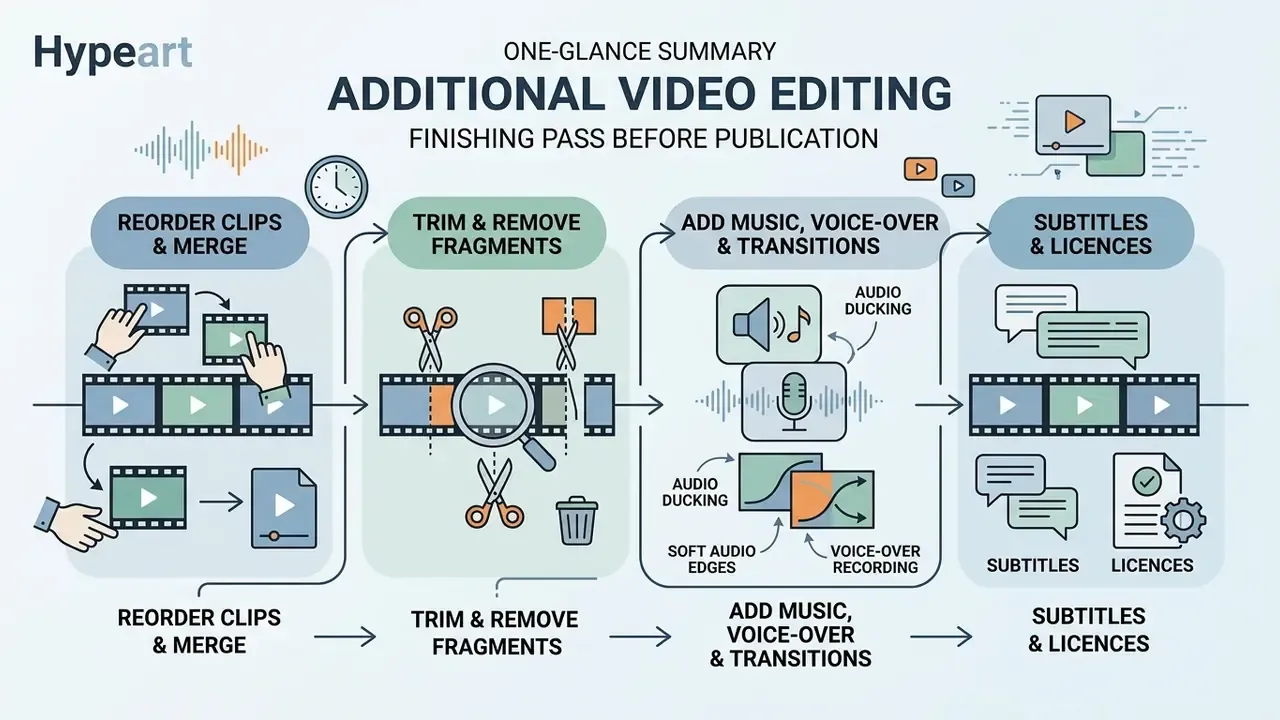
Once the split is done, individual clips usually need a quick finishing pass before publication. Modern web splitters include a basic built-in video editor for express edits, while heavier jobs belong in full online video editors with several tracks.
Cropping, rotating, and trimming right after the split saves time and avoids a detour into separate software. One property matters more than it seems: splitting is non-destructive. The source file stays untouched, and each segment becomes an independent clip with its own In and Out points that you can move, trim, delete, and bring back.
How to trim video and remove unwanted fragments
To remove flawed frames, select the resulting clip on the timeline and drag its side edges, which activates the trim video tool.
If the unusable fragment sits inside the clip, add two cuts at its boundaries and press Delete. The method turns quick edits into a matter of seconds, clearing pauses and stumbles out of the content. For frame-level precision, use trimming with 1-frame and 5-frame steps: hover the clip edge until the trim icon appears, then nudge the boundary with the arrow keys while watching the timecode.
How to reorder clips and merge them back
After splitting the video on the timeline, you can drag segments with the mouse to swap their order. To drop a bad take, select the clip and press Delete or Backspace. To join the remaining parts into one clip, press Merge / Combine and the tool performs a seamless join.
The standard "cut the middle, join the edges" routine:
- Place the playhead at the start of the unwanted region and press
S. - Place the playhead at the end of the region and press
Sagain, which gives you three segments. - Select the middle segment and delete it with
Delete. - Slide the right segment left until magnetic snapping locks it to the left one, and the gap disappears.
- Press Merge to assemble the remaining parts into a single clip, then export one file.
A few useful details. In editors with linked tracks, splitting a clip divides video, audio, and attached elements (effects, captions, script) at once, and the Split button turns into Merge after the operation. If you need to cut only the picture and keep the sound continuous, break the link (Alt or Option plus the blade tool). When segments share codec, resolution, and frame rate, merging completes without recompression. With mismatched parameters the editor conforms the clips to one export profile.
Adding music, voice-over and transitions between clips
To make joins between split fragments feel deliberate, apply built-in transitions (Fade, Dissolve, Wipe) at the cut boundaries. Between 0.3 and 0.5 seconds is enough to hide the seam without breaking the pace.
The Audio tab lets you duck or fully mute the original sound, load a background MP3, balance the tracks, and record narration from the microphone in real time. Practical reference points:
- Ducking. Drop background music by 12 to 18 dB under the voice so speech stays intelligible.
- Soft audio edges. Add 0.2 to 0.3 second fade-ins and fade-outs on each segment, which removes clicks at the joins.
- Voice-over after the split. Record narration against the final clip order. Otherwise reordering segments destroys sync.
- Licences. For promoted posts, use royalty-free libraries or licensed tracks. Trending platform audio does not clear for paid placement.
- Subtitles. Short clips are often watched muted, so on-screen captions raise completion rates more than any transition does.
When you need rotate video and resize video
Frame rotation (rotate video) is needed when mobile footage was shot in the wrong orientation, while resizing (resize video) fits the proportions to platform standards.
Social networks enforce strict aspect ratios: 9:16 for Stories, Reels, and Shorts, 1:1 for the feed, 16:9 for classic YouTube. Those three formats give the widest compatibility in cross-posting. The specifics of preparing long horizontal videos are covered in the guide to YouTube video editing.
A built-in video trimmer rotates the frame by 90, 180, or 270 degrees (90° is a quarter turn clockwise or counter-clockwise, 180° flips the frame completely) and changes the aspect ratio before export. When converting 16:9 into 9:16, choose between cropping with edge loss and fitting with a blurred background: cropping wins for a talking head, fitting wins for infographics. Detailed integration guides live in AI Media API Guides, and edge cases are collected in AI Media Support and Troubleshooting. If you need to estimate output size or render time before committing, the AI Media Calculators cover bitrate math.
FAQ: frequently asked questions about split video online
This section collects short answers to the questions users ask most often about browser video splitters.
Can I use a free online video splitter tool on an iOS or Android smartphone?
Yes. Modern browser splitters built on HTML5 and WebAssembly work correctly in mobile Safari on iOS (version 16 and up) and Chrome on Android. The split runs in device memory with no need to install anything from the App Store or Google Play. iOS specifics: Safari aggressively reclaims memory from background tabs, so during export do not switch apps and keep the screen active. Files from Photos import through the system picker, and finished clips land in Files, then Downloads. Android specifics: Chrome allows direct file-manager access and parallel download of several parts, but on devices with 4 GB of RAM it is better to divide 4K files into two or three large blocks first.
Are there file-size limits when using split video online free?
With client-side tools there is no hard server-imposed size limit. Everything depends on how much RAM your device has. For stable work with files above 2 GB, close the spare browser tabs. Cloud services restrict free tiers differently: typical values are 500 MB or 2 GB per file, some platforms allow 8 GB on a paid subscription, and certain editors cap runtime (up to one hour per uploaded clip, for example) and the number of files per day.
How do I split a video stored in Google Drive or Dropbox?
Use the cloud import button. The service requests access through OAuth and streams the data into the browser buffer, skipping the manual download. Grant access to the specific file only, and revoke the token once the task is done. If the file sits on a shared team drive and the import returns an access error, download a local copy and load it with ordinary drag-and-drop.
Can I reorder the clips after splitting and assemble them into one file?
Yes. Timeline segments drag with the mouse, so you can freely rearrange the narrative order, delete weak takes with Delete, and assemble the rest into one clip with Merge/Combine. If all fragments share the same codec, resolution, and frame rate, the join happens without recompression.
How does a simple online video splitter differ from a full video editor?
An online video splitter is designed to do one job fast: divide a file into parts and trim the edges. A full video editor supports multitrack assembly, complex effects, color grading, titles, and animation, but it demands more resources and a longer learning curve.
Are video files stored on a server when splitting family or confidential recordings?
If you use a splitter with a WebAssembly architecture (no upload, zero egress), your video files are never transmitted and never stored on external servers. With cloud services the files do upload, and retention depends on the specific platform's policy: hours for some, a day for others, and until manual project deletion for a third group. Check the retention clause in the privacy policy before uploading sensitive recordings.
Is a browser splitter suitable for corporate recordings at a bank or an insurer?
Yes, with conditions. Only tools with confirmed client-side processing qualify, preferably deployed inside the internal environment, with outbound traffic disabled during the split and the operation recorded in an internal log. Cloud services handling confidential material require a full vendor-risk assessment and a data-processing agreement. The final decision belongs to your information-security function.
How do I quickly cut video for social media without losing quality?
Use equal-interval splitting (30 seconds, for instance) with direct stream copy enabled. That breaks a long clip into ready segments in seconds, with no re-encoding and no loss of the original sharpness or motion. If the platform needs vertical format, split in copy mode first and change the aspect ratio as a separate step, so re-encoding touches only the final fragments.
Why do the first frames of a clip look smeared or grey after the cut?
The cut point landed between keyframes, and the decoder lacks reference data. Three fixes exist: move the cut to the nearest I-frame, enable re-encoding of a short region around the join, or re-encode the source with more frequent keyframes before splitting.
Internal links (footer and hub navigation)
- AI Media Glossary - Full reference of video-processing and AI terminology.
- Video Compressor Guide - Compressing split clips without critical quality loss.
- Video Editor Guide - Features, limits, and pricing of online video editors.
- YouTube Video Editor Workflows - Editing and publishing long videos and Shorts.
- AI Media Calculators - Estimating file size, bitrate, and render time.
- AI Media Commercial-Use Hub - Legal aspects and commercial use of media content.
- AI Litigation and Case Timelines - Overview of case law and copyright developments in media.