Adding graphics or overlays to images on iOS depends on one question: do you need a quick chat response, or a permanent image file saved to your device? The answer changes the workflow completely. iPhone users can add stickers to photos directly through native tools such as the Photos app with Markup and the Messages app, or through third-party photo editors and social media platforms.
The fastest answers
Everything below expands those three routes, plus the parts nobody documents on screen.
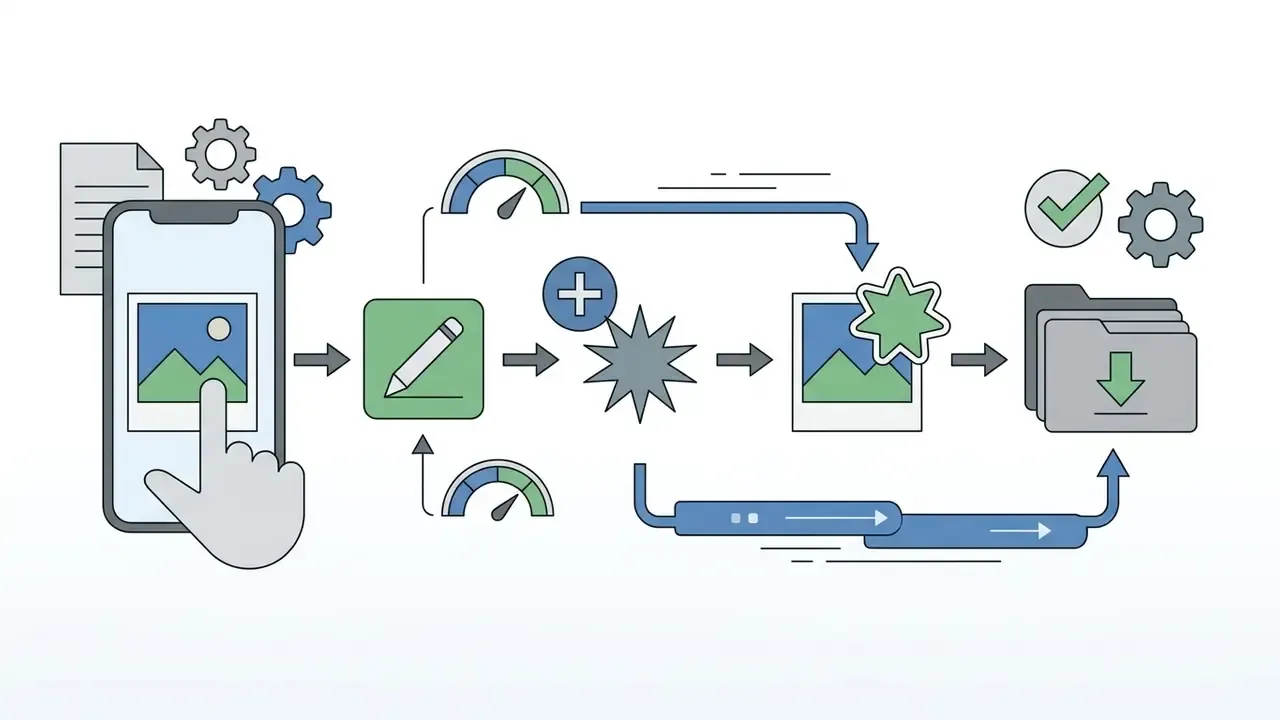


Ways to add a sticker to a photo on iPhone
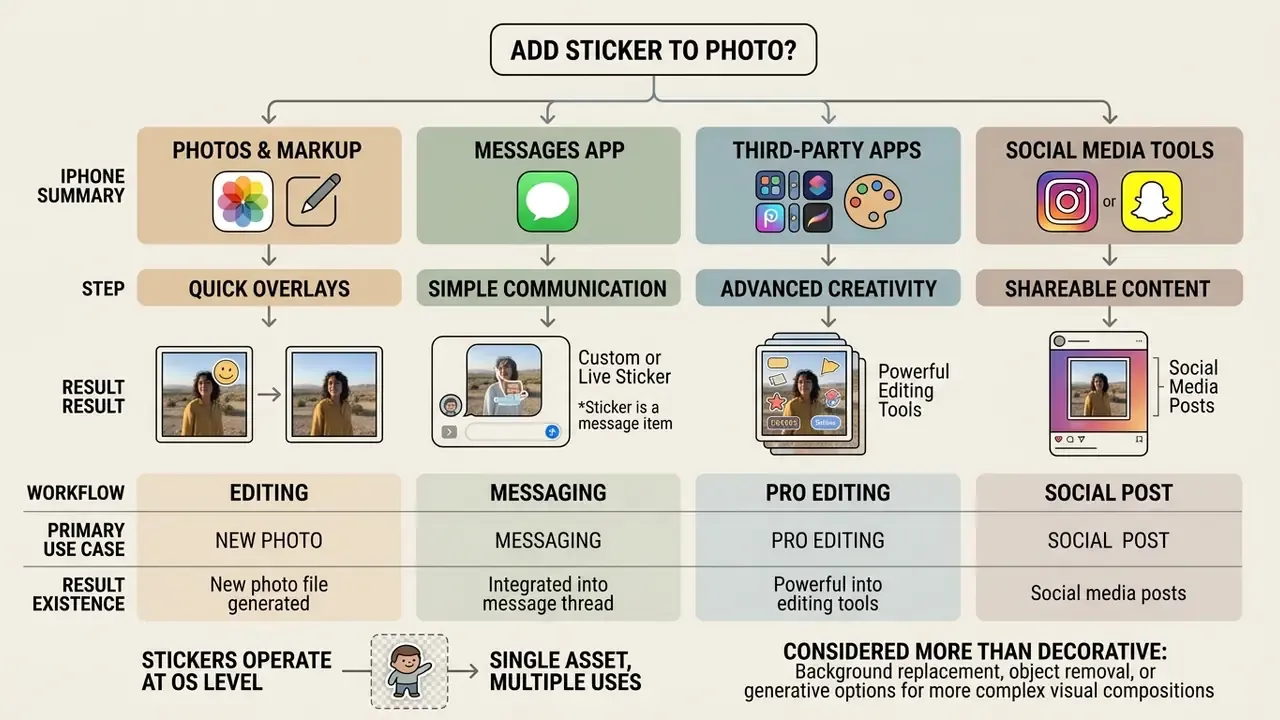
You can add a sticker to a photo on iPhone using four primary methods: the Photos app via Markup, the native Messages app, third-party editing apps, or social media tools such as Instagram and Snapchat. The optimal method depends on whether you intend to send an ephemeral message, export a flattened image to your photo library, or post a social story.
Stickers are not decorative noise. They are a recognized communication format, and research on computer-mediated discourse places them in a distinct functional category.
"Stickers belong to the class of graphicons, visual means of communication that supplement or replace written text to convey affect and stance."
Native iOS tools isolate visual elements at the operating system level, so a graphic can be created once and reused across different workflows. The resulting output, however, differs depending on the environment. In Messages, stickers are layered onto chat bubbles as metadata. In the Photos app Markup tool, or in a third-party editing app, the graphic is rendered directly into the pixels of a new image file. That distinction explains most of the confusion people run into later.
Comparison of workflows for adding stickers to a photo on iPhone
| Workflow | Where the result exists | New photo file created? | Custom / Live sticker support | Typical use case |
|---|---|---|---|---|
| Photos + Markup (sticker placed directly on the photo) | In the Photos library as an edited image file | Yes, the edited photo with graphics is saved to the photo library | Uses the system sticker pack, including custom cutouts from photos and Live Photos | Creating permanent edited images for archiving, printing or external sharing |
| Messages app (sticker on a photo in chat) | Inside a Messages conversation; sticker layered on the message bubble | No separate file; the graphic is anchored to chat context | Supports Live Stickers, created cutouts, emoji, Memoji and installed packs | Conversational replies and quick visual annotations in private chats |
| Third-party sticker or photo editing app | App project space, then exported to the photo library or cloud storage | Yes; the editing app saves a new rendered image file | Supports custom stickers, custom fonts, advanced layers and text box controls | Complex compositions, branded asset design and multi-layer edits |
| Instagram Stories / Snapchat | As a public or private story; optionally saved to the camera roll | Optional; you must tap save manually to export the graphic image | Platform-specific stickers, GIFs, AR filters and limited custom cutouts | Social publishing aimed at reach, attention and interaction |
Read the table as a decision tree. Need a file you can print or email? Photos with Markup, or a dedicated editor. Need a reaction in a thread? Messages. Need reach? Stories.
If your composition grows beyond simple overlays, think background replacement, object removal or generative fills, dedicated AI photo editors handle those layers far better than the built-in Markup canvas. Related image tasks live in neighbouring guides: see how to generate ai art when you want the overlay itself to be generated rather than cut out.
Add a sticker to a photo using the native Photos app and Markup
To permanently save a photo with an overlaid graphic inside iOS, with no third-party apps involved, use the built-in Markup tool in the Photos app. Markup renders the sticker straight into the image raster data the moment you confirm the edit.
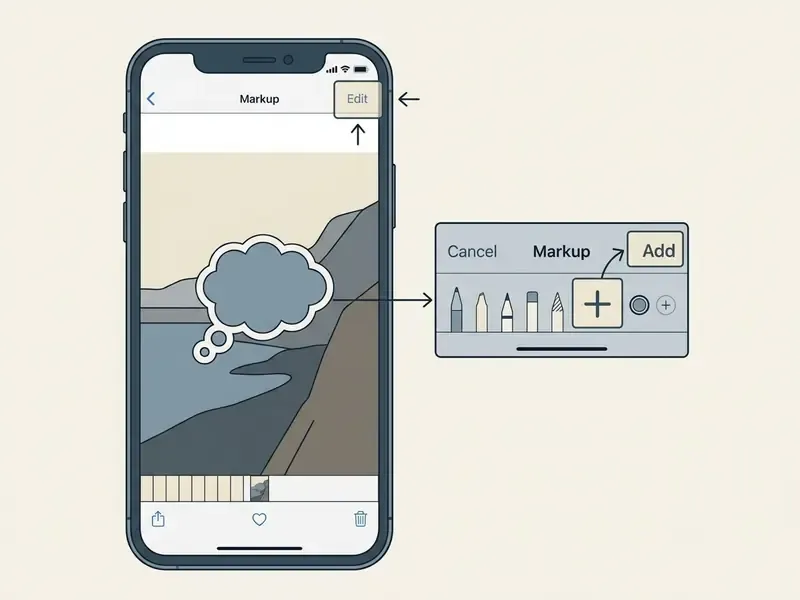
- Open the Photos app and select the picture you want to edit.
- Tap the Edit button (the slider icon at the bottom of the screen, or "Edit" in the top right corner on older iOS versions).
- Tap the Markup icon, the pen tip symbol, in the top right corner.
- Tap the plus (+) button at the bottom right corner of the Markup canvas.
- Select Add Sticker from the pop-up menu to open your personal sticker drawer.
- Tap the sticker you want to place it onto the canvas. If your newly created cutouts are missing, tap the back (<) arrow and choose the icon that looks like a slightly folded circle.
- Drag the corner nodes to scale or rotate the graphic, then move it into position. Tap the ••• button next to a placed sticker to Cut, Copy, Duplicate or Delete it.
- Tap Done in the top right corner to commit the Markup edits, then tap Done again to save the flattened image to your photo library.
Two taps on Done. People miss the second one constantly, then wonder why nothing saved.
Add multiple stickers to one photo
To layer more than one graphic, repeat the placement loop: tap the plus (+) button again, choose Add Sticker, pick the next graphic, then resize and reposition it so the composition stays readable. Each sticker remains an independent Markup object until you confirm the edit, which means you can reorder, duplicate or delete individual elements while you are still inside the editor. Once you leave, that freedom is gone.
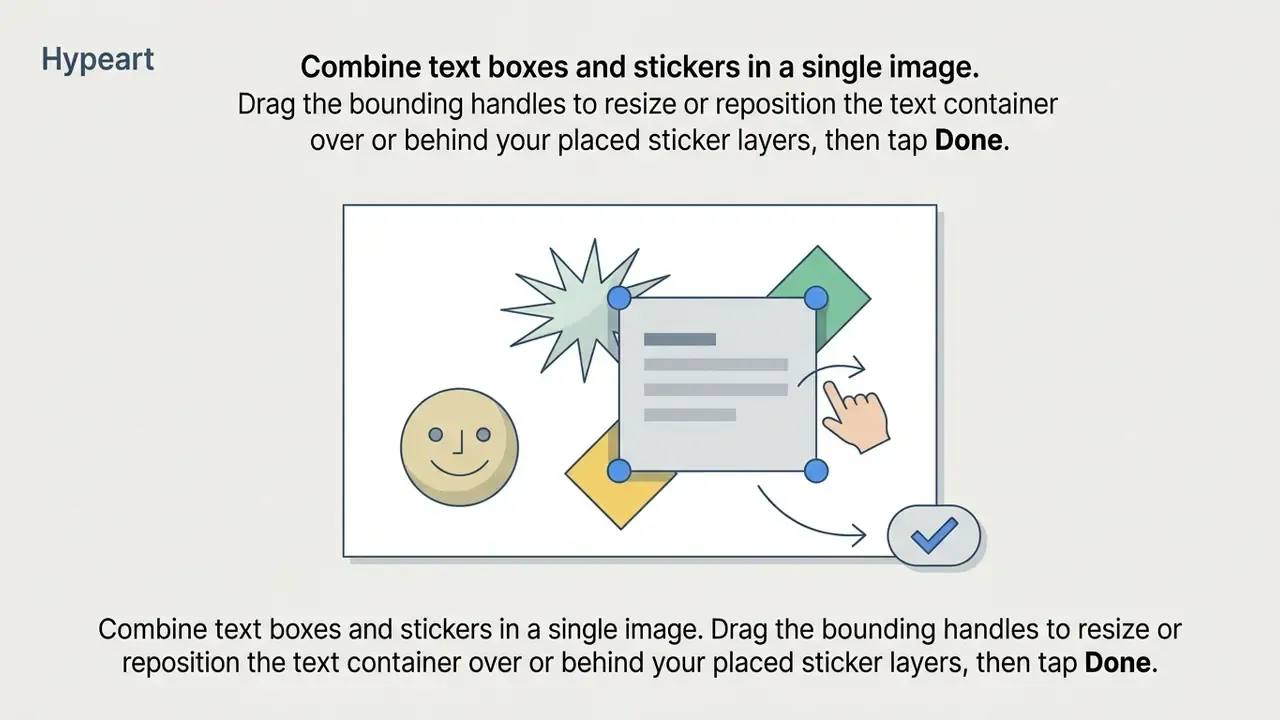
Combine text boxes and stickers in a single image
To add descriptive labels alongside graphic overlays without third-party software:
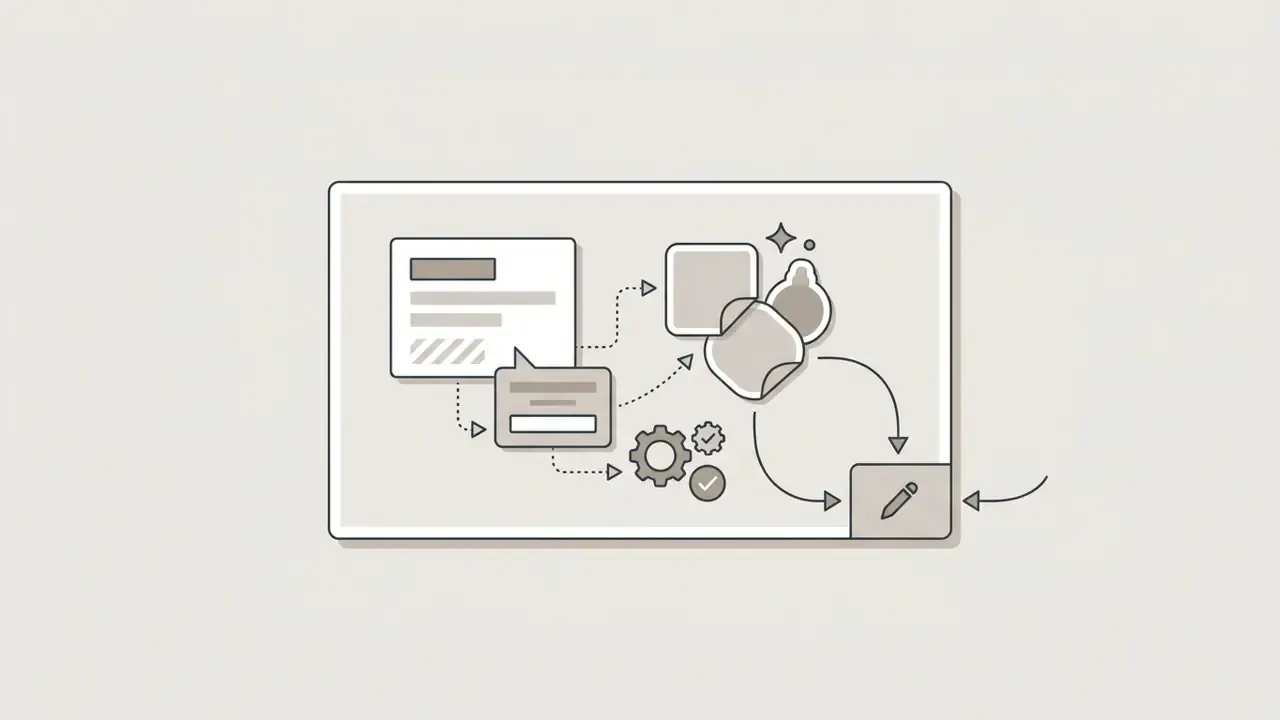
Apple documents Markup as available across supported apps such as Photos and Notes, which is exactly why a single image can carry both text and stickers in one editing session (Apple Support). If your source image is a document or a screenshot and you actually need the words rather than the picture, the companion guide on how to extract text from image is the better starting point.
Markup edits stay reversible inside Photos
Even though Markup writes the sticker into the visible image, Photos stores the edit non-destructively. Reopen the picture, tap Edit, then choose Revert to restore the untouched original. That safety net disappears the second the file leaves iOS through a third-party export, so treat Markup as your reversible layer and third-party exports as the flattening step.
Create your own stickers from photos on iPhone
You can create stickers directly from subject cutouts in your own photos using Subject Lift, the native feature introduced in iOS 17. Perform a long press on the main subject of an image in the Photos app, and iOS isolates that subject from its background using on-device machine learning models.
Requirements at a glance: iOS 17 or later, plus an iPhone XR, iPhone XS or newer model equipped with the Apple Neural Engine. On iOS 16 you can lift and copy a subject, but system-wide sticker saving with effects arrived with the iOS 17 update.
How it works under the hood
Apple's computer vision pipeline treats the task as class-agnostic salient-object segmentation: the mask is predicted at a fixed 512×512 resolution, then upsampled to the photo's native dimensions (Apple Machine Learning Research, 2023). Because inference runs locally on the Neural Engine, the cutout never leaves the device, and instance lifts can occasionally include more than one foreground object when subjects overlap. There is no manual edge-refinement brush in the built-in interface, so contrast between subject and background directly determines cutout quality. If you are curious how much of this segmentation work is now model-driven across the wider toolchain, the notes on how to identify machine-made imagery cover the same underlying stack from the other direction.
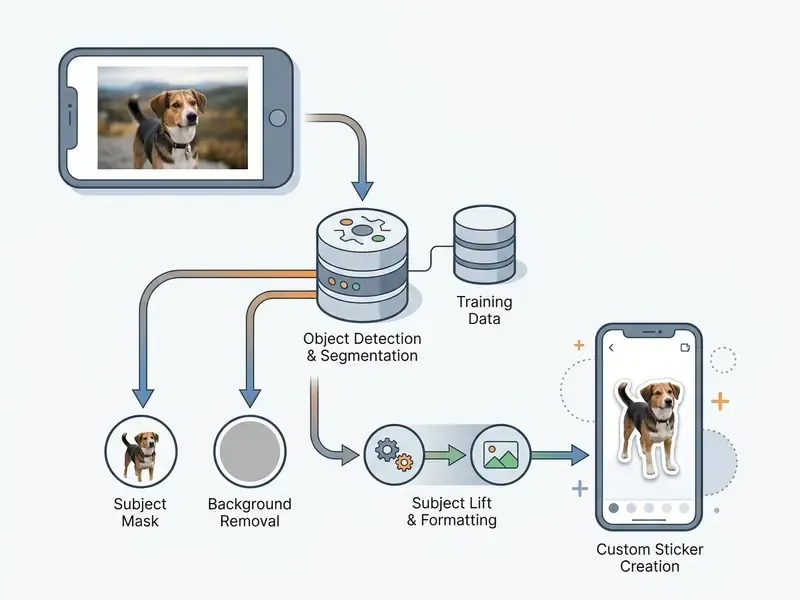
Create a sticker from a photo subject
Open any picture in full screen inside the Photos app, then press and hold the subject until a glowing outline appears around its borders. Release your finger to reveal the action menu, which also includes Copy, Share and Look Up, then tap Add Sticker. The isolated cutout is saved automatically into your system-wide sticker pack, where you can tap Add Effect to apply Outline, Comic, Puffy or Shiny visual styles.
Pro tip: if the background is busy, crop the photo or zoom into the subject before the long press. A tighter frame with strong subject-to-background contrast produces cleaner edges and keeps stray details out of the cutout. My own worst results always came from group shots taken against foliage.
Create a sticker directly within the Messages composer
You can also generate new stickers without leaving an active chat thread:
- Open a conversation in the Messages app and tap the plus (+) icon to the left of the input field, or tap the emoji icon on the keyboard.
- Select Stickers, then tap the large plus (+) icon inside the sticker drawer.
- Browse your photo library in the pop-up picker and tap the image containing the subject you want.
- The iOS computer vision system isolates the subject automatically. Tap Add Sticker at the bottom right of the preview window to add it straight to your system drawer.
This route is slightly faster than the Photos route, mostly because Messages outlines the subject for you as soon as the image loads.
Apply effects and manage your sticker collection
Once a custom graphic sits in your system drawer, you can change its style or clear obsolete cutouts out of the way.
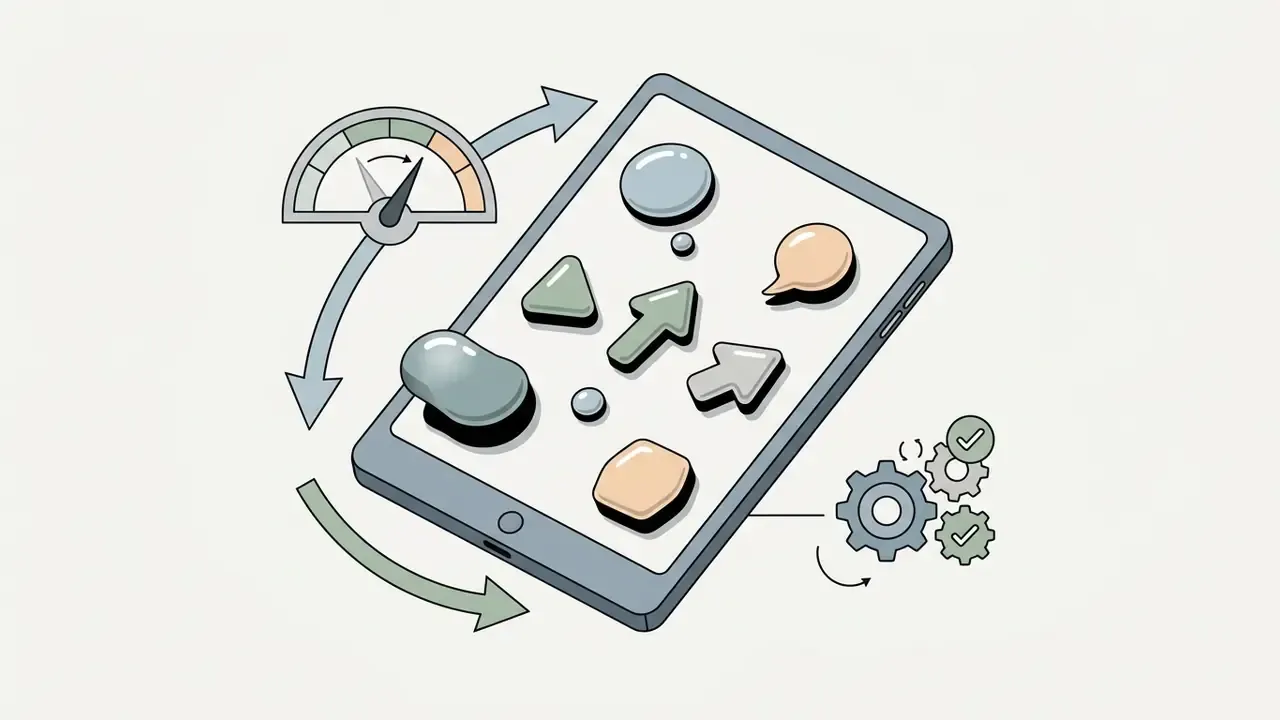
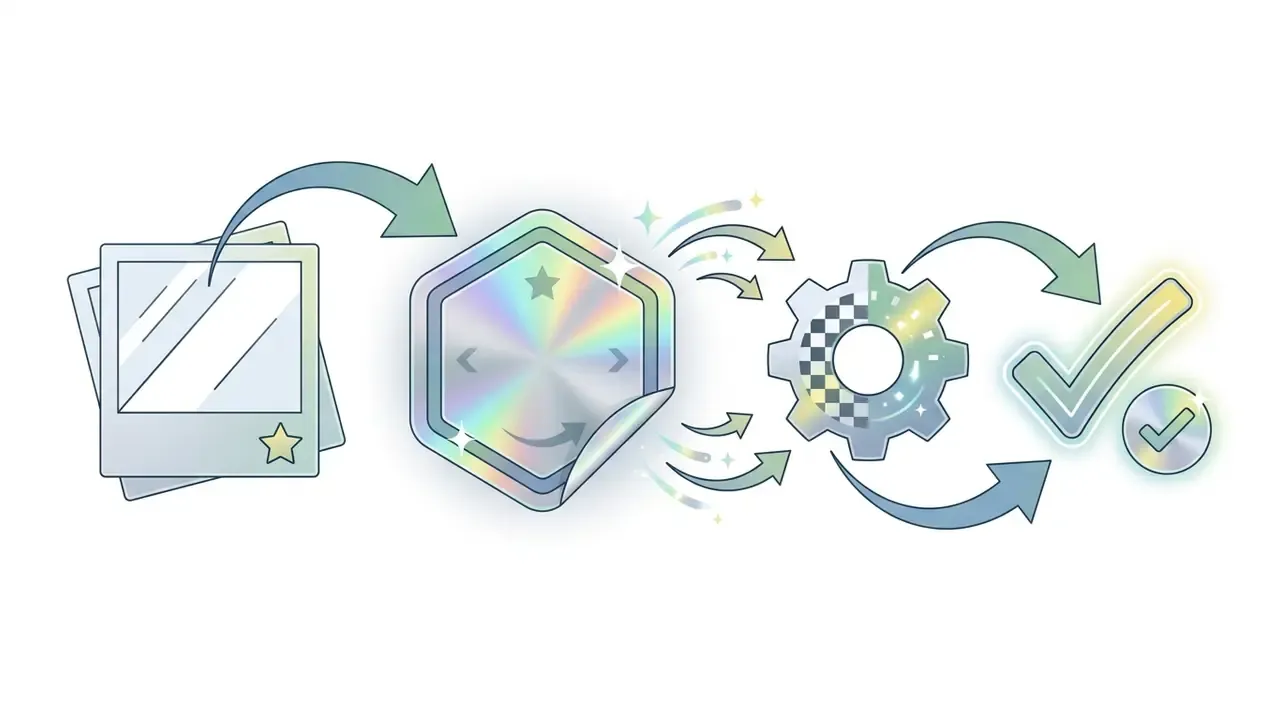
Adding visual effects to stickers
- Open the sticker drawer in Messages or Markup by tapping the plus (+) icon and selecting Stickers.
- Touch and hold the specific sticker you want to edit until the context menu appears.
- Tap Add Effect, or Edit Effect if an effect is already applied.
- Choose from the available iOS rendering filters:
- Tap Done to save the style change. For an animated cutout you can also switch the Live behaviour off here, so the sticker stays still.


Rearranging and deleting stickers
To reorganise the drawer layout or remove stickers you no longer use:
- To rearrange touch and hold any sticker in the drawer, tap Rearrange, then drag graphics into the sequence you prefer. Tap anywhere outside the drawer to confirm.
- To delete touch and hold the graphic inside the sticker tray, then select Delete or Remove from the pop-up context menu. While in Rearrange mode you can also tap the small "–" badge on a sticker to remove it.
Use Live Stickers and animated stickers
Creating a moving graphic means selecting a Live Photo from your library, performing a long press on the subject, sliding your finger up slightly, then tapping Add Sticker. Provided the Live Photo captured enough movement at capture time, iOS converts those temporal frames into an animated Live Sticker.
"Live Photos and Motion Photos outperform single static frames in object identification tasks, because temporal sequences transmit more contextual information."
On iOS, Live Stickers keep their animation loops inside the Messages app, Notes and supported system frameworks. They render as static images when exported through standard image editing tool pipelines, Markup included, where the sticker is flattened into the saved photo. If you need real motion in the final file, you are looking at a video workflow, not a sticker workflow, and how to find video from image reverse search is a useful detour when you are trying to trace the moving original.
- Apple Support: Make stickers from your photos on iPhone
- Apple Support: Send stickers in Messages on iPhone
- Apple Machine Learning Research: Salient object segmentation in iOS (2023)
Add a sticker to a picture on iPhone with the Messages app
To add a sticker to a picture using the Messages app, attach an image to a conversation, open the sticker drawer via the plus icon, select your graphic, then drag it onto the photo preview. The overlay sits on top of the image container inside the active chat thread.
The Messages composer behaves like an interactive canvas. When you drag a graphic onto an attached photo, iOS keeps that graphic as an independent layer until the message is sent. According to official documentation, stickers synced across devices using the same Apple Account stay accessible inside the Messages keyboard on iOS, iPadOS and macOS (Apple Support).
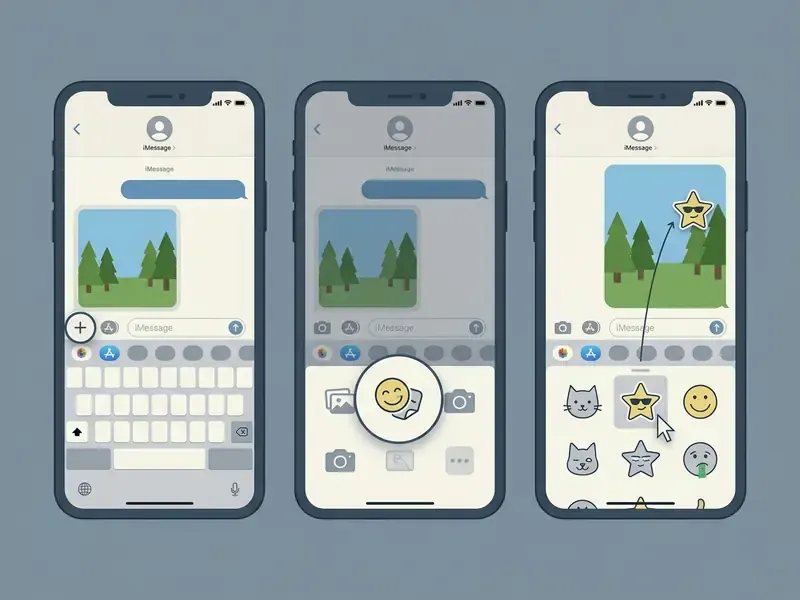



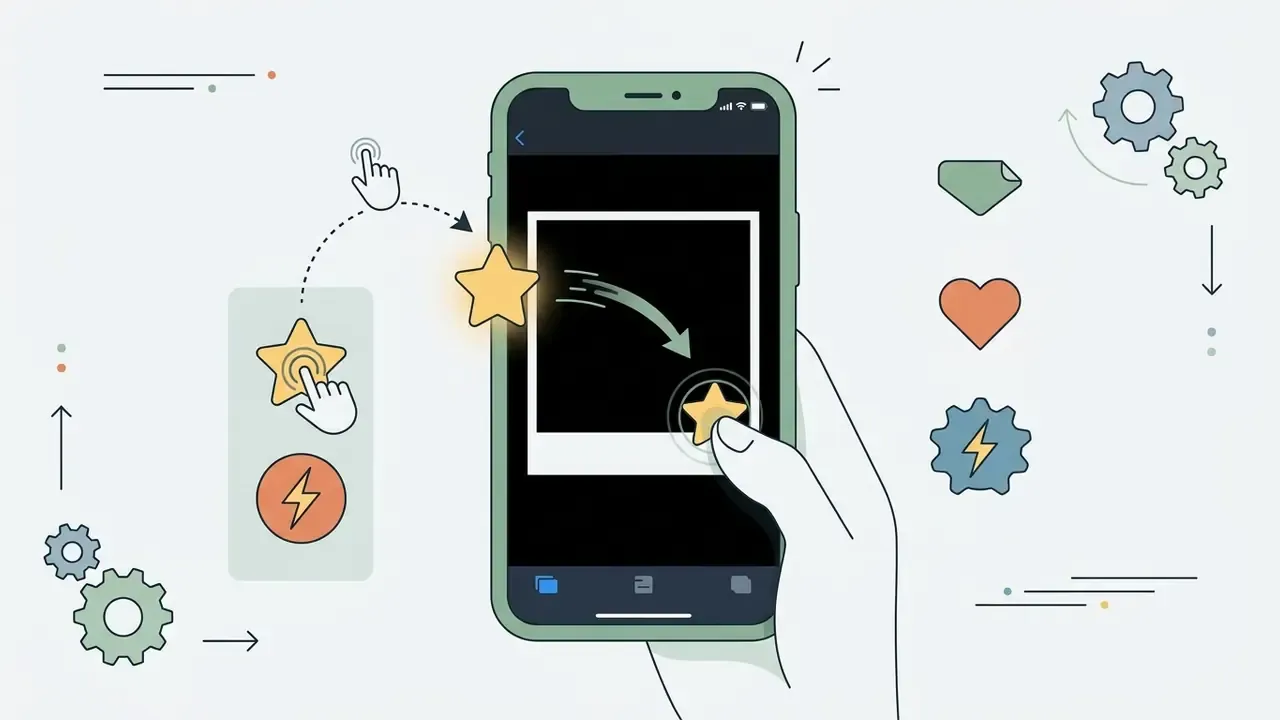
Choose a photo and tap add sticker
To select an image, tap the attachment button inside any conversation window and open your photo library to pick the base picture from your own photos. Next, open the sticker tray by tapping the plus icon and choosing the sticker icon. You can browse standard emoji, Memoji or installed custom sticker packs, then tap add sticker, or touch and hold a specific sticker to prepare it for placement onto the picture you selected.
Move, resize, and rotate the sticker before sending
While dragging a graphic toward the photo thumbnail, use a second finger to pinch-to-zoom and resize the graphic, or rotate it to the angle you want. Moving that second finger away from or closer to the dragging touch scales the item up or down before it snaps to the photo surface. Rotating the second finger around the dragging finger changes the sticker angle before release. Awkward at first. Muscle memory arrives after a few attempts.
"Removing gestural and symbolic-only elements from interfaces improved learnability and usability for older adults."
Because these multi-finger gestures are never shown on screen, it pays to check placement visually before you send. You can place multiple stickers onto a single photo, onto a message bubble, or even on top of an existing sticker by repeating the drag-and-drop gesture, so verifying the layout keeps graphics from covering the one detail the recipient actually needs to see.
Cross-device sticker usage (iPadOS and macOS)
Custom stickers sync via iCloud across devices signed in to the same Apple Account, which is why iPhone iPad continuity works here without extra setup:
- On iPadOS use the same drag-and-drop gestures, or the Apple Pencil, to position stickers on photo attachments in Messages or on the Markup canvas.
- On macOS (Sonoma and later) click the App Drawer icon in Messages, select Stickers, then drag any custom cutout onto an image bubble in your active desktop chat window.
- On Apple Vision Pro the same sticker collection appears wherever the system sticker picker is available.
Add stickers to photos with a photo editing app
To save a graphic permanently into a photo file with more control than Markup offers, open an editing app, import your base picture, add graphic overlays, then export the rendered result. Third-party editing applications use Apple's PhotoKit framework to read media from the photo library and write new rendered files back into iOS album storage.
A dedicated editing app gives you precise control over multi-layer compositions. Native Messages overlays exist as chat metadata; third-party editors merge graphic layers, text elements and pixel adjustments into a single master image file.
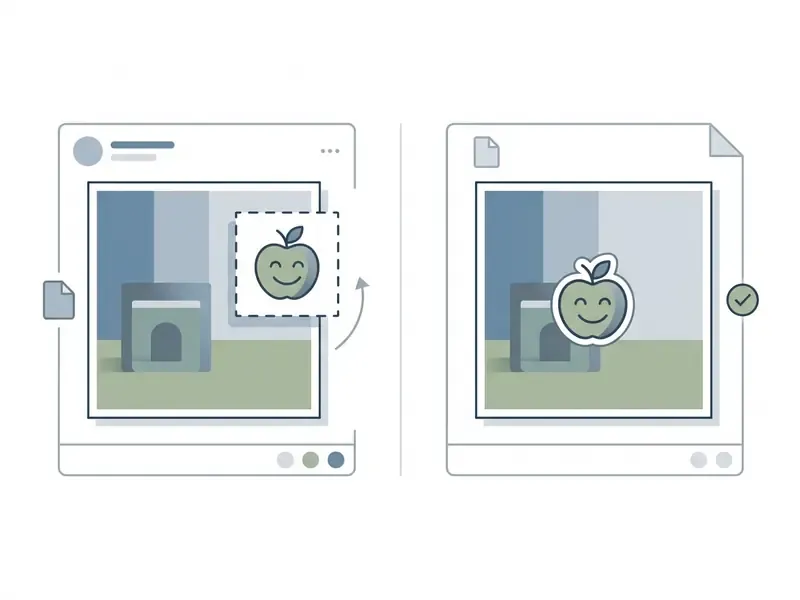
Choose a sticker app for custom stickers and text
When you pick a photo editor, choose tools that support multiple graphic layers, custom cutout imports and flexible text box controls with adjustable font size. Photo editing apps such as Picsart, Canva and PixelLab let you stack custom stickers, apply drop shadows, and place text blocks above or below graphic elements.
Concretely: Picsart's iOS listing advertises custom sticker creation plus hundreds of fonts, and it supports importing your own typefaces through Text → Font → My Fonts → Add Font. PixelLab exposes multiple text layers with reordering and layer locking, which matters when a label has to sit behind a cutout. Canva's mobile app documents a text-layer element that places type behind the subject for depth, though it is the weakest of the three for custom fonts and custom sticker depth. If you would rather compare the options side by side before installing anything, the AI Media Comparison Matrices and the published AI Media Benchmarks and Review Proof cover export quality and limits in more detail. Combining custom graphics with readable text boxes on iPhone is how you build polished assets for commercial or personal use, and keeping one consistent text container width across a batch of images stops labels from truncating on export.
Working at volume, or feeding overlays into an automated pipeline? Then the render step belongs in code rather than in a mobile editor, and the AI Media API documentation is the place to look. Teams estimating cost per rendered asset usually start with the calculators instead of guessing.
Privacy, permissions, and data considerations
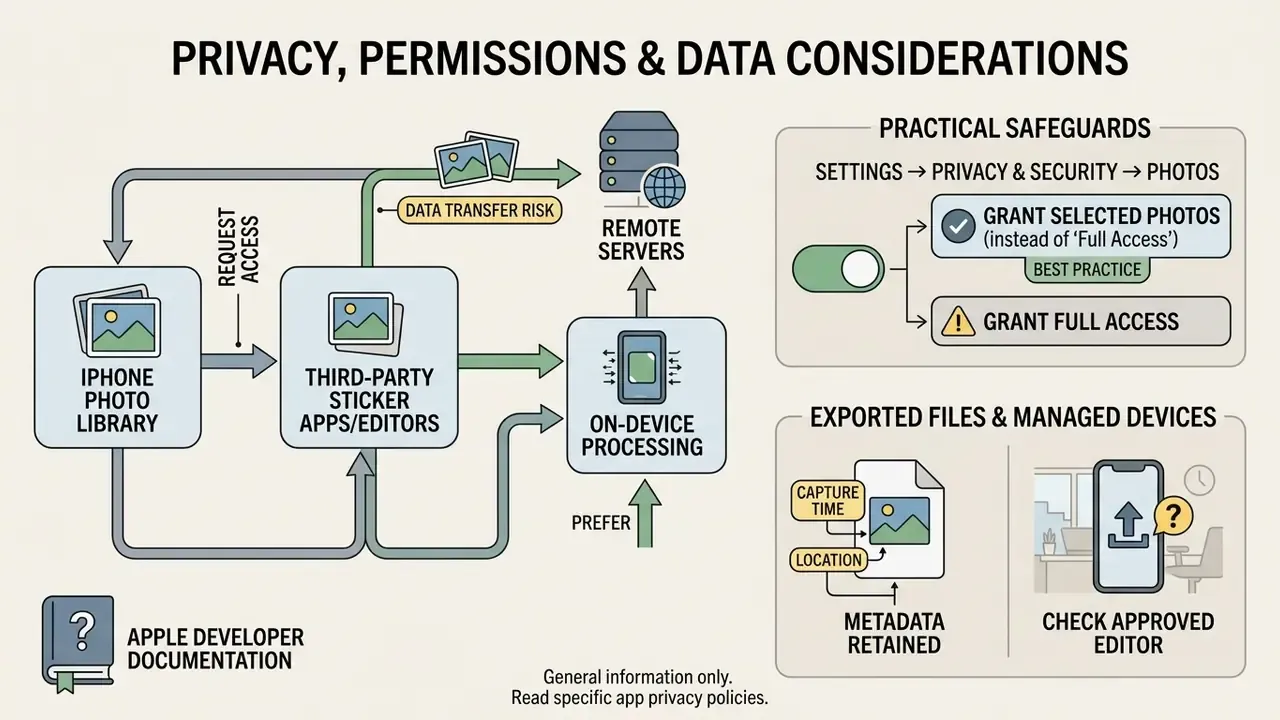
Third-party sticker packs and editors request access to your photo library, and some upload images to remote servers for processing. Before granting access, compare what the app declares with what it actually asks for. Those two things do not always match.
"Users frequently misunderstand the structure of iOS privacy labels and report a gap between the labels and an app's actual permission settings."
Save the edited photo to your photo library
After finishing your composition, tap the export or save icon inside the editing app to write the modified image to device storage. The application processes the visual stack and outputs a flattened JPEG or PNG file directly into your photo library.
Apple's PhotoKit framework keeps the original unmodified photo preserved in your library while the newly edited image is stored as a separate asset (Apple Developer Documentation). Keep the export logic of Apple Photos in mind too: exporting an edited photo re-renders and re-encodes the file, while Export Unmodified Original copies the imported file untouched. If maximum fidelity matters, finish the sticker overlay in your editor, save it as a new master, then import that master back into Photos so the untouched source stays intact.
When finished, inspect the exported file in the Photos app to confirm that graphic placement and image resolution and enhancement meet expectations. Licensing questions around branded overlays sit in the AI Media Commercial-Use Hub. And if a paid editor's export limits or watermarks get in the way, compare the constraints of free photo editors before you commit to a subscription.
- Apple Developer Documentation
Put stickers on photos in Instagram Stories and Snapchat
To place graphics on photos inside Instagram Stories or Snapchat, import an image from your camera roll into the story creation preview, then select stickers, GIFs or AR filters from the top editing tray before publishing.
Social platforms treat graphic overlays as engagement drivers. Empirical research on Instagram visual communication shows that artistic graphic elements measurably increase viewer interest and positive emotional response compared with plain data or unadorned media (Villanueva et al., 2024). Multi-market research on Snapchat AR lenses went further: interactive visual overlays captured 81% active viewing attention with an average active attention duration of 12.6 seconds (Amplified Intelligence / Snapchat Study, 2024).
When you use Snapchat or Instagram Stories:
- Tap the story creation button and select an iPhone photo from your camera roll.
- Tap the graphic icon in the top right corner to open the sticker tray, GIF search or custom cutout tool. Instagram's Cutouts feature saves the resulting sticker into the in-app tray for reuse; Snapchat stores custom stickers in its own drawer rather than in your camera roll.
- Pinch to adjust scale, position the element on the screen, then tap add effect to apply visual effects or AR lenses.
- Tap the save button if you want to export the annotated frame to your camera roll before you post stories.
Note the audience and retention difference. A photo sent in Snapchat chat stays private to the recipient, while a Story posted to My Story or a Public Profile can reach a much broader audience and typically disappears after 24 hours. Plan the overlay accordingly: what works as an inside joke in a one-to-one chat rarely works in public.
How to remove or change stickers on a photo
You can change or delete graphics from a photo before final export using the erase or remove controls in whichever tool you chose. In the native Photos app Markup editor, open the photo, tap Edit, open Markup, then touch and hold a graphic layer to bring up the context menu and select Delete or Remove. You can also tap the ••• control beside a selected sticker to cut, copy or duplicate it, swap in a different sticker, or simply drag the unwanted one off the canvas.
Once an edited photo is exported and flattened by an editing app, individual graphic layers are merged permanently into the base pixel array and can no longer be edited independently. Layer-based editors such as Photoshop or Adobe Express keep stickers live and re-editable right up to the moment you export, save or send, after which flattening removes that editability. So verifying object scale, alignment and layer order before you commit the final output is not optional, it is the whole game.
Pre-export checklist:
FAQ about adding stickers to iPhone photos
Why does a sticker not appear on my iPhone?
Missing sticker features usually trace back to an outdated iOS version, a temporary iCloud synchronisation delay, or system-level restriction settings. Subject Lift cutout creation and Live Stickers require iOS 17 or higher on iPhone XR/XS and later. To fix availability, run the iOS update via Settings → General → Software Update, verify that iMessage and iCloud sync are enabled, and check that Content & Privacy Restrictions under Screen Time are not blocking app features. Apple Community reports also describe stickers vanishing after a device migration; re-enabling iMessage sync, installing the latest iOS build, or restoring from a backup resolves the stubborn cases, and the sticker will appear in the drawer again.
Can I add text and stickers to the same photo?
Yes. In the native Markup tool, tap Edit, select the Markup icon, tap the plus (+) button, then choose Add Text to insert a flexible text box alongside your graphics. The full step sequence sits in the Markup section earlier in this guide. Adjust font family, font size, alignment and colour with the aA control, drag the text container above or below your sticker layers, then tap Done. Third-party editors offer the same combination with finer layer control.
How do I add a sticker to a photo on iPhone without installing any app?
Use Photos plus Markup. It is the only route that both places the sticker and writes a new flattened image into your library without third-party software. Messages can overlay stickers on a photo inside a chat, but that overlay lives in the conversation, not in a saved file.
How to add an iPhone sticker to another photo?
Stickers you create once stay in the system sticker pack, so reuse is just a few taps. Open the second picture in Photos, go to Edit → Markup → + → Add Sticker, then pick the same cutout again. Nothing needs to be recreated, and the same drawer shows up in Messages, Notes and on your other Apple devices.
Can I make animated stickers move on a saved photo?
No. Live Stickers animate inside Messages, Notes and the system sticker picker, but when a Live Sticker is placed in Markup and the photo is saved, iOS renders a single static frame into the JPEG. To keep the motion, share the Live Sticker directly in a conversation instead of exporting a still image.
Where are my custom stickers stored?
Created cutouts live in the system sticker collection, not as separate images in your camera roll, and they sync through iCloud to your iPhone, iPad, Mac and Apple Vision Pro when you are signed in to the same Apple Account. The original photo stays untouched in Photos.
How do I move photos with stickers to a computer?
Save the edited photo in Photos first, then transfer it like any other image: iCloud Photos, AirDrop to a Mac, or a USB connection to a Windows PC, where iPhone media appears under the DCIM folder. Markup output is a standard JPEG, so no special software is required.
Editorial note
This guide was compiled against Apple's official Support documentation for Photos, Markup and Messages, Apple Machine Learning Research material on salient-object segmentation, PhotoKit developer documentation, and peer-reviewed research on visual communication. Interface labels reflect iOS 17 and later. Button wording can shift between minor iOS releases, so check Settings → General → About if a step does not match what you see on screen.