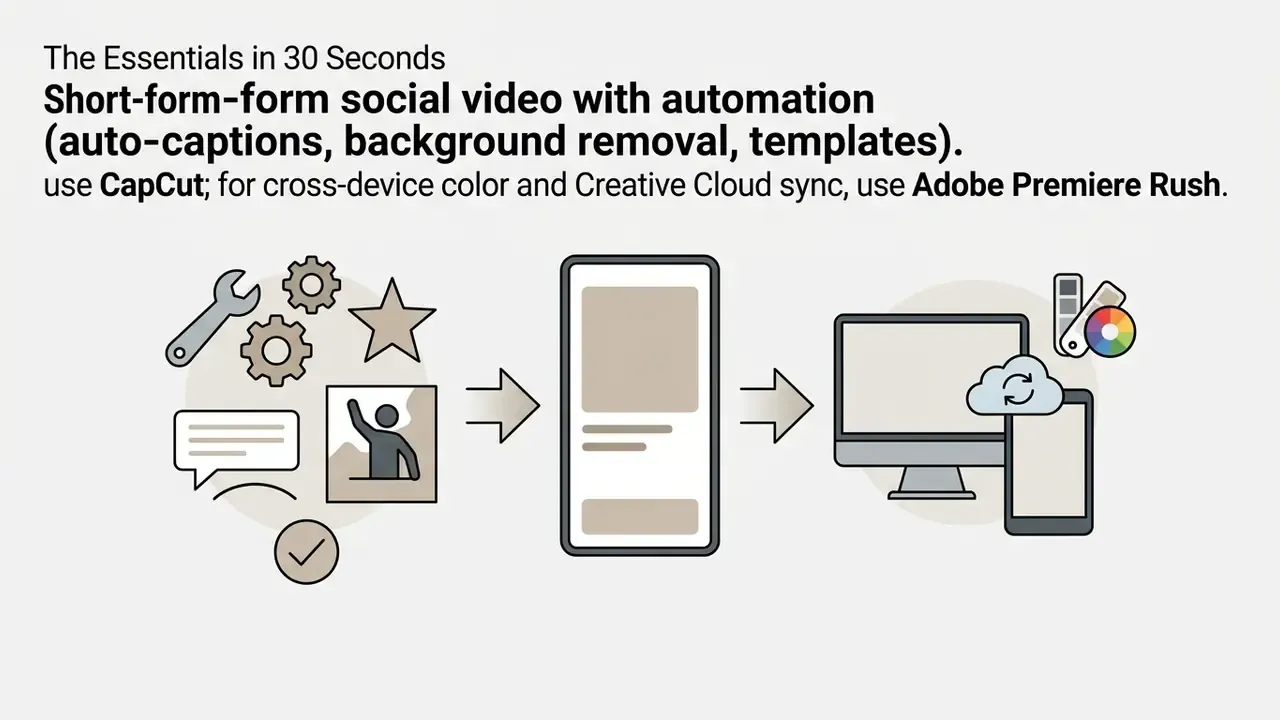
The Essentials in 30 Seconds
Who This Guide Is For and How to Read It
Three readers usually land here. The first wants one clip shortened before sending it to a colleague. The second is building a weekly social channel and wants a repeatable process. The third edits footage that belongs to an employer or a client, which changes the calculation entirely: the question stops being "which app looks nicest" and becomes "where does this footage travel while I edit it".
The guide is ordered to match those needs. Tool selection comes first, then the Photos app for single clips, then iMovie for multi-clip assembly, then third-party and AI apps, then a section on data handling that most tutorials skip. Export settings and troubleshooting close it out.
One practical note before you start editing. Nothing in the Photos app workflow is permanent, so experimenting costs you nothing but time. iMovie projects are a different story: they live inside the app, not in your camera roll, so export before you delete anything.
Can You Edit Videos on iPhone?
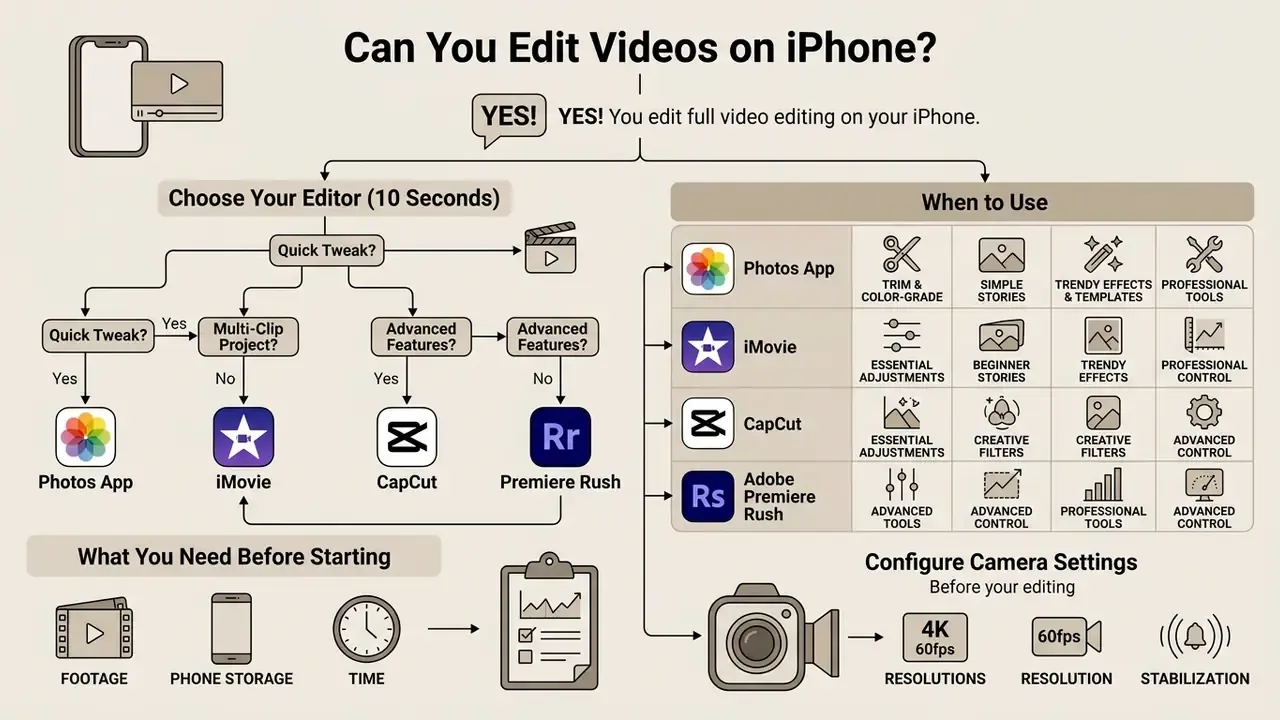
Yes. You can fully edit videos on an iPhone using Apple's built-in applications, such as the Photos app and iMovie, as well as specialized third-party video editing apps available in the App Store. Modern iPhones carry native hardware acceleration capable of processing 4K video, performing non-destructive color adjustments, and rendering multi-track timelines directly on the device.
«Mobile on-device video editing was demonstrated as technically feasible in early HCI research, but the modern iPhone ecosystem substantially exceeds those prototypes in capability.»
Whether you are asking "can I edit videos on my iPhone" for a quick social media clip or assembling a multi-clip presentation, iOS provides a scaled toolkit. Basic operations like trimming unwanted frames, cropping aspect ratios, and applying filters require no additional software. Complex projects that need multi-layer audio, title overlays, and custom transitions can be migrated to iMovie or to a professional-grade mobile editor. To evaluate which editor fits your project requirements, review the technical comparison matrix below or consult our broader AI Media Comparison Matrices.
Comparison of iPhone video editors: Photos, iMovie, CapCut, and Adobe Premiere Rush
| Capability | Photos app (iOS) | iMovie (iPhone/iOS) | CapCut (iOS) | Adobe Premiere Rush (iOS) |
|---|---|---|---|---|
| Trim single clips | Yes. Trim start/stop times via sliders in the timeline. | Yes. Trim clip duration at both ends and via precision handles. | Yes. Trim, shorten, split, and merge clips on a multi-track timeline. | Yes. Precise clip trimming and handle adjustments on a fluid timeline. |
| Multi-clip timeline editing | No. Edits are clip-specific, not project-based. | Yes. Timeline-based projects with multiple video clips and photos. | Yes. Multi-track timeline supports complex layered video and audio tracks. | Yes. Multi-track timeline for sequencing video, graphic, and audio tracks. |
| Add text and titles | Limited. Markup allows captions on photos; text overlays on video are not supported natively. | Yes. Titles and animated text overlays in multi-layer projects. | Yes. Extensive text overlays, animated titles, templates, and stickers. | Yes. Custom motion graphics templates and title overlays. |
| Add music and sound effects | Limited. Audio Mix presets adjust recorded audio but do not add external music tracks. | Yes. Background music and sound effects from Apple's free soundtrack library. | Yes. Extensive music library clips, sound effects, and audio extraction. | Yes. Multi-track audio layering, built-in royalty-free sound tracks, and ducking. |
| Filters and color adjustments | Yes. 15 manual sliders plus filters such as Vivid or Dramatic. | Basic. Standard filter effects and basic light/color controls; no per-parameter sliders. | Yes. Hundreds of visual effects, filters, brightness/contrast, and color grading. | Moderate. Built-in color presets plus manual exposure/tint/vibrance/saturation sliders. |
| Transitions between clips | No. Transitions apply only in multi-clip timeline contexts. | Yes. Cuts, cross-dissolves, and wipe transitions with duration settings. | Yes. Advanced transition options with kinetic effects on and between clips. | Yes. Standard transition wipes, fades, and cross-dissolves. |
| AI features (captions, TTS, and similar) | No. No auto-captions; audio processing relies on algorithmic presets. | No. No built-in auto-captions; relies on manual text creation or system accessibility. | Yes. Auto-captions, text-to-speech, motion tracking, and background removal. | Limited. Caption track export is documented, but real-time AI tools are limited compared with CapCut. |
| Export quality and control | Basic. Saves edited clips with non-destructive options, preserving original source files. | Moderate. Exports up to 4K UHD at 60 fps depending on native clip formats. | High. Custom export resolution up to 4K 60 fps with smart HDR output. | High. Custom export presets matching major web video and social media formats; UHD export tied to Creative Cloud entitlement. |
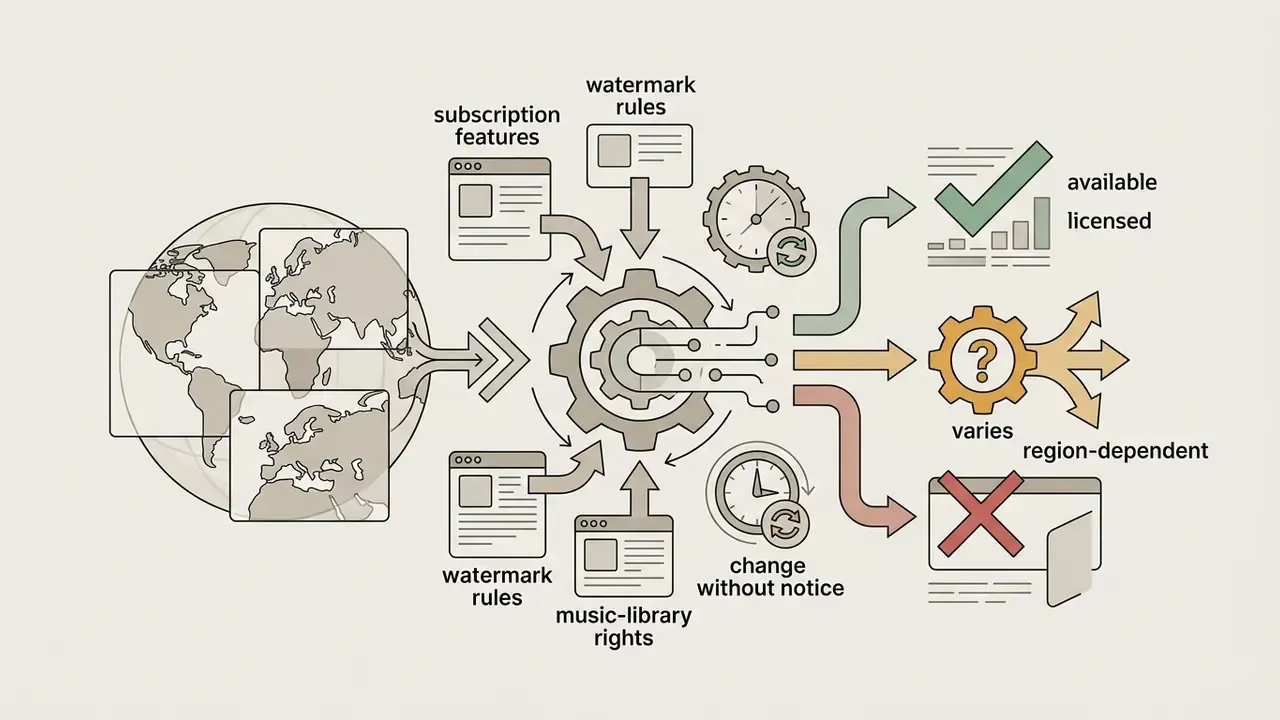
| Cost model | Included with iOS (free). | Free, no in-app purchases; requires iOS 17.6 or later. | Free tier plus CapCut Pro subscription; pricing and trial availability vary by App Store region. | Free download with paid Creative Cloud tiers; Adobe has signalled migration toward Premiere on iPhone. |
| Where processing happens | On-device. | On-device. | Hybrid. Several AI features process media on remote servers. | Hybrid. Local editing with Creative Cloud project sync. |
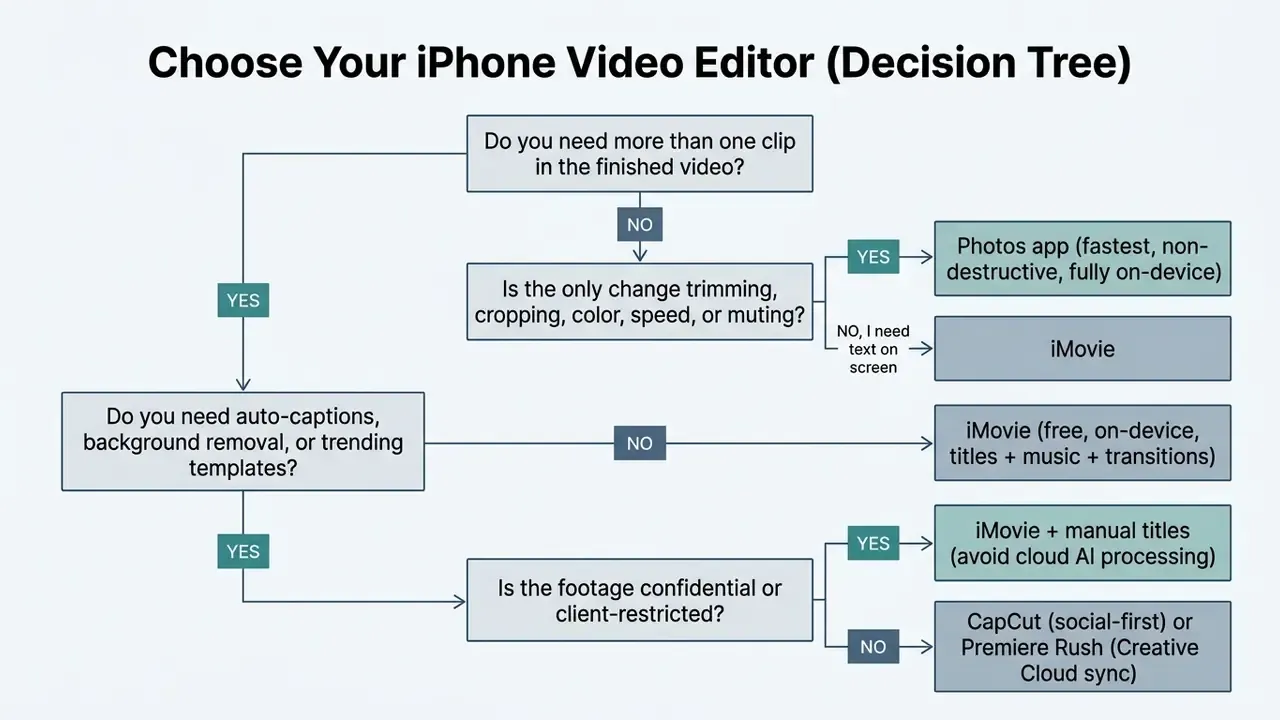
Choose Your Editor in 10 Seconds (Decision Tree)
When to Use the Photos App, iMovie, or Video Editing Apps
Select the Photos app when you need rapid, non-destructive modifications to a single video file: trimming the beginning or end, adjusting exposure, or cropping to a square or vertical aspect ratio. The interface is deliberately narrow and, for that reason, genuinely user friendly.
«The decision to edit on iPhone comes down to matching tools to structural complexity: single-clip corrections belong in Photos, multi-clip narrative assembly belongs in iMovie, and vertical social content with AI features belongs in dedicated apps.»
Select iMovie when your goal is to assemble multiple video clips into one continuous narrative with titles, background music, voiceover, and clean cross-dissolve transitions. Apple's own guidance frames Photos as a tool for light, color, and filters at the clip level, while iMovie extends into project and editing timeline work. That is precisely where the boundary between a quick fix and a produced video sits.
For advanced social media video creation that needs automated speech-to-text captions, keyframe animations, vertical video templates, or background removal, dedicated third-party video editing apps like CapCut offer better workflow efficiency. If you also edit on a desktop, compare mobile options against free video editing software before committing to a subscription. And if your finishing station runs DaVinci Resolve or Premiere Pro, treat the iPhone as the capture and rough-cut stage, then hand off a high-bitrate master instead of a platform-compressed upload. Organizations evaluating systemic media automation strategies can consult our AI Media Commercial-Use Hub for enterprise licensing and compliance guidance.
What You Need Before You Start Editing
Before you begin to edit iPhone videos, verify that your raw video clips are fully stored in the Photos app library and that the device has enough local storage free. High-definition and 4K video editing carries processing overhead; checking storage under Settings > General > iPhone Storage prevents export failures. Apple displays available capacity at the top of that screen and offers Offload Unused Apps to reclaim space quickly.
When working with media synced through iCloud Photos, make sure full-resolution versions are downloaded to the device rather than optimized preview thumbnails. If Optimize iPhone Storage is enabled under Settings > [your name] > iCloud > Photos, full-resolution masters live in iCloud while smaller proxies stay local, and the editor has to wait for the original to download before rendering a high-quality export. Organizing raw media into a dedicated camera roll album beforehand speeds up project assembly across every mobile editing software package.
Ten seconds of housekeeping saves ten minutes later. Name the album by date and subject, not "New Album 3".
Configure Camera Capture Settings Before Editing
To keep maximum image fidelity available during post-production, configure capture parameters before you shoot:
- Navigate to Settings > Camera > Record Video on your iPhone.
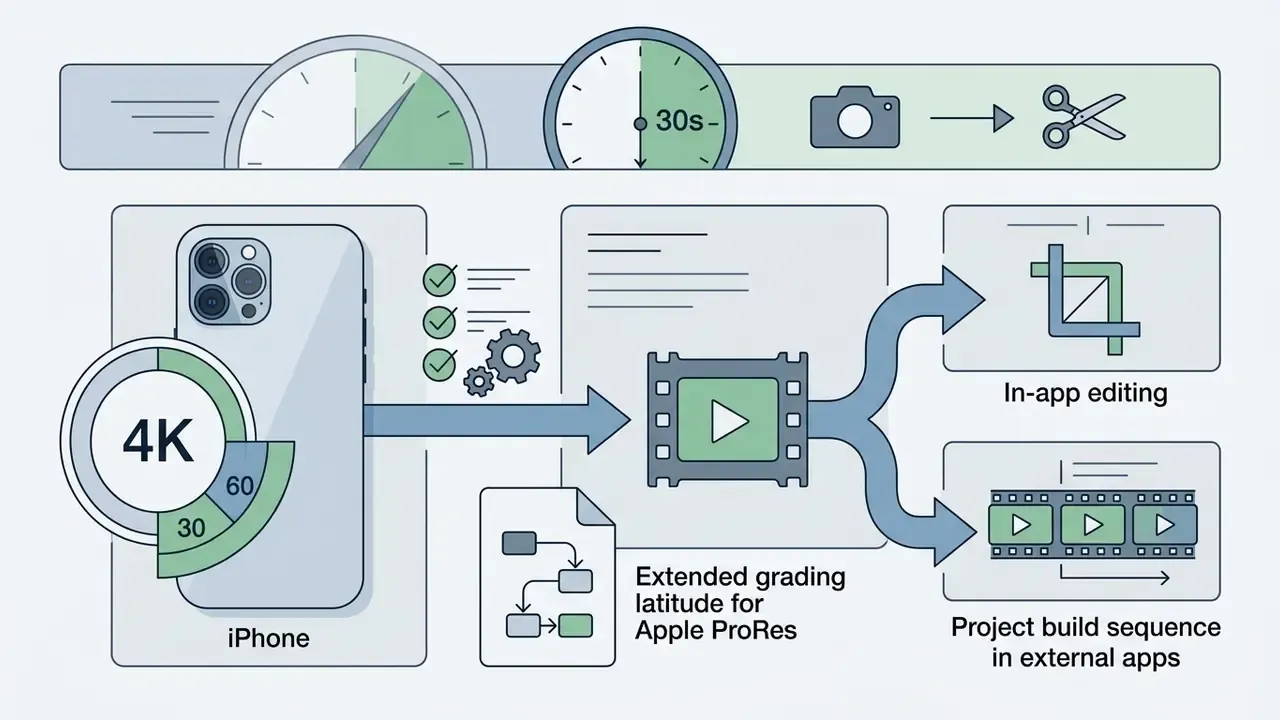
- Select 4K at 30 fps for standard playback, or 4K at 60 fps if you plan to introduce motion slowing or speed ramping in post.
- On iPhone 13 Pro and newer models, enable Apple ProRes under Settings > Camera > Formats for maximum color-grading dynamic range, provided you have generous local storage.
- Keep Settings > Camera > Preserve Settings > Creative Controls enabled so frame-rate and format choices persist between shoots instead of resetting to defaults.
Terminology correction worth noting: several guides recommend "ProRAW" for better video results. Apple ProRAW applies to still photographs only. The professional video codec on iPhone is Apple ProRes, and that is the setting to enable when your goal is graded, editable footage.
How to Edit Videos on iPhone Using the Photos App
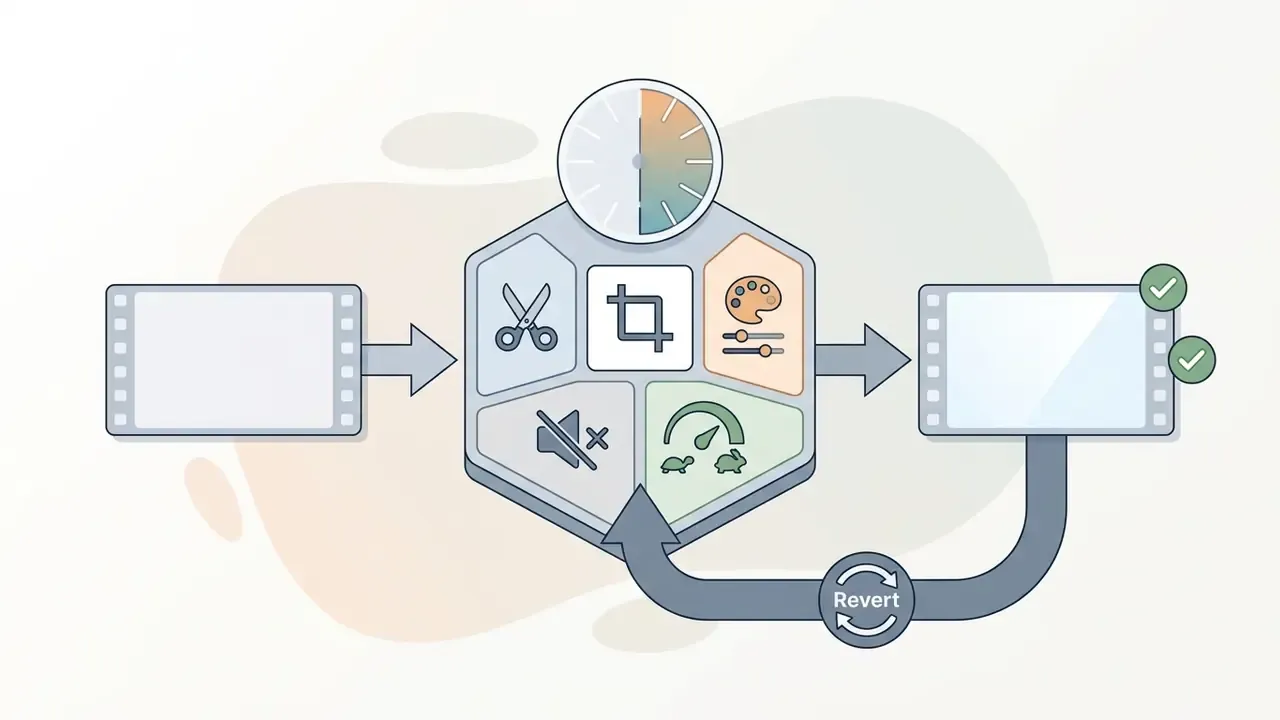
Editing single video clips directly in the Photos app is the fastest way to edit videos in iPhone without installing third-party software. Built into iOS, the Photos editor applies non-destructive adjustments, so you can alter light, color, frame boundaries, and audio parameters while keeping the option to revert to the original footage at any time.
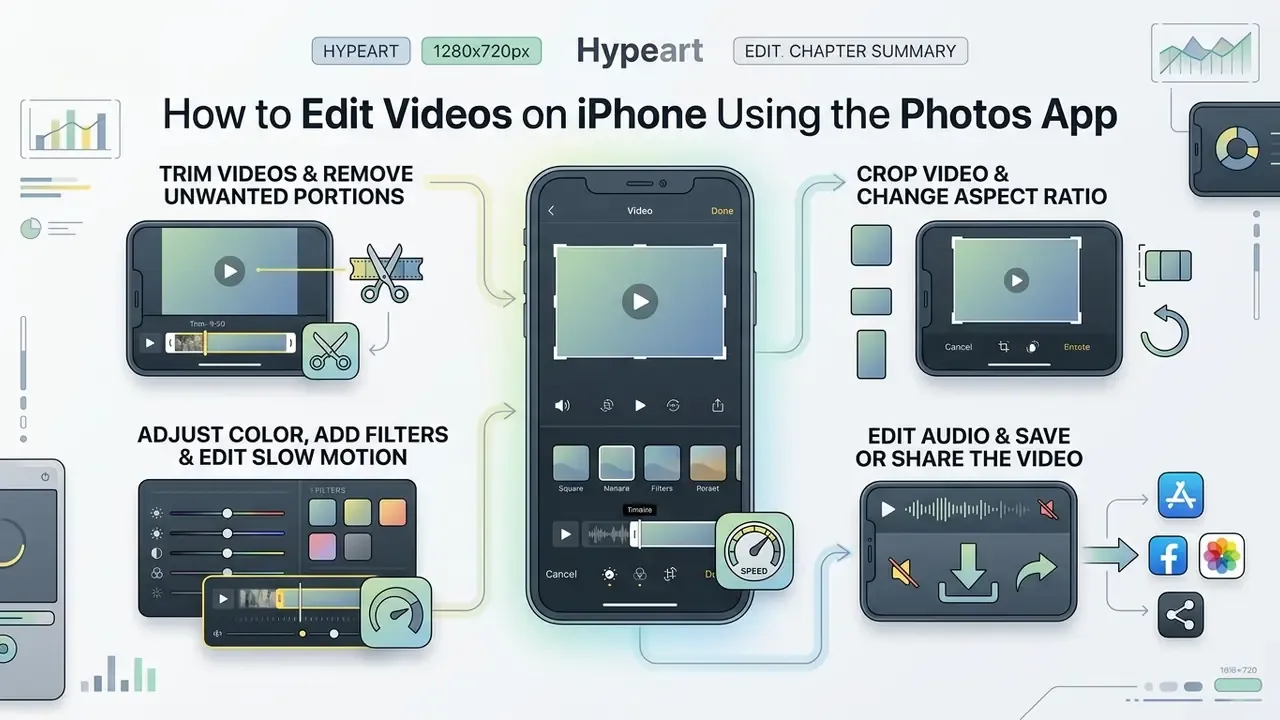
To start, open the Photos app, select your target video, and tap the Edit button in the top right corner. That activates the primary editing workspace and exposes the editing tools for frame trimming, color correction, cropping, and audio channel adjustments. Four tool icons sit along the bottom edge: the camera icon (video timeline and speed), the dial icon (Adjust), the three-rings icon (Filters), and the crop icon (framing, rotation, aspect ratio).
Trim Videos and Remove Unwanted Portions
To trim videos and remove unwanted portions from either end of a clip, open the video in the Photos app, tap Edit, and find the video timeline frame viewer at the bottom of the screen. Touch and drag the yellow handles on either end of the timeline to set the start and stop points.
As you drag the slider, the viewer updates in real time and shows the exact frame where playback will begin or end. Once you have isolated the segment you want, tap Done in the bottom right corner. You will be prompted to choose Save Video, which replaces the clip while keeping edit history, or Save Video as New Clip, which preserves the full original raw file alongside the newly trimmed version.
«Save Video keeps only the trimmed version, while Save Video as New Clip preserves both the original and the trimmed copy.»
According to Apple Support documentation, saved trims stay reversible: reopen the editor and select Revert.
Crop Video and Change the Aspect Ratio
To crop a video frame or change its aspect ratio for social media platforms, tap the Crop icon at the bottom of the Photos edit screen. Drag the corner handles of the bounding box inward to remove distracting background elements or re-center the subject. By default the crop tool preserves the original ratio; tap the lock icon to release that constraint.
To apply precise standard ratios, tap the aspect ratio icon in the top right corner. Choose preset dimensions such as 9:16 for vertical TikTok or Reels content, 1:1 (Square) for square posts, or 16:9 for traditional widescreen displays. Two additional icons flip orientation between horizontal and vertical, and the rotation dial straightens tilted horizons. The Photos app constrains the crop frame automatically while still letting you pinch, zoom, and reposition the underlying video inside the frame to hold visual focus.
One caution from experience: cropping 16:9 footage to 9:16 discards roughly two-thirds of the horizontal frame. If you know the destination is vertical, shoot vertical, or at least frame the subject dead center.
Adjust Color, Add Filters, and Edit Slow Motion
To refine clip exposure, tone, and fine detail, select the Adjust tab (dial icon) inside the Photos editor. Swipe horizontally across the full control suite: Exposure, Brilliance, Highlights, Shadows, Contrast, Brightness, Black Point, Saturation, Vibrance, Warmth, Tint, Sharpness, Definition, Noise Reduction, and Vignette. Drag the slider below each parameter to fine-tune the grade, or tap an icon to toggle its effect on and off. The magic-wand Auto control runs a single Auto-Enhance pass if you would rather start from an automatic baseline. Undo and Redo arrows in the upper left corner roll back any single change without discarding the whole session.
A practical grading tip: when matching iPhone B-roll to footage from a dedicated camera, start with Highlights and Brilliance rather than global Exposure. Recover clipped highlights first, then lift mid-tones. Skin tones stay warm instead of turning grey. And because Photos stores adjustments as instructions rather than baked pixels, you can copy the same recipe to additional clips and revert at any point.
To apply pre-set color profiles, tap the Filters icon (three overlapping circles) and select Original, Vivid, Dramatic, Mono, or Silvertone, then set intensity with the slider. For high-frame-rate clips recorded in Slo-mo mode, a specialized timeline bar appears beneath the frame viewer. Drag the wide white vertical bars to define exactly where slow motion begins and ends, leaving the surrounding footage at standard playback speed. On iOS 18 and later, the same speed control can slow any clip recorded above 30 fps, even when it was not captured in Slo-mo mode.
How to Edit Multiple Video Clips in iMovie on iPhone
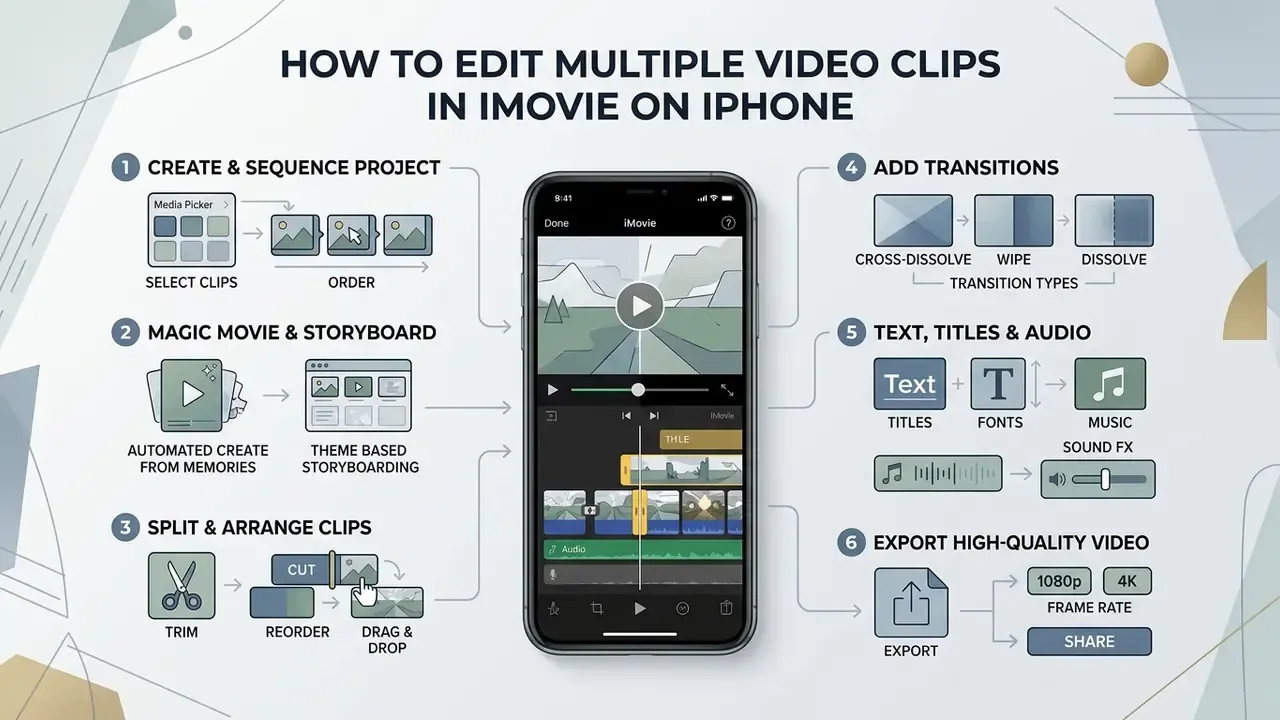
When a project requires sequencing multiple video clips, adding soundtrack music, or inserting title overlays, Apple's iMovie app provides a full timeline-based video editing software environment on iOS. It is free in the App Store with no in-app purchases, requires iOS 17.6 or later, and turns raw mobile footage into structured video presentations.
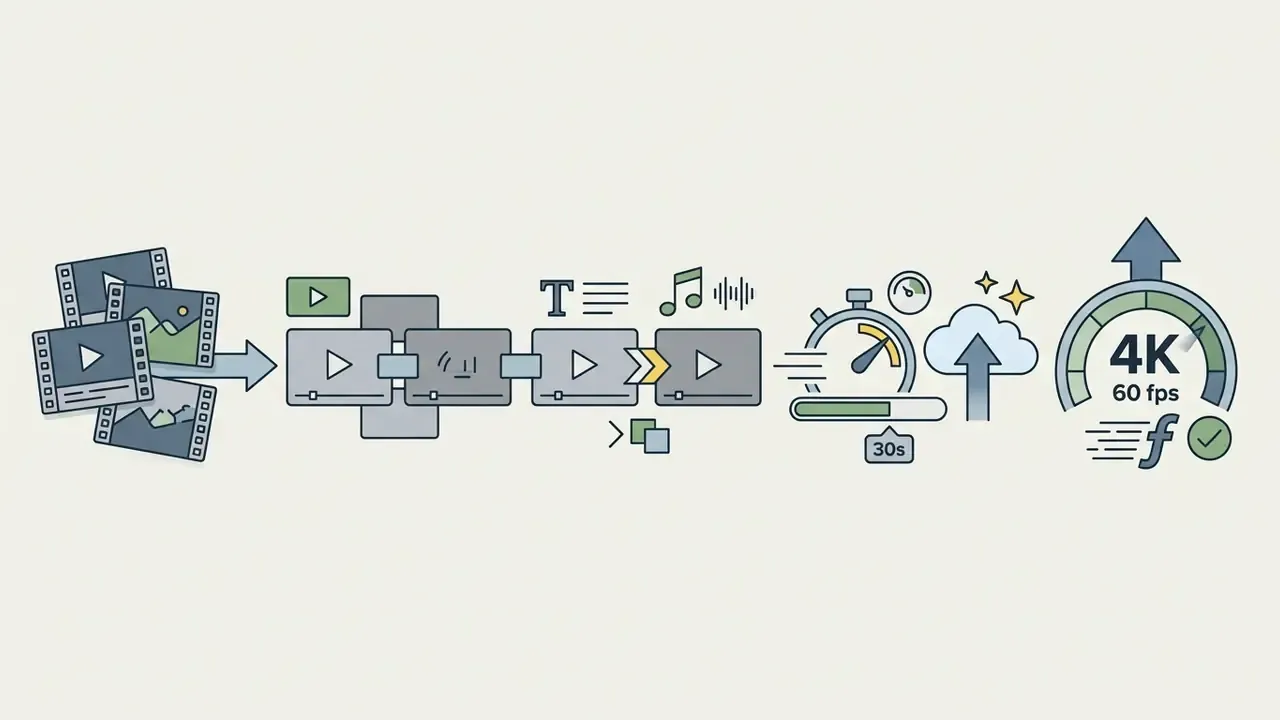
Figure 2. iMovie project assembly pipeline.
Start New Project → Import Video Clips → Arrange on Video Timeline → Split & Insert Transitions → Overlay Text & Titles → Mix Background Music → Export 4K Video
Create a New Project and Arrange Video Clips
Launch iMovie on your iPhone and tap Start New Project. iMovie presents three workflow entry modes:
- Magic Movie builds a styled edit automatically, with transitions, soundtrack, and titles based on the assets you select. Ideal for recap reels assembled in under a minute.
- Storyboard structured scene-by-scene templates with a built-in shot list for trailers, tutorials, product demos, and promotional clips.
- Movie a blank multi-track timeline with full manual control over clip sequencing, trimming, and audio overlay.
For full creative control, select Movie. Your Photos media library opens; tap the video clips and photos you want, then tap Create Movie at the bottom of the screen. Media can also arrive from AirDrop, iCloud Drive, or the Files app into an existing project.
iMovie places the selected media onto the editing timeline in the order you chose it. To change the clip sequence, touch and hold any video clip on the video timeline until it pops off the track, then drag it left or right into a new position. To control where new media lands, scroll the timeline until the vertical white playhead rests on the exact frame, tap the Add Media (+) button, and select additional clips from your library.
A quick preview habit pays off here: play the rough sequence once before you touch anything else. Scenes that felt right during capture often land in the wrong order.
Cut, Split, and Add Transitions Between Clips
To trim or divide clips on the editing timeline, tap a video clip so it highlights in yellow. To trim the outer boundaries, drag either yellow end-handle inward. To split a single video into two independent segments, position the white playhead over the frame you want, tap the Actions button (scissors icon) in the bottom toolbar, and select Split. Apple notes that only video clips can be split, and that iMovie inserts a None (hard cut) transition between the two resulting segments.
The same clip inspector exposes more tools: the Timer icon changes playback speed and can freeze a single frame, the Volume icon controls clip-level audio, the T text icon adds text, and the Color icon applies filters. Note that iMovie on iOS does not expose the per-parameter color sliders found in the Photos app. For precise grading, correct clips in Photos first, then import them into iMovie.
Tightening dialogue is where Split earns its place in the workflow. Removing the half-second to two-second pauses between spoken points compresses a rambling take into a publishable 60-second recap without altering pitch or introducing audio artifacts, because iMovie performs a clean cut rather than a time-stretch.
When two clips sit adjacent on the timeline, iMovie automatically places a transition icon between them, shown as two inverted triangles. Tap it to choose between styles: None (hard cut), Dissolve, Slide, Wipe, or Fade. Then select duration (0.5s, 1.0s, 1.5s, or 2.0s) to control pacing between scene changes. Project-wide themes, available under the gear icon, apply more stylized transition sets across every cut at once. Use them sparingly.
Add Text, Titles, and Text Overlays
To add text, titles, and text overlays to your project, tap the clip on the video timeline where the text should appear, then select the Titles tool (the 'T' icon) in the bottom inspector bar. Browse the available title templates, which include lower-thirds, centered titles, and kinetic text styles.
Once a style is selected, tap the placeholder text in the top preview monitor and type your message. You can adjust font color, style, duration, and placement directly on screen. For legibility across changing background frames, place text over stable areas or insert solid-color background slides behind introductory title sequences. When you repurpose a 16:9 project into 9:16, re-check every title: text near the frame edges is the first thing to be cropped out.
Add Music, Sound Effects, and Balance Audio
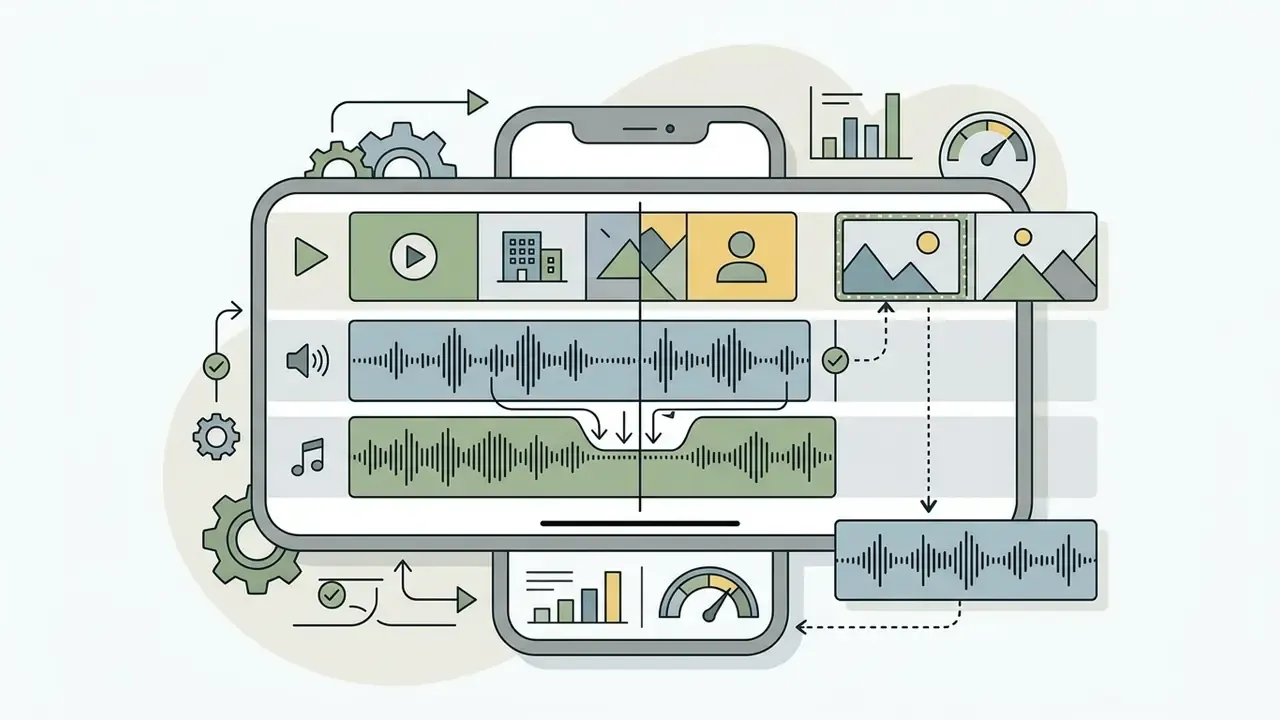
To enrich your soundtrack, tap the Add Media (+) button, select Audio, and choose from Soundtracks (Apple's royalty-free background music library), My Music (licensed tracks from your Apple Music library), or Sound Effects. Selecting a track inserts a green audio bar beneath the primary video timeline. Free music from the built-in library carries no licensing risk for published videos, which is not something you can assume about a trending audio clip.
To edit audio levels, tap the audio clip on the timeline and select the Volume tool (speaker icon). Drag the slider to adjust background music volume, typically down to 10% to 20% when voiceover dialogue is present. To stop music cutting off abruptly at the end, tap Fade and drag the yellow audio fade handles across the beginning or end of the sound file. Audio clips reposition by touch-and-hold dragging, exactly like video clips.
Export High-Quality Video From iMovie
Once assembly is complete, tap Done in the top left corner to leave the editing workspace and return to the Project Details screen. Tap Share at the bottom of the screen, then tap Options to configure output quality.
Select the resolution you need (up to 4K at 60 fps) and the frame rate. Apple documents an important constraint: iMovie on iPhone can export 4K or 60 fps only if the project contains at least one clip originally recorded in that format, or if the project contains only photographs.
«iMovie can work with 4K and 60 fps video only when the project contains at least one clip originally recorded in 4K or 60 fps.»
Choose Save Video to render the high-quality file straight into your Photos app library, Save to Files for iCloud Drive storage, or share it immediately to an external platform. For technical workflows on extracting or generating audio assets for mobile video projects, see our guide on AI voice generators.
Best Video Editing Apps for iPhone: CapCut, Adobe Premiere Rush, and AI Tools
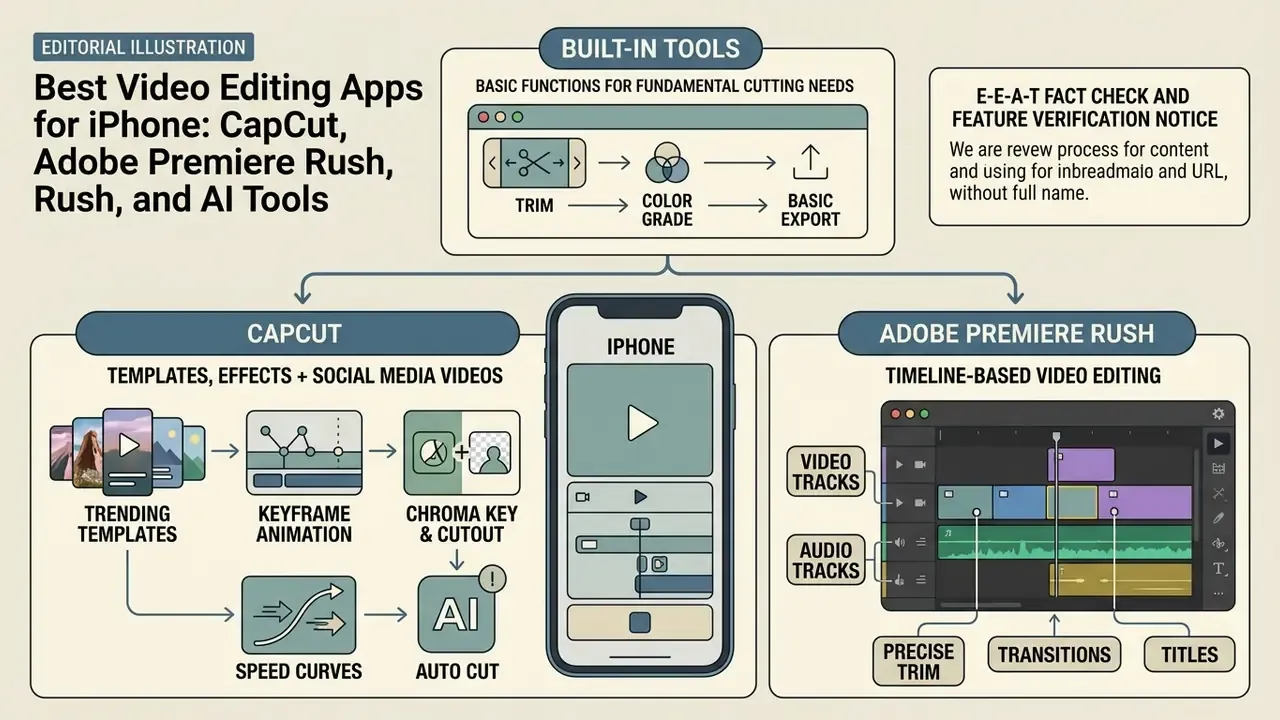
Built-in tools cover fundamental cutting needs. Third-party video editing apps extend mobile production further: automated captions, AI background removal, optical-flow slow motion, multi-track keyframing, and direct publishing templates make specialized apps close to essential for professional creators and marketing teams. For a plain-language overview of the software category itself, see our reference on video editing tools.
E-E-A-T fact check and feature verification notice:
Adobe Premiere Rush for Timeline-Based Video Editing
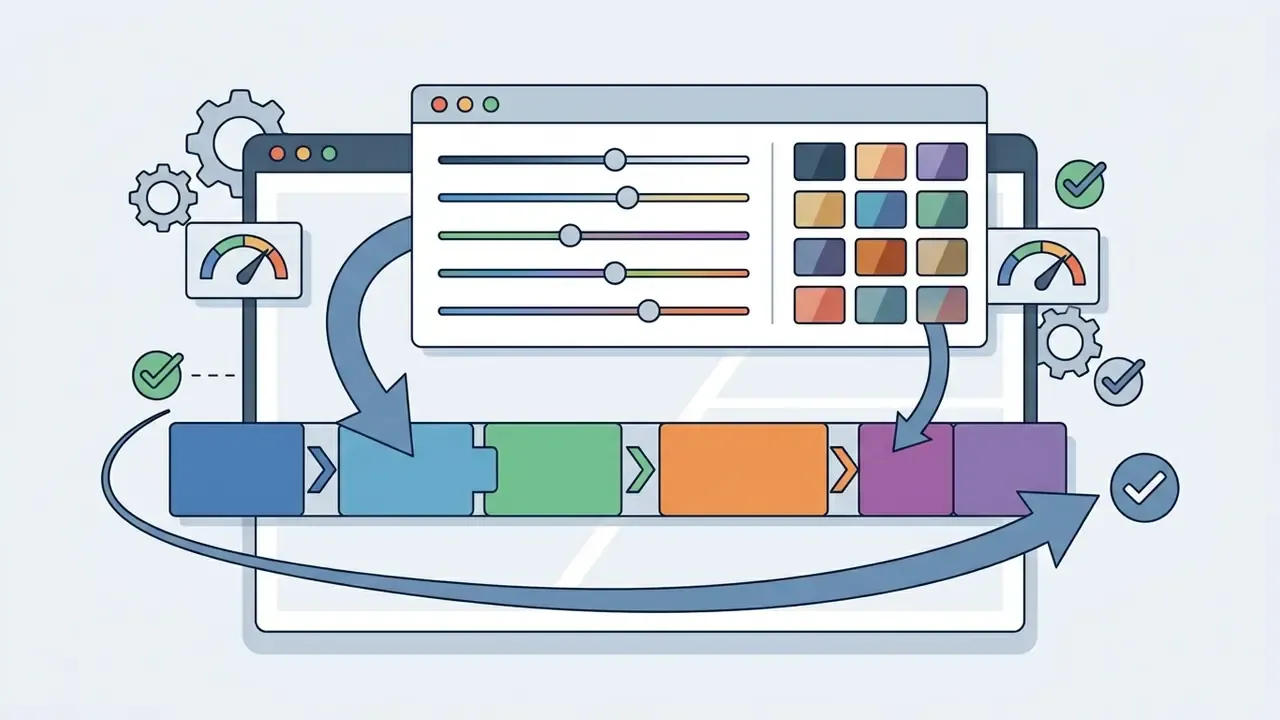
Adobe Premiere Rush provides a cross-device mobile video editing environment optimized for creators working inside the Adobe Creative Cloud ecosystem. Rush offers a desktop-style multi-track editing timeline, supporting four video tracks and three audio tracks at once, and requires iOS 14.0 or later.
Key features include:
Premiere Rush suits journalists, commercial editors, and enterprise teams that need color consistency and asset integration with desktop NLE software. UHD export is gated behind an active Creative Cloud subscription, which is worth confirming before you promise a 4K deliverable.
AI Tools for Captions and Text-Based Video Editing
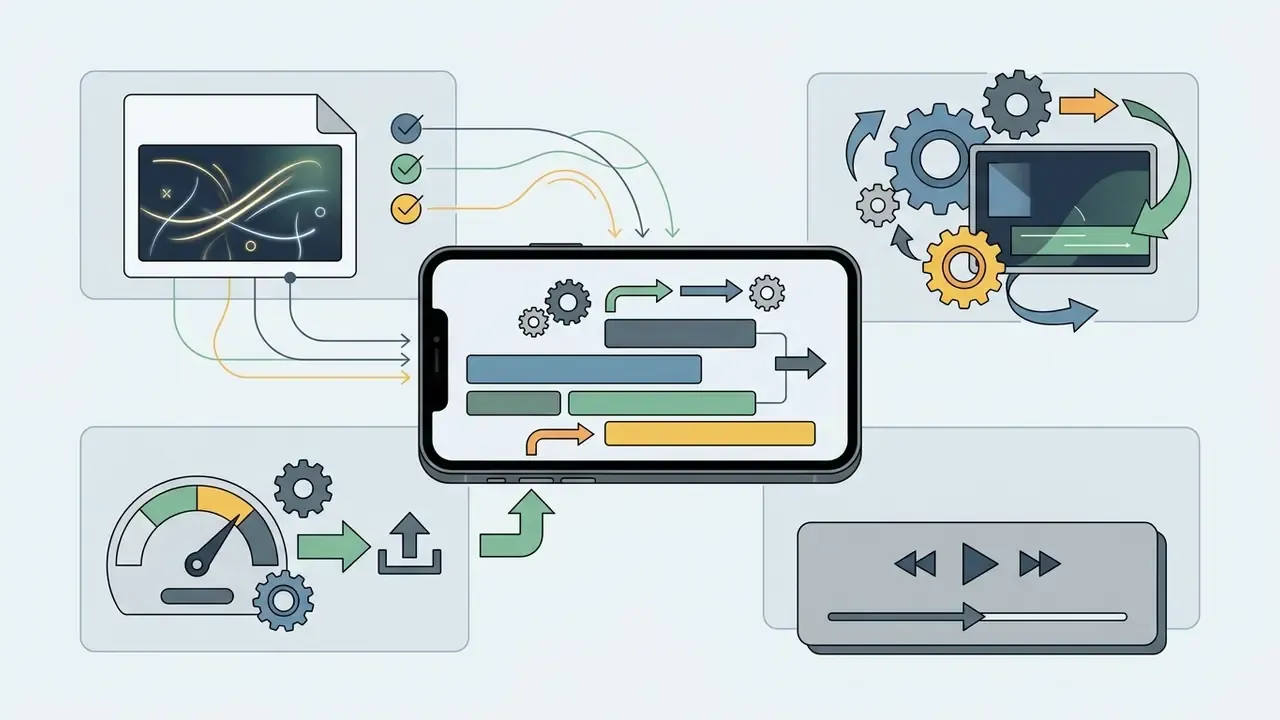
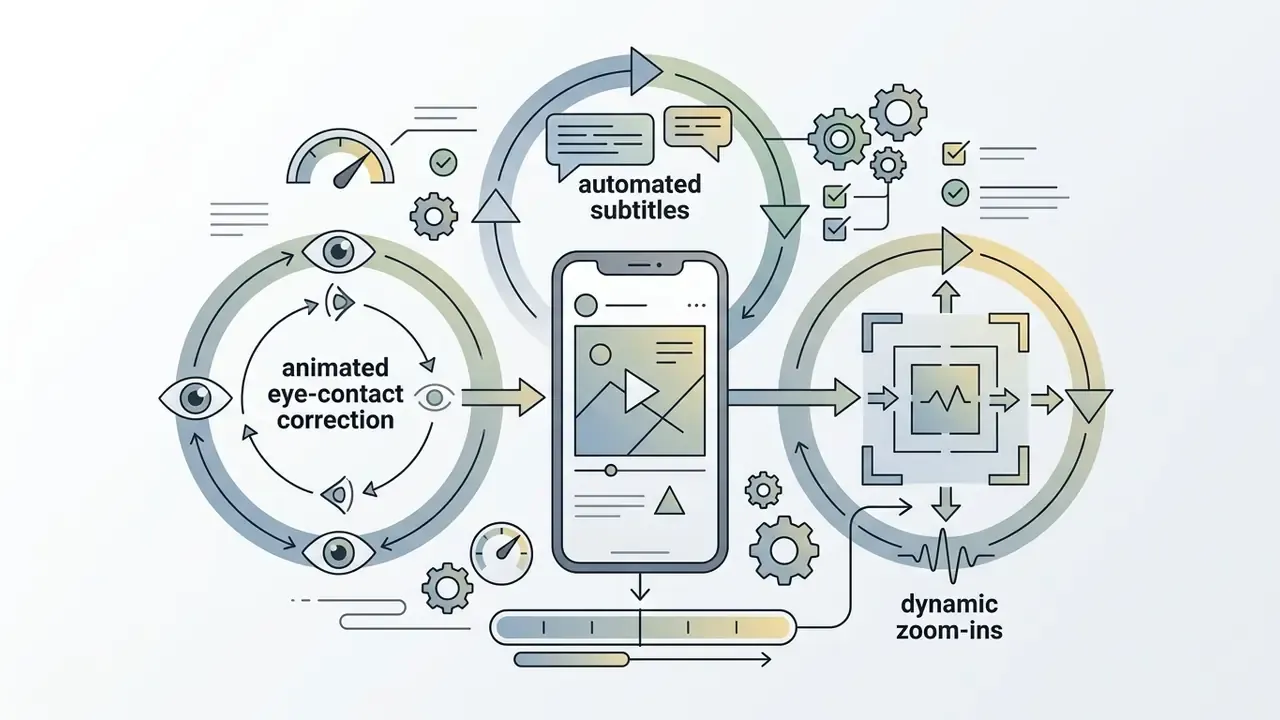
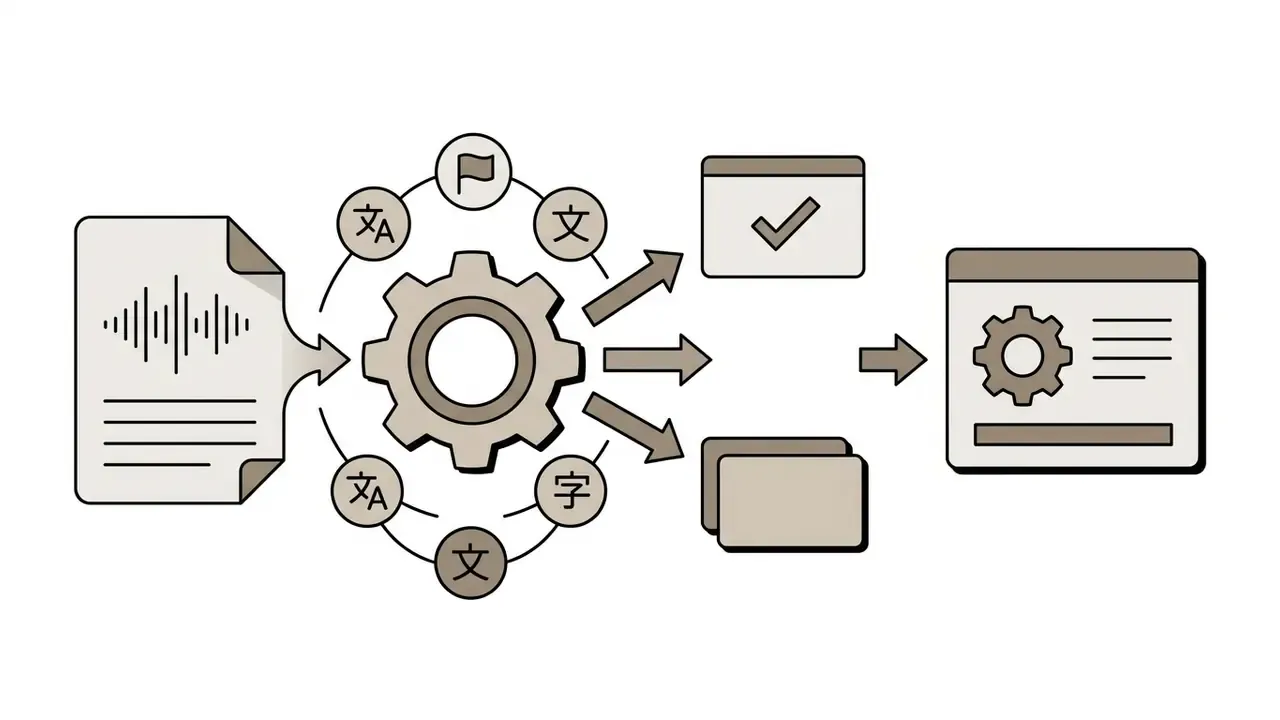
AI tools have genuinely simplified mobile post-production, particularly text-based video editing and caption generation. Modern iOS applications use neural speech-to-text models, either on-device or via cloud APIs, to transcribe dialogue almost instantly.
Figure 3. AI speech-to-text and transcript editing pipeline.
Raw Video Audio → AI Speech Recognition Model → Generated Subtitle Track → Transcript-Based Text Trimming → Rendered Captioned Video
Key capabilities of current AI video tools on iOS:
- Auto-captions: apps like CapCut, Captions AI, and Detail transcribe spoken audio into styled, animated text overlays synchronized frame by frame with dialogue.
«AI captions on mobile platforms should be treated as a first draft requiring human review, not a finished deliverable. CapCut's auto-caption feature performs well in quiet, single-speaker environments but degrades noticeably in multi-speaker or high-ambient-noise recordings.»
- Text-based editingyou trim video clips by editing the written transcript. Delete a word or sentence from the text and the corresponding frames leave the timeline.
- Silence and pause removalalgorithmic detection finds and removes awkward pauses, filler words ("um", "uh"), and dead air, compressing speech playback naturally.
«The EditBoard benchmark evaluates text-based video editing models across three dimensions: fidelity to the original frames, adherence to the target instruction, and temporal consistency between frames.»
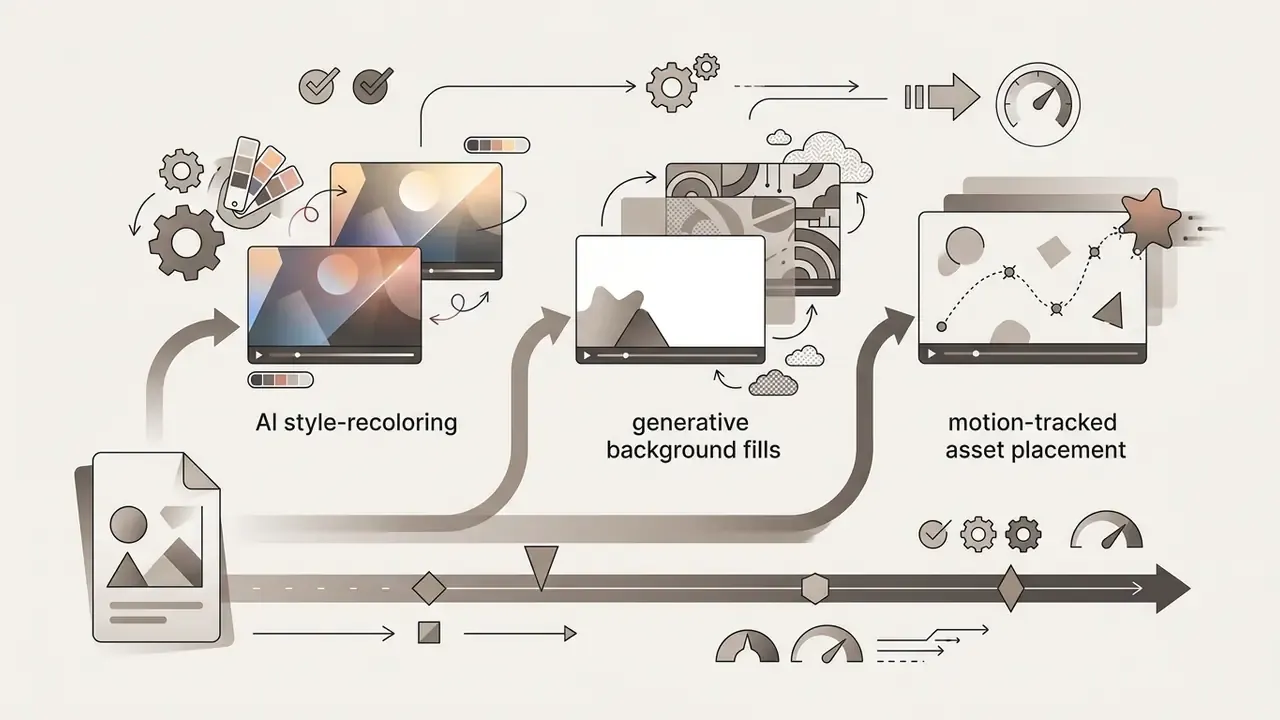
Beyond all-in-one timeline editors, specialized iOS AI utilities handle niche post-production tasks:
The system layer is worth knowing too. iOS renders captions through Settings > Accessibility > Subtitles & Captioning, where Closed Captions + SDH and style controls for font, size, color, background opacity, and edge treatment can be configured independently of any editing app.
To explore desktop and browser-based AI video generation and editing tools, review our comprehensive best free AI video generator comparison.
Data Privacy, Cloud AI, and Shadow AI Risk
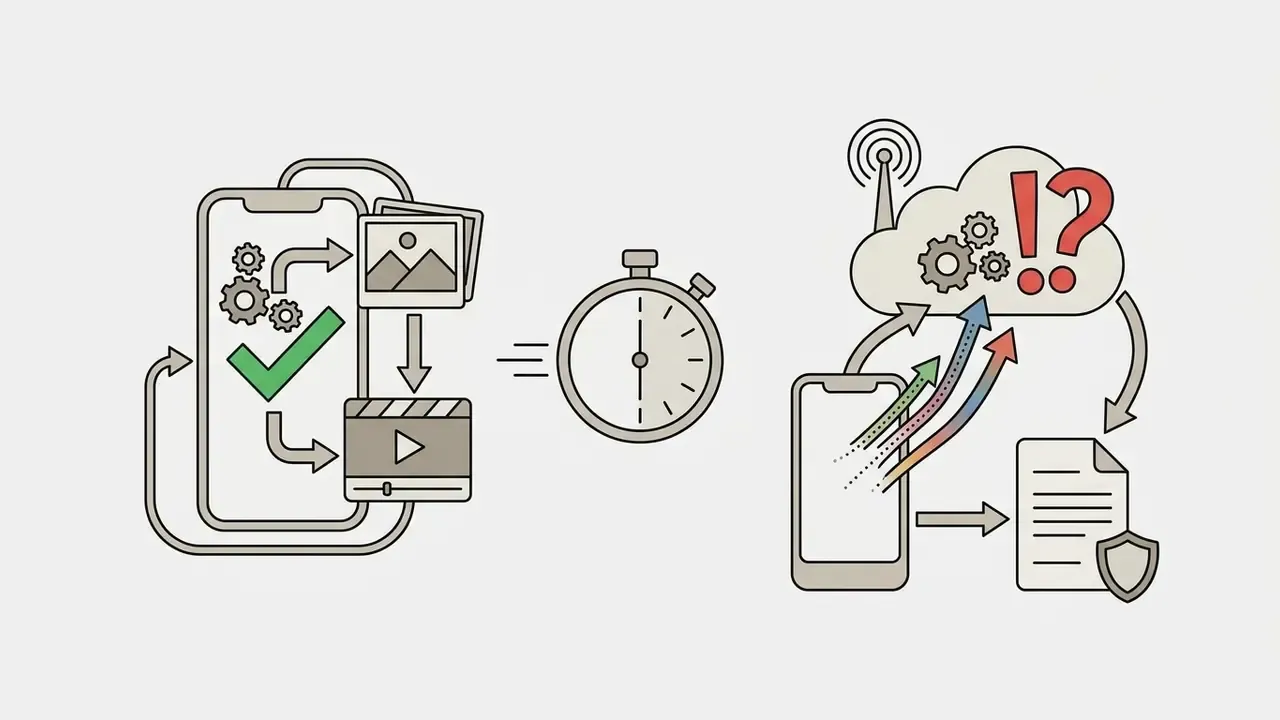
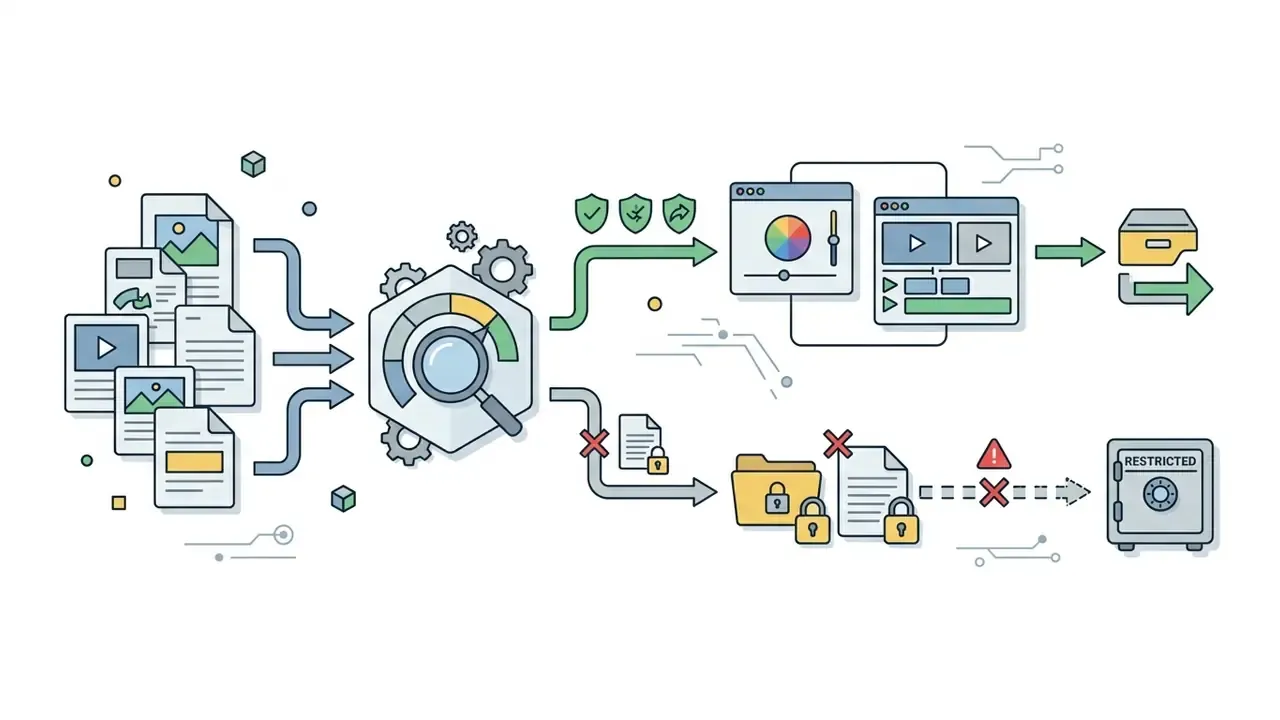
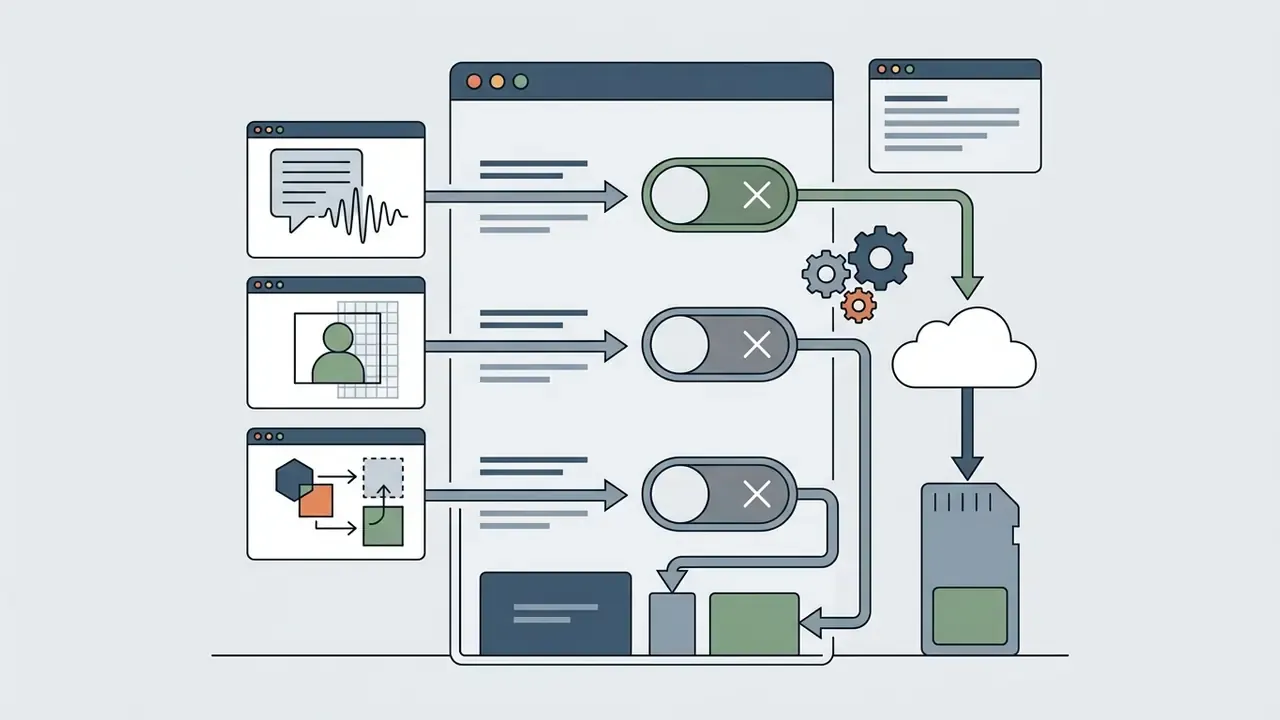
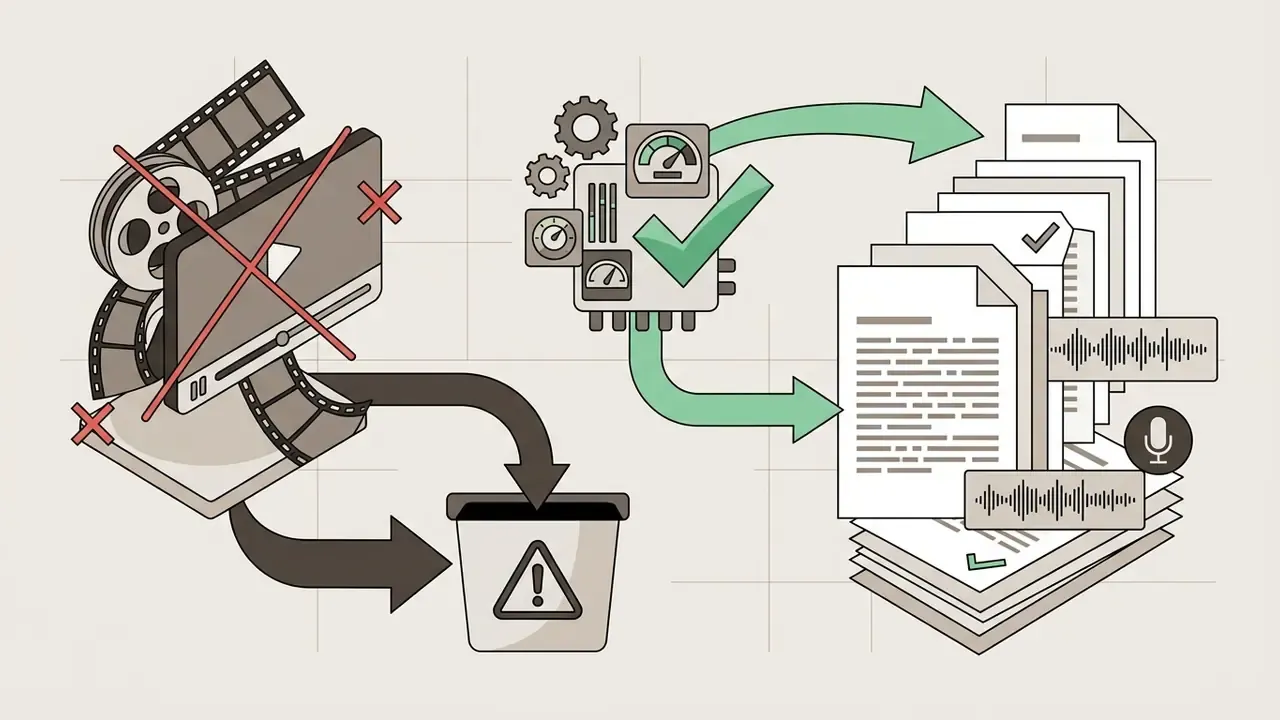
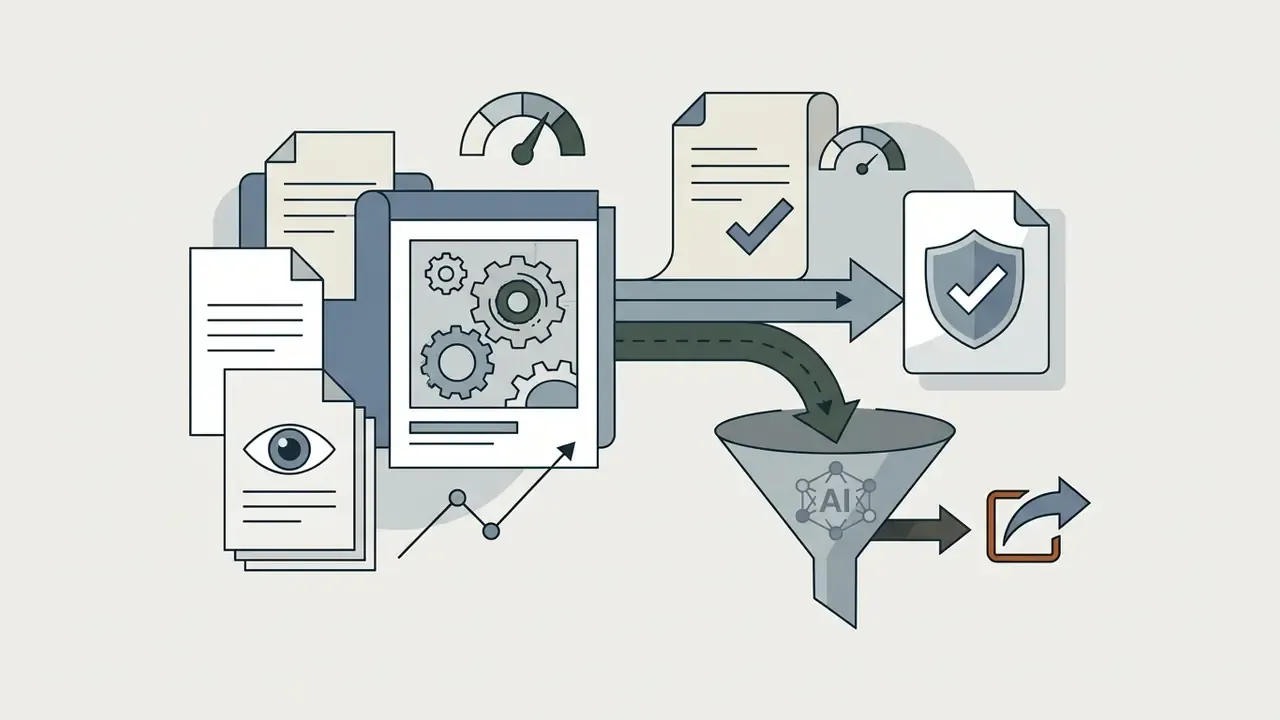
Editing tools differ not only in features but in where your footage physically travels. That distinction matters for anyone handling client footage, internal communications, pre-release product material, customer imagery, or recordings containing identifiable faces and voices.
| Processing model | Representative tools | What leaves the device | Practical implication |
|---|---|---|---|
| Fully on-device | Photos app, iMovie | Nothing, unless iCloud sync is enabled | Safest default for confidential or regulated footage |
| On-device plus optional cloud sync | Adobe Premiere Rush | Project files and media synced to Creative Cloud | Governed by an enterprise agreement in most corporate accounts |
| Hybrid or cloud-dependent AI | CapCut, Captions AI, Videoleap, AI caption services | Full media files or extracted audio uploaded for processing | Review terms of service and data-retention policy before use |
A Practical iPhone Video Editing Workflow
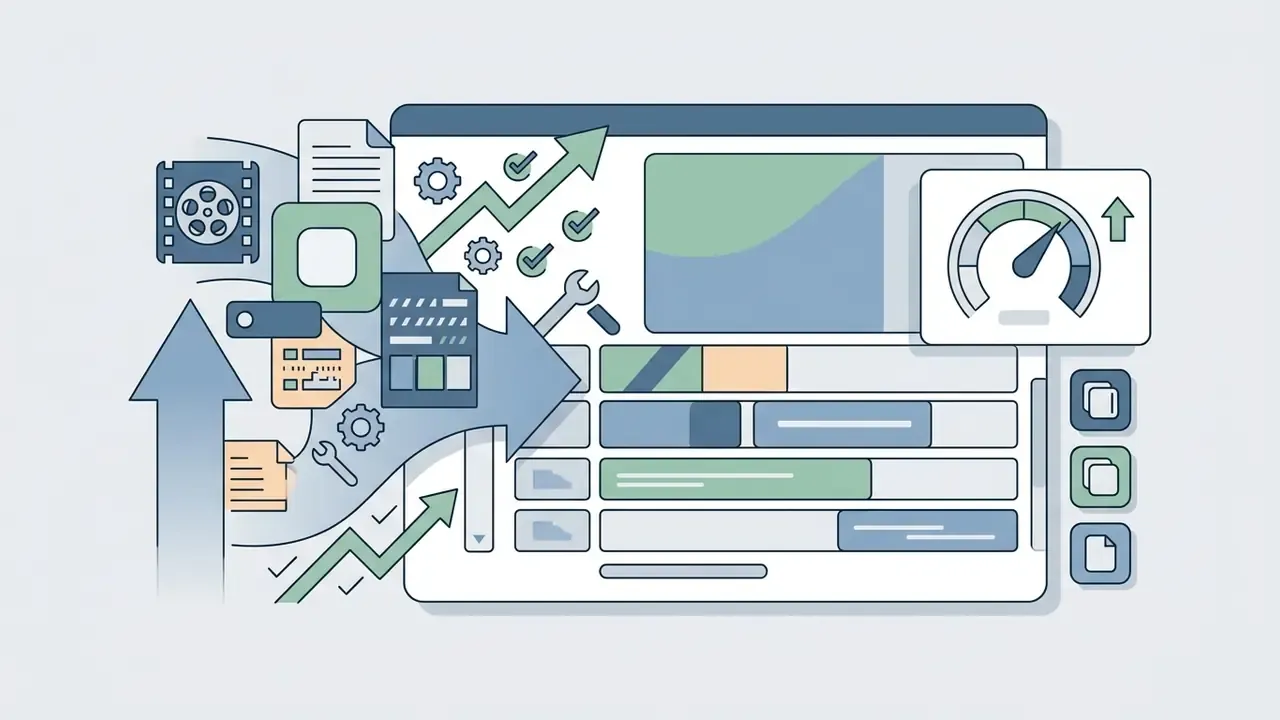
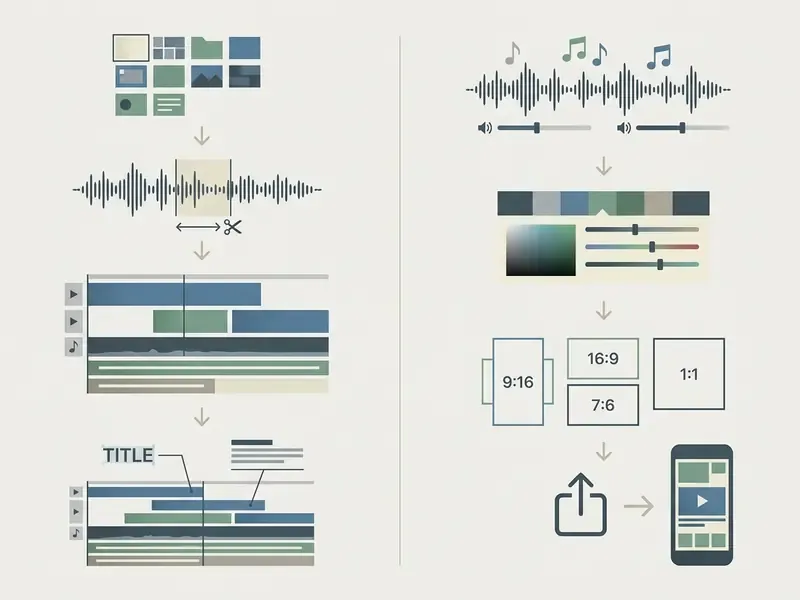
A structured, step-by-step editing workflow prevents project clutter, reduces device memory pressure, and keeps finished videos at a consistent audio and visual standard. Whether you are producing a quick tutorial or an enterprise product overview, the sequence below holds up.
Figure 4. Standardized iPhone video production workflow.
Build a Clear Sequence Before Adding Effects
Always establish the primary narrative line (A-roll) before adding transition effects, color grading, or background music. Import your selected raw video clips into your chosen editor and make an initial rough cut, trimming unwanted handles and dropping unusable takes.
«Vertical framing and on-screen captions are central to short-form distribution on TikTok, Instagram Reels, and YouTube Shorts.»
Arrange clips on the primary video timeline to establish logical flow. Import A-roll and B-roll as separate groups, label secondary footage by subject, action, and shot type (wide, medium, close, reaction, cutaway), and place cutaway footage over spoken dialogue to reinforce key points and hide audio seams. Lock the structural cut first, and later timing adjustments to text overlays, music beats, and visual effects will not force tedious re-alignment.
Use Text, Transitions, and Effects Without Overloading the Video
Restraint is a hallmark of professional video production. When you add text overlays, titles, and transitions, favour legibility over motion:
- Text readability choose clean sans-serif typography, hold high contrast against the background footage, and keep text inside safe title boundaries so nothing clips on mobile displays.
- Animate sparingly reveal one word at a time on a single line, or one line at a time in multi-line titles. Avoid character-by-character animation and keep other on-screen motion minimal while text animates.
- Reading time leave text on screen roughly long enough to read aloud twice before the next card appears.
- Transition logic default to hard cuts between continuous scenes. Use simple cross-dissolves or fast horizontal wipes to signal a change in time or location. Skip 3D spins, page peels, shape wipes, and explosions.
- Effect duration keep text animations and graphic overlays short, roughly 1.5 to 3.0 seconds, so viewers can read comfortably without losing the main video content.
Review Audio, Color, and Aspect Ratio Before Export
Before final rendering, run a quality control pass across four production parameters:
- Audio balance check speech clarity on headphones. Dialogue stays dominant, with background music ducked below vocal frequencies. Broadcast-oriented deliveries are normalized against integrated-loudness standards (EBU R 128 in Europe, ATSC A/85 in US digital television), so keep peaks consistent rather than riding levels scene by scene.
- Color consistency verify that color temperature and exposure hold steady across scene cuts. Correct crushed shadows or blown highlights with the built-in color correction sliders, and scan for banding in gradients such as skies.
- Aspect ratio verification confirm the project framing matches the target distribution platform. Faces and text overlays should remain centered and fully visible within vertical (9:16), square (1:1), or horizontal (16:9) limits. If the destination is a long-form channel, our guide to YouTube video editors covers chapter markers, end screens, and publishing settings in detail.
- Technical defects play the full timeline once at full brightness and watch for dropped frames, flicker, duplicated cuts, orphaned audio, and compression artifacts before committing to a render.
To calculate specific file size reductions and compression settings before distribution, use our dedicated media calculators.
How to Export and Share Edited iPhone Videos
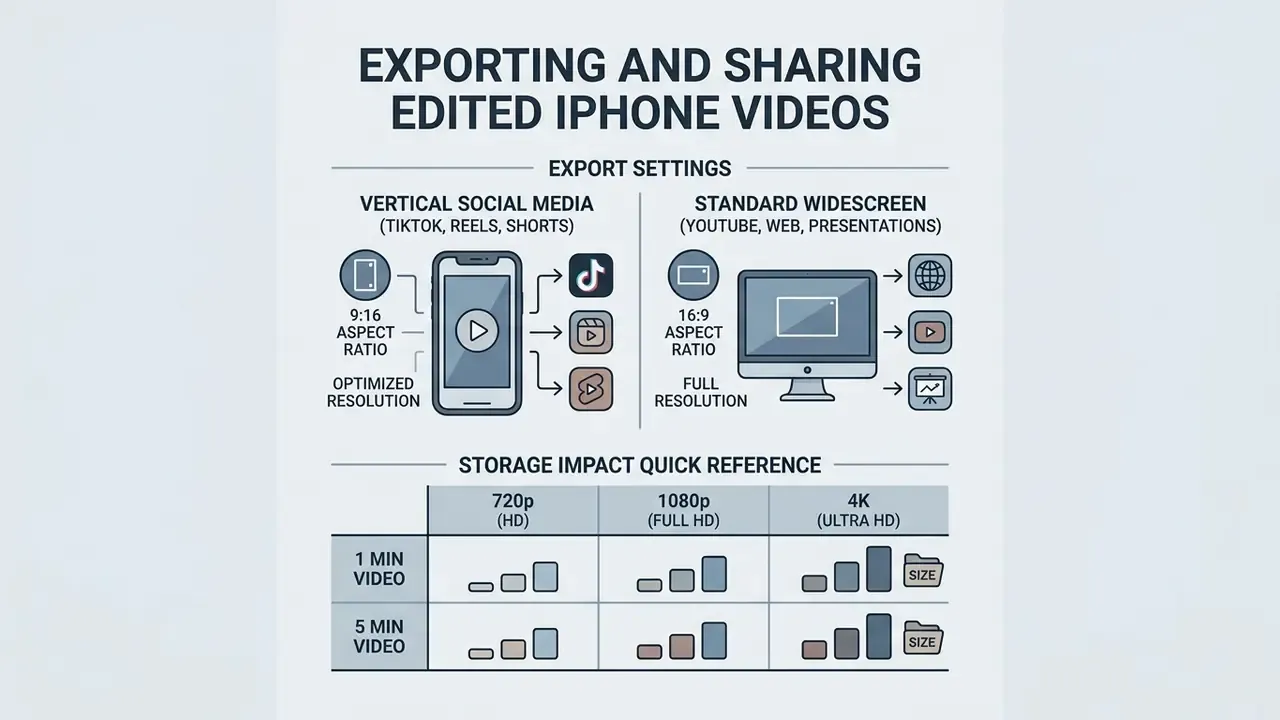
The final phase of mobile video production is rendering your project into a standardized delivery format and publishing it to your destination channel. Correct export parameters preserve image sharpness while preventing unnecessary file bloat.
Choose Export Settings for Social Media and High-Quality Video
Match export settings to the primary distribution platform. Modern platforms push uploaded video through automated compression re-encoders, so supplying an optimally formatted source file is what prevents visible quality degradation.
«CapCut supports custom export resolution up to 4K at 60 fps with HDR output, confirming that high-quality delivery is technically achievable directly from an iPhone.»
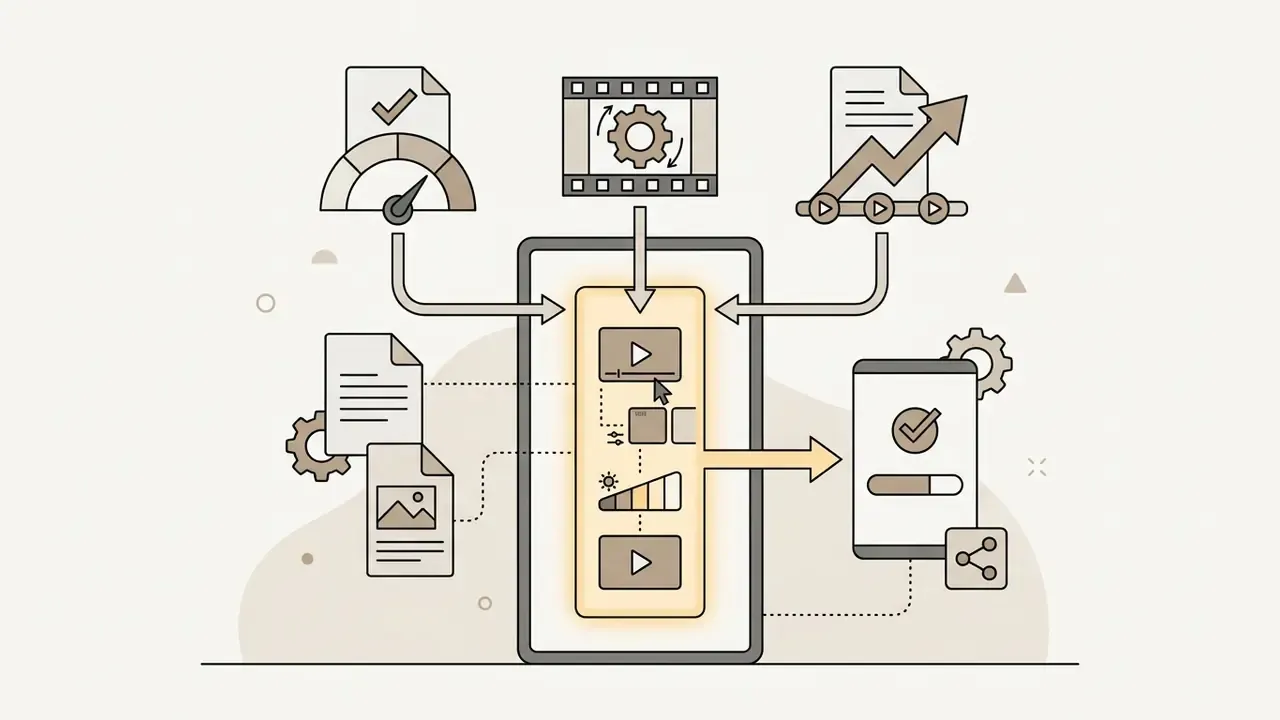
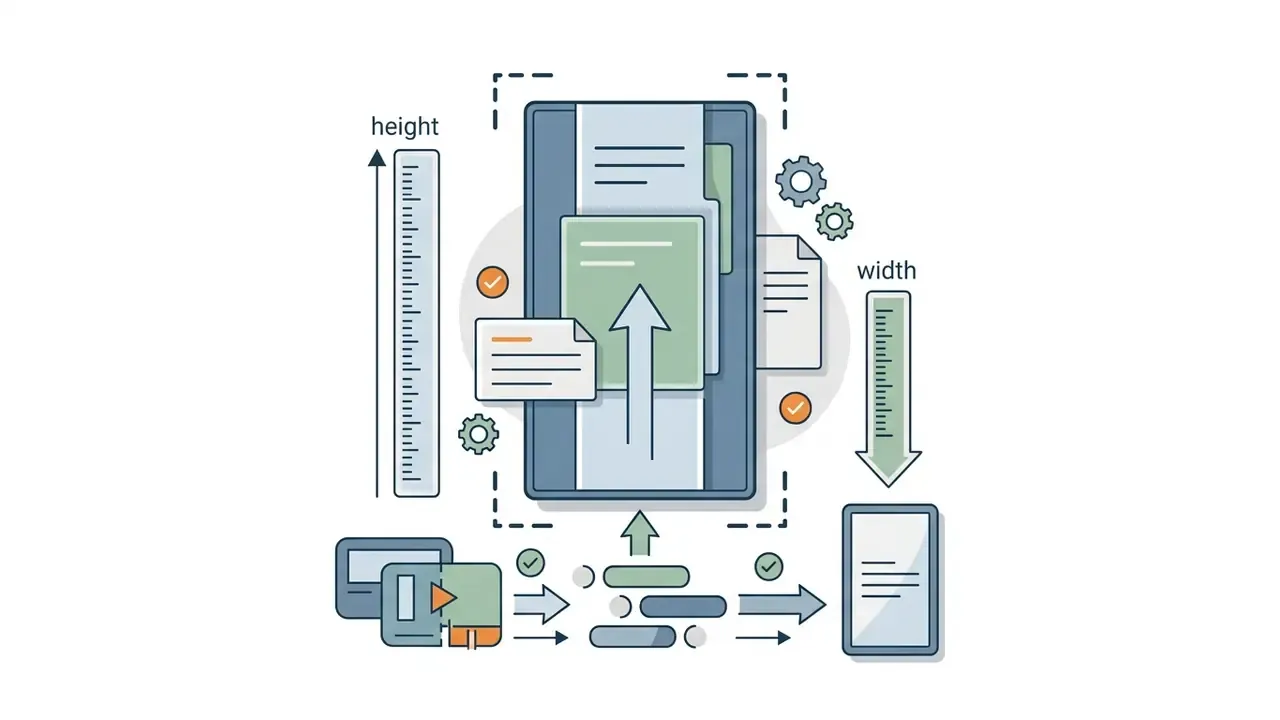
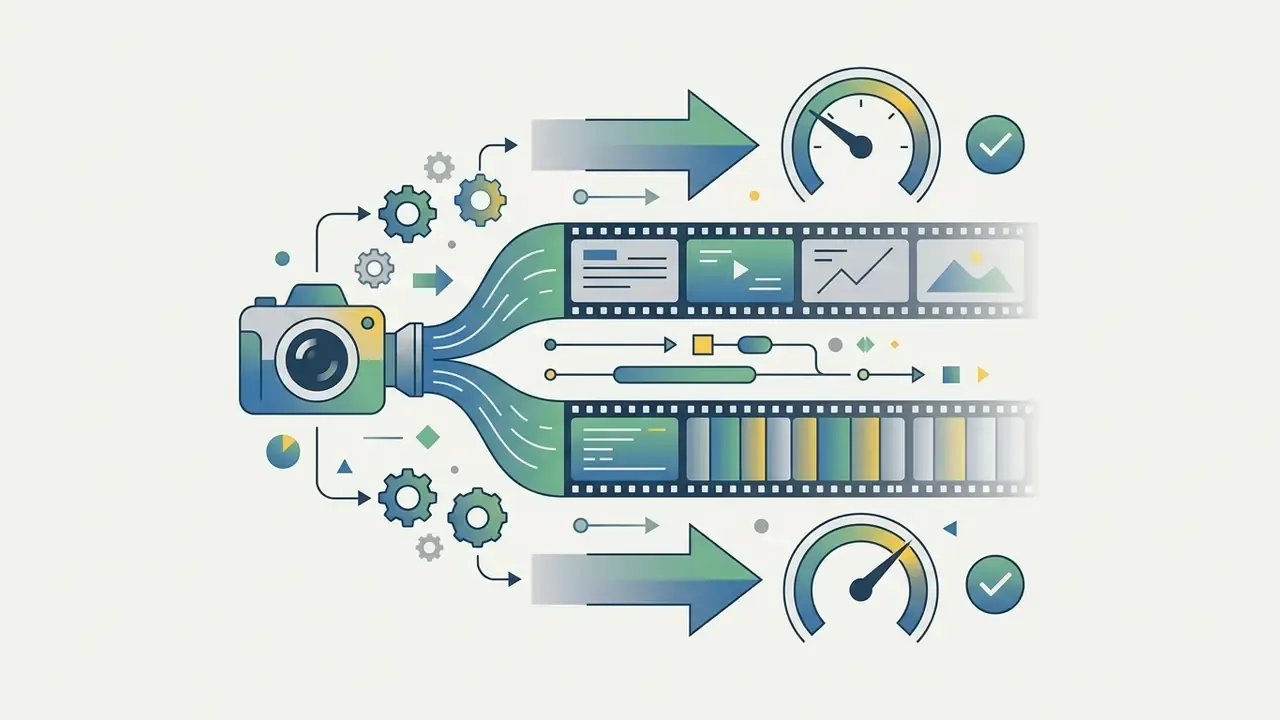
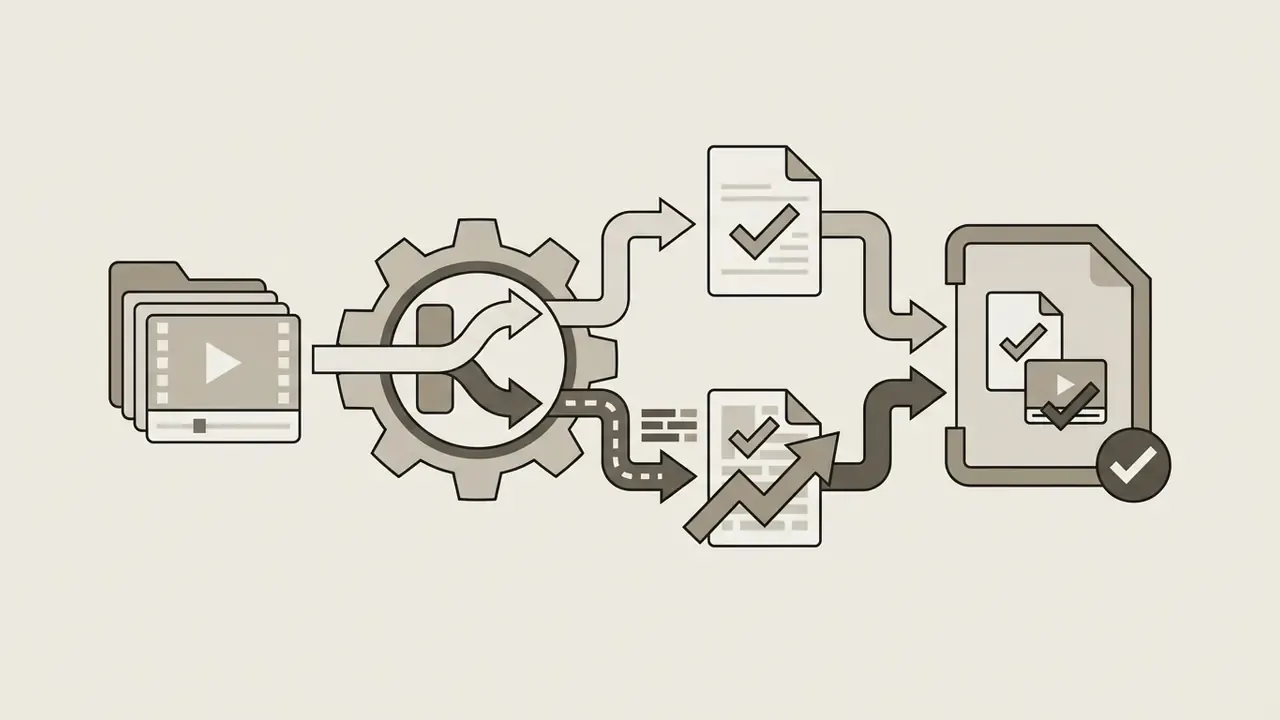
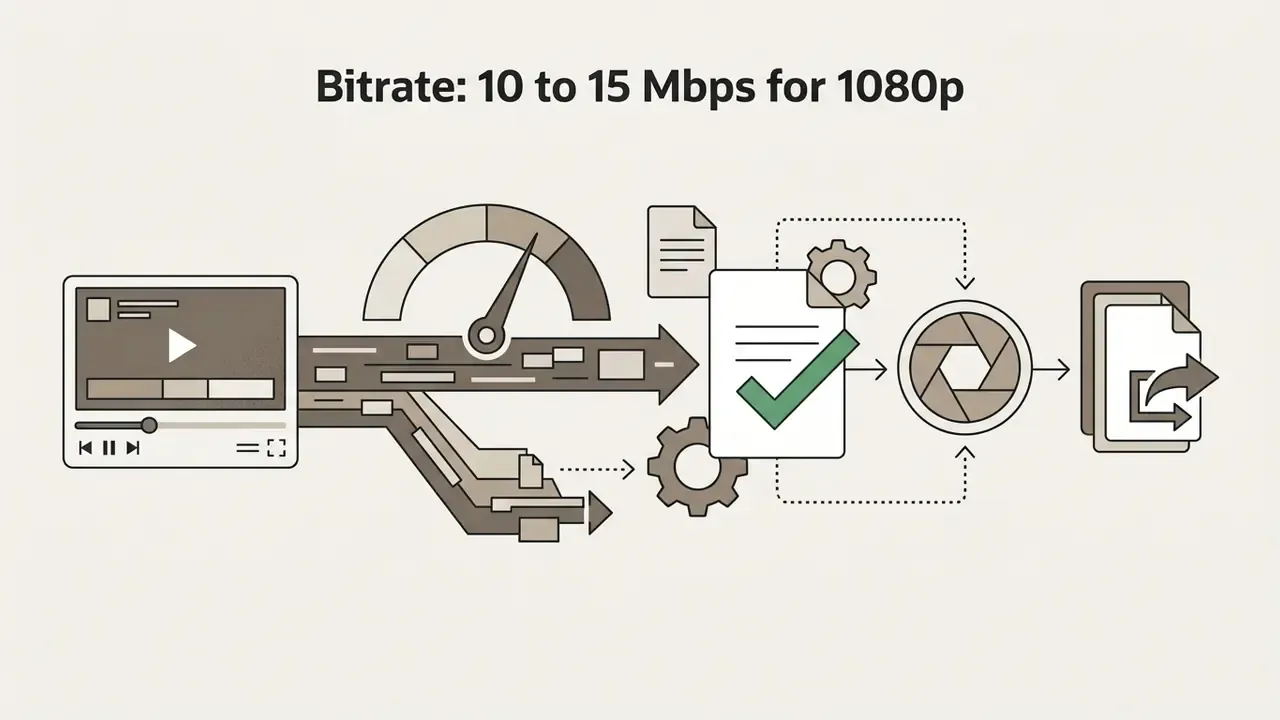
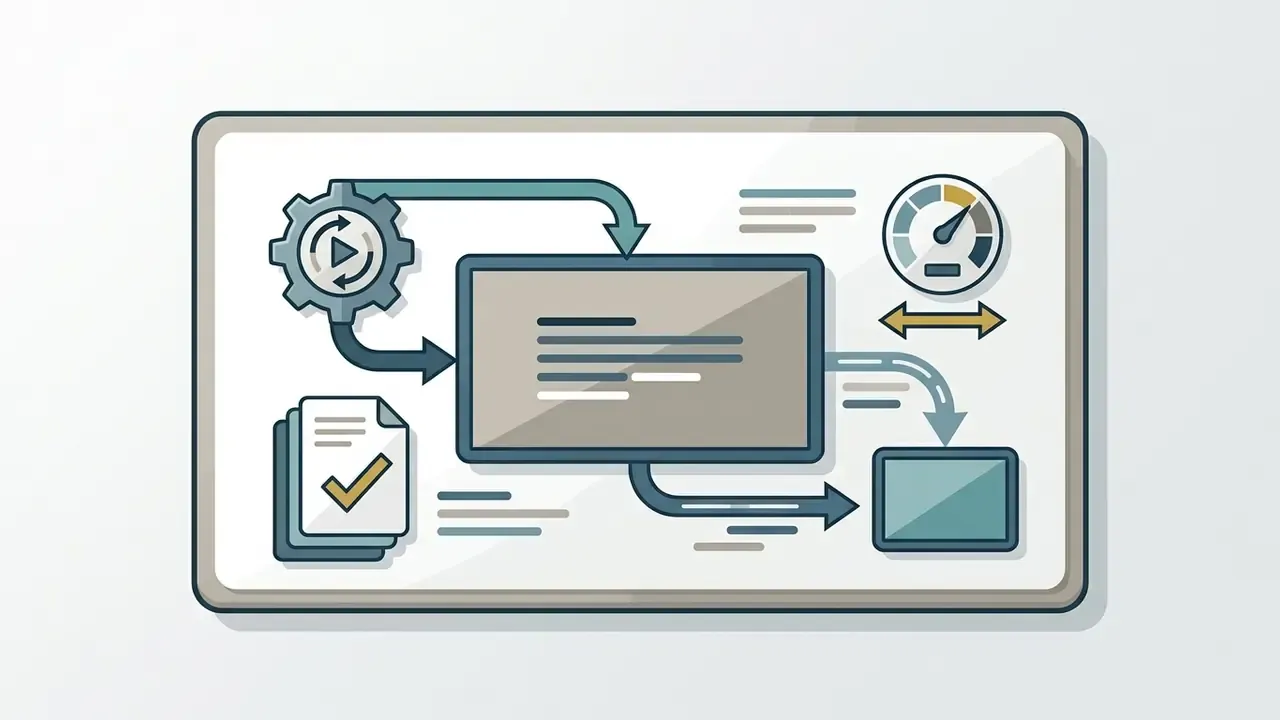
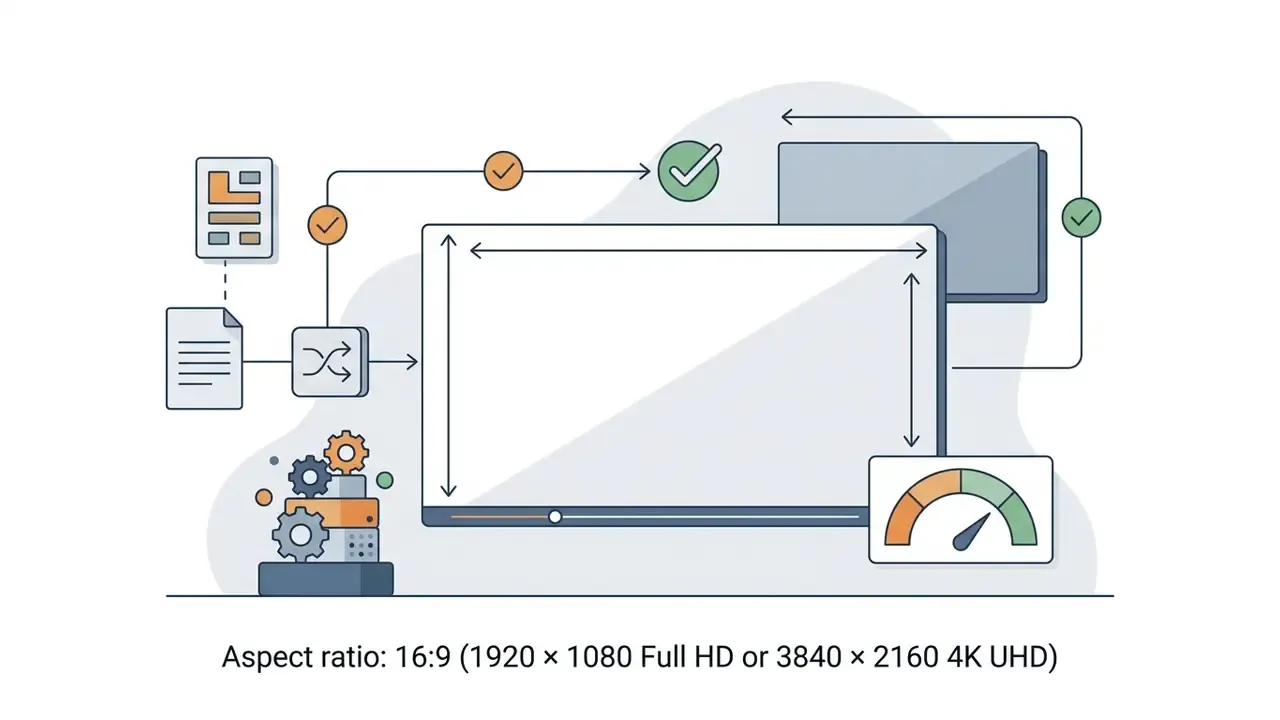
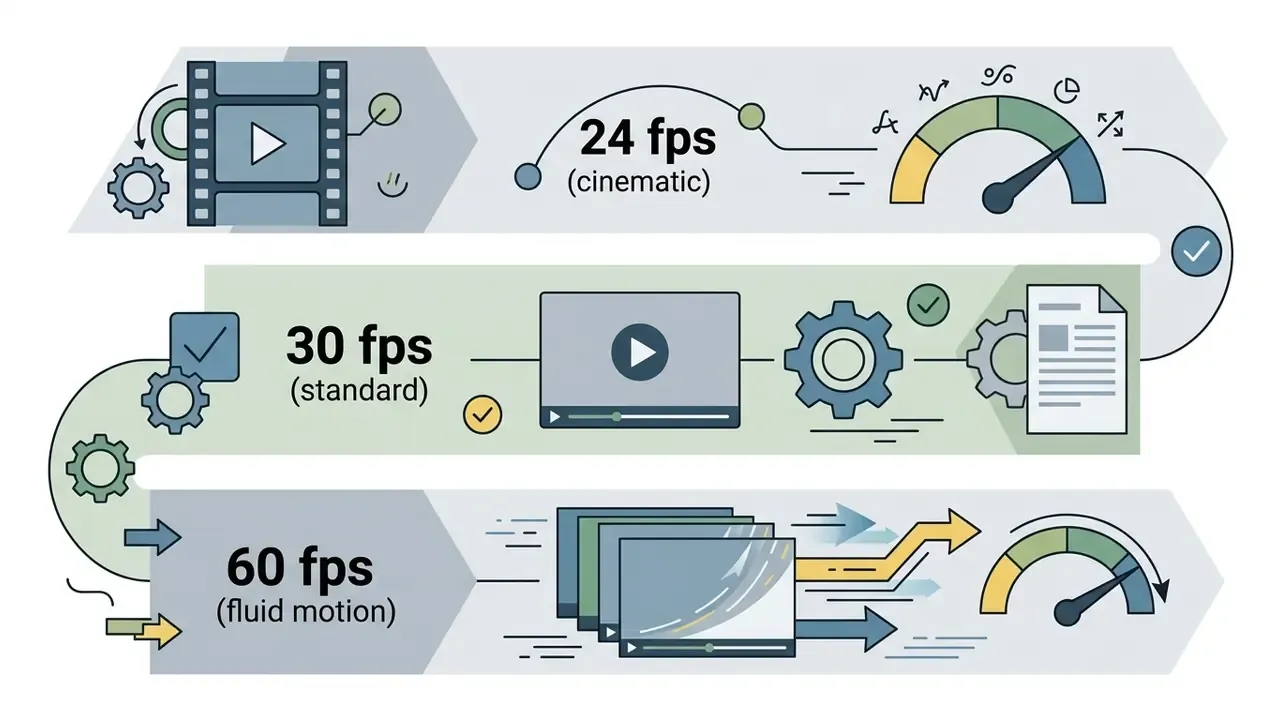
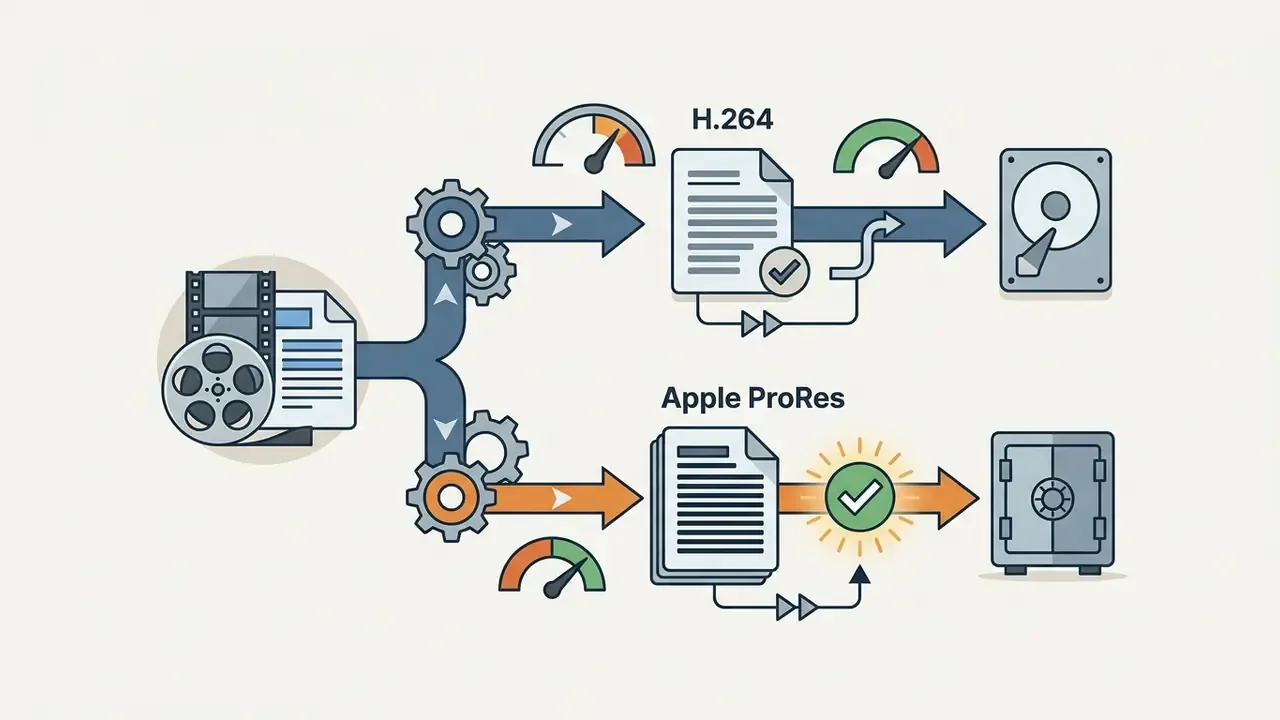
Platform-specific constraints are worth checking directly. Facebook's edited-video guidance specifies H.264 in MOV or MP4 with frame rates at or below 30 fps and frame widths divisible by 16 pixels, while YouTube treats 16:9 as the default upload ratio and accepts vertical and square variants. If a finished file exceeds an upload limit, a video compressor reduces size before publishing without re-editing the timeline.
Storage impact quick reference:
- 1 min of 1080p at 30 fps ≈ 60 MB
- 1 min of 4K at 30 fps ≈ 170 MB
- 1 min of 4K at 60 fps ≈ 400 MB
- 1 min of 4K ProRes at 30 fps ≈ 6 GB (realistically needs 256 GB or more of iPhone storage)
Once rendering completes, verify the output file in your Photos library before uploading. Play it end to end, confirm audio is present, and check that captions are not cropped. Then tap the Share button to publish directly to native social media applications, store the master in iCloud Drive, or transfer it to desktop storage via AirDrop.
For creators extending media assets into interactive or specialized visual formats, explore our workflows on how to make a live wallpaper, learn how to make a video into a live photo, or see how to convert static assets using our guide on how to make a video from a photo.
Troubleshooting: Storage, 4K Lag, and iCloud Problems
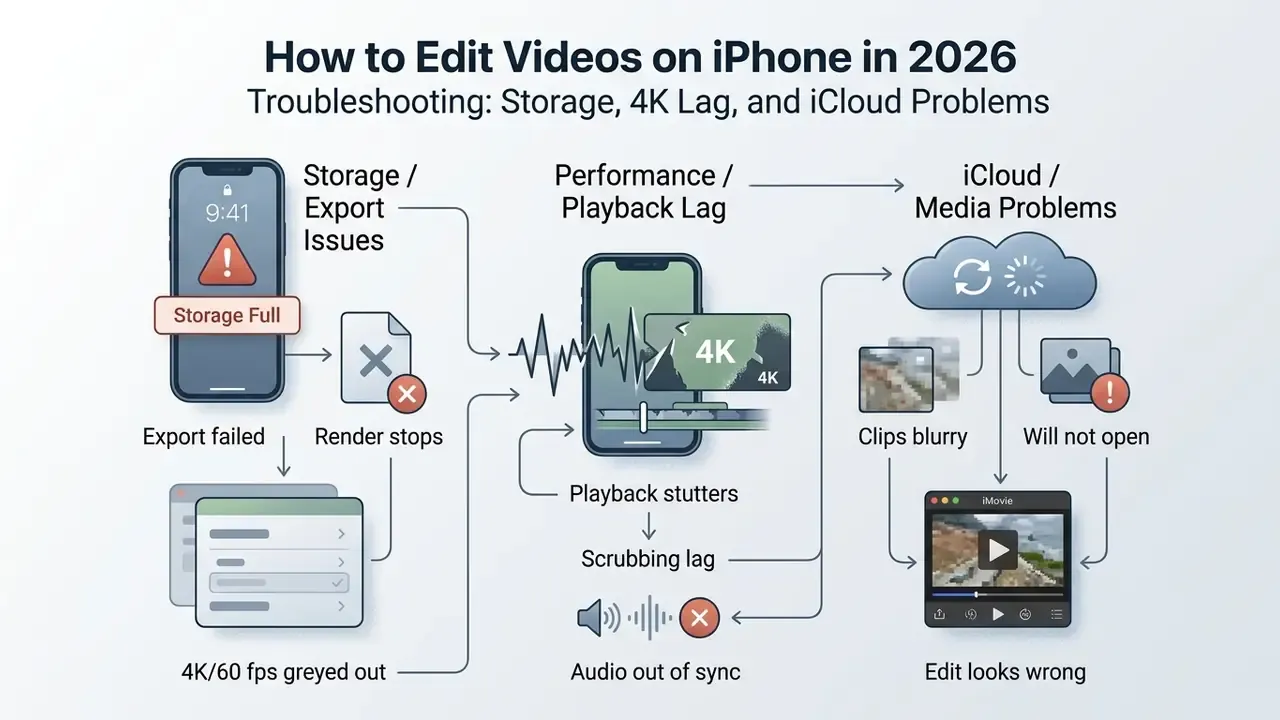
"Export failed" or the render stops partway. Almost always free-space exhaustion. A 4K render needs temporary working space roughly equal to the final file plus the source footage. Check Settings > General > iPhone Storage, offload unused apps, then re-export.
Playback stutters while scrubbing 4K 60 fps footage. Preview stutter is not the same as export quality loss. Close background apps, disable Low Power Mode, and edit in shorter sub-projects, then combine the rendered segments. If the project mixes 24, 30, and 60 fps clips, normalizing frame rate at capture removes most of the strain.
Clips appear blurry or will not open in iMovie. The full-resolution master is still in iCloud. Open the clip in Photos first and wait for the download indicator to disappear, or temporarily switch to Download and Keep Originals under Settings > [your name] > iCloud > Photos.
4K or 60 fps is greyed out in iMovie's export options. iMovie offers those settings only when at least one clip in the project was originally recorded at that resolution or frame rate, or when the project contains only photos.
Audio is out of sync after export. Re-export at a fixed frame rate matching the majority of source clips rather than a variable-frame-rate screen recording, and avoid mixing 25 fps and 30 fps material in one timeline.
The edit looks wrong after saving. Nothing is lost: open the clip in Photos, tap Edit, then Revert to restore the original file.
FAQ: How to Edit Videos on Your iPhone
How do I edit videos on my iPhone for free?
Use Apple's built-in Photos app for basic trims, crops, and color adjustments, or download Apple iMovie from the App Store for multi-clip timeline sequencing with titles, transitions, and royalty-free music. Third-party apps such as CapCut also offer capable free tiers, with watermarks and Pro-only features as the trade-off.
What is the best iPhone model for video editing?
iPhone Pro models (iPhone 13 Pro and newer) are optimal for iPhone video editing thanks to their A-series neural engines, Apple ProRes support, expanded RAM, and high-brightness Super Retina XDR displays. Storage capacity matters as much as chip performance: ProRes capture consumes several gigabytes per minute.
Can you edit 4K video directly on iPhone?
Yes. Modern iPhones process and render 4K video up to 60 frames per second across Photos, iMovie, CapCut, and Adobe Premiere Rush with no desktop proxy workflow required. In iMovie, 4K and 60 fps export options appear only when the project includes at least one clip recorded in that format.
How do I revert an edited video back to the original clip?
Open the edited clip in the Photos app, tap Edit in the top right corner, and select Revert in the bottom right corner to restore the raw original video file non-destructively.
Which app is best for video editing on iPhone?
For beginners assembling several clips, iMovie is the best starting point. For TikTok, Reels, and Shorts creators who need captions, templates, and effects, CapCut is the strongest option. For teams that finish on a desktop, Adobe Premiere Rush integrates with Creative Cloud and Premiere Pro.
How can I edit videos on my iPhone without losing the original file?
Open the video in Photos, tap Edit, drag the yellow handles at either end of the frame viewer to set new start and stop points, tap Done, then choose Save Video as New Clip. That keeps both the untouched original and the trimmed copy in your library.
Does iMovie have color correction sliders like the Photos app?
No. iMovie on iOS offers preset filters with an intensity control but no per-parameter sliders. Grade the clip in Photos first, using Exposure, Highlights, Warmth, and the other Adjust controls, then bring the corrected clip into your iMovie project.
Is it safe to edit confidential video in third-party apps?
Photos and iMovie process media on-device, which makes them the safer default. Many AI features in third-party apps, including auto-captions, background removal, and generative fill, upload footage or audio to external servers. Review each app's privacy terms and your organization's policy before processing sensitive material.
Team Checklist for Client and Brand Footage
If you edit iPhone videos on behalf of an employer or a client, the technical steps above are only half the job. This short checklist keeps the edit defensible:
- Named owner per project.One person approves the final cut and the publishing destination. Shared logins blur accountability.
- Approved tool list.Write down which editors are allowed for which classification of footage. On-device only for confidential material; cloud AI permitted for public marketing assets.
- Music and stock licensing evidence.Keep a note of the track source, licence type, and date for every published video. Apple's Soundtracks library and documented royalty-free catalogues are the low-risk defaults.
- Consent for identifiable people.Faces, voices, name badges, and customer screens all need a release, or a crop.
- Master file retention.Archive the graded master and the raw source separately from the social upload. Platform re-encodes are not archives.
- Change log for republished videos.If a claim, price, or date changes in the footage, record what was re-edited and when.
None of that slows a competent editor down by more than a few minutes per project. It does prevent the expensive kind of surprise.
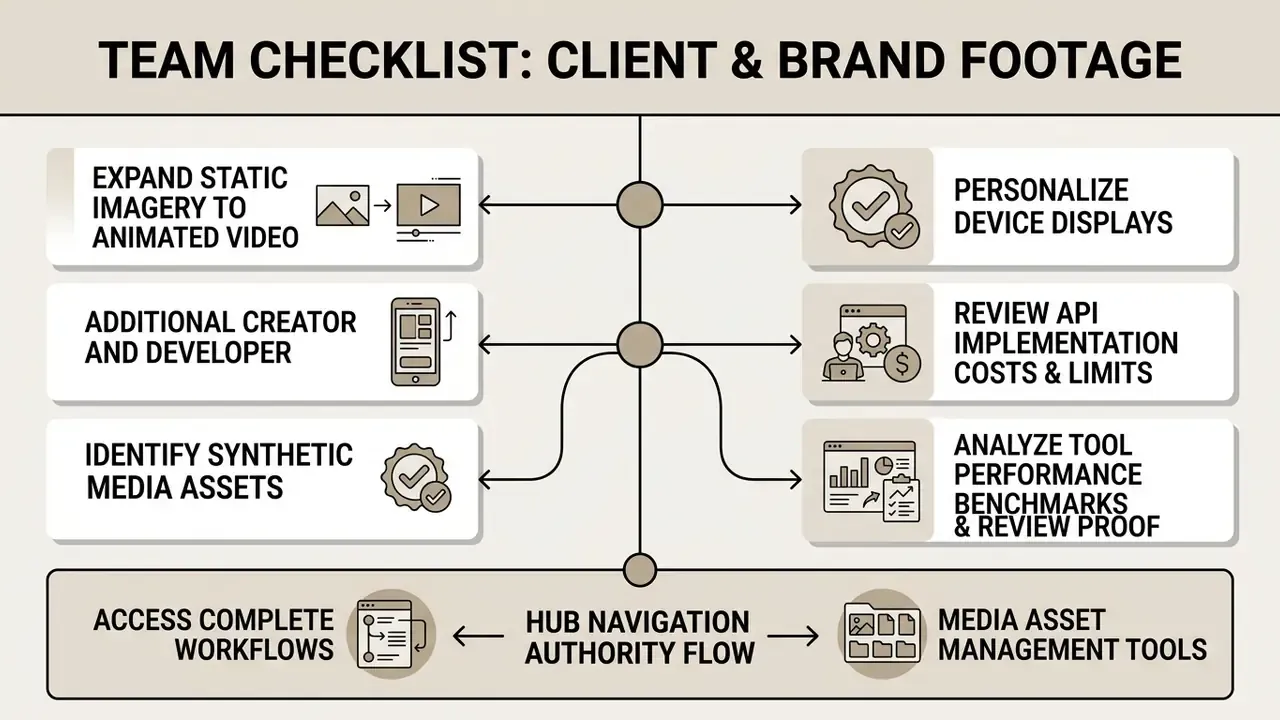
Additional Creator and Developer Resources
- Expand static imagery into animated video presentations with our guide on how to make a video presentation.
- Personalize device displays by learning how to make a video your wallpaper.
- Learn technical media verification techniques in our guide on how to identify synthetic media assets.
- Review developer API implementation costs and integration limits in our AI Media API Guides and Google Veo AI Video Generator Guide.
- Analyze tool performance benchmarks and review proof on our dedicated AI Media Benchmarks and Review Proof hub.
Hub navigation and authority flow: access complete workflows and media asset management tools via the AI Media Workflows directory.