Last updated in 2026. Steps verified on iOS 18.x and re-checked against the iOS 17.4 and iOS 26 interface layouts. This is independent editorial content and is not sponsored by intoLive or any other developer mentioned below.
Before You Start: What the Conversion Actually Needs
Three things decide whether this works on the first try. First, a source clip that is at least four seconds long, so you have room to trim. Second, a standard container: MP4 or MOV, H.264 or HEVC. Third, a converter that writes paired Photos assets instead of an animated image.
Everything else is preference. Free app or paid, on-device or in-browser, Lock Screen or Instagram: those are choices, not requirements. Worth noting up front, though: Apple ships the one-way trip only. Live Photo to video is native. Video to Live Photo is not.
An iPhone natively allows users to turn a Live Photo into a video clip through the Photos app. Apple, however, offers no built-in mechanism for the reverse direction. Performing a live photo conversion requires third-party software or specialized web utilities. These tools re-encode the source clip into a paired format that iOS recognizes as a dynamic media item.
Can You Turn a Video into a Live Photo?
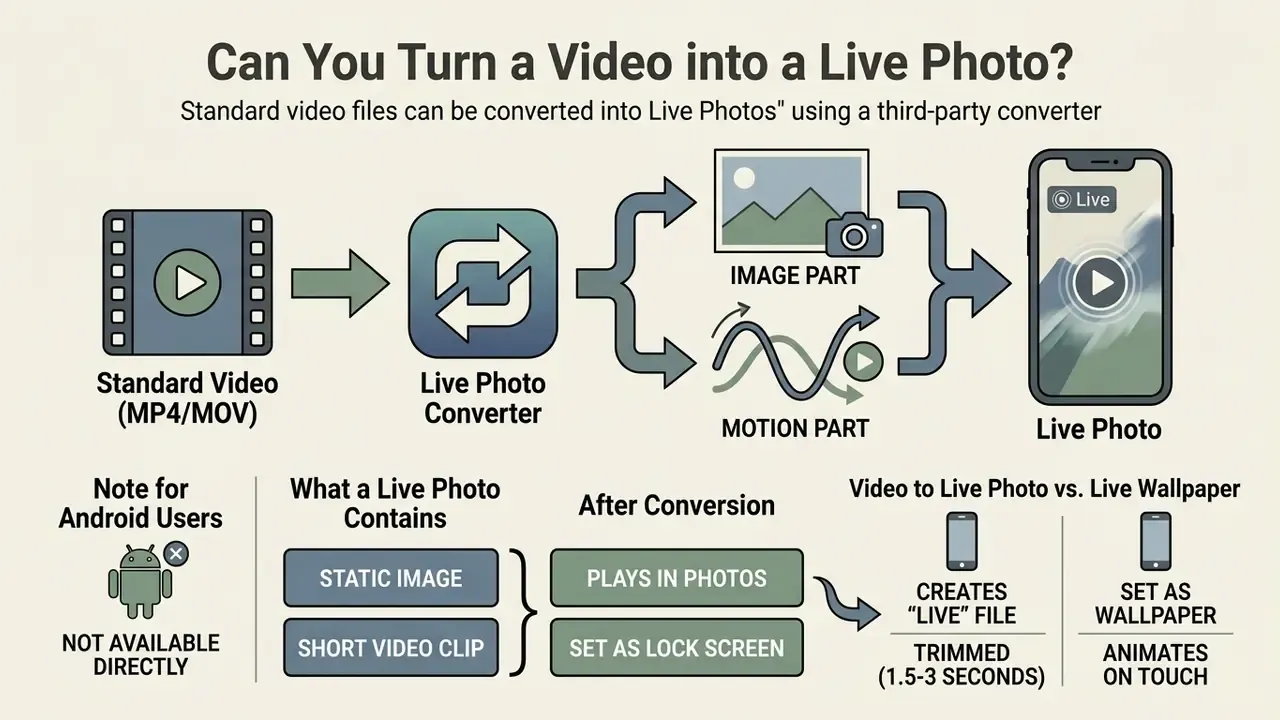
You can turn a standard video file into a Live Photo on an iPhone using a third-party live photo converter. Converting an ordinary video file into a Live Photo is possible only through third-party applications, because iOS provides no native route back.
While iOS provides no single-tap button to convert video to live photo, dedicated applications process standard video files and re-structure them. The output functions identically to a camera-captured Live Photo across the iOS ecosystem: same press-and-hold playback, same "LIVE" badge, same wallpaper eligibility.
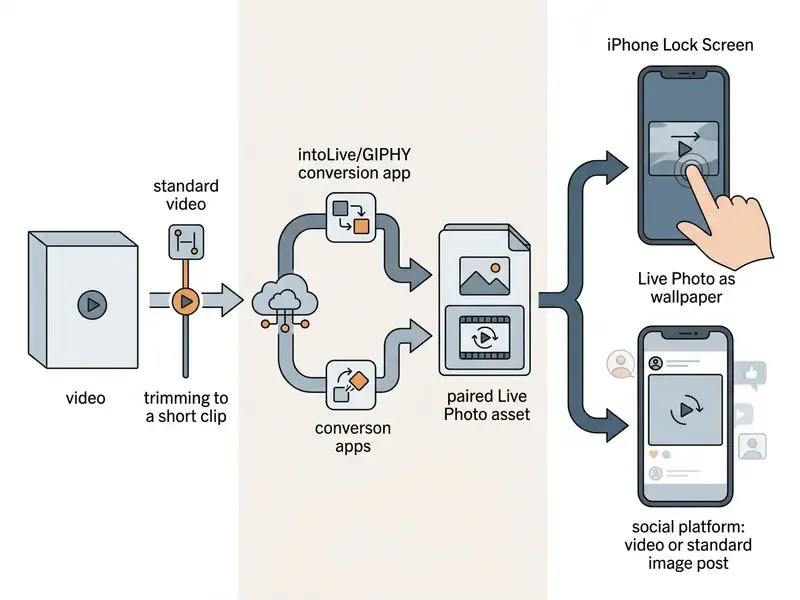
Standard video files use standalone container formats such as MP4 or MOV. An Apple Live Photo, in contrast, is a bundled media structure. When you use a convert video to live photo app, the software extracts a specific sequence from the video file. It then generates the required metadata links so the Photos app displays the output as a single interactive file rather than a plain video clip.
What a Live Photo Contains After Conversion
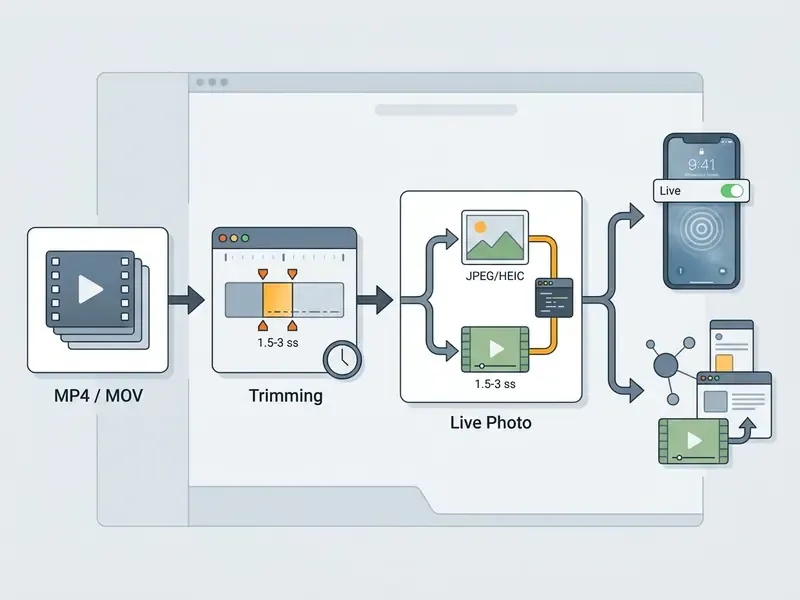
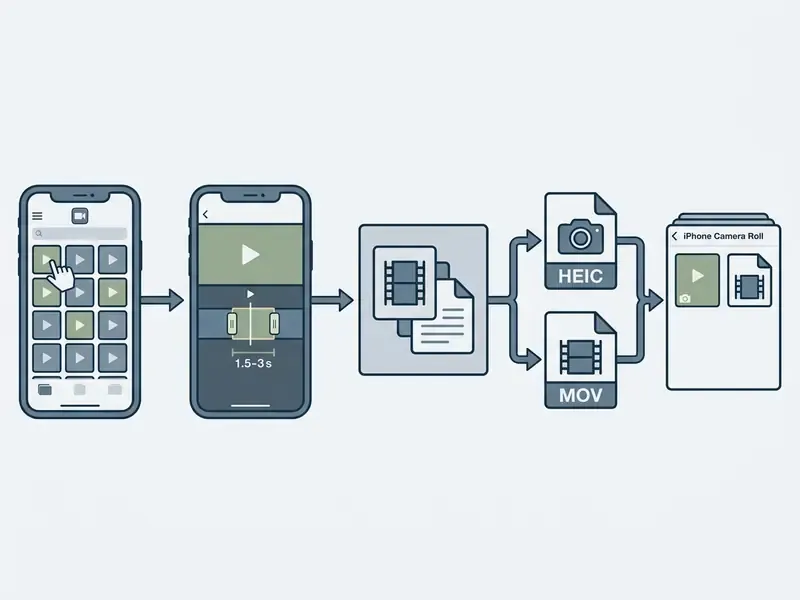
A converted new live photo consists of two distinct files stored together in your camera roll: a high-resolution still image (HEIC or JPEG) and a short QuickTime video clip (MOV).
According to technical analysis of Apple's media architecture, these two files are linked internally through a shared metadata asset identifier (com.apple.quicktime.content.identifier). The MOV side additionally carries a timed metadata item, com.apple.quicktime.still-image-time, which marks exactly which frame becomes the visible key photo. Break either link and you get a photo and an orphan video. Nothing more.
When you complete a live photo conversion, the software extracts a single frame to serve as the original live photo key frame. It pairs that frame with a short video segment, typically lasting up to three seconds.
When imported into Apple Photos, the operating system reads the shared identifier and presents the two assets as one item in your library. If only the still image is imported, the library shows a plain photo and the motion layer is simply gone.
Video to Live Photo vs. Live Wallpaper
A Live Photo is a discrete media file saved inside your Camera Roll. A live wallpaper is an iOS Lock Screen configuration that uses a Live Photo asset. Mixing the two up is the most common reason people think their conversion failed when it actually worked.
To use converted media on your lock screen, select the generated Live Photo inside settings wallpaper and confirm that the motion playback toggle is active. A Live Photo provides interactive motion playback when pressed in the Photos app or woken on the Lock Screen.
However, iOS does not support dynamic Live Photo playback on the static Home Screen background. Apple also excludes Live Photo wallpaper support on iPhone SE models, which catches out a fair number of users every year.
| Format | Best for | Where it works | Typical use case |
|---|---|---|---|
| Live Photo | Storing motion in the Photos app | Photos app, AirDrop, iMessage, some Lock Screen effects | Turning an MP4 or MOV into an interactive photo |
| Live Wallpaper | Animated Lock Screen background | Lock Screen wallpaper configuration | Setting a converted clip as a moving background |
Prepare a Video for Live Photo Conversion
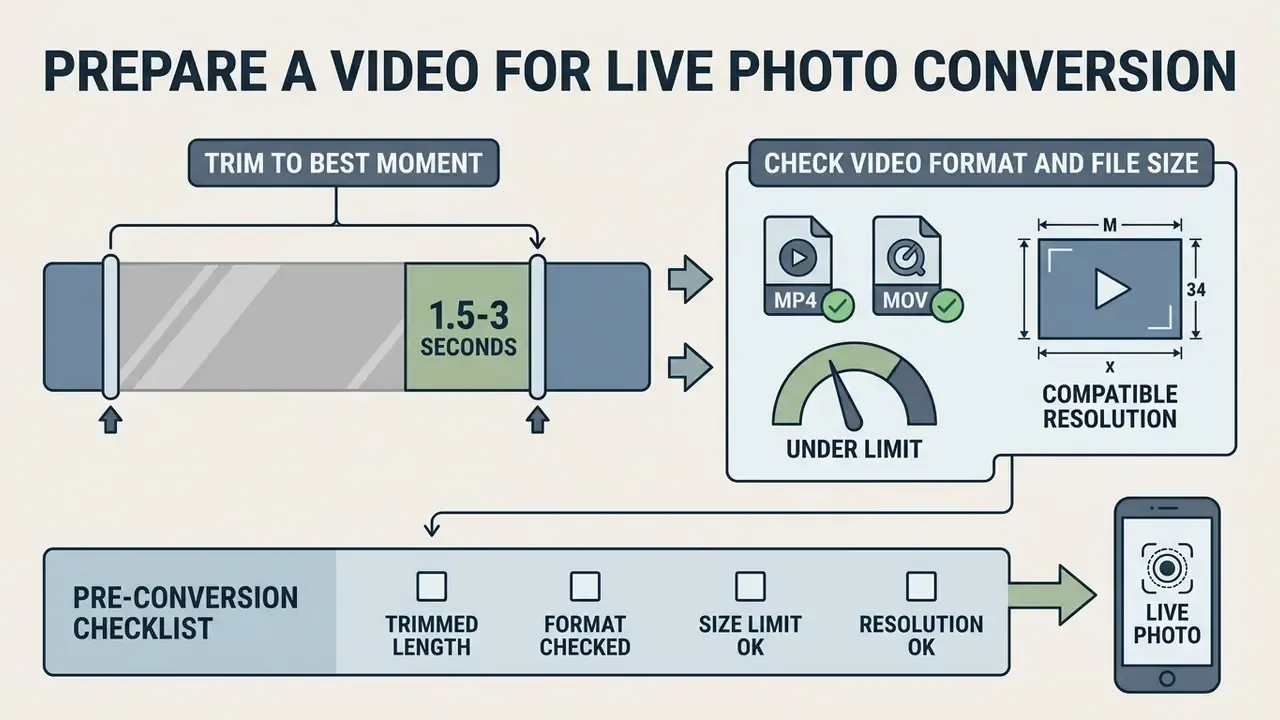
Preparing your source video file before conversion prevents encoding failures, unexpected cropping, and export crashes. Two minutes of trimming saves ten minutes of re-exporting later.
Unoptimized source files are the most common cause of processing timeouts in third-party applications. The practical fix is standardization: before importing, normalize every clip to the same container, codec, and duration. A 1080p H.264 MP4 trimmed to roughly three seconds is the safest baseline for mobile converters, because it keeps memory allocation inside the limits iOS grants to third-party apps. Standardizing source video formats and clip lengths eliminates most allocation errors during the conversion phase. Adobe's own export guidance follows the same logic: finish editing first, then choose the delivery format, confirm free storage before exporting, and use H.264 for general-purpose distribution.
Trim the Video to the Best Moment
Apple's native Live Photo format is architected around a total clip duration of roughly three seconds. That corresponds to 1.5 seconds of motion before and after the central key frame.
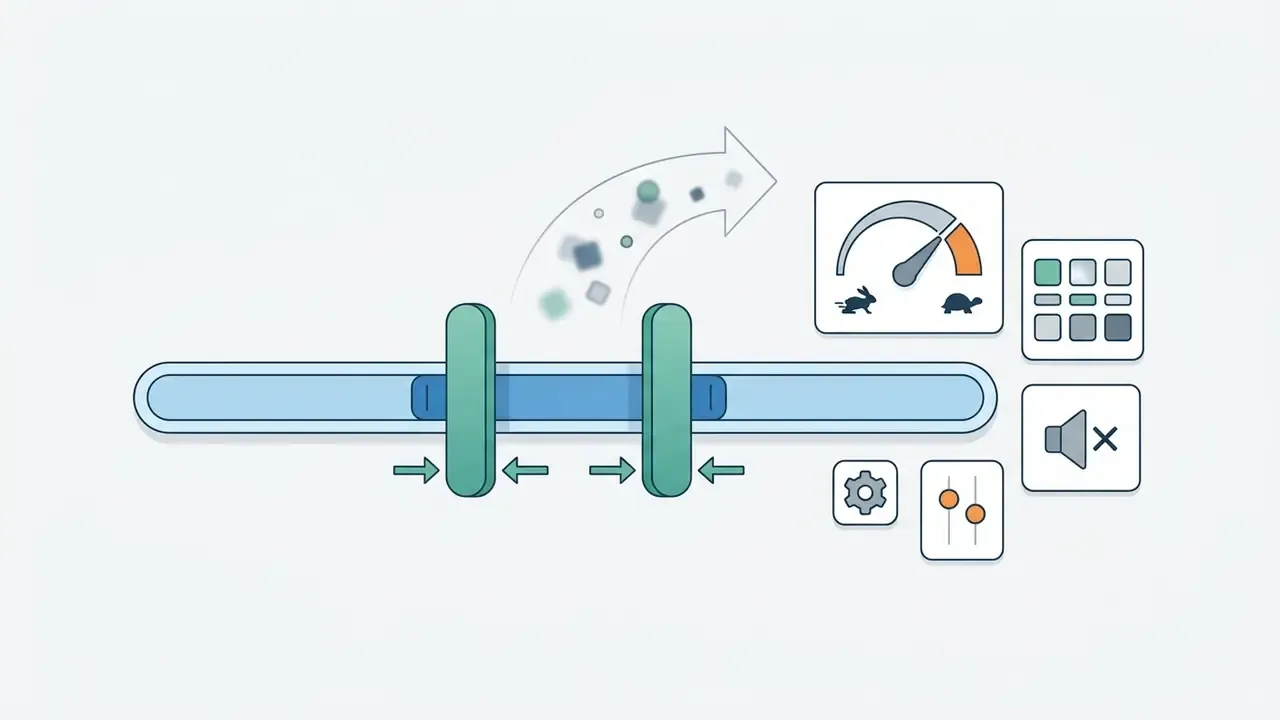
When preparing a short video for conversion, trim the clip down to the most active 1.5 to 3-second window using the iOS Photos editor or a video compressor. A concise window with clear motion (a wave crashing, birthday candles flickering, someone breaking into a smile) produces a cleaner animation loop on the Lock Screen. In Apple Photos you drag either end of the frame viewer to trim, then use Make Key Photo to lock the frame displayed while the phone sits idle.
One small observation from repeated testing: clips with camera shake at the start look worse as wallpaper than clips with shake at the end, because the first frames are what you see when the screen wakes.
Check Video Format and File Size Before Uploading
Most mobile photo converter tools work best with standard QuickTime (MOV) or MPEG-4 (MP4) containers encoded in H.264 or HEVC. Check your source clip metadata in the Files app before importing it into a converter. The Camera Roll only shows clip length, so use Share → Save to Files, then open Info to read container, resolution, frame rate, codec, and file size.
Web-based conversion tools enforce their own upload ceilings, and the numbers are published per service.
Mobile application converters process files directly in device memory, so keeping input video clips under 30 seconds prevents high memory consumption and sudden crashes. If your footage needs re-cutting first, a desktop timeline tool or a lightweight editor such as those covered in our YouTube video editor guide will export a compliant H.264 file. As a size reference, Apple lists roughly 70-105 MB per minute for 1080p footage and 19-27 MB per minute for 720p, so a three-second 1080p clip lands far below every published upload cap.
Pre-conversion checklist
- Select a single continuous clip with obvious motion; avoid hard cuts inside the window.
- Trim it to 1.5-3 seconds, but keep the source file at least four seconds long before trimming.
- Confirm the container is MP4 or MOV with H.264 or HEVC encoding.
- Keep the file under 50 MB for web converters and under 100 MB for app-based conversion.
- Verify resolution at 1080p or lower for fastest processing; transcode 4K ProRes files first.
- Save the prepared clip back into the Camera Roll so the converter can read it through
PhotosUI. - Check that the iPhone has free storage to write both the HEIC and MOV components.
How to Convert Video to Live Photo on iPhone With an App
Converting a video to a Live Photo on iPhone means importing a prepared clip into an iOS application capable of writing QuickTime asset identifiers. The processing itself takes a few seconds with dedicated software from the App Store.
"iOS Shortcuts cannot convert video into a Live Photo directly without the help of a third-party app such as intoLive Pro."
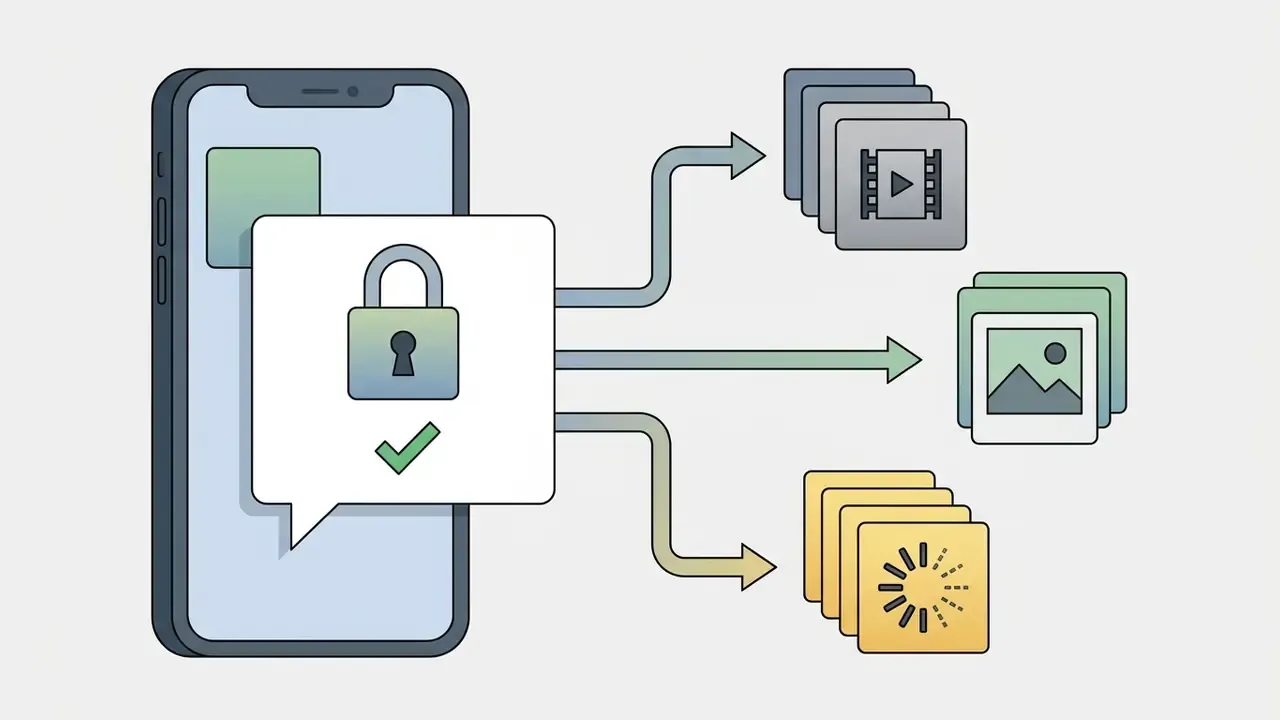
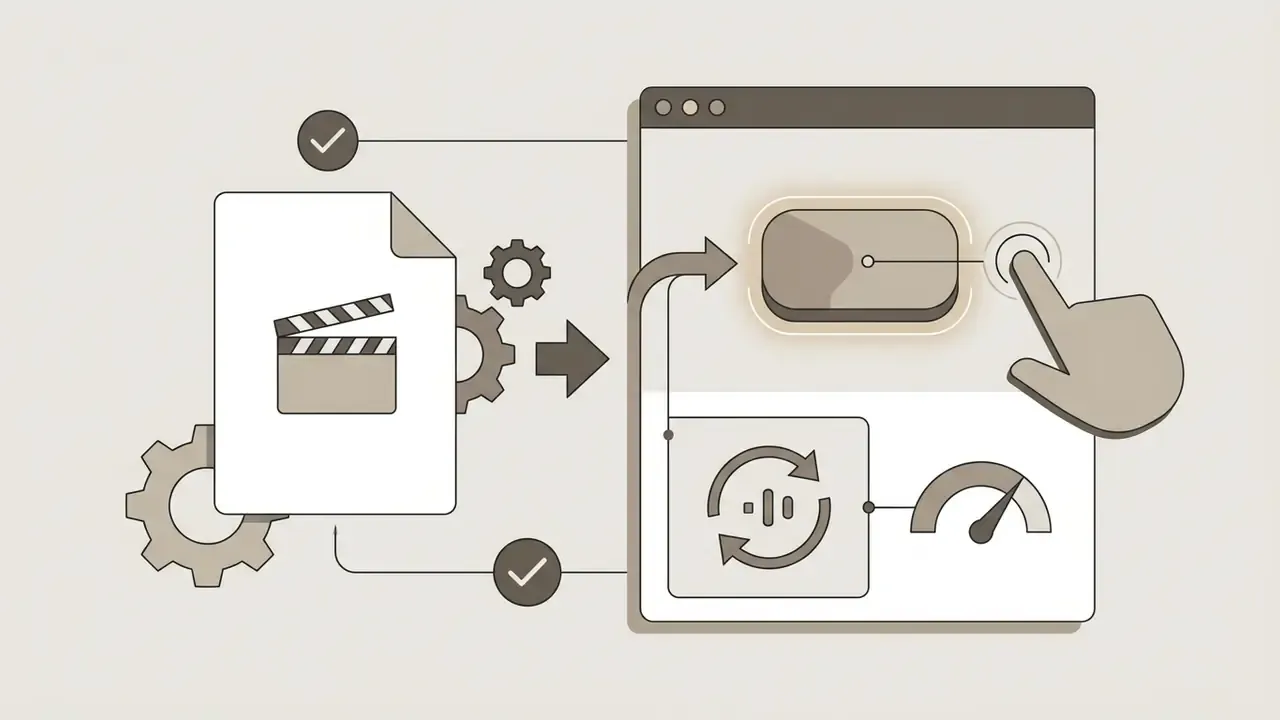
When selecting an iOS application, make sure it has permission to access your Photos library. The app reads the video frames, generates the matching still image, applies the paired metadata tags, and writes both assets back to system media storage through PHAssetCreationRequest inside a PHPhotoLibrary.performChanges block.
Choose a Video to Live Photo App From the App Store
To change video to live photo iphone configurations, search the App Store for verified conversion software. Look for applications with explicit privacy disclosures about local file processing.
Many utilities are distributed as a free app convert video to live photo iphone users can download immediately. Free tiers, though, frequently cap output duration or stamp a watermark on the result. Review user feedback in the App Store to confirm that a third party application exports true Live Photo pairs rather than static animated GIFs. A real Live Photo exists only when the app writes the still image and the movie as one Photos asset with a matching content identifier, which is why Apple's documentation describes the pair, not a single animated file, as the Live Photo unit. GIF exports are silent, loop continuously, and never trigger the Lock Screen "LIVE" badge.
E-E-A-T fact check and app verification:
Convert a Clip With intoLive
The intolive convert video to live photo route is one of the most widely documented workflows on iOS. The application provides precise timeline controls built for Lock Screen wallpaper creation.
- Download intoLive from the App Store and grant access to your Photos library.
- Select the target clip from your camera roll video folder.
- Adjust the timeline sliders to select a 1.5 to 3-second motion frame.
- Set your desired key frame (Key Photo) for the static representation.
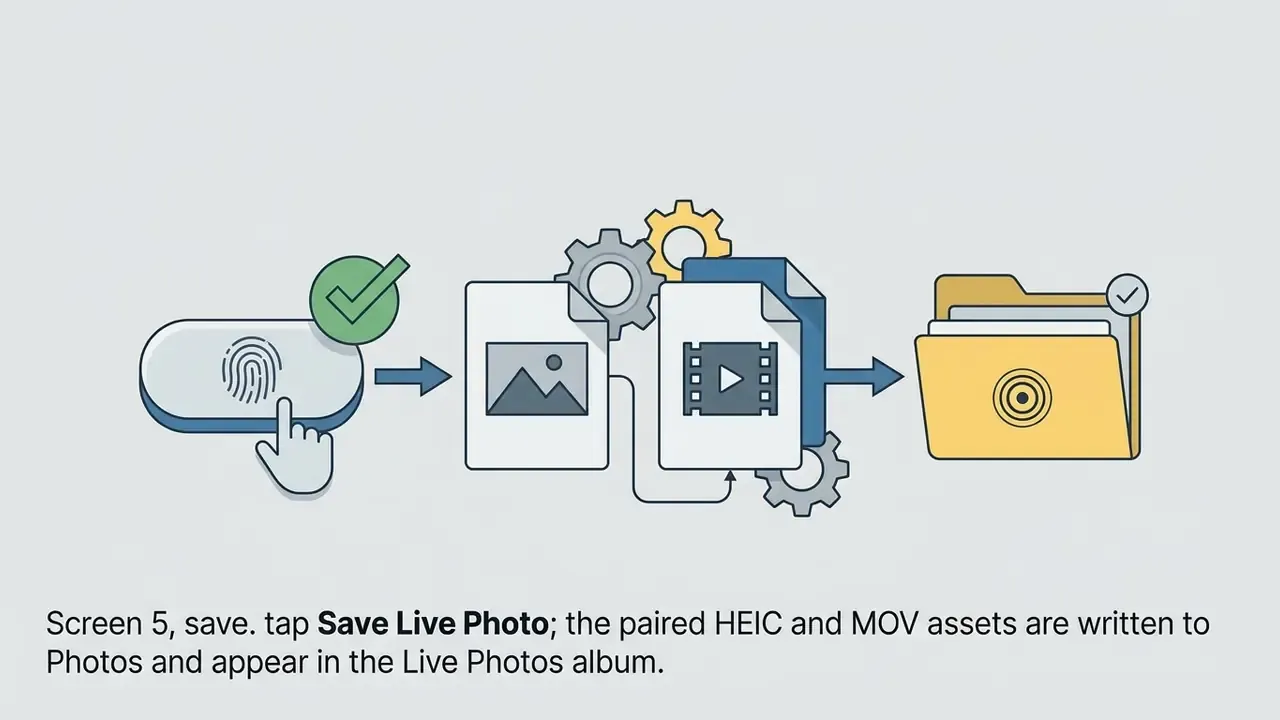
- Tap Make in the top right corner, choose your repeat preferences, then tap Save Live Photo.
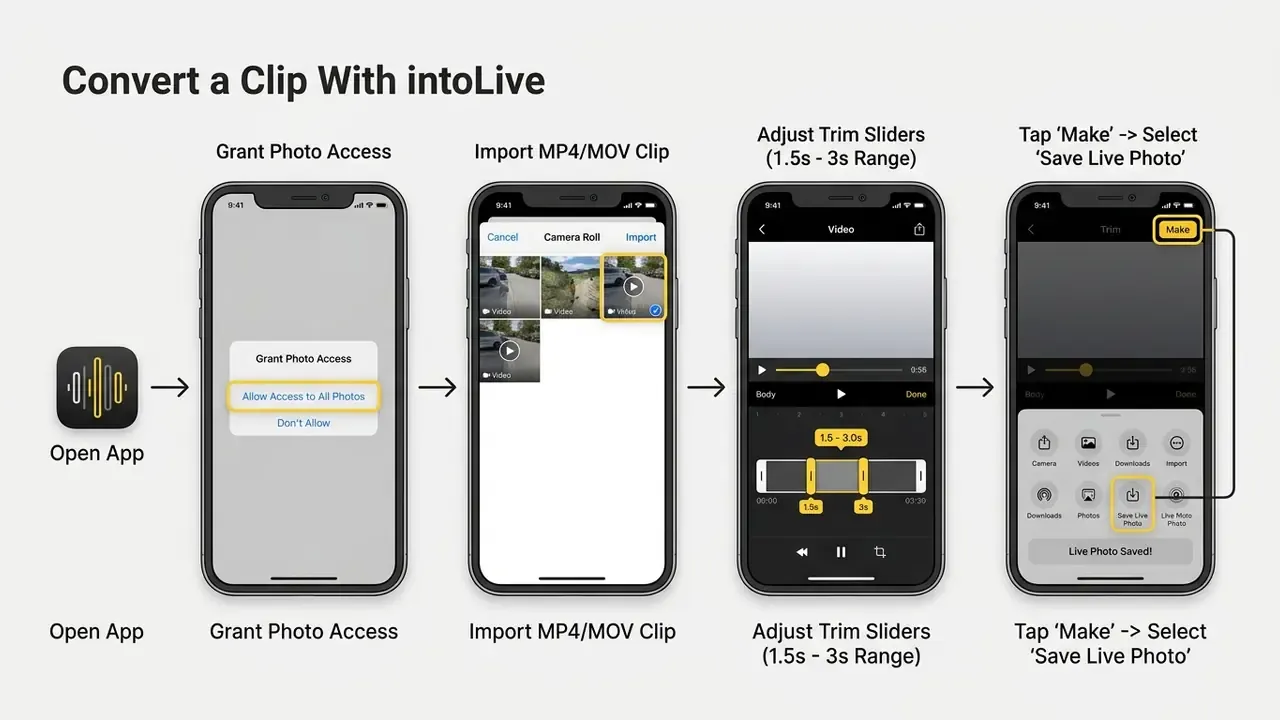
Annotated screen-by-screen sequence
Alt text for the first screen in the series: "intoLive convert video to live photo step".
Alternative: Native Conversion via iOS Shortcuts
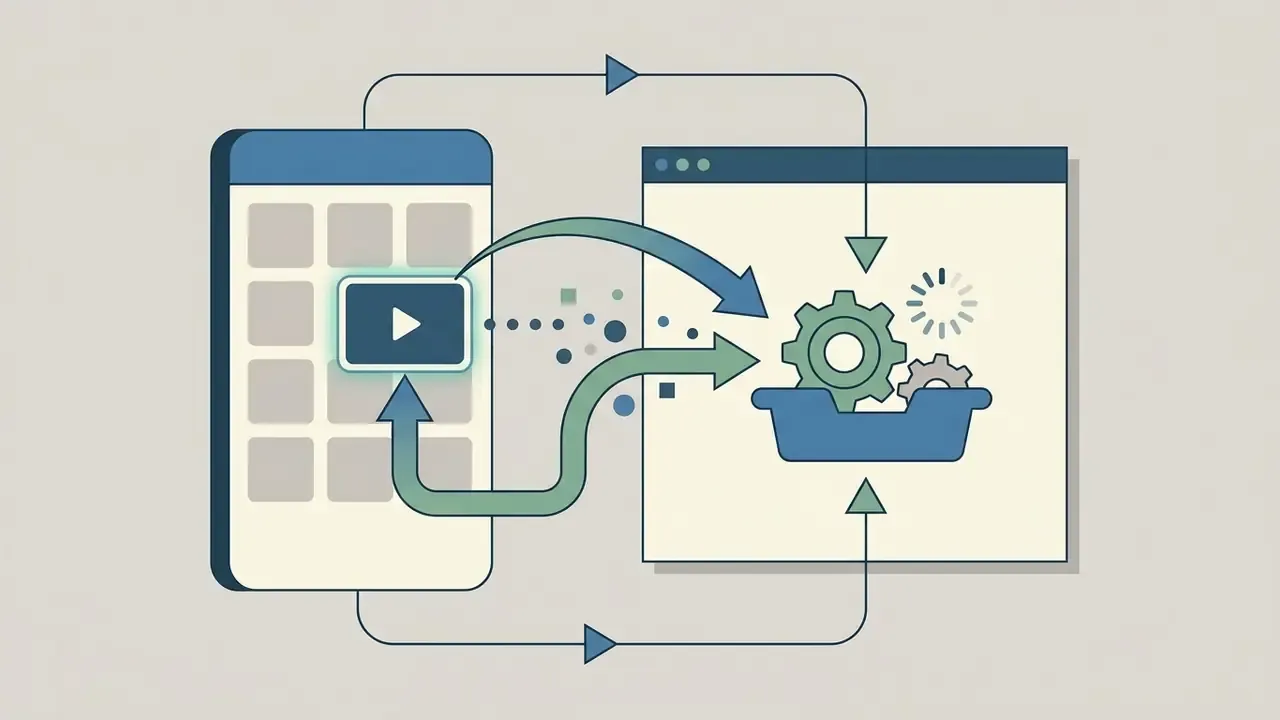
Advanced users often want a zero-app workflow using Apple's native Shortcuts app. Shortcuts alone cannot mint a Live Photo, because it has no action that writes the paired com.apple.quicktime.content.identifier metadata. It can, however, automate everything around the conversion:
If you are already building automations of this kind, the same logic applies to larger media pipelines. Readers who script repetitive media tasks may also find our notes on how to create ai agents useful for chaining steps that no single app covers.
- Create a shortcut with the Encode Media action (Video enabled) to normalize the clip to H.264 MP4 and trim it to three seconds.
- Pass the encoded output into a Live Photo generator action exposed by a converter app; intoLive Pro and several browser-based tools publish Shortcuts actions or URL schemes.
- Use Save to Photo Album so the resulting asset lands in Photos without extra taps or branding screens.
- For the reverse direction, Apple publishes a "Share Live Photo(s) as Photo and Video" shortcut that accepts multiple Live Photos from the share sheet and outputs separate image and video files.
Save the New Live Photo to Camera Roll
After the app generates the media pair, you still have to explicitly save live photo assets to your system library. Tap the export or save button inside the converter interface to trigger the iOS PHPhotoLibrary write request.
To confirm the output kept its dynamic properties, open the Photos app and go to the Live Photos album (Media Types > Live Photos). Tap and hold the thumbnail. If the video component plays smoothly with sound and shows the "LIVE" badge in the upper corner, the live photo conversion succeeded. If it sits flat, jump to the troubleshooting matrix below.
How to Convert Animated GIFs to Live Photo
If your source media is an animated GIF rather than a standard video clip, you can convert it directly without exporting an MP4 first:
- Download and open the GIPHY app on your iPhone.
- Locate the target GIF in the library, or upload your own file.
- Tap the three vertical dots menu in the top-right corner.
- Select Convert to Live Photo, then choose between Save as Live Photo (Full Screen) and Save as Live Photo (Fit to Screen).
The converted file is written to your Camera Roll as a native HEIC and MOV pair, so it behaves exactly like a camera-captured Live Photo and can be selected in Settings > Wallpaper. Browser-based toolkits such as LivePhoto.online and LivePhoto.video offer the same GIF to Live Photo direction plus loop-length, FPS, scale, and aspect-ratio controls, which helps when a GIF's native frame rate is too low for smooth Lock Screen playback. Remember that GIFs carry no audio track, so the resulting Live Photo animates in silence.
Best Apps to Convert Video to Live Photo on iPhone
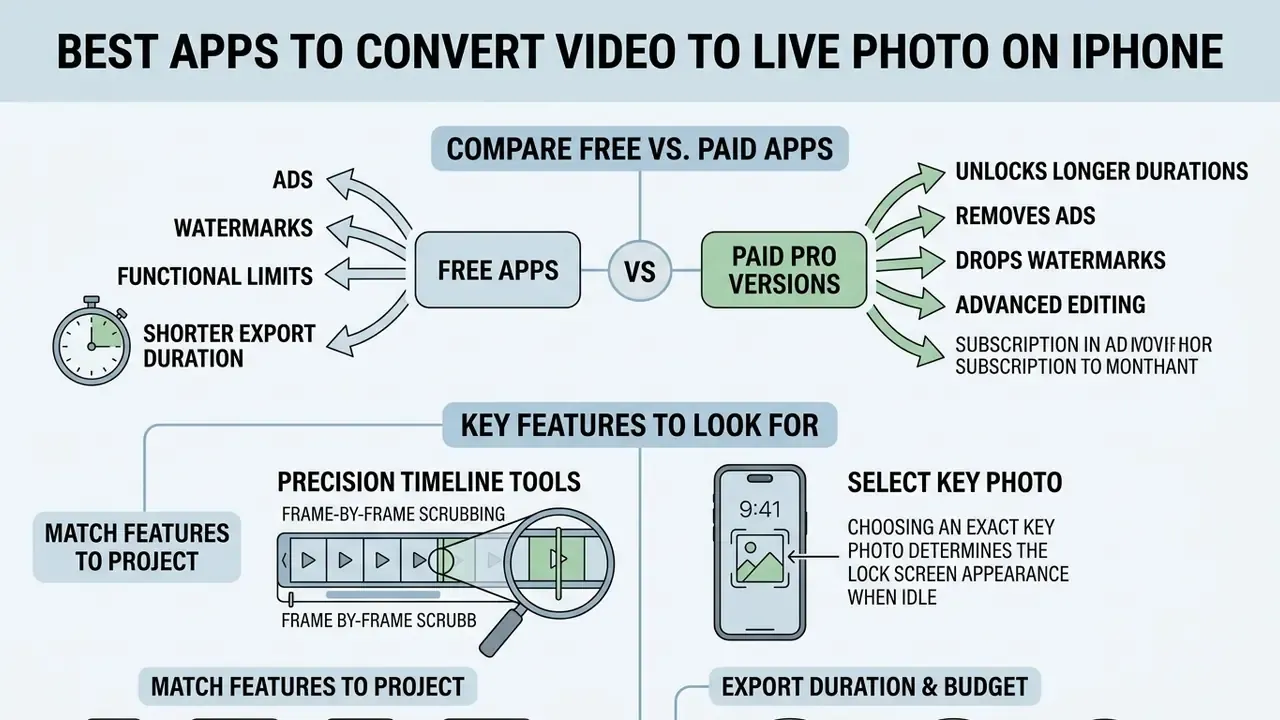
Selecting the right convert video to live photo app comes down to export duration, budget, and your tolerance for ads or watermarks. Several App Store applications provide specialized features for turning video clips into dynamic assets.
Evaluating software means matching feature sets to your actual project, not to a feature list. For creative work, combining video tools with an animation maker or refining the key frame in a photo editor gives you a stronger asset before you convert anything.
Compare Free and Paid Video to Live Photo Apps
Free utilities usually enforce functional limits to nudge you toward a subscription. intoLive, VideoToLive, and turnLive all offer basic conversion for free while restricting maximum clip length to 3-5 seconds.
| Application | Free Export Limits | Watermark | Max Duration (Paid) | Indicative Paid Pricing | Lock Screen Optimized |
|---|---|---|---|---|---|
| intoLive | 5 seconds max | Free tier may add one | 30 seconds (Pro) | ~$3.99/week, $9.99/month, $29.99/year, $69.99 lifetime | Yes |
| VideoToLive | 3 seconds max | Optional | Unlimited (Premium) | Weekly / monthly / yearly subscription; Premium removes ads | Yes |
| turnLive | 3 seconds max | Yes | Extended | 7-day trial, then weekly billing | Yes |
| Liva Photo | 3-5 seconds | No | Extended | In-app purchase unlock | Yes |
Prices are storefront- and region-dependent and change often. Confirm the current tier on the App Store product page before subscribing.
Paid Pro versions unlock longer durations, remove ads, drop watermarks, and open advanced editing options such as frame-rate adjustment, speed control, and filter layering. The 30-second ceiling is the figure published on intoLive's own App Store listing, where the free tier is documented at five seconds and Pro is described as unlimited feature access. turnLive's listing similarly states that clips longer than three seconds require payment. If you need original footage in the first place, clips produced with AI video generators can be trimmed and fed into the same pipeline, and so can portrait clips made following our guide on how to create ai images of yourself.
Features That Matter When Choosing a Converter
When evaluating a live photo converter, look for precision timeline tools that allow frame-by-frame scrubbing. Beyond convenience, the format itself carries measurable informational value over a single frame.
"Live Photos and Motion Photos outperform single still frames on object classification and visual question-answering tasks."
Choosing an exact Key Photo determines how your Lock Screen looks when the phone is idle. That single decision matters more than any filter.
Smart trimming is the other feature worth paying for. Strong applications let you adjust playback speed, configure loop counts, and process multiple videos into separate Live Photo assets. Batch processing, a visible "Key photo" indicator during bulk edits, resolution preservation, and explicit wallpaper export modes are the four capabilities that separate a serious converter from a novelty app. Verify that the app keeps original video resolution without aggressive compression, and if storage gets tight, a free photo editor helps you cull the duplicate stills that repeated exports leave behind.
Convert Video to Live Photo Online or on Mac
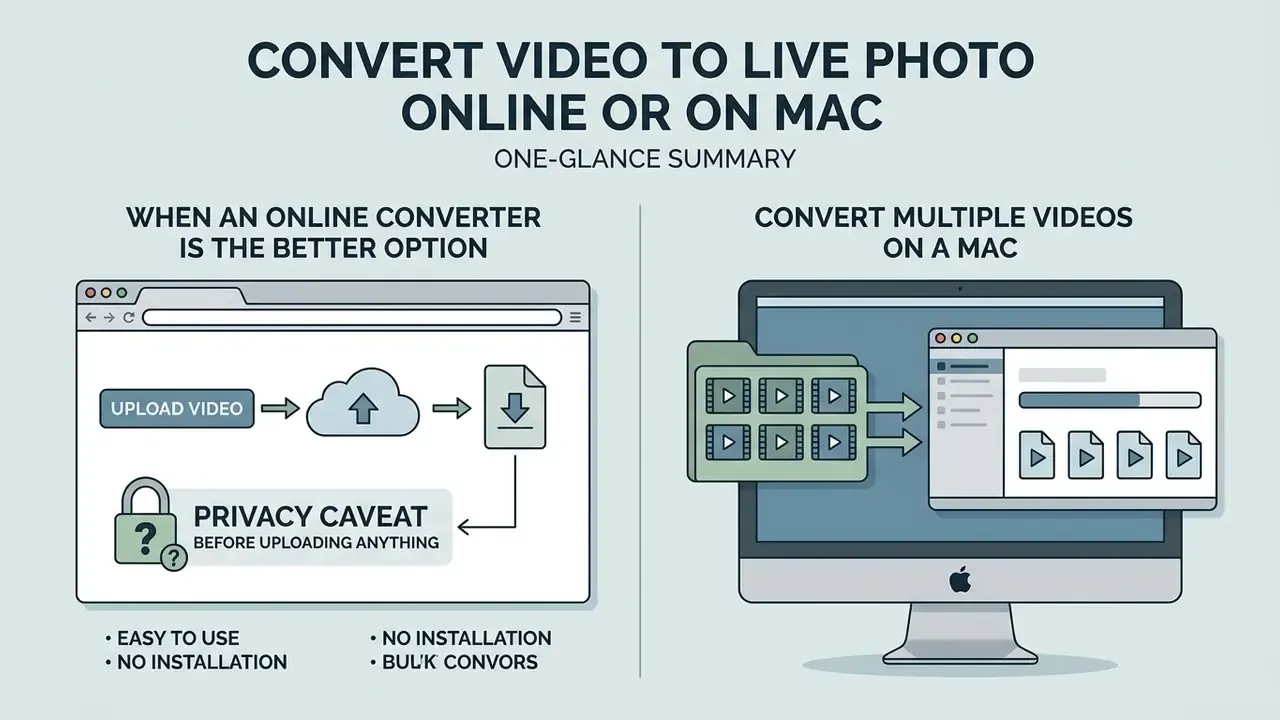
Prefer working on a desktop? You can process video clips on a Mac or use web-based conversion tools, then transfer the finished files to your iPhone.
Desktop environments give you precise timeline editing, which makes cutting high-resolution footage easier in Final Cut Pro, QuickTime Player, or a dedicated photo editor for the key frame. Once trimmed, online converters generate downloadable Live Photo archives that can be pushed to iOS devices.
When an Online Converter Is the Better Option
Online converters are useful when you want to convert video to live photo assets without installing anything from the App Store. Browser-based tools process uploaded clips, generate paired files, and hand back a downloadable .livp package or separate image and video files.
Not every browser tool works the same way, though. Modern web utilities, including browser-based FFmpeg converters compiled to WebAssembly, process media locally inside your client browser. Raw video files never reach a remote server, which preserves privacy and side-steps server-side upload caps at the same time.
"It processes everything locally via FFmpeg running in your browser, meaning your clips never leave your device and remain private."
TikTok also ships a native export path worth knowing about.
Privacy caveat before you upload anything. Classic server-side converters still exist, and they behave very differently from local WebAssembly tools. Under EDPB Guidelines 3/2019, video footage in which people are identifiable counts as personal data, and source clips routinely carry location and device metadata. Never upload confidential, client, or corporate footage to an unknown converter. Check whether the page states "no upload / local processing", whether outputs are cached (some tools keep results in IndexedDB for 24 hours), and whether third-party analytics scripts run on the conversion page. When in doubt, convert on-device. Teams handling regulated material should also read our AI Media Commercial-Use guidelines before routing any asset through a public tool.
Web utilities carry functional drawbacks too. Upload forms enforce strict file size limits (commonly 50 MB, up to 100 MB on the more generous services), and browser applications cannot write directly into the iOS Camera Roll. You have to download the generated assets to Files or your desktop, then import them into Photos, usually through Share > Save Image in Safari. That is precisely the step a converter app performs for you automatically.
Convert Multiple Videos on a Mac
macOS has no native single-click context menu button to convert a video to a live photo.
To batch-process multiple videos on a Mac, creators trim clips in a desktop editor, transfer them to an iPhone over AirDrop or iCloud, and finish the pairing step on iOS. A handful of Mac App Store utilities, MakeLive and the macOS build of VideoToLive among them, advertise on-Mac conversion and export a validated HEIC and MOV pair for Photos, typically requiring macOS 11.0 or later and Apple Silicon. A practical round trip therefore looks like this: prepare and trim on Mac, send the clip to the iPhone, convert with intoLive, then send the finished Live Photo back if you want it in your desktop library.
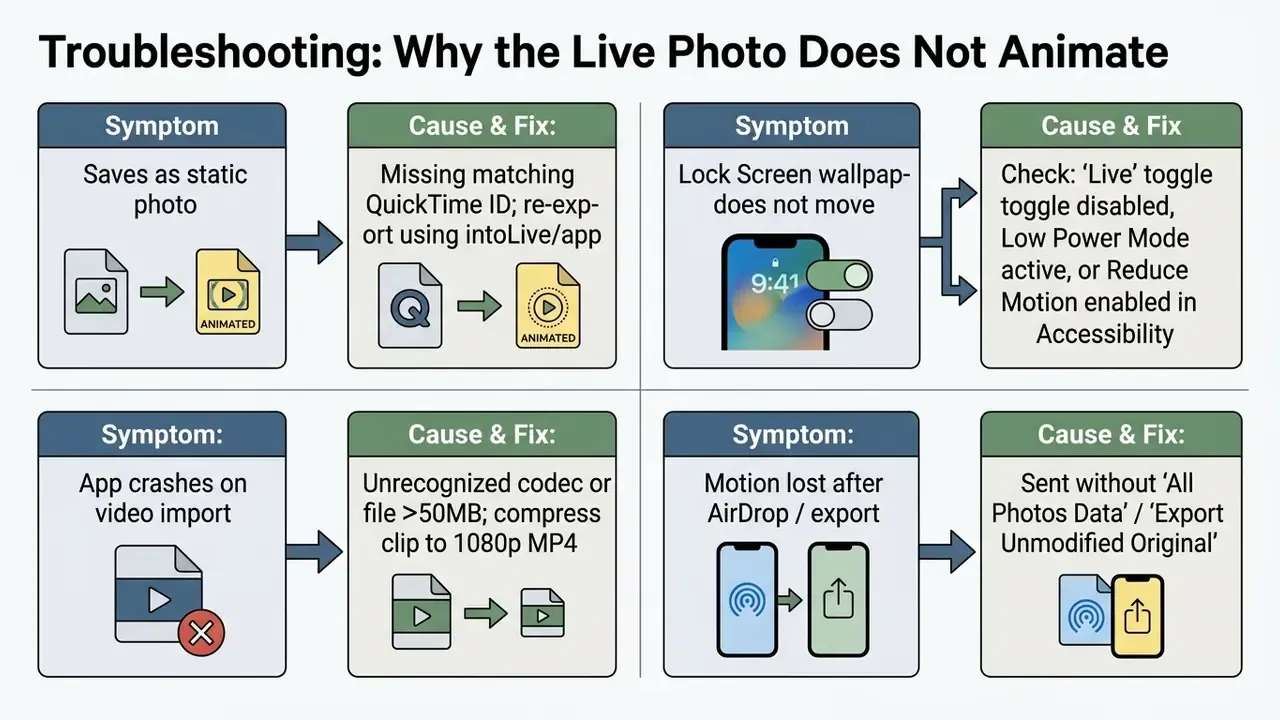
When transferring converted pairs from Mac to iPhone, use AirDrop with "All Photos Data" enabled in the export options. This preserves the internal QuickTime metadata binding. Sent over ordinary messaging channels, macOS flattens the asset into a static image plus a detached MOV clip, and the interactive playback is lost. The same rule applies in reverse: exporting with Export Unmodified Original in the macOS Photos app keeps both components together, while a normal export writes only the still frame. For structured, repeatable media pipelines, review the automation patterns in our AI Media Workflows hub.
Set Your New Live Photo as an iPhone Wallpaper
Once your new Live Photo is created and verified in the Camera Roll, you can configure it as a dynamic background on the Lock Screen.
Apple reworked Lock Screen customization heavily across recent iOS releases. Configuring dynamic wallpapers now depends as much on system toggles as on the file itself.
Apply a Live Photo to the Lock Screen
- Open Settings on your iPhone and tap Wallpaper.
- Tap Add New Wallpaper, then select Photos from the top options.
- Tap the Live Photo category filter to isolate dynamic assets.
- Select your newly generated Live Photo from the gallery.
- Tap the Play/Live button at the bottom of the preview screen to enable auto-motion on wake.
- Tap Add in the top right corner, then choose Set as Wallpaper Pair or Customize Home Screen.
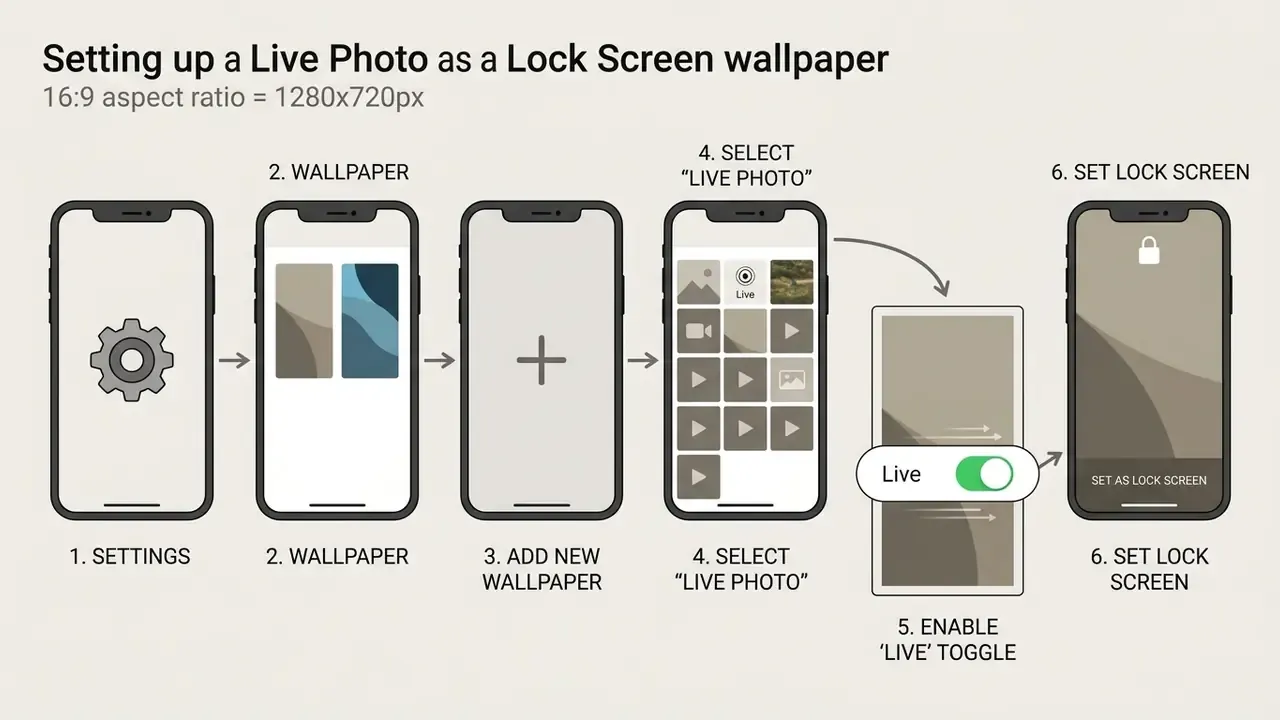
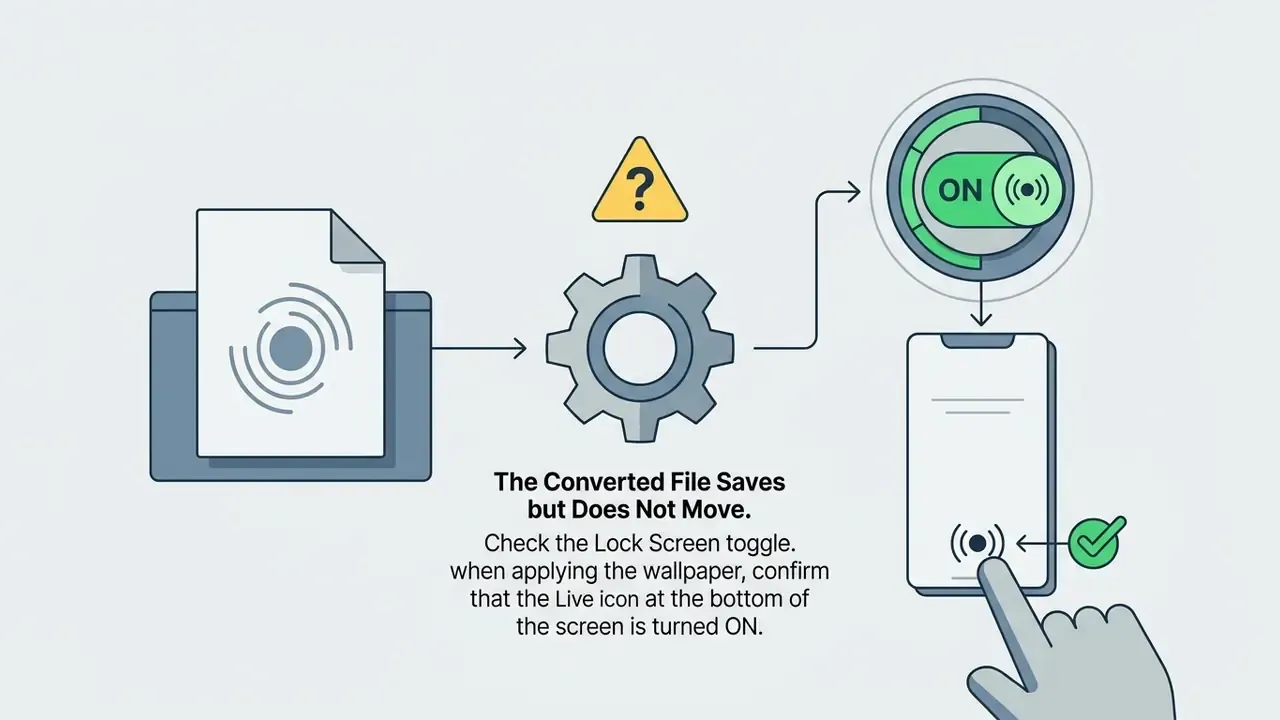
Depending on the iOS version, playback triggers either by touching and holding the Lock Screen or automatically when the display wakes. The automatic behavior only works with the Live toggle switched on. There is a shortcut route straight from Photos as well: open the Live Photo, tap the share icon, choose Use as Wallpaper, confirm that Live Photo mode is enabled, then tap Add.
Troubleshooting: Why the Live Photo Does Not Animate
Converting video into a system-recognized dynamic photo can fail for three reasons: broken metadata, wrong iOS settings, or an encoding mismatch. Identifying which one applies tells you exactly what to re-export.
The Converted File Saves but Does Not Move
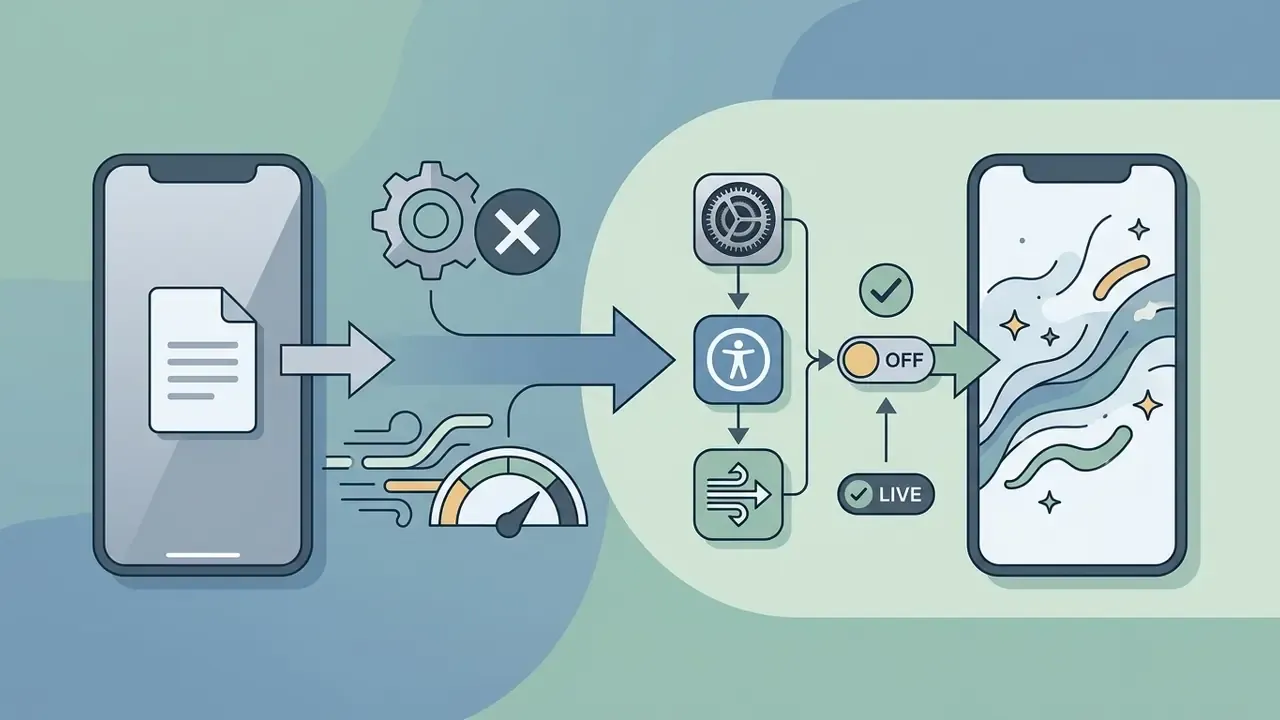
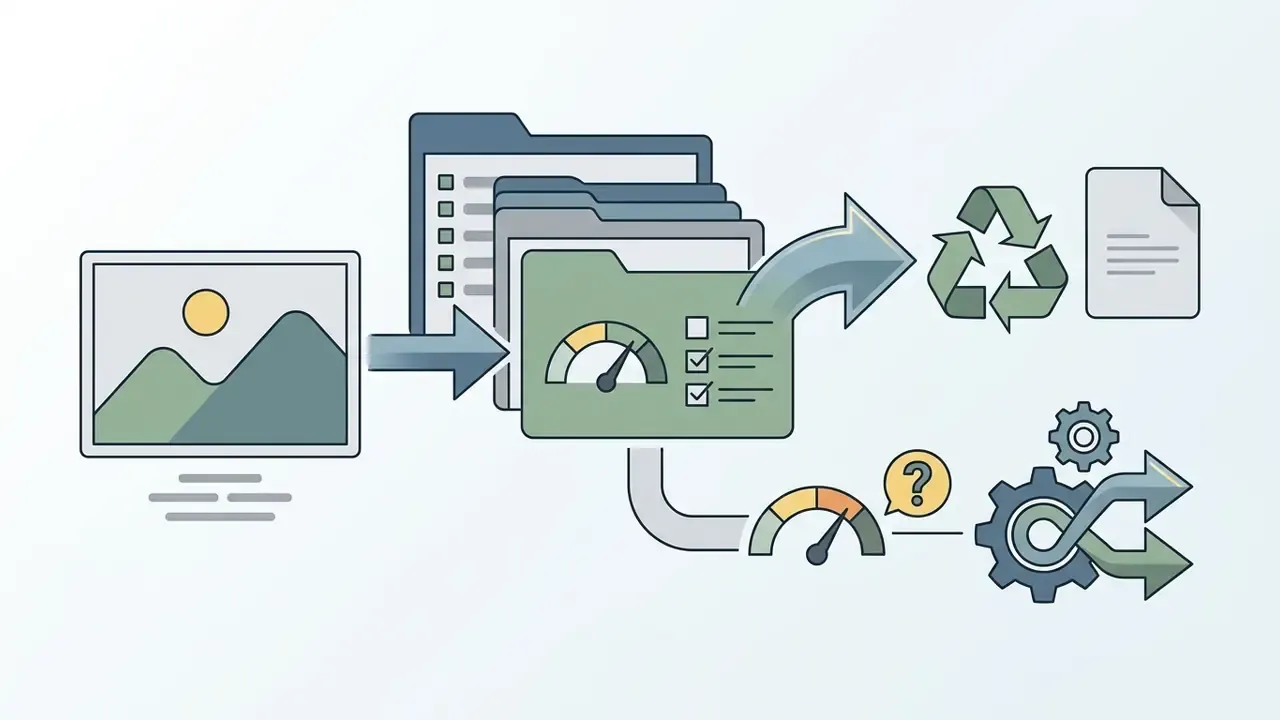
If your new live photo appears in the Camera Roll as a static image and refuses to animate on press-and-hold, the internal link between the HEIC and MOV components probably broke during export. Work through these in order:
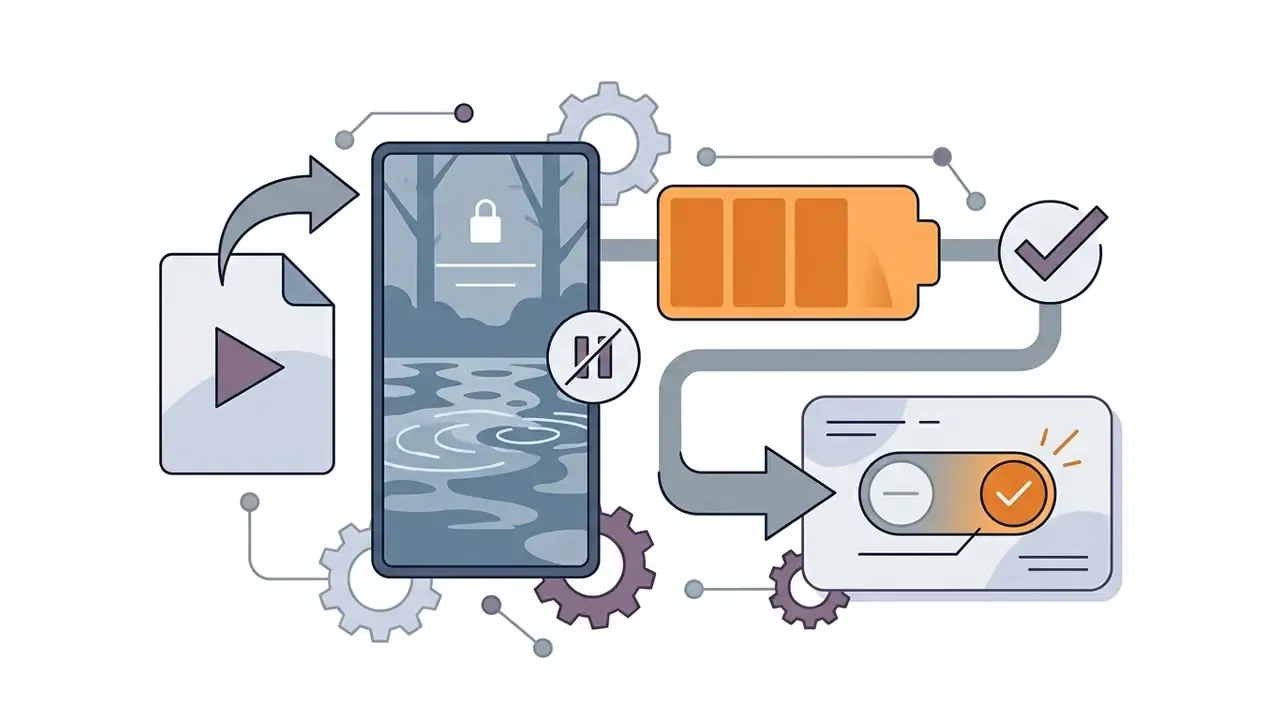

The Converter Cannot Open or Export the Video
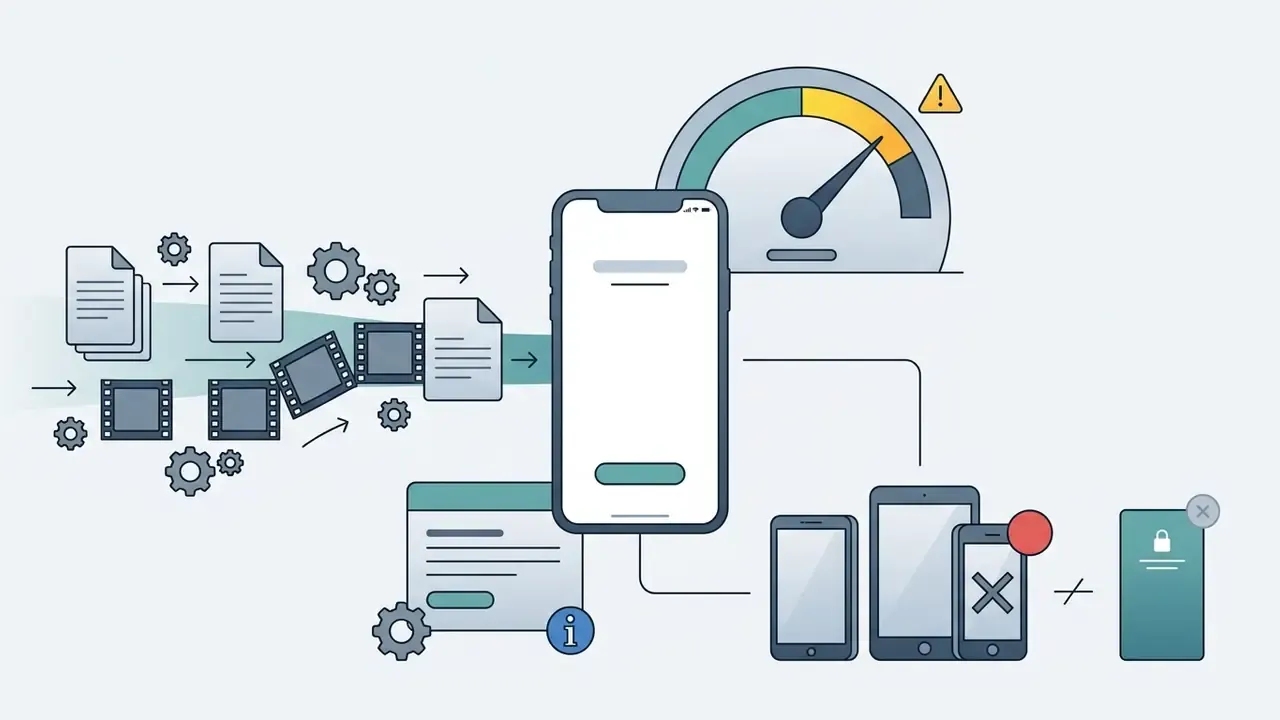
Import and export failures usually point to unsupported codecs, excessive resolution, or memory exhaustion. These are the same failure modes documented for desktop encoders, where "unsupported compression type" errors and allocation problems dominate the bug reports.
- Unsupported codecs Apple ProRes or non-standard MKV containers often fail in basic mobile apps. Convert the source to a standard 1080p H.264 MP4 first.
- File size exceeded files above 100 MB can push mobile utilities out of memory. Trim the clip to under five seconds before import.
- Storage limits make sure the iPhone has enough local space to encode and write both paired media files.
- Frame-rate mismatch very high frame rates, such as 120 fps slow-motion source, can time out during re-encoding. Export at 30 fps first.
- Permissions if the converter shows an empty library, re-grant full photo access in Settings > Privacy & Security > Photos.
FAQ About Video to Live Photo Conversion
Can You Create a Live Photo From Multiple Videos or a Still Image?
Not natively, no. An Apple Live Photo relies on a single continuous MOV clip paired with one matching still frame, so multiple videos or a static image cannot become a Live Photo without prior compilation. To turn several clips or stills into a Live Photo, first join them into one continuous video file in a video editor, or animate a still frame with an image-to-video AI tool. Clips produced by AI video generators work as source material exactly like camera footage. Once compiled into a single three-second MP4 or MOV, import that combined video into a convert video to live photo iphone app to generate the final asset.
Can You Convert a Live Photo Back into a Still Photo?
Yes. Open the Live Photo in Photos, tap Edit, tap the Live Photo icon to switch the motion off, then tap Done. The item is stored as a regular still image afterwards.
Do Live Photos Use a Lot of Storage?
A Live Photo is larger than a single still, since it stores both a high-resolution image and a short movie. It stays substantially smaller than a full-length video recording of the same scene.
What Is the Difference Between a Live Photo and a GIF?
Both show motion. A Live Photo keeps audio and full video quality and animates only on compatible Apple devices when pressed or woken. A GIF is silent, loops continuously, works almost everywhere, and usually looks worse at a comparable file size.
Can I Turn Live Photo Capture Off in the Camera App?
Yes. Open Camera and tap the concentric-circles Live Photos icon at the top of the screen to disable it for the session, or switch it off permanently in Camera settings so the preference survives between launches.
Key Takeaways for iOS Live Photo Conversion
- Dual-asset architecture: a Live Photo is a paired bundle holding a still image (HEIC/JPEG) and a three-second QuickTime clip (MOV) that share a unique asset identifier plus a still-image-time marker.
- Optimal source length: trim clips to 1.5-3 seconds before conversion to match native iOS capture parameters and avoid memory crashes; keep the raw source at least four seconds long.
- Conversion tools: native iOS Photos only converts Live Photos into videos. Reversing the workflow needs third-party apps such as intoLive, GIPHY for GIF sources, or specialized desktop and browser-based routes.
- Privacy: prefer converters that process media locally, on-device via
PhotosUIor in-browser via WebAssembly FFmpeg, and never upload sensitive footage to an unknown server. - Wallpaper activation: to animate converted media on the Lock Screen, select the Live Photo in Settings > Wallpaper, enable the Live motion toggle, and confirm that Low Power Mode and Reduce Motion are both off. Explore additional guides in our AI Media Workflows hub, estimate asset costs with our media calculators, or review enterprise integration options through the AI Media API. Further technical measurements sit in our AI Media Benchmarks and Review Proof documentation, and adjacent build guides cover topics such as how to create a site with AI when you need somewhere to publish the finished media.