The short version
Before you start: data handling and media rights
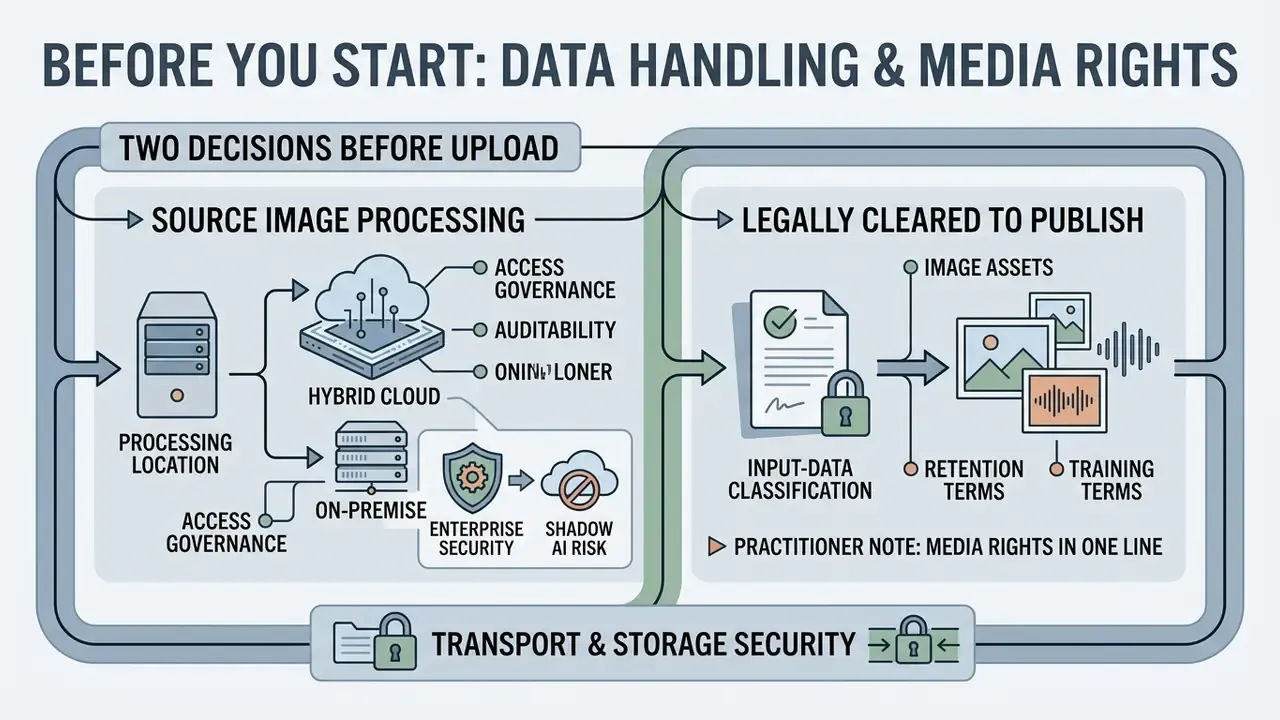
Two decisions must be made before the first file is uploaded: where your source images are processed, and whether you are legally cleared to publish the audio and imagery you plan to use. Both are cheaper to resolve now than after a render is live.
Enterprise security and Shadow AI risk
Free browser editors and consumer AI generators are convenient precisely because they process everything in a vendor cloud. That convenience becomes a control failure the moment an employee uploads an internal dashboard, an unreleased product photograph, a signed document, or an image containing personally identifiable information (PII) into an unvetted public tool. This pattern, staff adopting unapproved generative tooling outside procurement and model-risk review, is what governance teams label Shadow AI.
Practical controls before a photo video maker is approved for organisational use:
- Input-data classification. Define which asset classes may ever be uploaded. Customer photographs, KYC documentation, screenshots of internal systems, and pre-release financial charts should be treated as restricted by default.
- Retention and training terms. Confirm in writing whether uploaded media is retained, human-reviewed, or used to train the vendor's models. Prefer vendors offering zero data retention (ZDR) modes and contractual no-training clauses on enterprise tiers.
- Transport and storage security. Require TLS in transit, encryption at rest, documented deletion windows, and an available SOC 2 Type II report or equivalent independent attestation.
- Access governance. Prefer editors supporting single sign-on, role-based access control (RBAC), and an activity log that records who imported which asset, who changed the timeline, and who approved the export.
- Auditability of generative steps. If AI motion synthesis or AI voiceover is used, record the tool, model version, prompt, and approval owner for each published asset, so the output can be reproduced and explained later. The NIST AI Risk Management Framework (NIST AI 100-1) offers a workable structure, Govern, Map, Measure, Manage, for documenting these controls.
One small habit that saves audits later: name your project folder after the approval ticket. Sounds trivial. It is the fastest way to reconnect a published render to the person who cleared it.
Media rights in one line
Every music track, stock photograph, font and sound effect on your timeline needs a licence that covers your actual use: personal, editorial, or commercial. The detailed rules sit in the licensing alert further down this page, inside the audio section. Read it before you choose your soundtrack, not after.
Choose the best photo video maker for your project
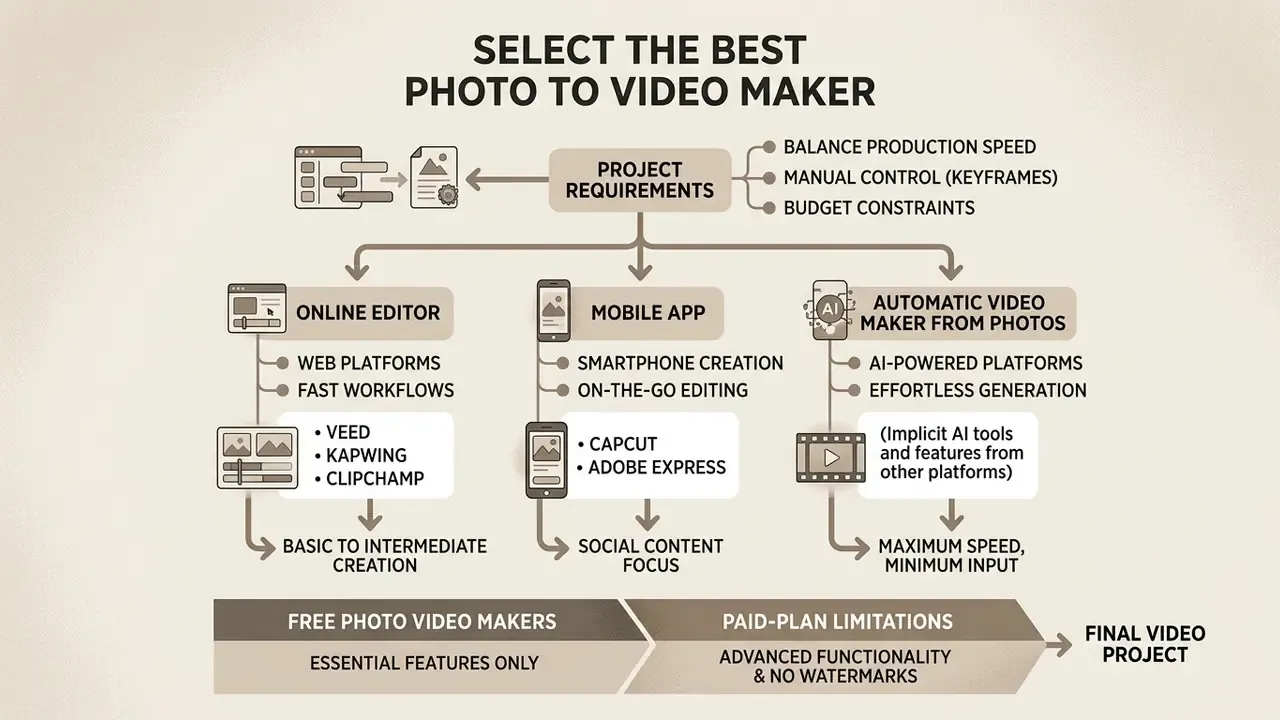
Selecting the best photo to video maker depends on balancing production speed, manual control over keyframes, and budget constraints across web, mobile, and AI platforms. Decision-makers should evaluate tools on rendering performance, asset licensing, security posture, and tier limits before production starts, not halfway through it.
Online editor, mobile app or automatic video maker from photos
Browser-based NLEs excel at template-driven team collaboration. Mobile apps optimise quick touch-screen edits for vertical feeds. An automatic video maker from photos leverages generative AI to turn static assets into dynamic motion clips with minimal manual editing.
Browser editors operate entirely within cloud environments, which allows rapid layout prototyping without local hardware overhead. Mobile video editing applications, by contrast, provide hardware-accelerated processing tuned for vertical social channels such as Instagram Reels and TikTok. Rather than citing an unverifiable usability study, the practical trade-off is documented in vendor help centres themselves: mobile editors such as CapCut expose the full timeline, trimmer, speed and transition panels on a phone screen, which is fast for single-operator work and cramped for multi-layer projects carrying several text and audio tracks.
For enterprise workflows that need scale, an automatic video maker from photos converts static files into narrated clips using multimodal generative models. One click, one output, and often one unanswered question about quality. Benchmarking, not marketing copy, should drive that choice:
«AIGCBench evaluates image-to-video models on temporal consistency, image-video alignment and video quality, revealing significant performance gaps between generative systems.»
If you are shortlisting engines, compare AI video generators on motion stability and licensing before you compare prices. For API-level integration and per-second generation costs, our Google Veo implementation guide documents access tiers, quotas and developer limits. Capabilities across performance tiers are also mapped in our AI Media Comparison Matrices.
Free photo video makers and paid-plan limitations
A free photo movie maker gives you a zero-cost entry point, and typically enforces resolution caps at 720p or 1080p, applies a visible watermark, restricts export duration, and limits access to premium stock media. Commercial plans unlock 4K rendering, extended timeline limits, and unrestricted royalty free music. Before committing, compare tiers against our overview of free video editing software and of free AI video generators.
Software vendors structure freemium tiers around specific resource caps (per current vendor documentation):
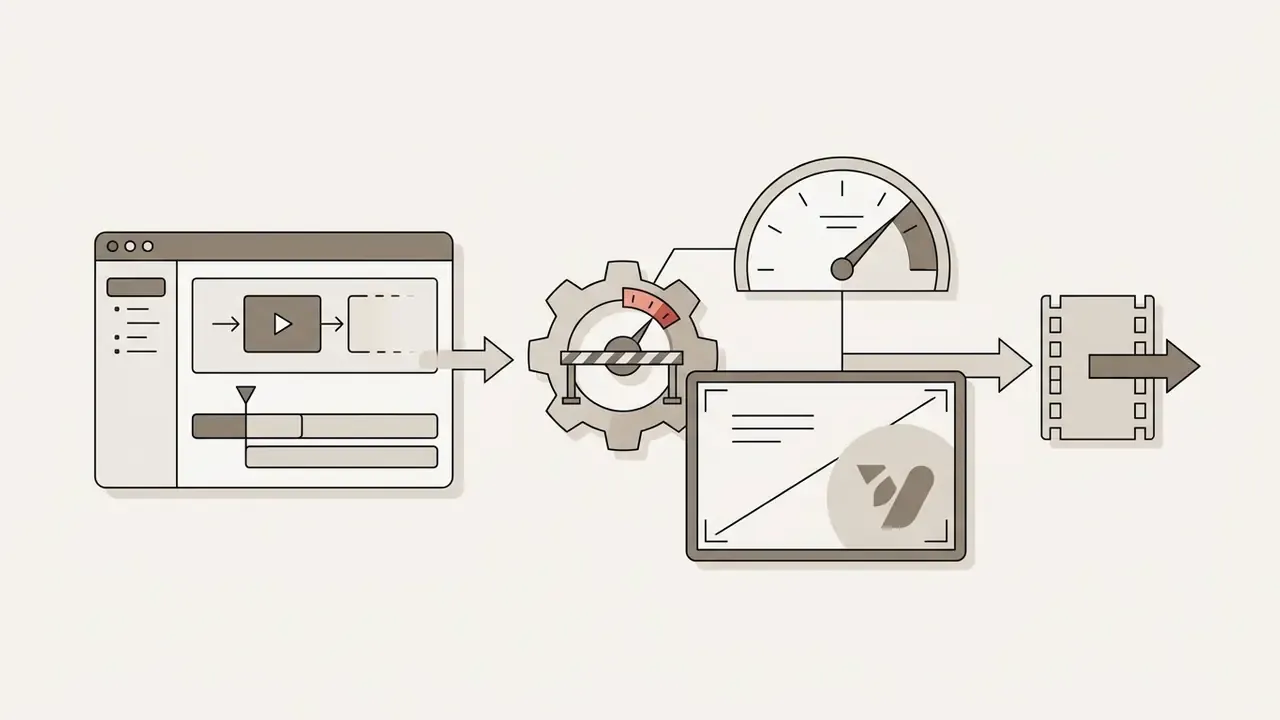
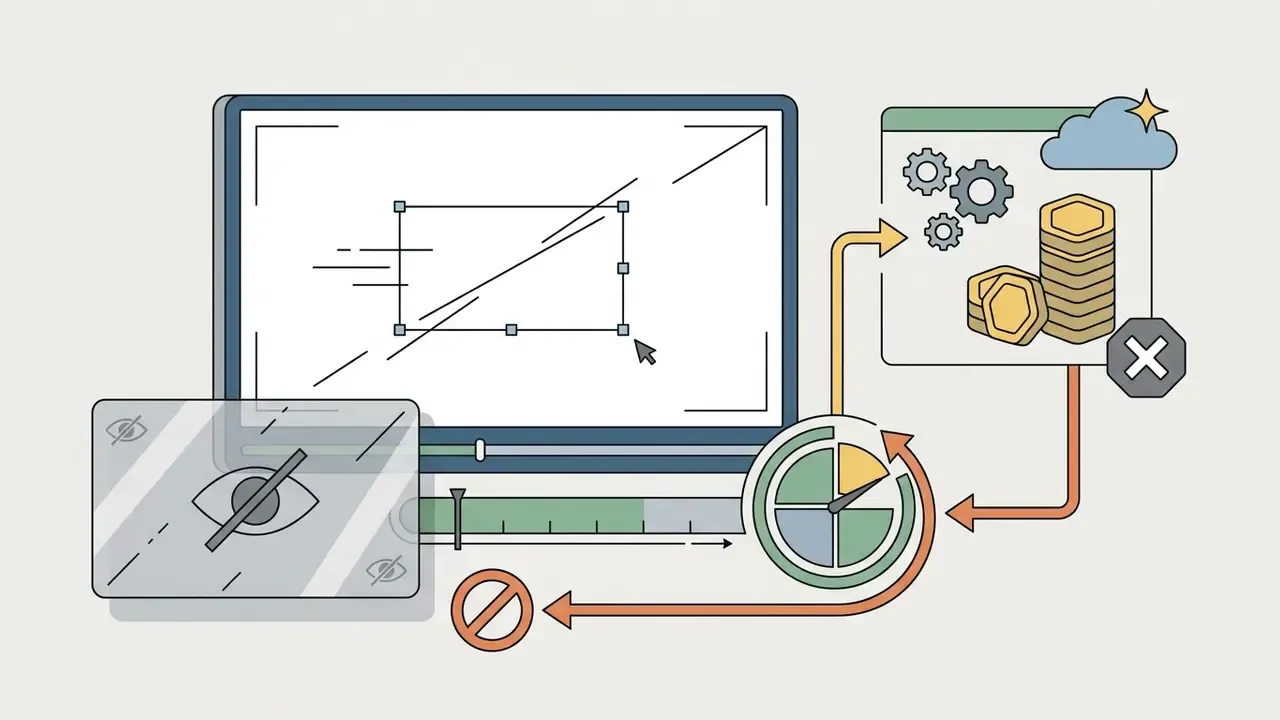
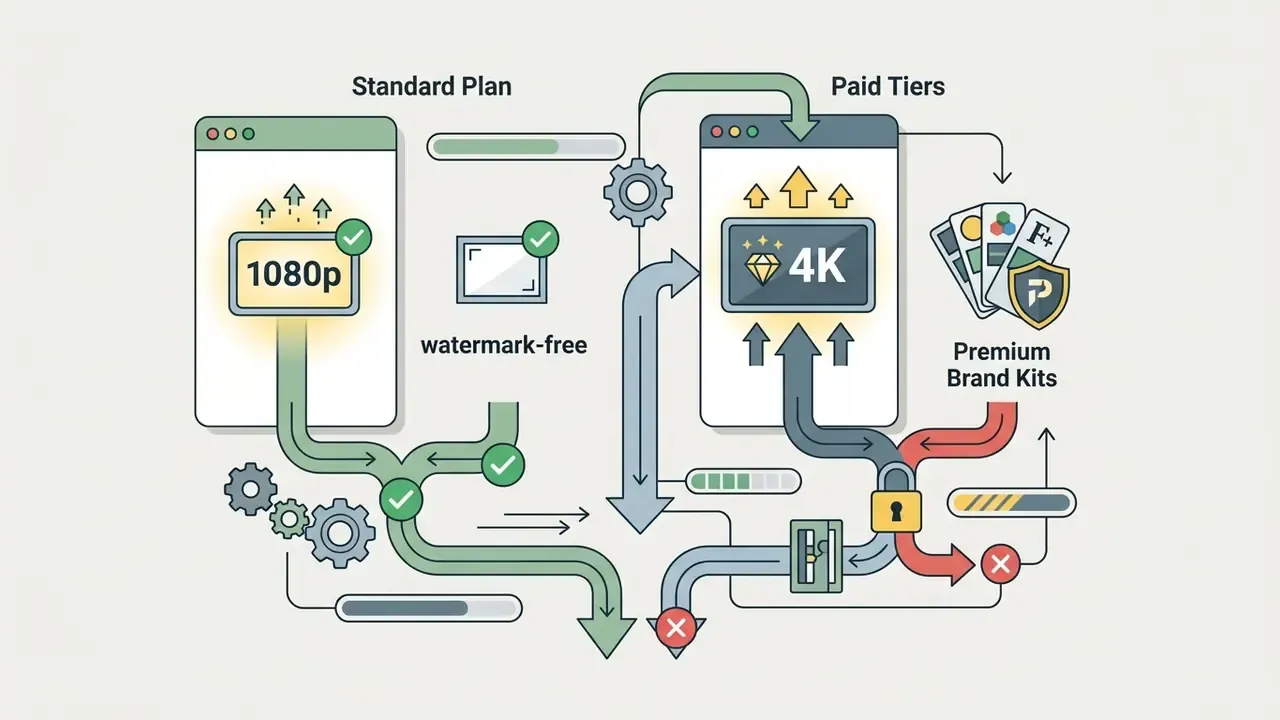
Checking these operational constraints early keeps a production pipeline from stalling at the render stage, which is the worst possible place to discover a 10-minute ceiling. Detailed tool reviews and objective performance metrics live in our AI Media Benchmarks and Review Proof.
Table 1. Comparison of photo video creation modalities across operational and governance parameters.
| Modality | Creation speed | Templates and presets | AI tools and automation | Music library integration | Free plan and export options | Enterprise controls (SSO/RBAC, audit log, retention) | Rights over input assets |
|---|---|---|---|---|---|---|---|
| Online photo video editor | Moderate (browser-dependent) | Extensive web-based library of video templates | Smart cropping, basic auto-alignment | Curated royalty free tracks | Watermarked or resolution capped (720p/1080p) on free tiers | Commonly available on business or enterprise tiers; verify per vendor contract | User retains ownership; check no-training and retention clauses |
| Mobile video app | Fast (touch-optimised) | Social-first vertical presets | AI visual filters, auto-captions, auto-remixing | Integrated device or platform audio | Often watermark-free, but commercial usage rights on in-app audio are restricted | Rarely available; device-level MDM policy is the only realistic control | Platform music libraries are usually licensed for platform use only |
| Automatic AI video maker | Very fast (one click) | Generative prompt outputs | Image-to-video diffusion, TTS narration | Automated royalty free matching | Limited by credit quotas, queue priority or 720p ceilings | Varies sharply; require ZDR mode, model-version logging, prompt retention controls | Verify indemnification and whether outputs are commercially licensable |
A blunt read of that table: the best picture video maker for a regulated team is rarely the fastest one on the list.
Plan a photo video before you start editing
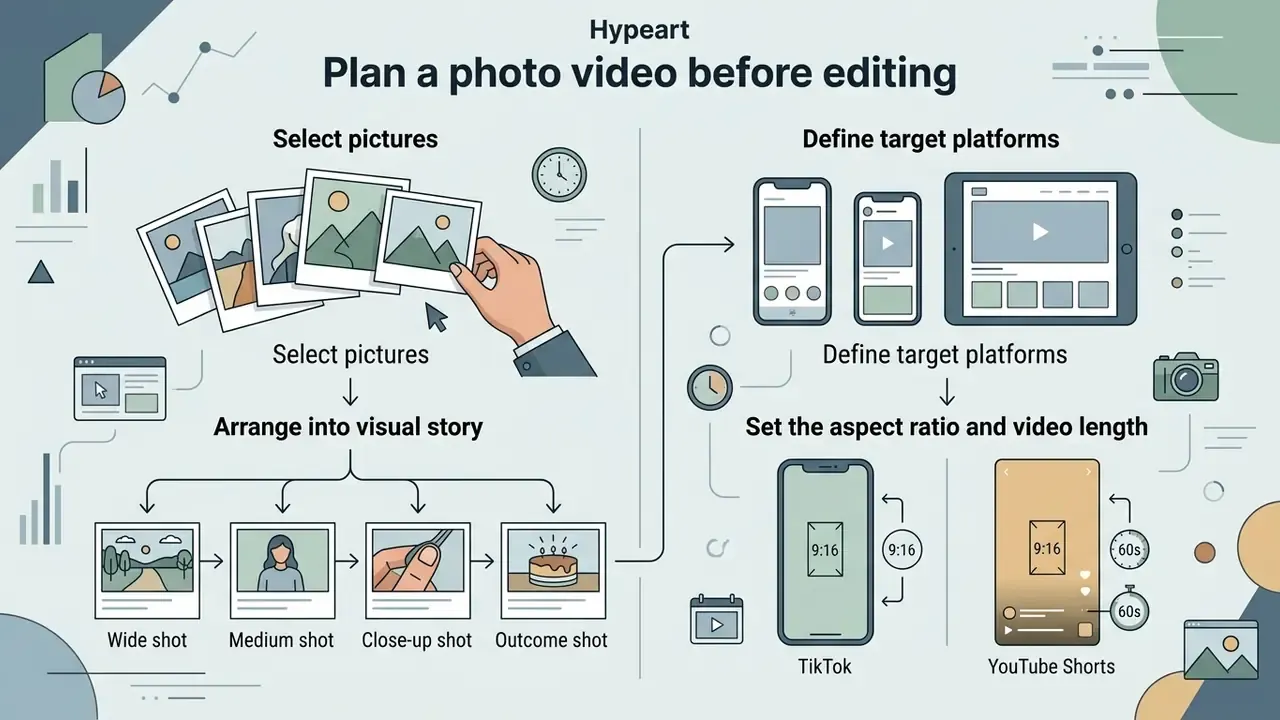
Effective pre-production means selecting cohesive visuals, outlining a storyboard, and fixing the target aspect ratio for each distribution channel. Planning shot sequencing before timeline assembly prevents visual fatigue and cuts revision costs. Ten minutes of planning usually saves an hour of re-timing.
Select pictures and arrange them into a visual story
Building a narrative arc from your own photos relies on shot diversity: wide context frames, medium action views, and close-up detail shots that guide attention. Mixing short video clips in with stills reinforces authenticity and holds retention across feeds. That is how you get a captivating video rather than a scrolling contact sheet.
Professional multimedia guidelines (CUNY Multimedia Photography Tutorial) stress varying perspective to keep narrative momentum. A robust progression usually follows this sequence:
- Wide shot establishes location and environmental context.
- Medium shot introduces primary subjects or product interactions.
- Close-up shot focuses on specific details, textures, or expressions.
- Outcome shot shows the resolution or the finished state.
Real estate listings are the clearest illustration. Exterior wide frame, then the kitchen at medium distance, then the tap or the tile detail, then the staged living room as the payoff. Same four beats work for a product launch or a conference recap.
Combining static images with short clips introduces organic motion, and the content attributes matter as much as the motion:
«Five content characteristics, credibility, expertise, attractiveness, authenticity and brand heritage, directly influence sales performance of short-form video advertising.»
Where you lack footage, image-to-video AI tools can synthesise a short animated pass over a still. Treat that output as an asset requiring the same review as any other generated media.
Set the aspect ratio and video length for the platform
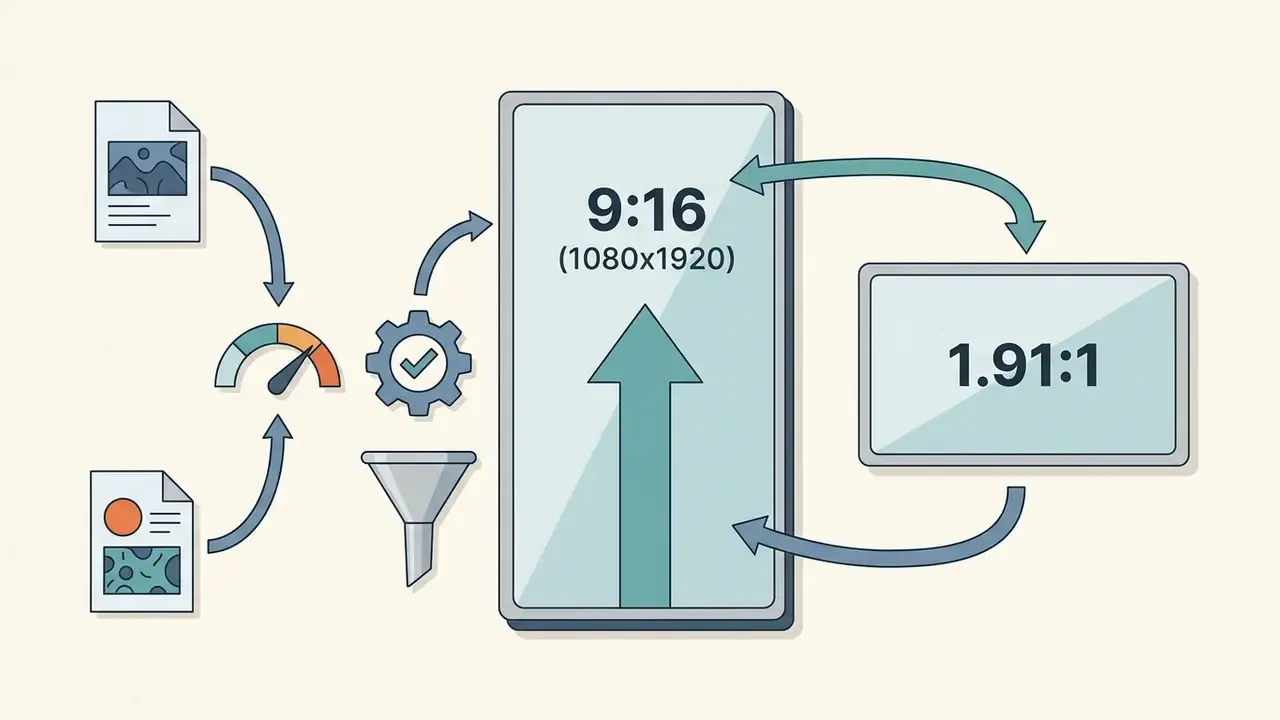
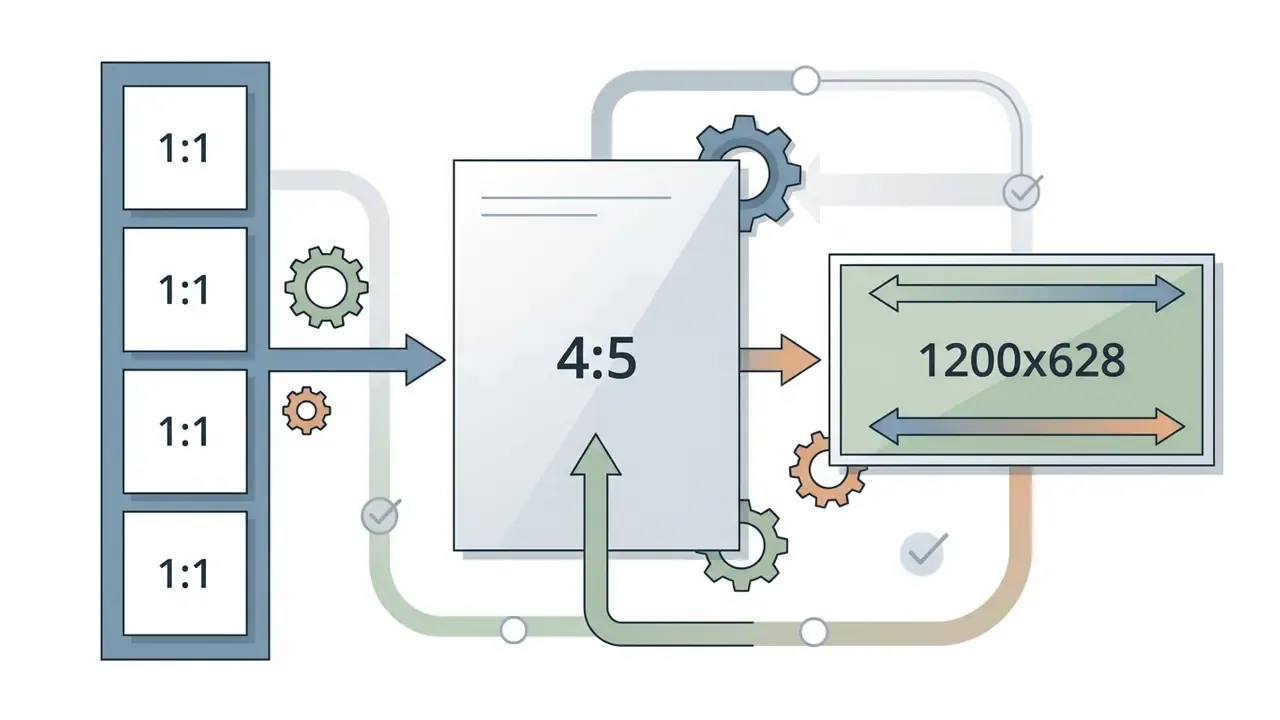
Social algorithms favour platform-native geometry: 9:16 vertical for mobile feeds, 16:9 widescreen for desktop. Video length should track attention, so target 15 to 90 seconds for short-form social channels and up to 3 minutes for technical product demos.
«Across three studies, including a large-scale field experiment, mobile vertical videos increase consumer interest by lowering the cognitive effort required to view them.»
Higher processing fluency translates into stronger brand recall, particularly among Generation Z cohorts. Current platform specifications require precise formatting:
Decide the ratio first. Reframing a finished 16:9 slideshow into vertical always costs more than exporting a second master from a vertical project.

How to create a video with pictures step by step
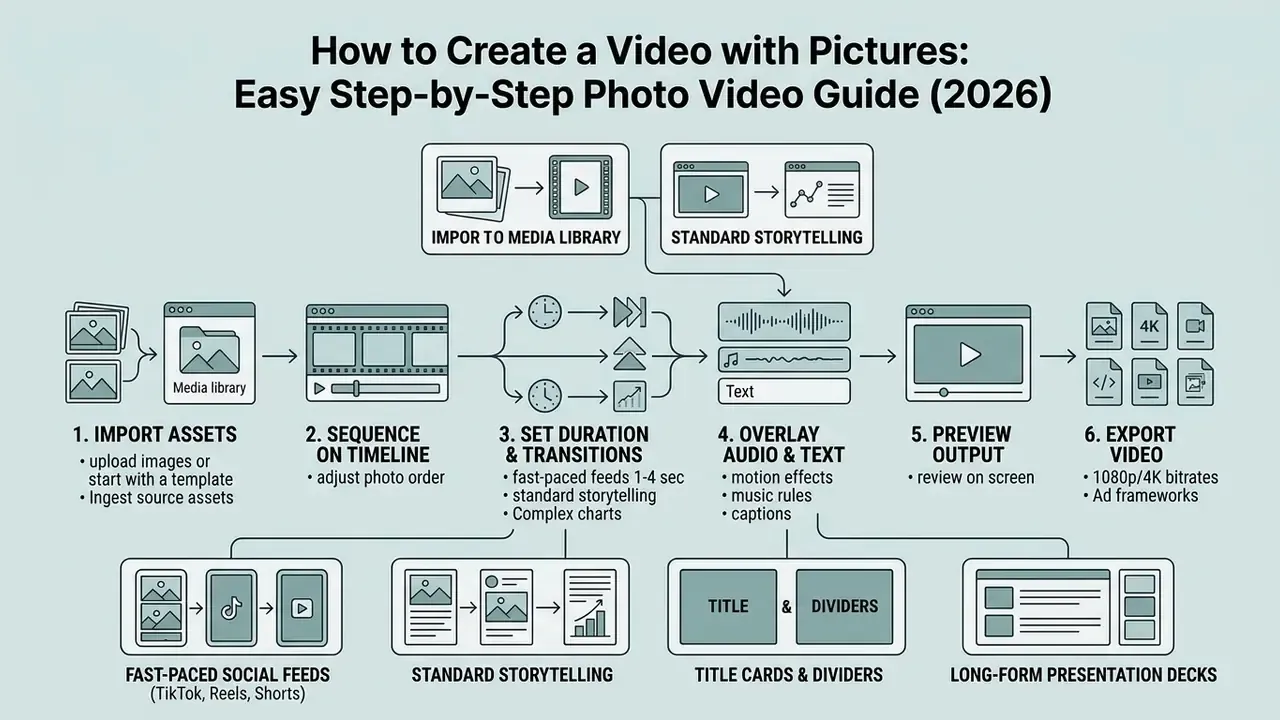
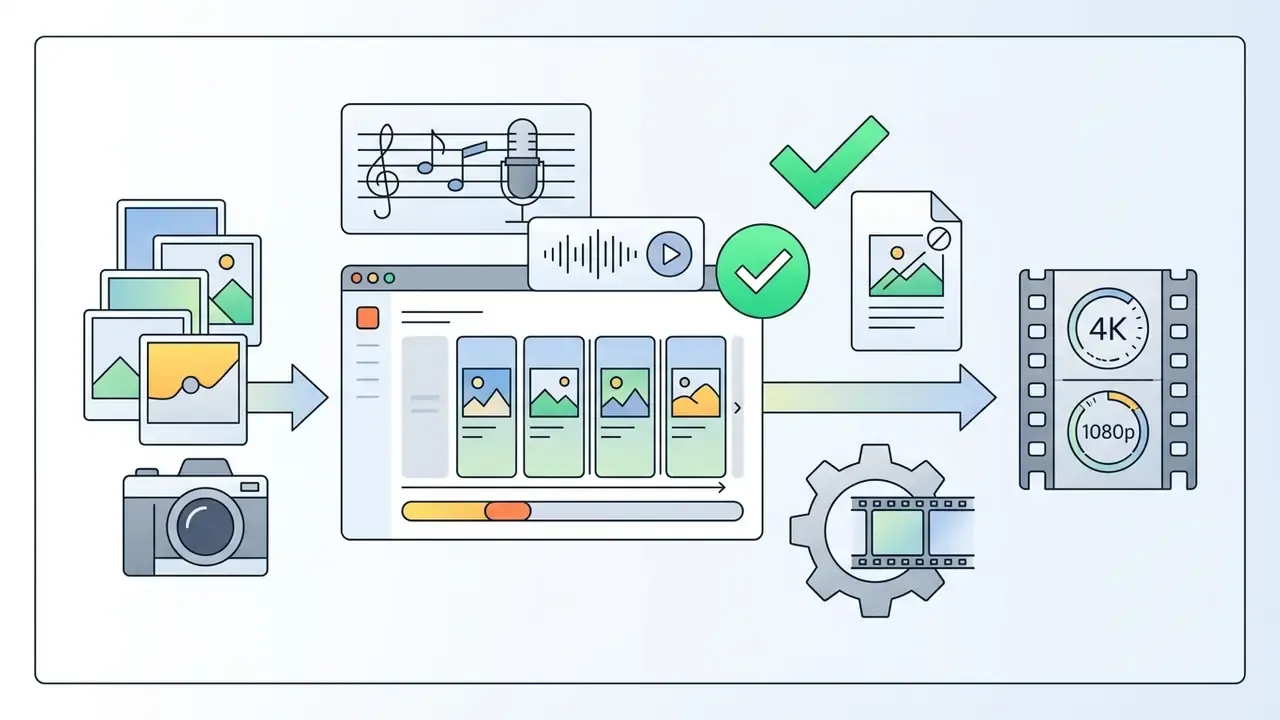
Creating a photo video follows a standard six-stage pipeline: import assets, sequence on a timeline, set slide duration and transitions, overlay audio and text, preview output quality, export the final render. Following this order keeps visual quality consistent and prevents encoding surprises.
Upload images or start with a photo video template
Starting from a designed template speeds up setup through pre-configured transitions and text placements. Building from scratch gives complete control over every frame parameter. You can also upload your own photos straight into a cloud media bin and keep branding consistent from the first slide.
Template libraries documented in the Adobe Express and Canva user guides ship pre-built project structures with motion graphics, pre-timed keyframes and colour palettes. Adobe Stock describes its video templates as pre-built project files for intros, titles, transitions and full edits. Building from scratch instead means choosing canvas dimensions, background layers, elements and fonts individually: full control at the cost of setup time. Template-driven production also scales, since a single parameterised layout can generate unlimited branded variations once text and media fields are marked for automation.
If your source images need cleanup before import, prepare them in a dedicated photo editor or a free photo editor first, and compare no-cost options against our overview of free AI video generators. Channel assets belong in the same prep pass: opening sequences from a youtube intro maker or a ready-made youtube intro template, plus channel branding via a youtube pfp maker and matching youtube pfp sizes.
Technical requirements for source asset ingestion
Before importing into an online or mobile editor, check that source files conform to container and resolution standards, or the timeline will throw encoding errors:
| Asset type | Accepted formats | Maximum size | Additional constraints |
|---|---|---|---|
| Raster images | JPEG/JPG, PNG, HEIC/HEIF, WebP | 50 MB per file | Maximum 250 megapixels total (width x height); only static WebP supported; use 24-bit PNG for transparency |
| Vector assets | SVG | 3 MB per file | Standard viewbox width 150-200 px; save with SVG 1.1 profile for correct layer rendering |
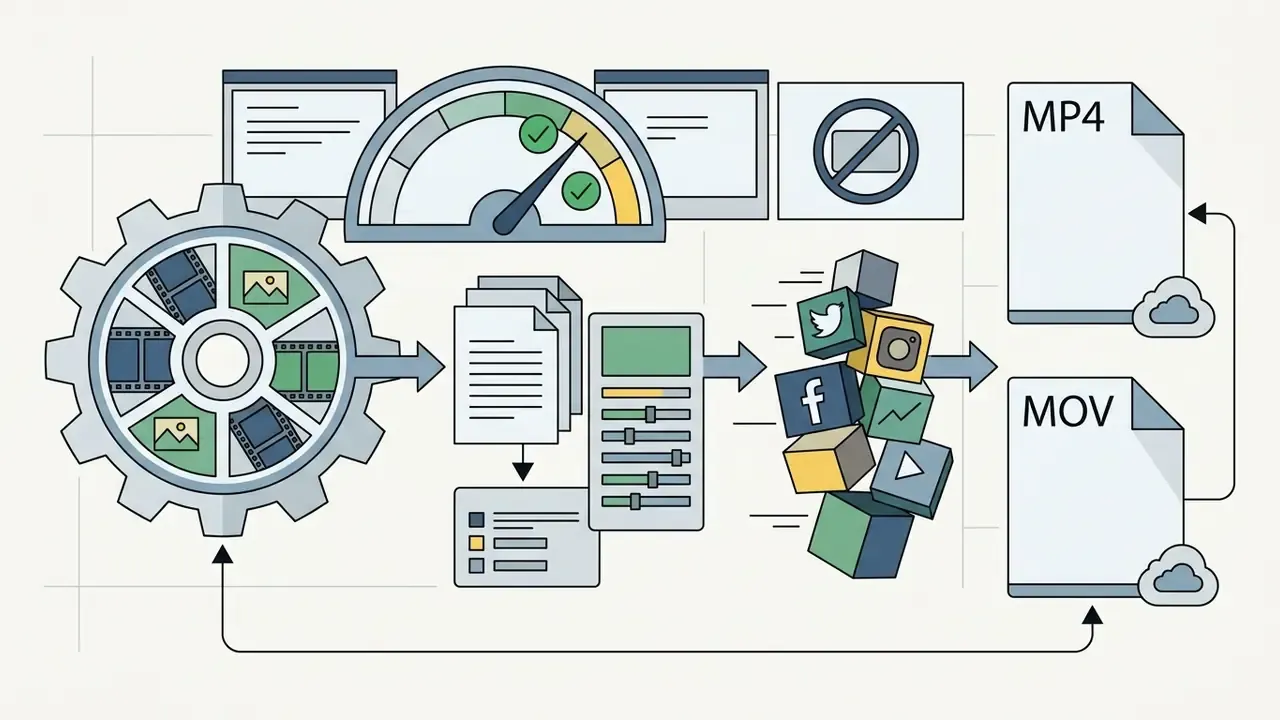
| Video clips | MP4, MOV, MPEG, MKV, WEBM, GIF | 1 GB (cloud NLEs), up to 4 GB (desktop apps) | Preferred codec H.264 with AAC audio; use GIF for clips needing transparency |
| Audio | MP3, WAV, AAC, M4A | Vendor-dependent (commonly 100 MB-1 GB) | Deliver music at 320 kbps MP3 or 48 kHz/16-bit WAV; avoid re-compressed low-bitrate rips |
Files above these ceilings should be downscaled or transcoded before upload. A pre-import pass through a video compressor beats a failed 900 MB upload on a hotel connection. Ask me how I know.
Adjust photo order, duration and transitions
Precise video editing means setting image display durations to match platform pacing and applying restrained transitions, crossfades or quick cuts, so the rhythm supports the images instead of competing with them. Transition timing should follow narrative shifts, not visual novelty.
Micro-pacing rules. Standard benchmarks by content type and channel:
Presentation-design guidance (Purdue OWL and comparable university style guides) is consistent on one point that transfers here: keep transition types few and uniform, because mixing many effects reads as distraction rather than polish. Apply a single transition family across a sequence, and save a hard cut for a deliberate narrative break. When you need to trim raw footage alongside stills, a browser-based youtube video cutter handles the job without a local render, and a matching youtube outro template closes the sequence with a consistent CTA.
Preview, save and export the finished photo video
Pre-export verification means reviewing playback at full resolution to catch pixelation, audio clipping and text misalignment before you spend compute on the final file. Matching encoder settings to the target platform protects playback quality after the platform re-encodes your upload, which it always will.
Before the final render, complete a quality control audit:
Figure 1: standardised five-stage photo video production flow.
- Verify the timeline sequence matches the source aspect ratio without unexpected letterboxing or pillarboxing.
- Confirm audio waveform peaks stay within safe limits (-6 dB to -3 dB) to prevent digital distortion.
- Review text overlays for legibility against dynamic backgrounds on mobile viewports.
- Select H.264 or H.265 encoding profiles with progressive scanning, matching source frame rate, square pixel aspect, and a 1920x1080 or 3840x2160 frame size.
- Check whether "use previews" is enabled in the export dialogue. Exporting from existing preview files is faster, and can degrade quality depending on the preview codec.
- Confirm every generated or stock element on the timeline carries a recorded licence or model-provenance entry.
- Asset ingestion: pick a designed template or upload high-resolution source images into the media bin, within format and size ceilings.
- Timeline ordering: arrange photos sequentially to build a coherent visual arc.
- Audio and text integration: overlay background music, synchronised voiceover, and high-contrast titles.
- Effects and motion tuning: apply pan-and-zoom motion (the Ken Burns effect) and subtle frame transitions.
- Quality preview and export: audit full-resolution playback, clear rights, then render the target file (1080p or 4K MP4).
Add music, text and voice to a picture video
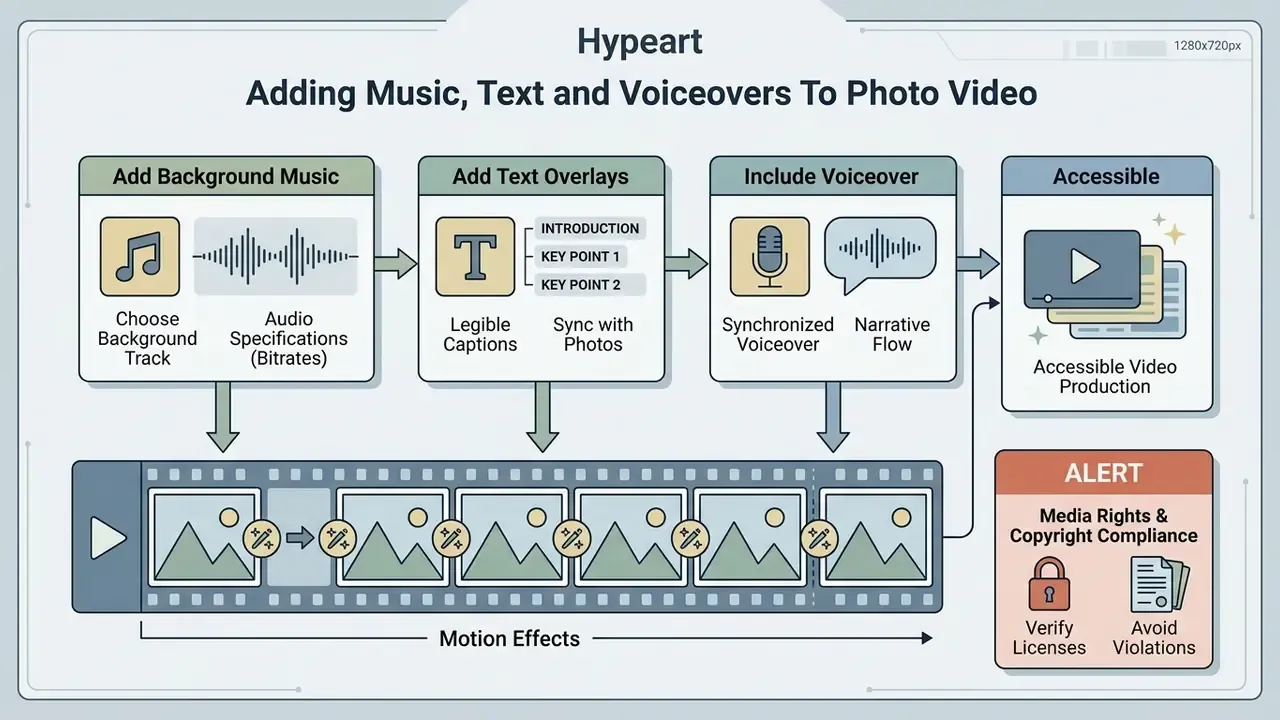
Background music, legible text overlays and synchronised voiceover turn a static slideshow into an accessible video production. Aligning what viewers hear with what they see makes the sequence easier to follow and measurably improves comprehension on mobile and web feeds.
Add background music or your own song
Synchronising photo transitions to the beat relies on automated beat detection or manual keyframe markers, matching image cuts to tempo. You can pull tracks from an integrated music library or upload your own music file. In practice the workflow is short: detect beats, generate beat markers on the timeline, snap each cut to every second or fourth beat depending on tempo. That is also the whole trick behind how to create a music video with pictures, where the audio, not the image order, sets the structure.
«Four audiovisual features drive engagement in short-video advertising: conversational style, cadence, colour saturation and visual style.»
Cadence, the rhythmic sync between visual cuts and audio beats, is the feature an editor controls most directly. Tonality choices shape brand perception too:
«Unstable musical tonality raises perceived brand innovativeness through cognitive disfluency, but lowers evaluations when brand likeability is the primary goal.»
Audio technical specifications. Import music as 320 kbps MP3, AAC, or uncompressed 48 kHz/16-bit WAV. Normalise the bed to roughly -18 dB LUFS and duck it 8-12 dB beneath any voiceover. Export the final mix with AAC audio at 192-320 kbps inside the MP4 container. Technical teams integrating custom audio engines can check developer specifications in our AI Media API Guides.
Use text, sound effects and voiceover without overwhelming the photos
Text overlays and text-to-speech narration need strict contrast standards and short phrasing, so the screen stays readable while the narrative context lands. Sound effects should punctuate key transitions sparingly. Overused, they read as irritation rather than production value.
Accessibility requirements should be checked against W3C WCAG 2.2, the current recommendation, since WCAG 3.0 remains a working draft. WCAG 2.2 and W3C media accessibility guidance require captions that carry both speech and relevant non-speech audio information, synchronised to the media timeline, plus audio description where visual content is essential to understanding. Practical overlay rules drawn from public accessibility guidance:
- Keep captions to two lines maximum, split at meaning units rather than mid-phrase.
- Maintain high contrast between text and the underlying image; add a semi-transparent plate behind text over busy photographs.
- Identify speakers and describe music, laughter and sound effects in captions, not just dialogue.
- Never autoplay audio-bearing video in embedded contexts without user control.
- Provide a transcript carrying the same information as the video, for search and for the compliance archive.
If you are generating narration rather than recording it, compare engines, language coverage and commercial terms in our guide to AI voice generators, and keep a record of the model and voice used for each published asset.
ALERT: media rights and copyright compliance
Make still images feel like a dynamic video
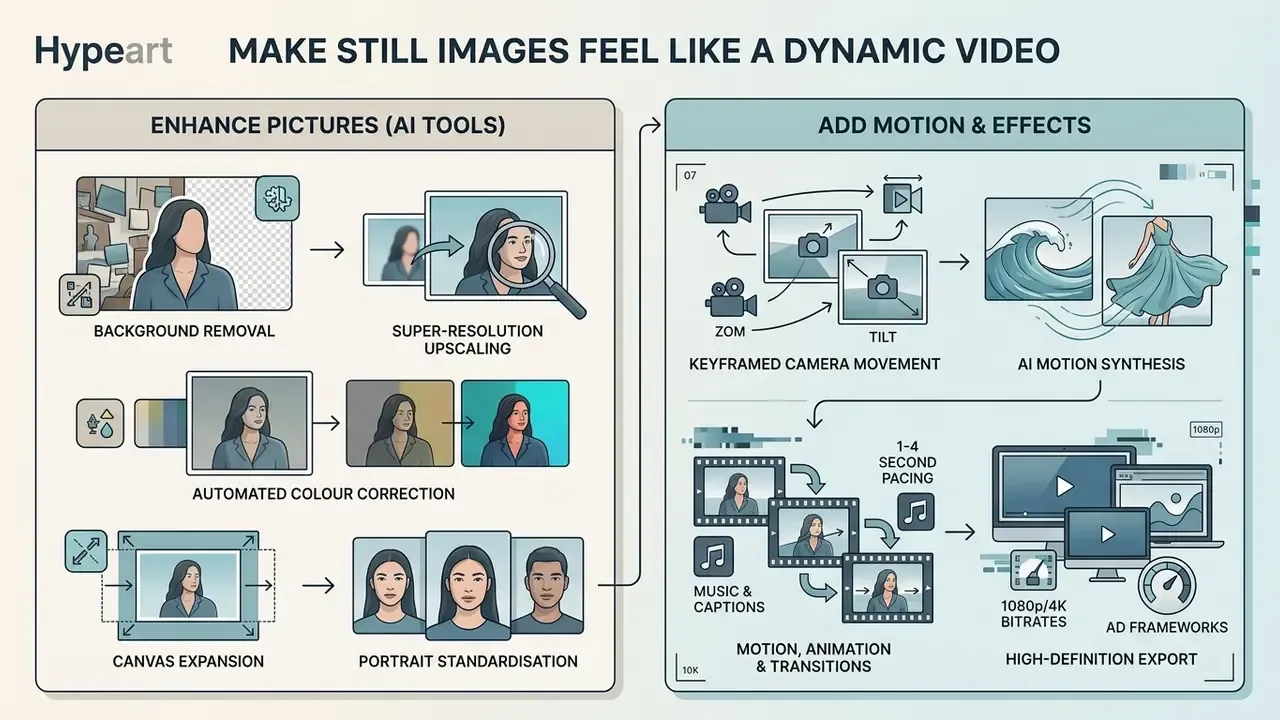
Keyframed camera movement, AI motion synthesis and high-definition photo enhancement give static photos the fluidity of live-action footage. Smooth motion curves stop stills from looking rigid during longer playback.
Use motion, animation and transitions between photos
Pan-and-zoom, the Ken Burns effect, simulates camera tracking across a still by keyframing scale and position over time. Advanced 3D parallax separates foreground subjects from backgrounds to build spatial depth, and text-to-video AI systems can now infer that depth automatically from a single frame.
The effect works by keyframing a starting scale (say 100%) and an ending scale (say 120%) alongside spatial position coordinates, as documented in Apple's Final Cut Pro reference. Applying Ease-In and Ease-Out velocity curves, per Adobe Premiere's motion documentation, smooths acceleration and removes the mechanical start-stop feel. Keyframe spacing is a rhythm tool as well: tighter spacing reads as urgency, wider spacing as reflection. For automated motion generation, context-aware generative models perform well against manual keyframing:
«Delta-Diffusion outperforms baseline models on human preference and automated metrics, generating video that continues the action implied by a context image.»
For fully synthetic motion graphics rather than photographic movement, an animation maker covers icon, character and kinetic-type animation video without a full NLE.
Enhance pictures with AI-powered photo editing tools
Built-in AI photo editors remove backgrounds, upscale resolution and balance colour so source images meet high-definition video standards before rendering. Automating that restoration pass standardises quality across images from very different cameras.
Integrated AI enhancement utilities that earn their place in pre-production:
For commercial usage rights around AI-enhanced visual media, review the legal frameworks compiled in the AI Media Commercial-Use Hub, including the specific terms documented for the Canva AI generator.
Export, distribute and collaborate
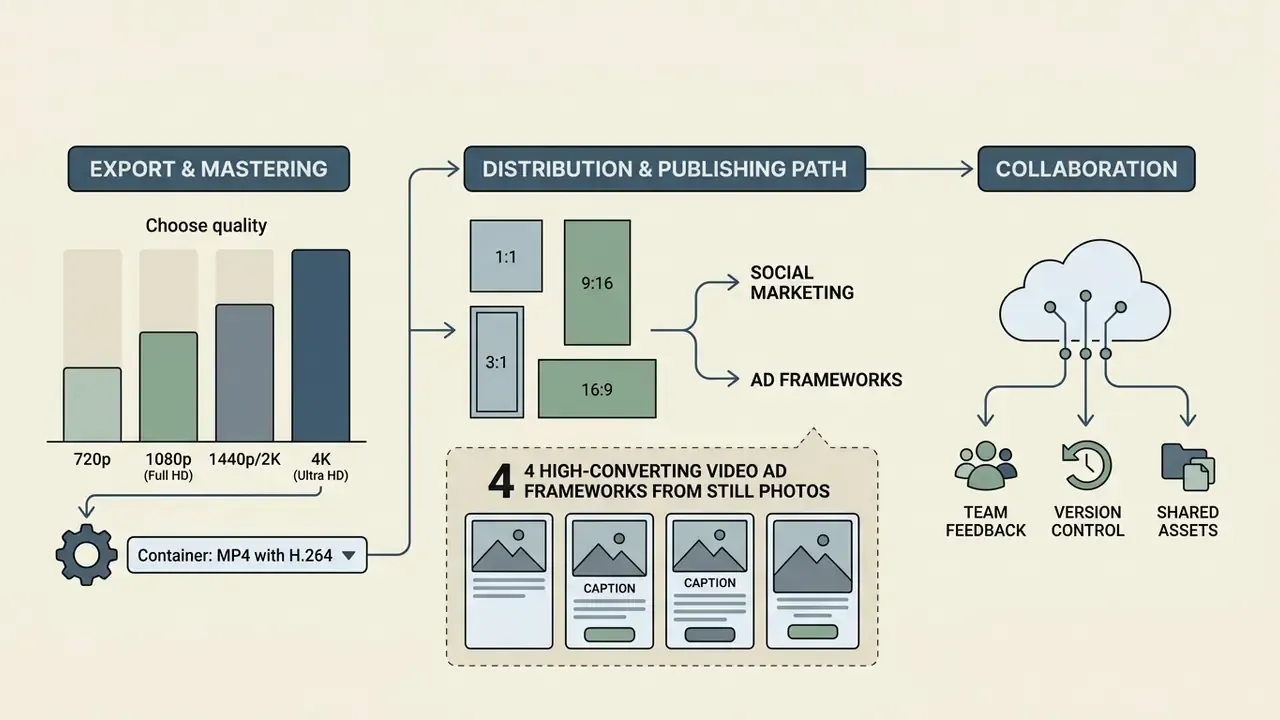
Final distribution requires choosing the container (MP4 with H.264 in most cases), the platform-appropriate aspect ratio, and a publishing path through either social marketing or enterprise archiving.
Choose quality and aspect ratio before downloading
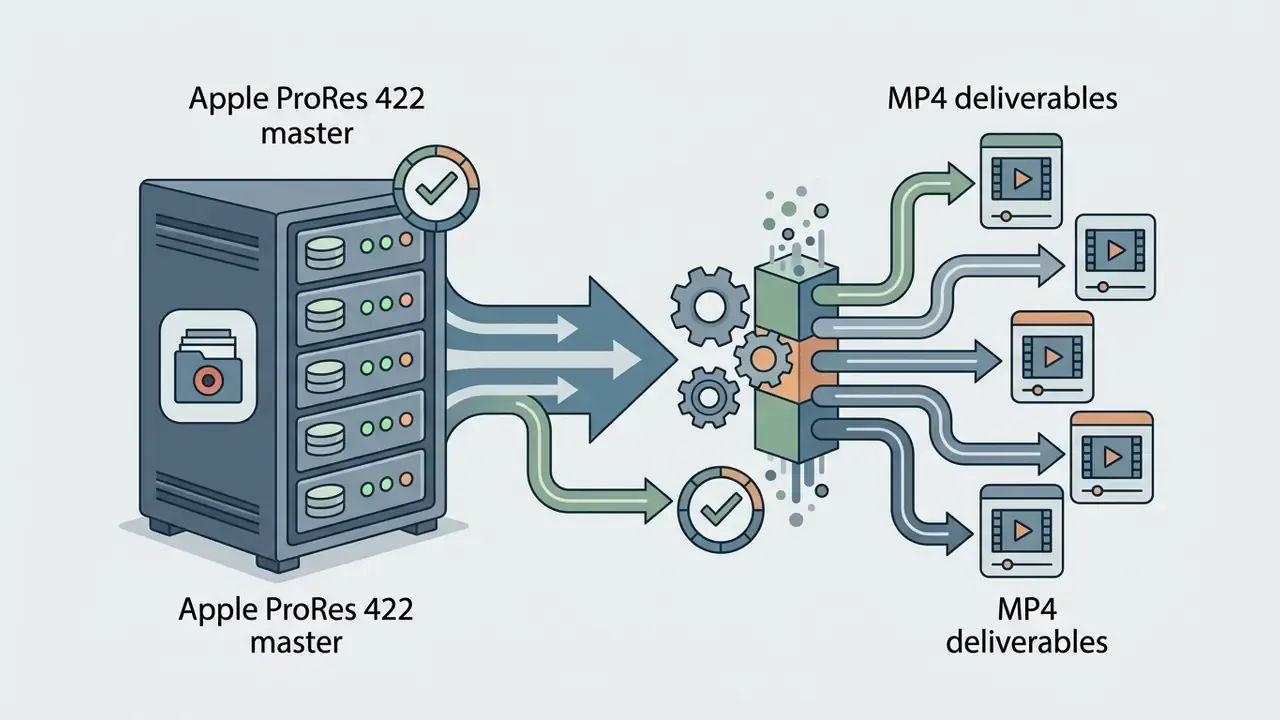
Exporting at 1080p or 4K with target bitrates between 10 Mbps and 20 Mbps preserves fidelity through platform compression without producing unmanageable files. Frame geometry must match the destination: 16:9 widescreen, 9:16 vertical, or 1:1 square. When file weight becomes the constraint, think email delivery, CMS ceilings, low-bandwidth markets, run the render through a video compressor or a format-preserving video converter rather than dropping export resolution.
Federal digital preservation standards (FADGI Digital Video Guidelines, 2024) and distribution benchmarks specify target encoding bitrates:
These numbers matter because viewers notice the difference:
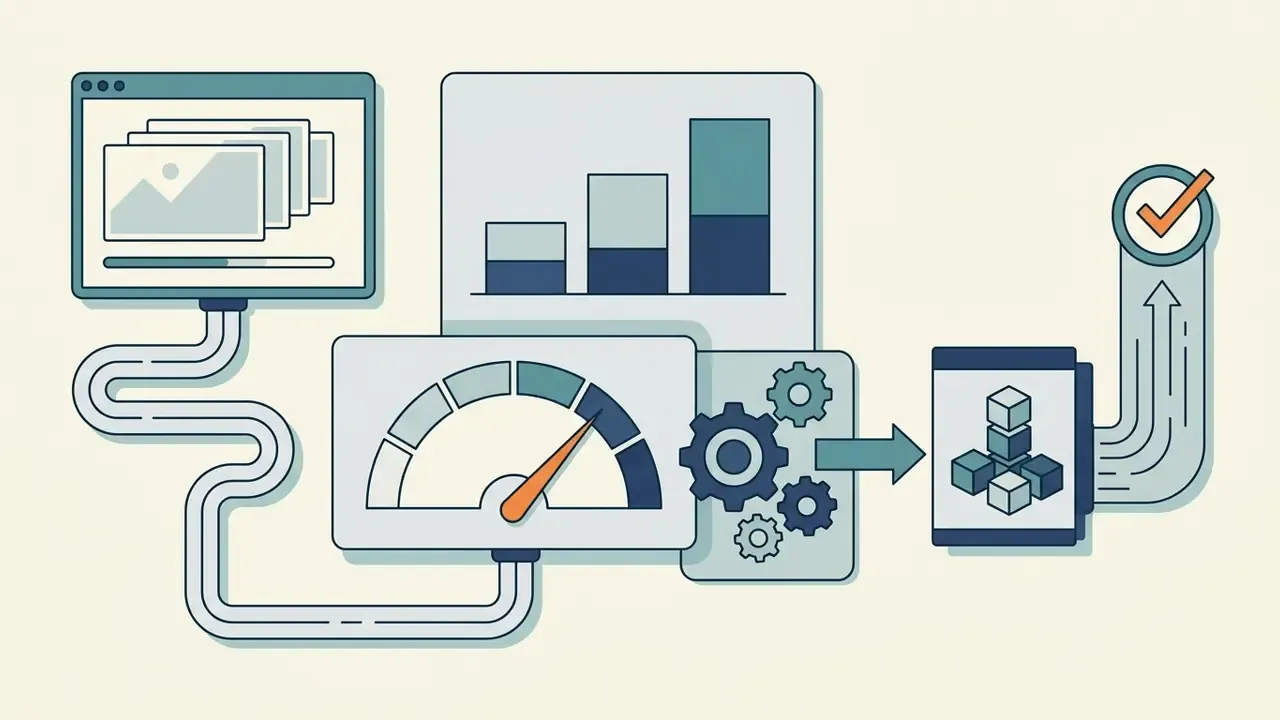
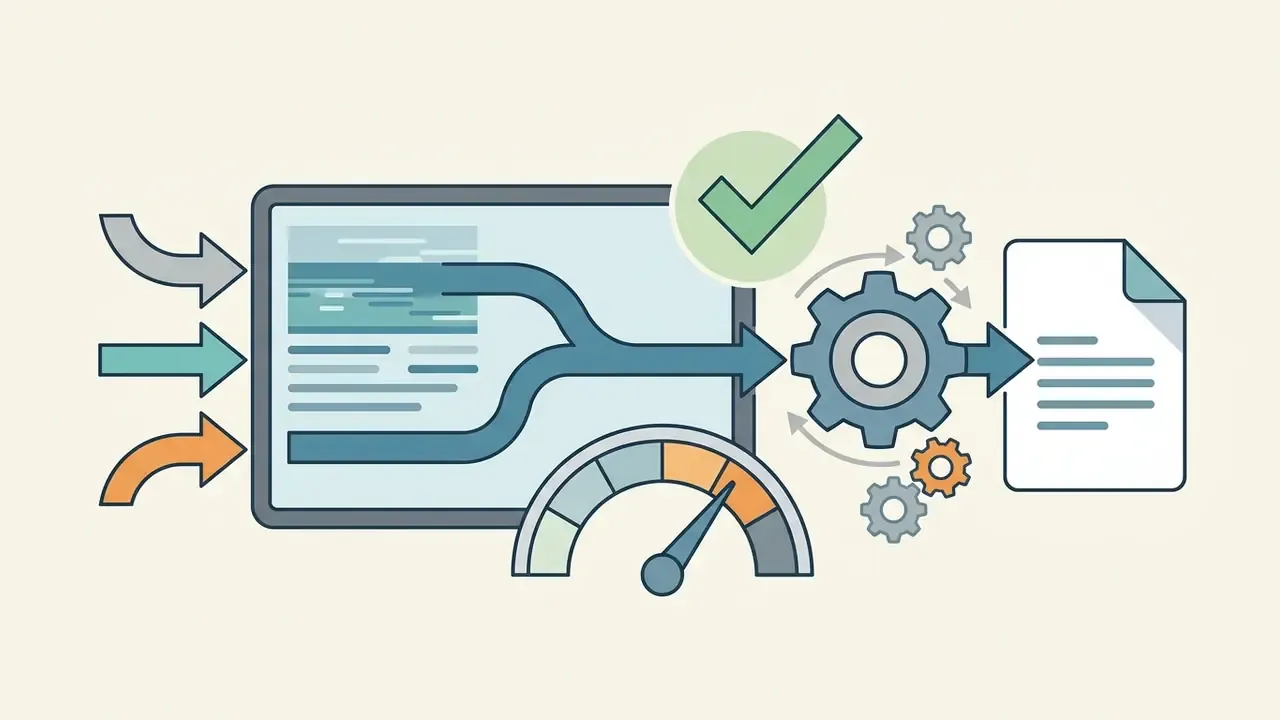
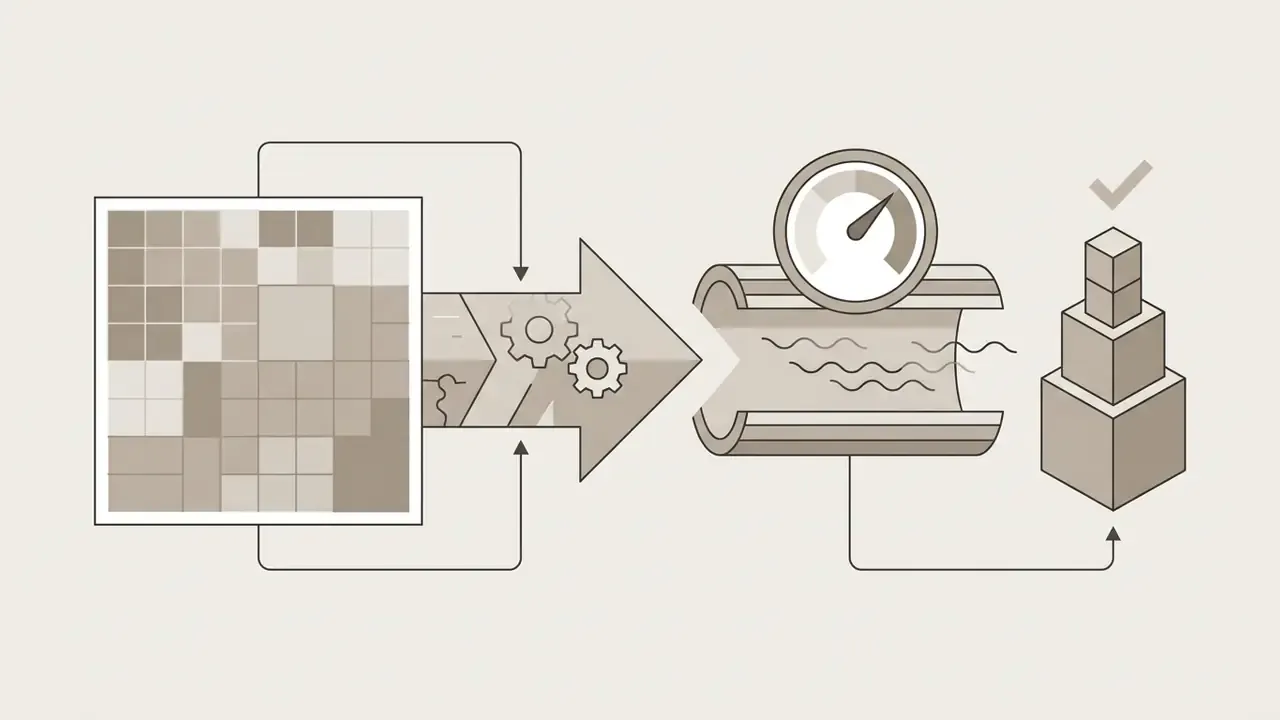
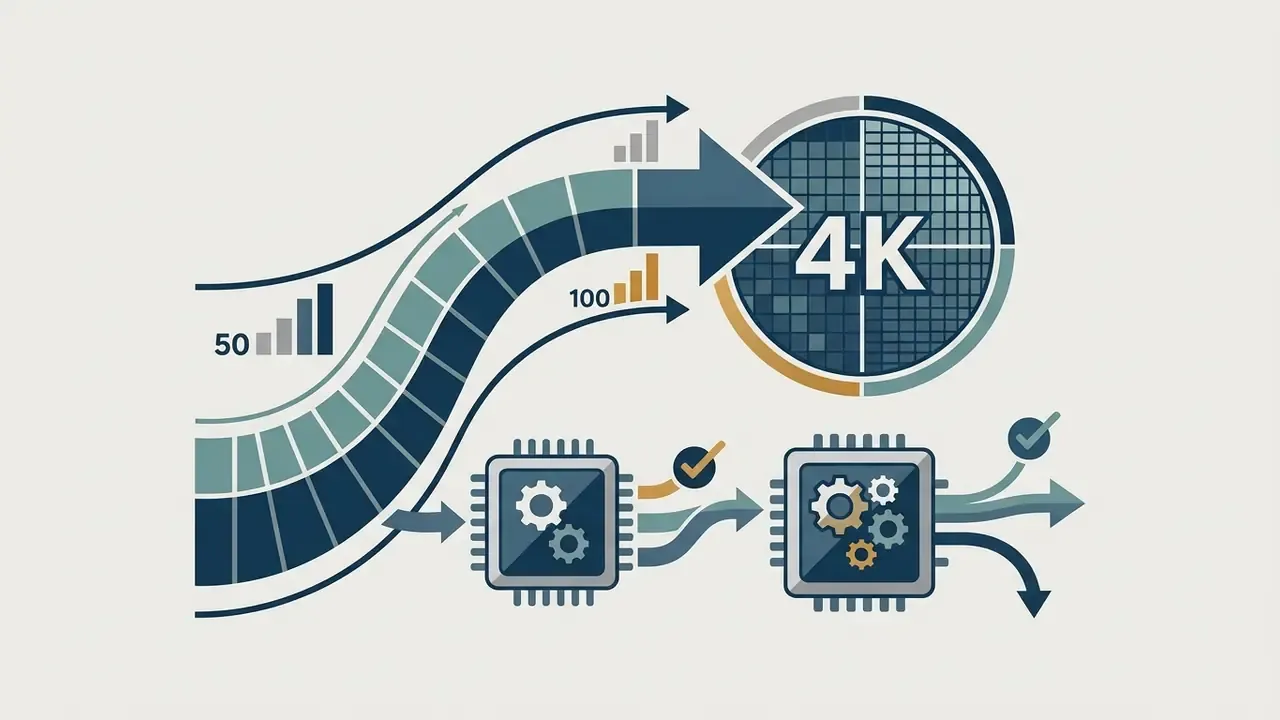
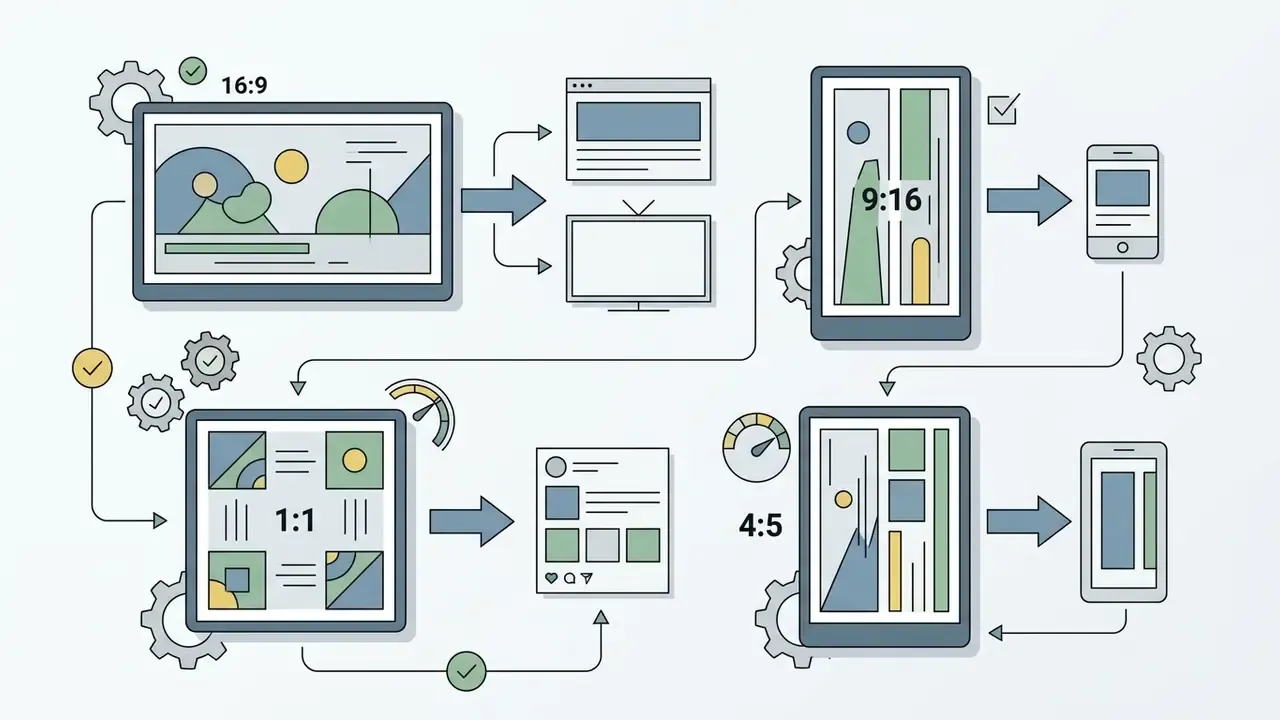
«Objective and subjective video quality metrics on social platforms, resolution, compression artefacts and frame rate, directly affect user experience and engagement.»
To calculate file sizes, rendering bitrates and aspect ratio pixel dimensions before export, use our specialised media calculators.
4 high-converting video ad frameworks from still photos
Turning static product photography into high-converting advertising takes structured pacing plus a clear call-to-action trigger. Four assembly patterns cover most commercial cases:
- The animated brand anchor.Overlay an animated vector logo on a high-resolution hero product shot, 2-3 seconds of exposure. Follow immediately with a benefit-driven text callout and an end-card CTA.
- The testimonial motion overlay.Take a static customer photo, apply a subtle Ken Burns zoom, and animate a floating review quote across the lower third.
- The before/after slide split.Place two contrasting assets side by side or in sequence. Use a directional wipe (left to right) timed at roughly 1.5 seconds to show product efficacy.
- The screen-recorded demo hybrid.Combine static UI screenshots with recorded cursor movement. Layer an AI text-to-speech voiceover over the core features and close with a limited-time code overlay.
Brand protection inside the frame. Place your logo or channel mark on every slide, not only the end card. A persistent, low-opacity mark in a consistent corner does three jobs at once: it keeps the piece recognisable when it is re-shared without attribution, it discourages wholesale re-upload, and it holds a professional look across training sequences. Anchor the mark inside each platform's safe-area margins so interface overlays never cover it.
Worked example: turning an annual report into a video summary
A finance-transformation or corporate-communications team regularly needs to convert static report graphics into a shareable video. A controlled version of that workflow:
Six steps. Most of the elapsed time sits in step five, which is worth planning around.
- Classify and sanitise inputs.Export only already-published chart images from the approved report PDF. No pre-release figures, no internal dashboard screenshots, no customer-level data.
- Select an approved tool.Use the editor cleared by procurement with SSO, RBAC, audit logging and a no-training clause, not a personal free account.
- Assemble the sequence.Title card (2 seconds), then three headline metrics as animated data slides (8-10 seconds each, with pan-and-zoom guiding the eye to the relevant point), then one narrative summary card (3 seconds), then a branded end card with disclosure text.
- Layer compliant audio and text.Rights-cleared instrumental bed at -18 dB LUFS, reviewed voiceover script, burned-in captions plus a separate transcript for the accessibility archive.
- Route for review.Legal and compliance leave timestamped comments in the shared project; the approved cut is locked as a version.
- Export and log.Render 1080p H.264 at 15 Mbps for the investor-relations page, plus a 9:16 cut for social. Record tool, model versions used for any generated element, licence IDs, approver names and publication date in the content register.
Pre-publication checklist: technical and compliance audit
Run both columns before any render leaves your organisation.
Checklist0 / 14
FAQ about making videos with pictures
Short, evidence-backed answers on free production options, payment requirements, automated AI creation, pacing and enterprise controls.
Can I make a short video from photos for free?
Yes. You can make a short video from photos for free using browser-based or mobile editing platforms. Free plans usually trade zero upfront cost for operational limits: vendor watermarks, export ceilings at 720p or 1080p, generation credit caps, queue delays, or restricted commercial rights. Tools including MindVideo AI and PIAX advertise zero-cost photo-to-video generation without subscriptions, while CapCut, Clipchamp and Adobe Express offer watermark-free exports at 1080p on their free tiers. Limits, watermarks and upgrade paths are compared in our guide to free AI video generators.
Do I need a credit card to use an online photo video maker?
No. Credit card details are not required for basic features on the major online platforms. Adobe Express, VEED, InVideo and Animaker all state on their product pages that no credit card is required, so you can register with an email address and export basic projects under free-tier specifications. Premium features, higher export resolutions, 4K rendering and expanded stock media access stay behind paid upgrades.
Can AI video tools create a photo video automatically?
Yes. AI video tools generate motion video automatically from static images using multimodal generative models. Adobe Firefly documents an upload-then-generate image-to-video flow with an optional end frame. Google Gemini converts up to five photos into video. HeyGen exposes an image-to-video API that animates a single uploaded image or a public image URL. Output quality varies widely on temporal consistency, which is why benchmark frameworks such as AIGCBench (arXiv:2401.01651v3, https://arxiv.org/abs/2401.01651) exist. Compare shortlisted engines in our roundup of the best AI video generators, and cross-check style fidelity against our review of the best AI art generators when generating supporting imagery.
How long should each photo stay on screen?
For TikTok, Reels and Shorts, hold each photo 1.0-2.5 seconds and cut on the beat. For product reviews and storytelling, 2.5-4.0 seconds. Title cards run 1.5-3.0 seconds. Only dense infographics and data charts justify 6-12 seconds, and only when paired with a pan-and-zoom move that directs attention. Durations of 5-8 seconds per static frame, common in older slideshow guidance, are simply too slow for feed-based distribution.
Is it safe to upload internal company photos to a free online video maker?
Not by default. Free consumer tiers rarely offer contractual no-training clauses, zero data retention, audit logging or role-based access control. Before any internal photograph, dashboard screenshot, customer image or pre-release asset goes up, confirm the vendor's retention terms, request an independent security attestation, and route the tool through normal third-party risk review. Where a tool cannot meet those requirements, restrict it to publicly released imagery only.
How do I keep AI-generated video auditable?
Log four fields per published asset: the tool and model version used, the prompt or motion parameters, the human reviewer who approved the output, and the licence basis for every input asset. Keep the source images and the locked approved version alongside that record. That makes the output reproducible, explainable to a reviewer, and defensible if provenance is ever challenged.
Which tool should I pick for team production rather than solo editing?
Choose a browser-based editor with real-time commenting, version locking, brand kits, SSO and an audit trail, then pair it with an integrated content scheduler so approved renders publish without manual file transfer. Solo creators optimising for speed are usually better served by a mobile editor. Volume-driven teams producing many variations from one layout should prioritise template automation over manual timeline control.
Appendix A: revision log (superseded guidance)
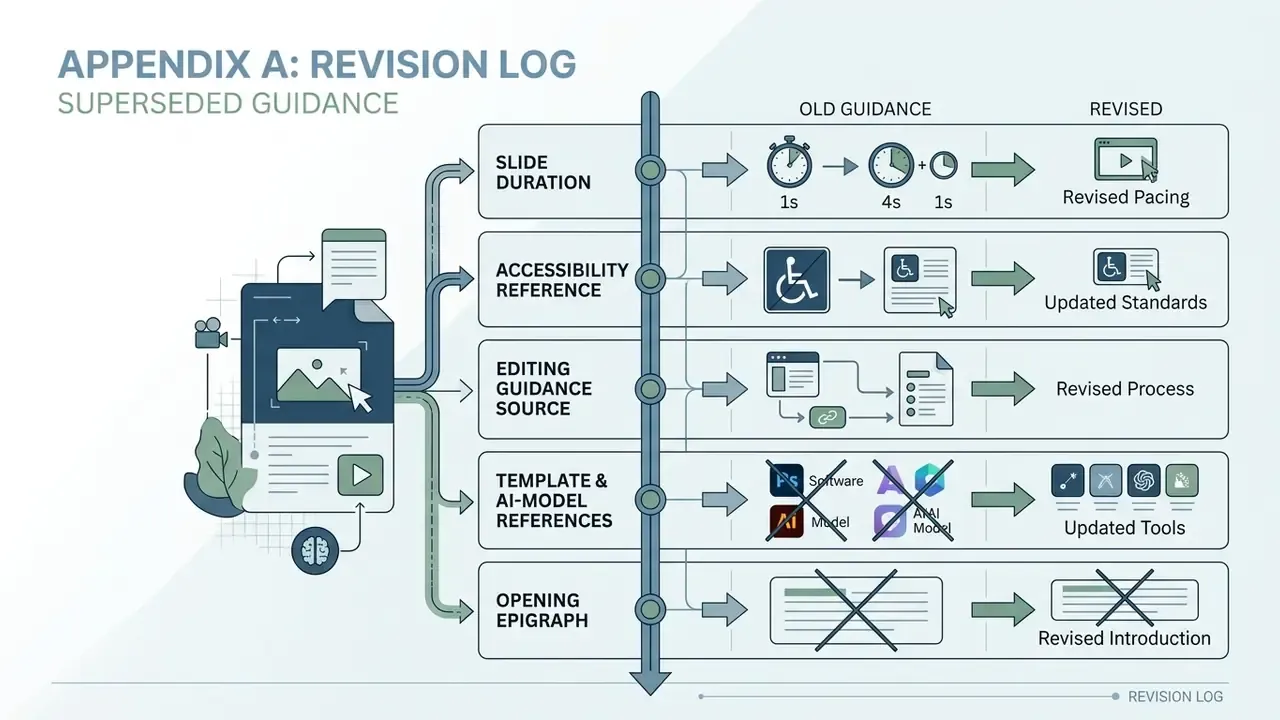
For transparency, the following earlier statements in this guide have been revised and are kept here as a record of the change:
- Slide duration. Previous text: "Static Image Slides: 5 to 8 seconds display duration per frame; Title & Section Dividers: 2 to 4 seconds; Complex Data/Chart Slides: 15 to 30 seconds." Superseded by the micro-pacing rules above, because 5-8 second static frames measurably depress retention in feed-based distribution where 1-4 seconds is the working standard.
- Accessibility reference. Previous text cited "W3C WCAG 3.0 & WAI Guidelines." Superseded by WCAG 2.2, the current W3C Recommendation; WCAG 3.0 remains a working draft and should not be used as a conformance target.
- Editing-guidance source. Previous text attributed transition restraint to "Purdue OWL Presentation Guidelines" as a video standard. Retained only as presentation-design guidance, with video-specific pacing now sourced from vendor editing documentation.
- Template and AI-model references. Undated or forward-dated internal documentation citations have been replaced with publicly verifiable vendor documentation (CapCut, Canva Help Centre, Adobe Express user guide, Adobe Stock terms) and peer-reviewed or preprint research with resolvable URLs.
- Opening epigraph. A previously included unattributed editorial quotation has been removed in favour of sourced expert and research citations throughout the text.
Disclaimer
This guide is provided for general informational purposes. It does not constitute legal, licensing, compliance, or security advice. Copyright, synchronization-rights, accessibility and data-protection requirements vary by jurisdiction, platform and contract. Verify vendor terms and consult qualified legal, licensing, privacy or information-security professionals before publishing commercial media or uploading confidential or personal data to third-party services.