Short-form vertical video has become a primary format for audience engagement, brand communication, and digital discovery. Learning how to edit TikTok videos effectively lets creators and organizations turn raw footage into structured, high-performing content. Whether you work with built-in mobile features or advanced external software, a clear editing process keeps your posts aligned with both viewer expectations and algorithmic delivery standards.
This guide runs in the order you will actually work: what the native tools can and cannot do, how to prepare clips, the step-by-step in-app edit, mobile and desktop alternatives, engagement techniques, the post-publication rules, and a short FAQ at the end.
Can You Edit Videos in TikTok? Native Tools and Their Limits
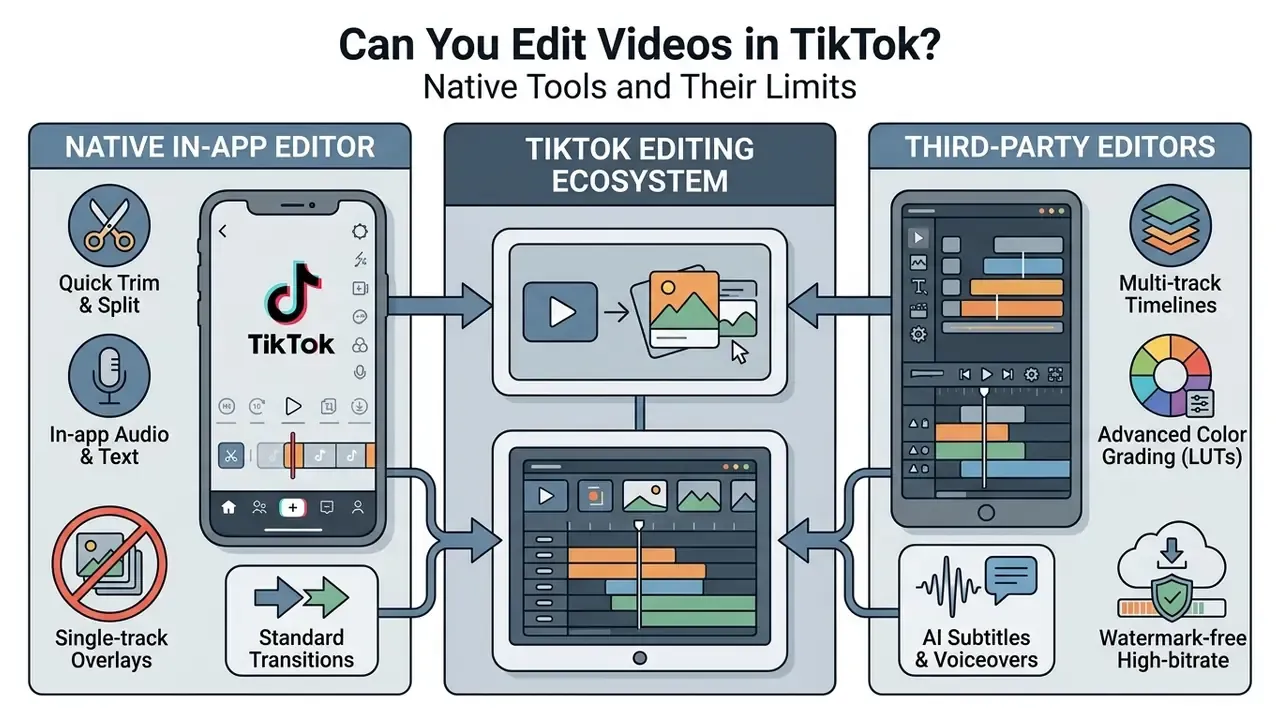
Yes, you can edit videos directly in TikTok using its built-in editor to trim clips, split footage, add text overlays, apply filters, and insert library music before posting. Native editing does carry structural limits though: a cap on timeline layers, restricted audio mixing, and zero support for post-publication video file swaps.
The stakes for getting the edit right are commercial, not just creative. TikTok now absorbs the overwhelming majority of brand participation budgets across the major social media platforms, which is why editing craft on this single platform carries outsized weight.
«TikTok accounts for 94.09% of total brand engagement investment across the five largest social networks.»
What You Can Edit Directly in the TikTok App
The TikTok app lets you trim clip boundaries, split timeline segments, adjust playback speed, add text, and apply native transitions. According to the official TikTok Support documentation on editing videos and photos (page last updated 26 to 27 August 2026, support.tiktok.com), you can also record voiceovers, apply Green Screen backgrounds, balance volume between background music and voice tracks, layer sound effects over clips, add stickers, emojis, and GIFs, choose a cover frame, and save everything as a draft. These built-in editing tools cover core tasks right on your phone, with no external software involved.
The native editor does have documented ceilings: a single session caps out at roughly 35 objects, 8 overlay elements, and one attached sound per post. Once a project passes those numbers, or needs two audio beds mixed against each other, the in-app timeline stops being the right tool. That is the honest boundary line.
When a Third-Party Video Editor Is a Better Choice
A third-party video editor becomes necessary when a project needs multi-track video layering, advanced color grading, precise audio keyframing, or cross-platform formatting. Built-in mobile editors struggle with multi-camera sequences and detailed motion graphics, whereas dedicated tools like CapCut, VN Video Editor, or other free video editing software options give you full timeline control and watermark-free high-bitrate exports. Teams that want to prototype b-roll or explainer segments without filming anything can also test AI video generators alongside a traditional timeline editor, then finish the cut in a standard app before upload.
One practical overlap worth noting: if your source material already lives on YouTube, a browser-based youtube video cutter online trims the segment you need before it ever reaches your phone, which keeps file size manageable.
Prepare Video Clips Before You Start Editing
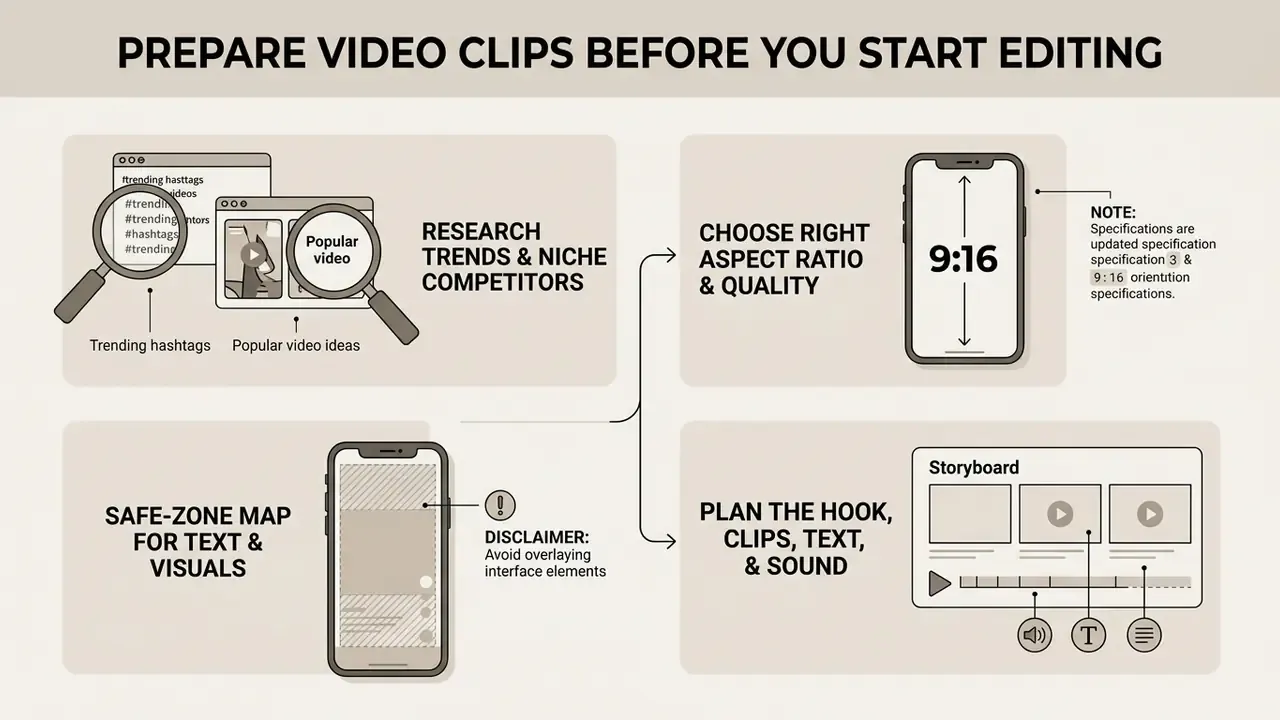
Effective TikTok video editing starts before you open the timeline. Capture raw footage in vertical orientation and organize assets by sequence. Preparing source files in advance cuts editing time, prevents framing errors, and keeps transitions between individual video clips clean.
Preparation matters more every year, because viewers spend steadily longer inside the feed, which raises the bar for every clip competing for that time.
Choosing where the edit will happen is part of preparation too. A quick scan of available video editing tools before you shoot tells you whether you can lean on native captions or need to plan a transcript-based workflow instead.
Research Niche Competitors and Top Trends
Before editing raw assets, research top-performing structures in your niche directly inside TikTok:
- Tap the Search Bar in the TikTok app and enter your core topic keywords.
- Open the search filter menu at the top right of the screen.
- Filter results by Date Posted (This Week or This Month) and sort by Most Liked.
- Analyze the top 5 videos and reverse-engineer them: count how often the shot changes, note where text sits in the frame, and log which sounds repeat across winners.
- Re-run the same search filtered by This Year to separate a durable format from a sound that peaked last week.
Picking a defined niche also speeds up editing, because viewers arrive knowing what to expect and you stop re-inventing the structure of every video. Sketch each planned clip in order. A simple shot list means your timeline is already sequenced when you import, so no clip needs reshuffling later. Small habit, large payoff.
Choose the Right TikTok Aspect Ratio and Video Quality
The target aspect ratio for TikTok videos is vertical 9:16 at a resolution of 1080×1920 pixels. Uploading video files in H.264 or HEVC format at 30 to 60 frames per second prevents unwanted letterboxing, while keeping file sizes under 287.6 MB on iOS or 72 MB on Android reduces the severity of server-side re-compression.
A note on those size numbers (updated). TikTok's public help pages document the recommended 9:16 vertical format and 1080×1920 resolution. The 287.6 MB, 72 MB, and roughly 500 MB to 4 GB (web) figures are the limits consistently reported across 2026 specification guides for the consumer app, web uploader, and posting API respectively. Treat them as practical working ceilings rather than a single published constant, and check the current TikTok Help Center video specifications page before a high-stakes upload. Running clips through a video compressor is the simplest way to land under the mobile limit without dropping to 720p. If you build at volume, our calculators help estimate bitrate against target file size before you export.
Safe-zone map for text and key visuals. TikTok's interface overlays the edges of every video, so anything important must live in the middle band of the frame:
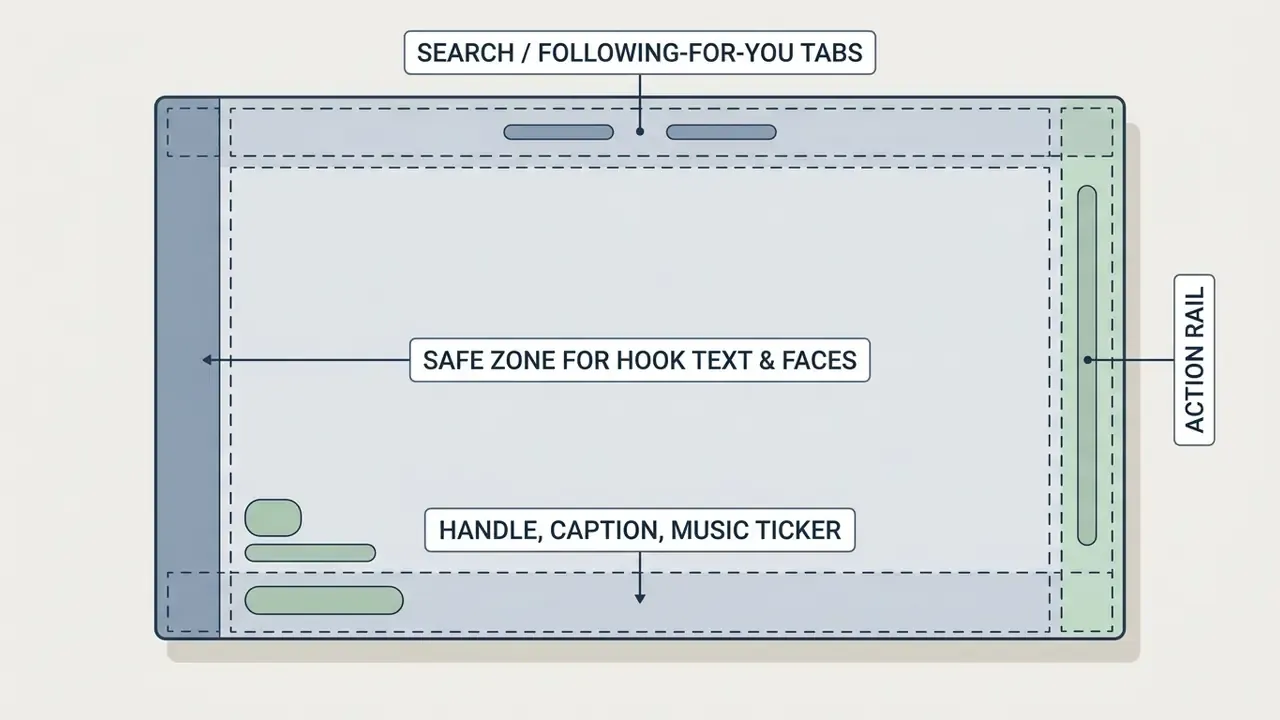
Auto-captions render inside that bottom 15 to 25% band, so place manual text above it, roughly 60 to 75% down the frame, and keep the right-hand action rail (like, comment, share, sound disc) free of words and faces.
Pre-editing checklist for TikTok videos. Complete these operational verification steps before importing assets into the timeline:
Checklist0 / 8
Plan the Hook, Clips, Text, and Sound Before Editing
Planning a TikTok video means mapping a visual or auditory hook in the first 1 to 3 seconds, followed by rapid clip changes and synchronized sound accents. TikTok's own creative guidance recommends a three-part structure (hook, body, close) and states that the content proposition should appear within the first three seconds. Structuring text overlays inside screen-safe zones keeps captions from competing with platform interface elements or hiding critical visual details. Pre-selecting audio tracks and trimming dead air before you assemble the final timeline keeps the viewer locked on the core message.
A quick planning habit borrowed from long-form work helps here: draft the caption early. Writing the post text first, much like using a youtube video description draft before the edit, forces you to name the single takeaway the video must deliver.
How to Edit TikTok Videos in the TikTok App: Step-by-Step
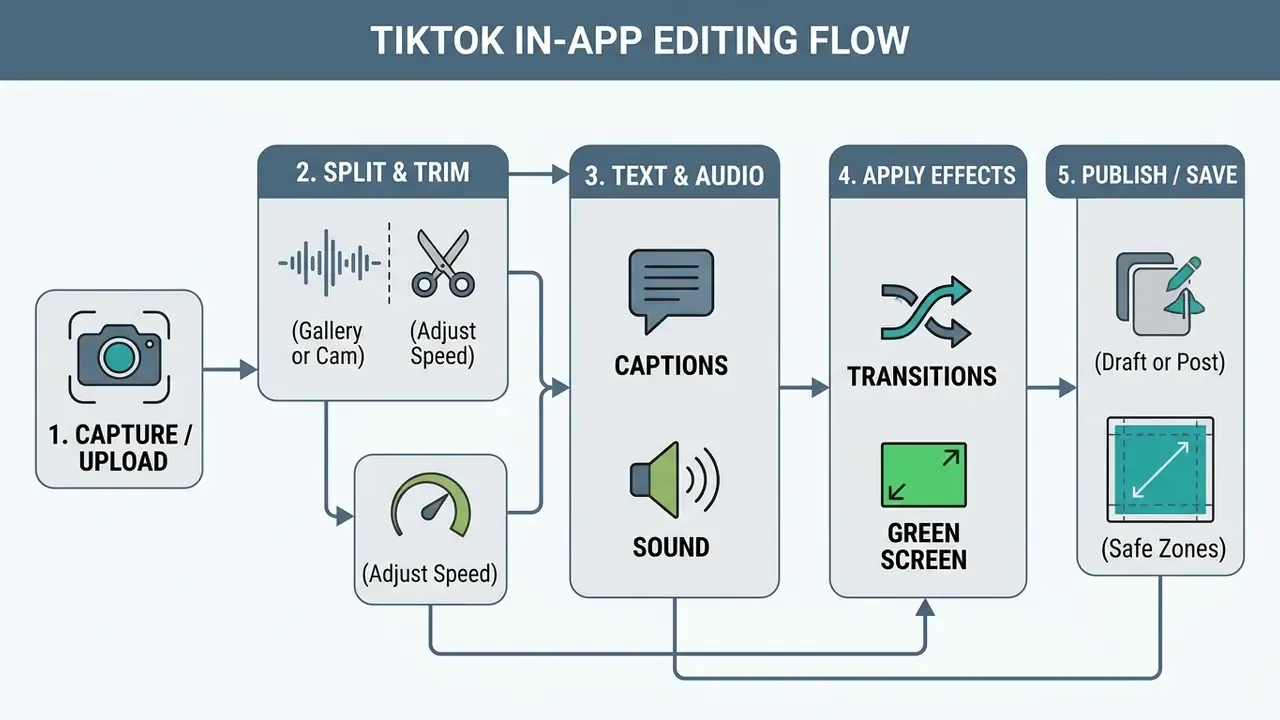
Editing TikTok videos inside the app starts with the Create (+) button. Import or record media, then open the Edit menu to reach the multi-track timeline. From this central interface you can adjust clip timing, apply transitions, configure audio tracks, and format text overlays before posting.
Record a Video or Upload Videos From Your Gallery
You can create TikTok content by holding the red record button for sequential camera capture, or by tapping Upload to select pre-recorded video files from your device gallery. Each press-and-hold creates a new fragment, and releasing the button ends that clip. Importing multiple clips automatically stitches them into a single timeline project, in the order you selected them, where individual segment lengths and sequence order can still be changed.
When you repurpose long recordings such as webinars or interviews, trim the source down to the strongest vertical segments first, so you import 40 seconds of usable footage instead of 40 minutes. If the master lives on a video platform rather than your drive, a youtube video downloader gets you a local file to cut from, assuming you own or have licensed the material.
Use Automatic Editing or Arrange Clips Manually
TikTok offers automatic template assembly through AutoCut for fast music-synced clips, alongside manual composition for precise timeline control. Automatic tools shine at rapid trend adoption, while manual editing lets you customize scene order, set exact clip timing, and place targeted text overlays. Importantly, a template is not a dead end: after AutoCut builds the montage you can still open the timeline and change clips, text, and music.
Choosing between automated video templates and manual assembly comes down to whether speed or creative precision matters more today. And if you want to push further into automation, text-to-video AI tools can draft an entire storyboard from a script before you touch the TikTok editor.
Trim, Split, Reorder, and Adjust Video Speed
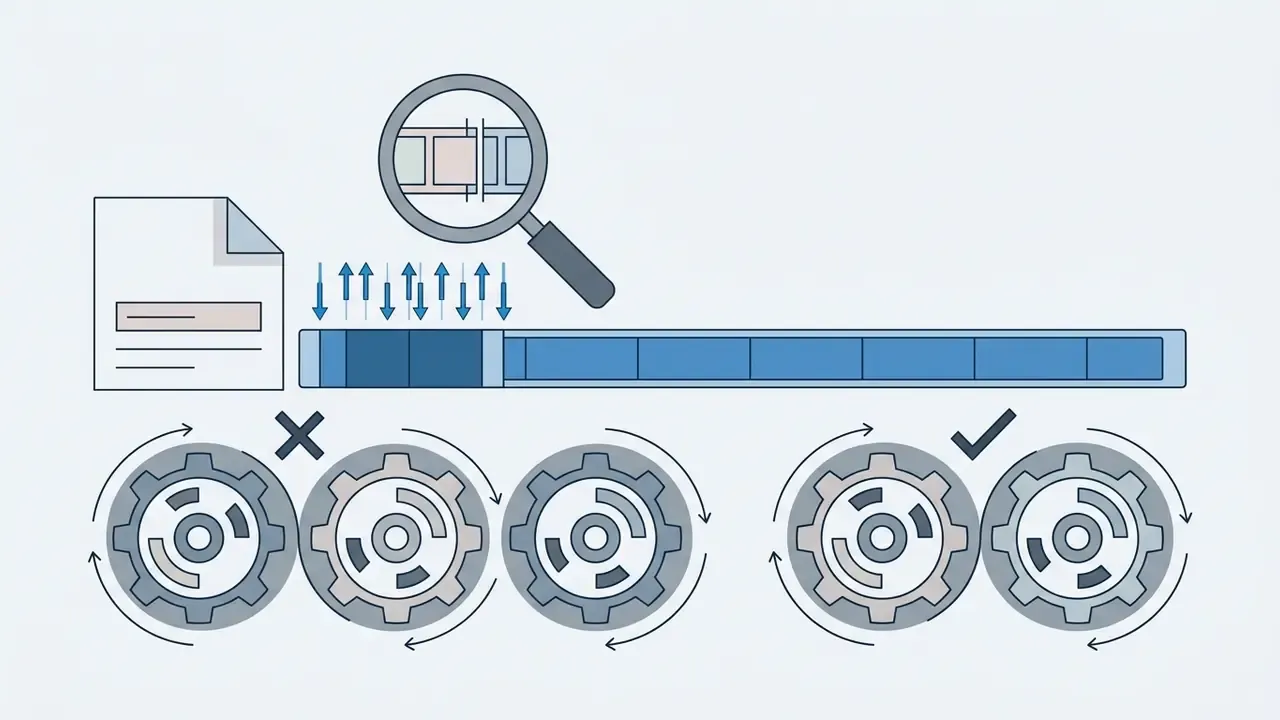
Trimming clips in TikTok means dragging the edge boundary handles. Splitting means placing the playhead at a specific frame and tapping Split. To reorder scenes, tap and hold a video clip to drag it along the track, then use the Speed tool to apply normal or curve-based slow motion and acceleration.
How to cut a mistake out of the middle of a clip, the most common beginner task:
- Tap Edit, then the scissors icon to open the clip timeline.
- Drag the playhead to the frame just before the stumble or filler word and tap Split.
- Drag the playhead to the frame just after it and tap Split again.
- Select the middle fragment you just isolated and tap Delete.
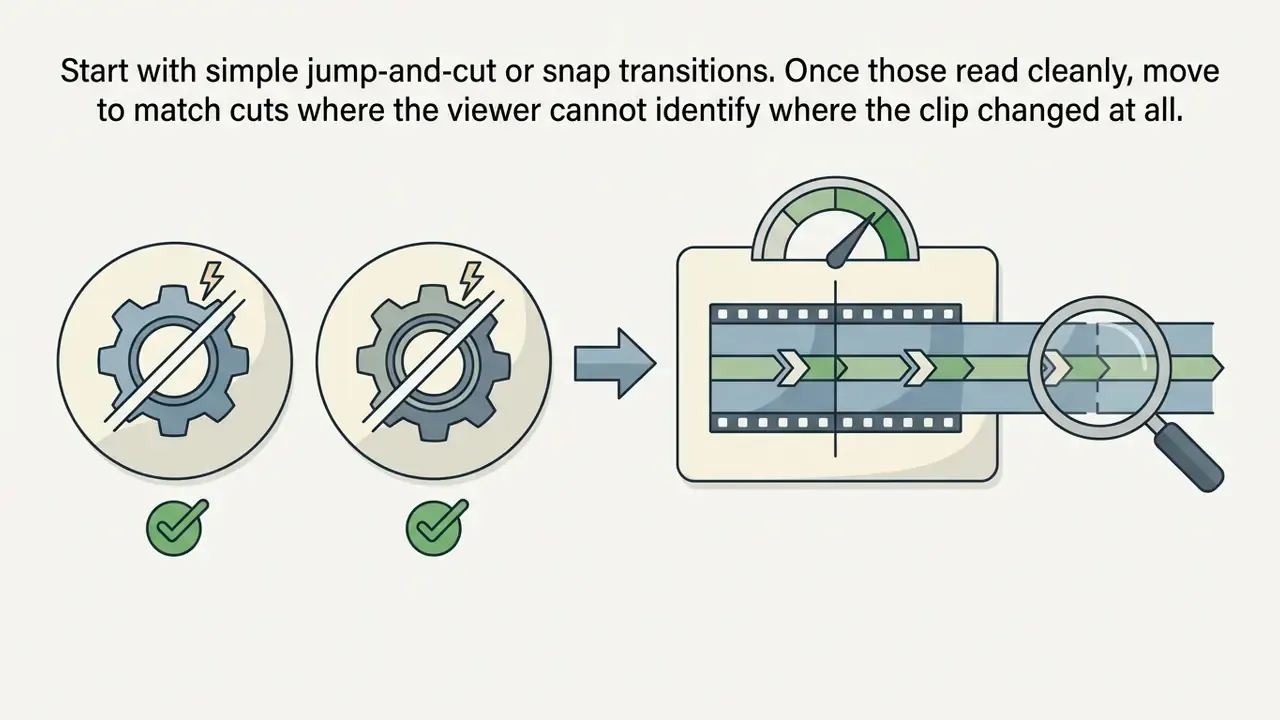
- Play the join back once. If the jump reads harshly, add a short Transition between the two remaining clips, or cover the cut with a text overlay that appears exactly on the splice.
Add Text, Captions, and Text Overlays
Adding text overlays in the TikTok app starts with the Text tool: enter your caption, then set the duration for when the text appears on screen. Tap the text block, choose Set duration, and drag the bar so the words show only while they are relevant. Auto-captions can transcribe speech automatically through the Captions panel. Wait for generation to finish, then tap any line to correct transcription errors and restyle the font or color.
Place text blocks in the central 50 to 60% of the 1080×1920 frame to avoid native UI obstruction, and keep each block short enough to read in a single glance. Three to seven words per block is usually plenty.
Add Music, Sound Effects, Filters, and Video Effects
Audio and visual styling live in the Sound, Effects, and Filters menus inside the editing workflow. You can search the native music library, balance background track volume against voiceover recordings, insert transition effects between cuts, or select Green Screen backgrounds.
- Adding or replacing a sound tap Sound, then Add sound (or Replace), search the library or your favorites, tap the track, then Save. For layered accents, tap Sound, then Sound effect, then Use, and drop the effect on the exact beat you want emphasized.
- Using Green Screen in the app tap Effects, then Green Screen, select the effect, then choose a photo or video from your gallery as the background. Frame yourself against an evenly lit plain wall for the cleanest key, and avoid clothing that matches the backdrop color.
- Applying transitions tap the small Transition button between two clips on the timeline, pick the style, and use Apply to all if you want the same treatment across every existing cut.
Verification notice (TikTok feature verification):
How to Edit TikTok Videos on iPhone and Other Phones
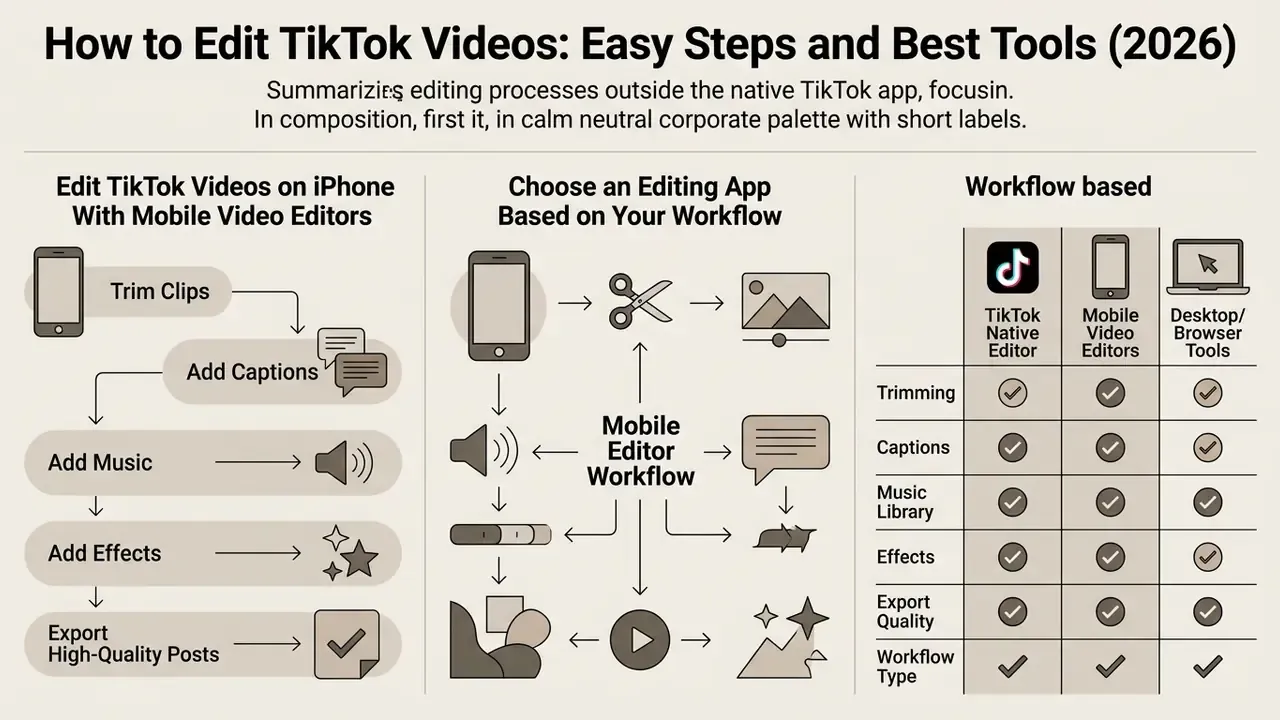
This section and the next both cover life outside the native app: mobile editors first, then desktop and browser-based tools.
Editing TikTok videos on iPhone or Android with a dedicated mobile editing app gives you advanced timeline control, multi-layer audio support, and higher export quality options. External applications add keyframe animation, LUT color grading, and custom text styles that go beyond standard in-app editing tools. The major apps (CapCut, InShot, Splice, Canva, Picsart, and LumaFusion) now ship on both iOS and Android, so the core workflow is no longer platform-exclusive.
Edit TikTok Videos on iPhone With Mobile Video Editors
Mobile video editors on iPhone let you adjust exposure, grade HDR video recorded in Dolby Vision, and export clean 1080p HEVC files. Apple's own guidance is to edit HDR footage inside a wide-gamut HDR project and export an HLG master or HEVC 10-bit file when fidelity matters most. Duplicate the clip in Photos before editing so the original is never overwritten. That one step has saved more shoots than any plugin.
Using a dedicated application on iPhone preserves source fidelity, which enables precise frame trimming and multi-track text overlays before you upload to TikTok. iPhone users can also prepare brand assets inside the same project: a profile mark, an end-card logo, or a recurring lower third, so every vertical export stays visually consistent. The same asset set usually doubles as your youtube pfp and channel art, which keeps cross-platform identity tight.
Choose an Editing App Based on Your Workflow
Selecting the right video editing app depends on whether your priority is template speed, AI captioning, or multi-layer timeline control. CapCut offers one-click sharing and trending templates, and remains the most direct route from edit to post, with official pages advertising publishing to TikTok without leaving the editor. Apps like InShot or VN Video Editor lean toward watermark-free manual composition and multi-track audio control instead. InShot keeps a simpler single timeline and stamps a watermark on free exports. VN exposes stacked video, text, and audio layers with keyframes and advertises no watermark on its free tier.
Comparing the best free video editors side by side clarifies which mobile app fits your content cadence, and our broader AI Media Comparison hub extends that view to generative tools. Creators who also need narration can pair a timeline editor with an AI voice generator instead of re-recording takes. Teams that edit for several channels at once often keep a youtube video editor workflow running in parallel, so the horizontal master and the vertical cut come from one session.
Comparison of the TikTok native editor and mobile or desktop editing tools
| Editor | Trimming & splitting | Text & captions | Templates | Transitions & audio | AI capabilities | Export control | Beginner fit |
|---|---|---|---|---|---|---|---|
| TikTok app | Basic drag trimming, frame split, clip reorder | In-app text overlays, timed captions, auto-subtitles | Limited native effects and trend templates | Standard cuts, voiceover, volume mixing | AutoCut montages, basic auto-cuts, voice filters | Automatic platform upload compression | High |
| CapCut | Full multi-track timeline, frame-accurate cuts | Advanced text styling, auto-caption generator | Extensive TikTok-synced trend templates | Keyframe transitions, multi-track audio, sound library | AI background removal, text-to-speech, translation, script-to-video | Manual resolution (1080p/4K), bitrate, FPS adjustment | High |
| InShot | Single-timeline trimming, canvas resizing | Text overlays, stickers, basic keyframing | Basic video layout presets | Standard transitions, music import, sound FX | Limited automatic visual effects | Custom export resolution and frame rate (watermark on free tier) | High |
| VN Editor | Multi-track timeline, speed curve adjustment | Layered text titles, custom font imports | Custom template creation and sharing | Advanced transitions, multi-channel audio mixing | Auto-captioning integration, color LUT support | Professional bitrate, codec, and resolution control, no watermark | Moderate |
| Text-based AI editors (Descript / Riverside) | Transcript-based trimming (delete text to cut video), automatic filler-word removal for "um" and "like" | Automatic AI transcript generation, multi-speaker identification, styled caption presets | AI "magic clips" generator that auto-frames long-form content into vertical cuts | Studio-quality AI voice enhancement, background noise suppression, multitrack sync | Script-to-video generation, AI avatars, automated voice cloning, repurposing actions | Direct 9:16 export up to 4K video and 48 kHz audio | High |
| Online editor | Browser-based clip cutting and splitting | Cloud-based title templates and overlays | Social media post canvas templates | Browser transitions, royalty-free stock music | AI transcript generation, automatic formatting | Standard MP4 renders based on subscription plan | Moderate |
Edit TikTok Videos With Desktop and Online Video Editors
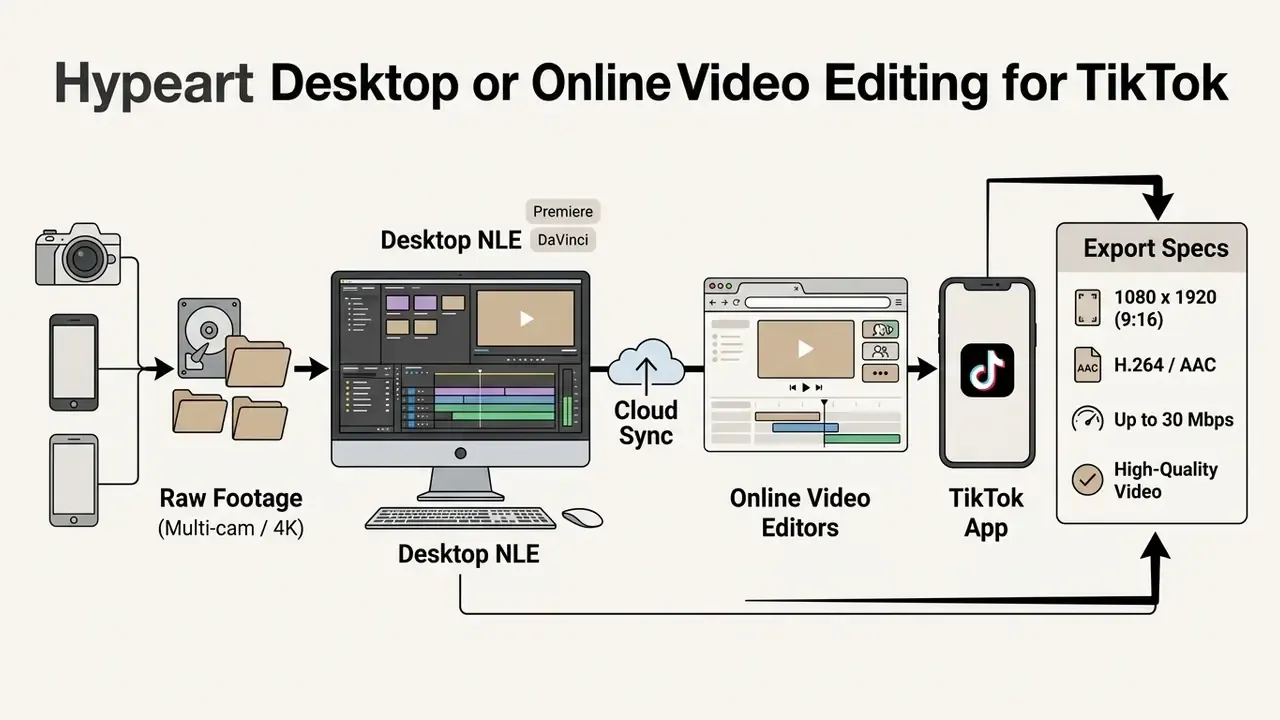
Desktop and online video editors suit multi-camera shoots, complex motion graphics, and multi-channel marketing campaigns. Editing software such as Adobe Premiere Pro, DaVinci Resolve, CapCut Desktop, or a web-based online video editor provides frame-accurate timeline management, professional audio mastering, and controlled color space exports. Teams producing high volume without a camera crew increasingly supplement this stack with free AI video generators for b-roll and concept drafts.
When to Use a Desktop Editor for TikTok Content
A desktop editor earns its place when you produce high-production expert shows, synchronized multi-camera interviews, or layered commercial assets. Premiere Pro's multi-camera source sequence workflow, for example, syncs several angles onto one timeline, something the native TikTok editor does not attempt. These platforms handle heavy video files, offer granular audio noise reduction, and support batch processing across multiple social media channels.
That multi-stage reality is exactly why professional creators keep a desktop stage in the pipeline. Scripting, multi-track audio, graphics, versioning for several channels, and archive management do not fit comfortably on a phone. Studios running scheduled output can automate the repetitive part of that pipeline through an api instead of exporting by hand each time.
Export and Upload Videos Without Losing Quality
To prevent quality loss during upload, export from your desktop editor as an MP4 or MOV file using the H.264 video codec, Rec.709 (BT.709) color space, and AAC audio at 1080×1920 resolution, at 30 or 60 fps. TikTok recompresses incoming files and caps delivery around 1080p, so matching native platform delivery specs avoids double compression artifacts and unexpected color shifts.
If your master lands above the mobile size ceiling, run it through a video compressor targeting a 10 to 16 Mbps bitrate rather than lowering resolution. Remember that web upload accepts far larger files than the phone app, up to roughly 4 GB, which is the safer route for a 4K-sourced export. When you need to pull an archived master back down from a hosting platform before re-cutting, a youtube video downloader online keeps the round trip simple for footage you own.
TikTok Editing Techniques That Make Videos More Engaging
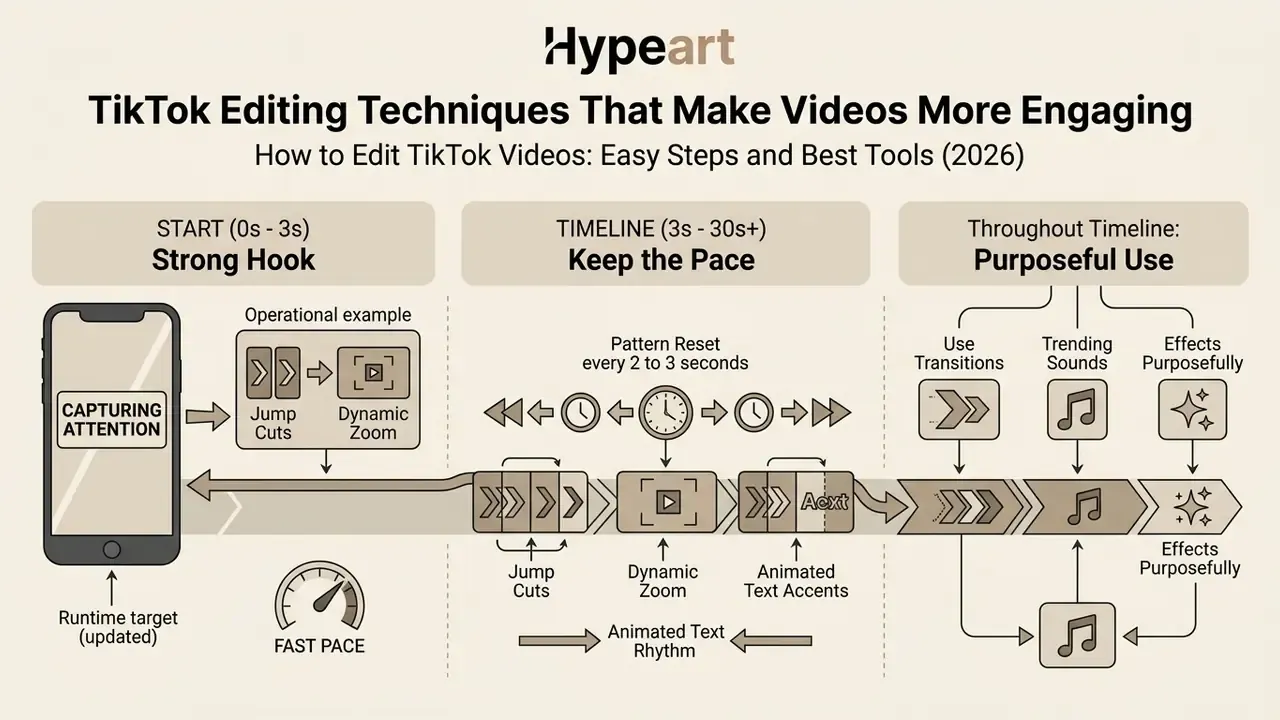
Engaging TikTok video editing depends on capturing attention within the first 1 to 3 seconds and holding a rapid visual pace through the whole timeline. Seamless video loops, timed text highlights, and intentional sound accents push viewers toward completion, which signals high engagement to recommendation algorithms.
In practice, that means the edit itself behaves as a ranking input. A cut that holds someone past the midpoint produces a qualitatively different signal than a swipe at second two.
Create a Strong Hook and Keep the Pace Fast
A strong TikTok hook combines a clear visual proposition with an immediate verbal statement inside the first 3 seconds, so viewers do not scroll past. Skip greetings entirely. Open with a bold claim, a specific question, or a visual pattern interrupt, and make sure the scroll-stopper is visible within the first half-second.
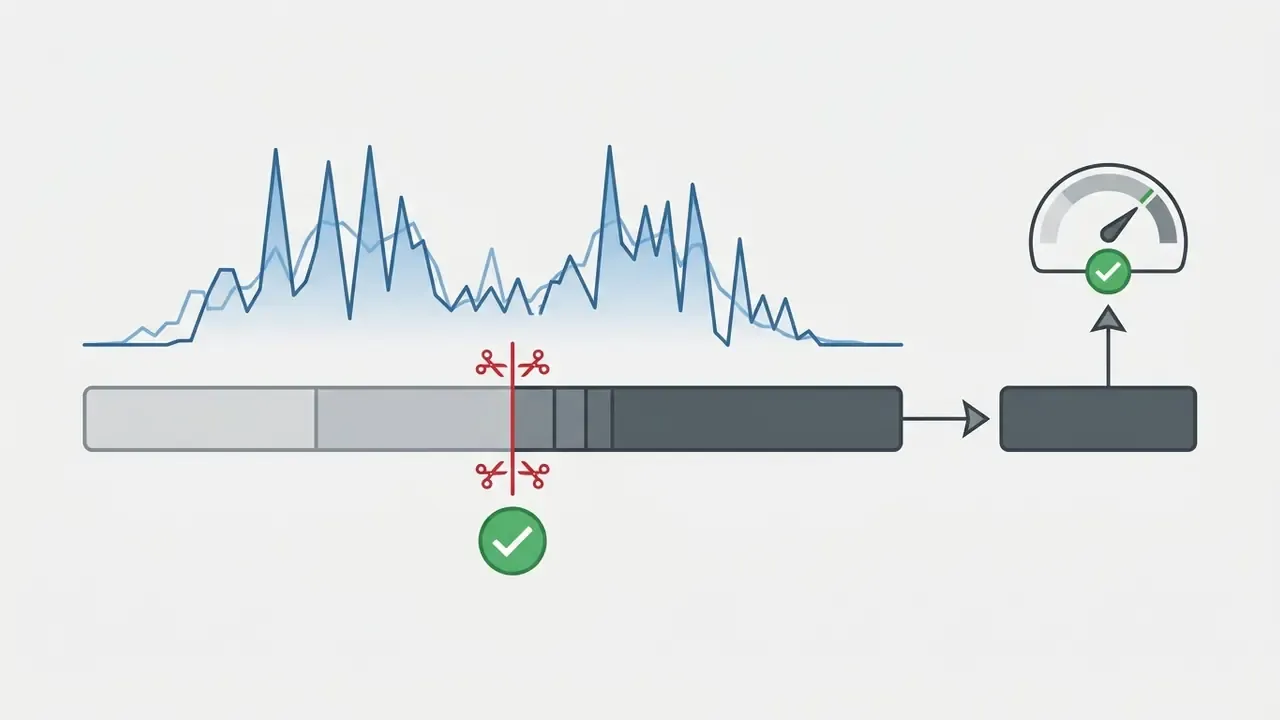
Runtime target (updated). Capturing attention in the first 1 to 3 seconds is mandatory, and platform delivery data shows the sweet spot for total length sits at 21 to 34 seconds, with roughly one in four top-performing TikTok videos landing in that window. Research published in Analyzing User Engagement with TikTok's Short Format Video Recommendations (CHI 2024) reports that viewer attention, measured as the share of videos watched to the end, holds steady at about 45% across a user's time on the platform. Every avoidable second is therefore a compounding risk.
Trimming unnecessary pauses, removing dead air, and keeping clip duration under 35 seconds lifts full-watch completion rates directly. Analysis of short-video ad engagement published by ACM in 2025 found engagement strongest in the first 25% of a clip's duration, further confirmation that front-loading value beats saving it for a payoff.
Micro-techniques that hold pace:

Use Transitions, Trending Sounds, and Effects Purposefully
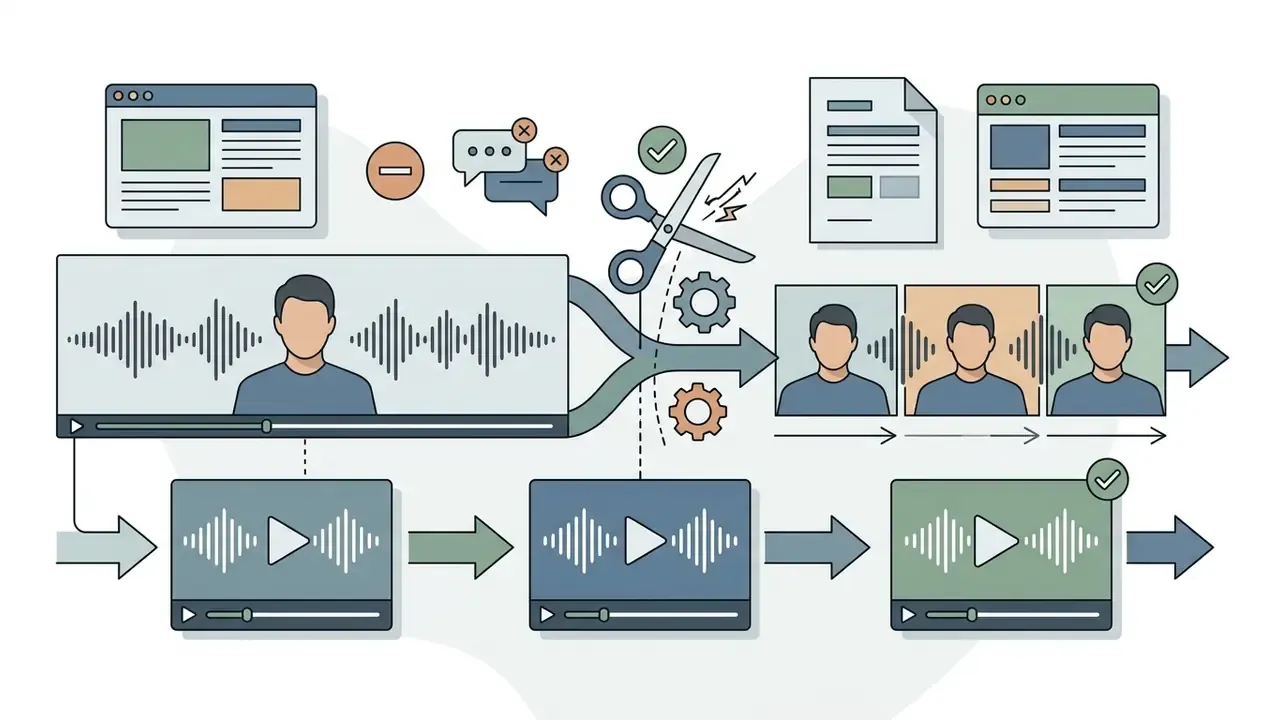
TikTok transitions, trending audio, and video effects should reinforce structure and mark key narrative moments, not decorate for the sake of it. An empirical study on TikTok marketing published in MDPI (2024) shows that advertising interactivity and informativeness drive perceived brand trust and purchase intent, which argues for purposeful visual choices.
«TikTok ad interactivity and informativeness significantly raise perceived value and brand trust, mediating purchase intention.»
Pairing trending audio with clear, informative text overlays keeps content engaging even when played without sound. TikTok's own documentation on how recommendations work lists video information, including sounds, captions, and hashtags, among the core ranking signal groups. Sound selection is an editing decision, then, not an afterthought.
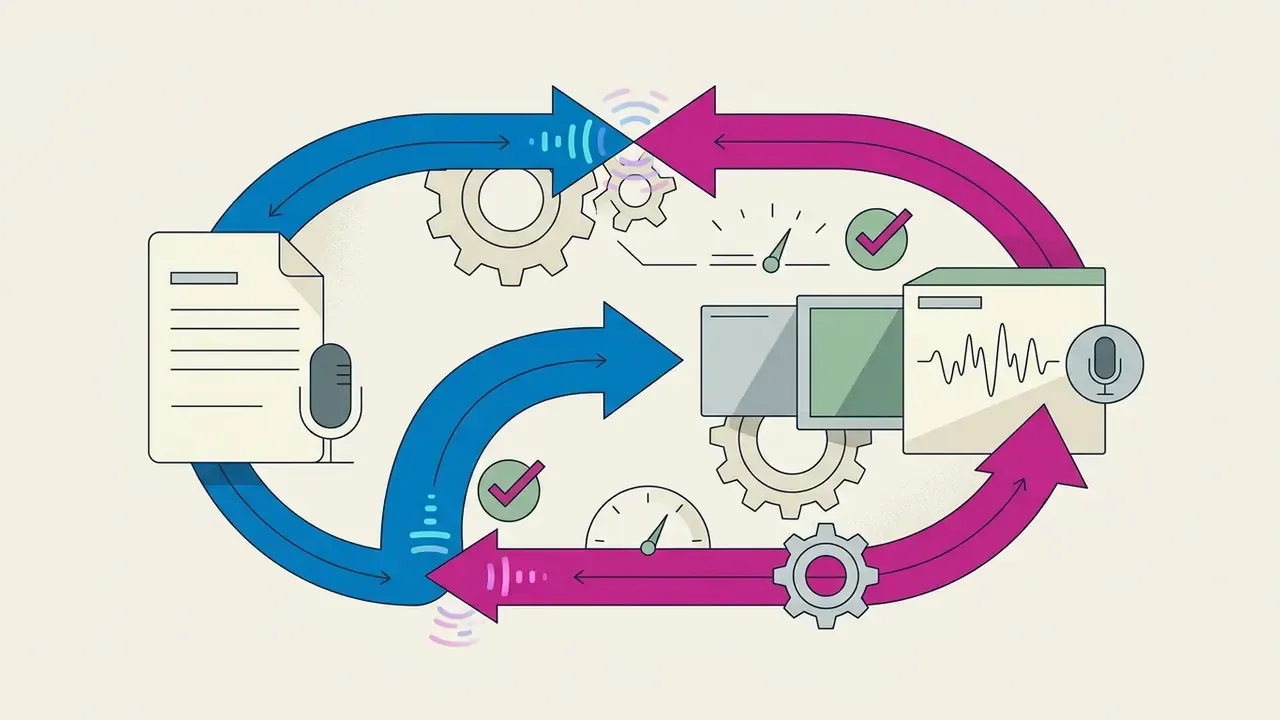
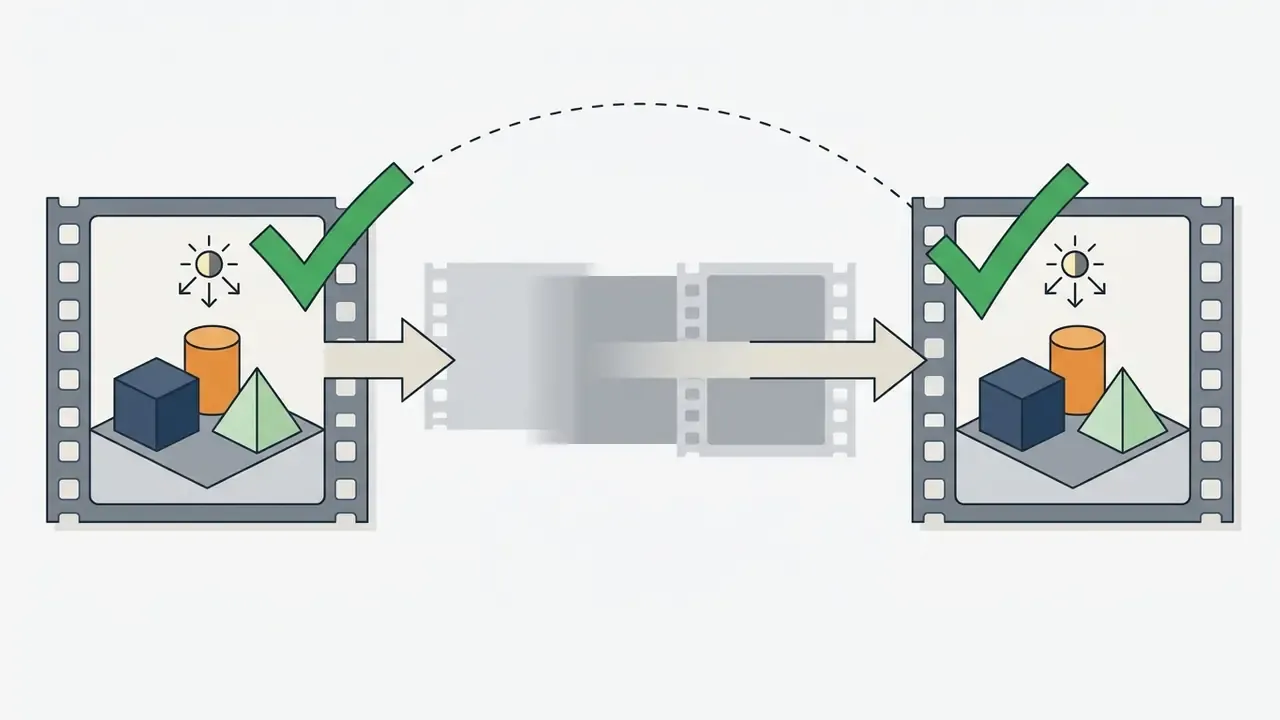
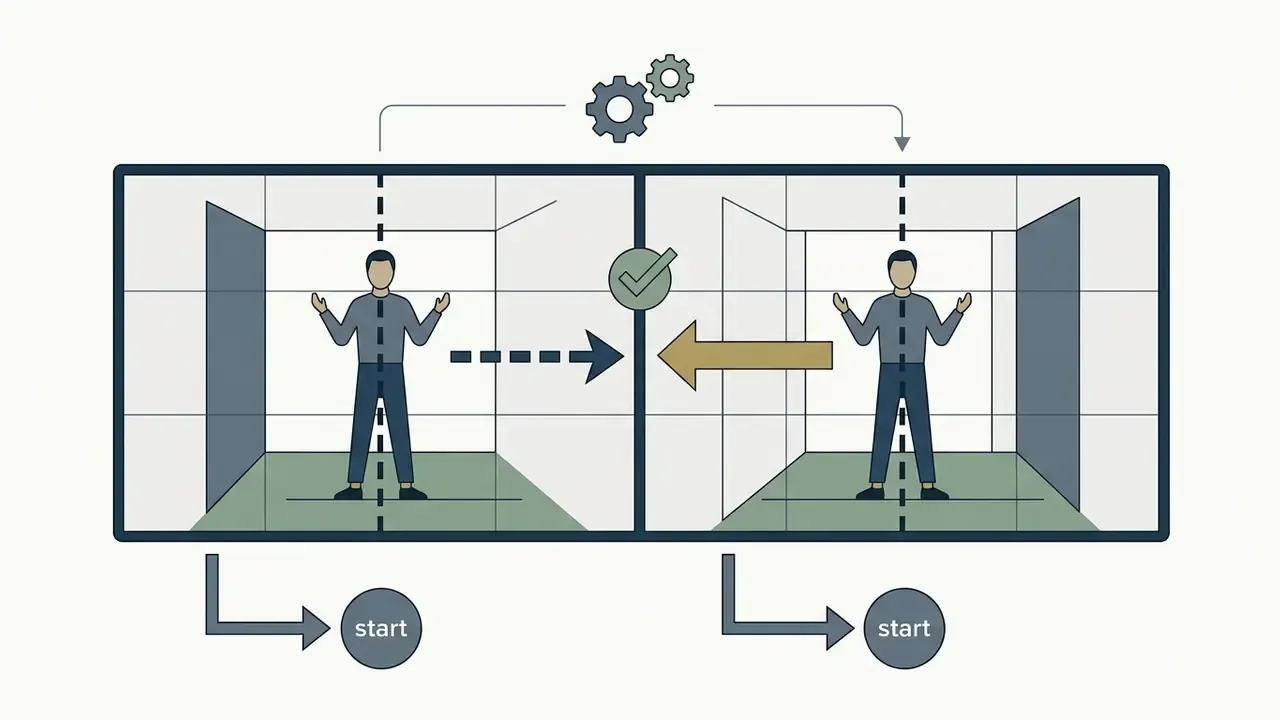
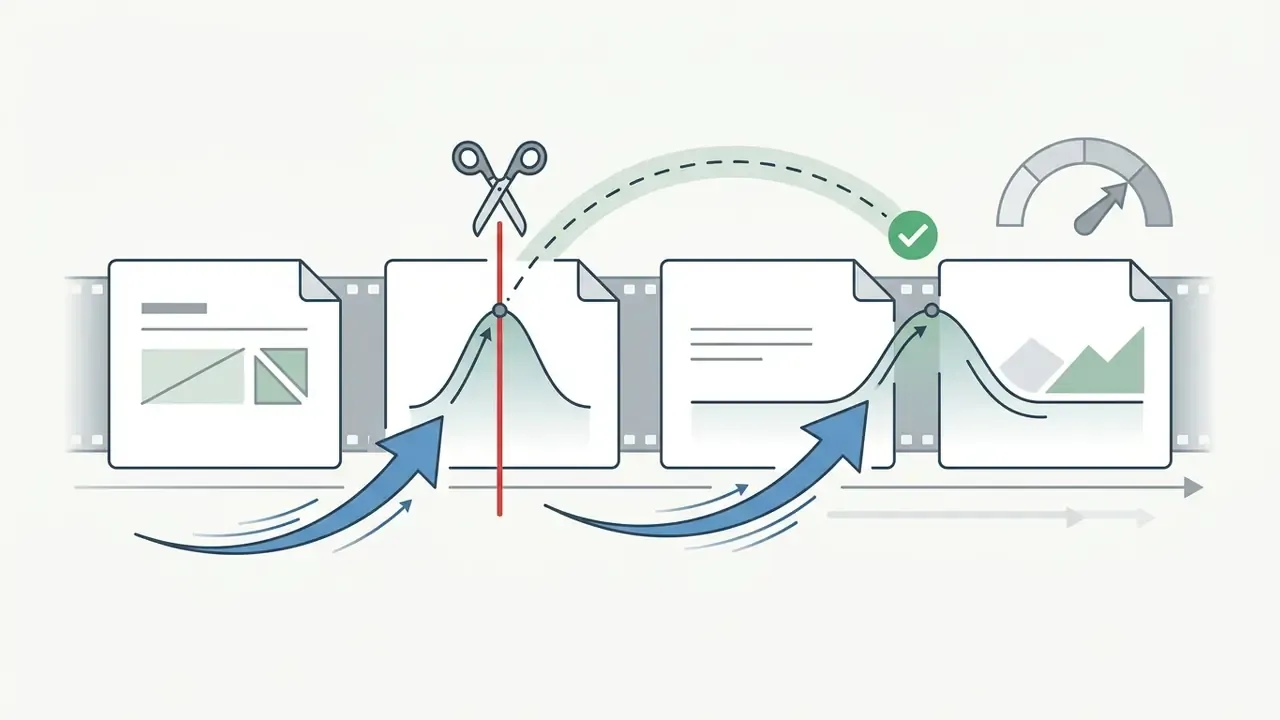
To make the playback engine loop your content invisibly, make the final frame visually and phonetically identical to your opening frame.
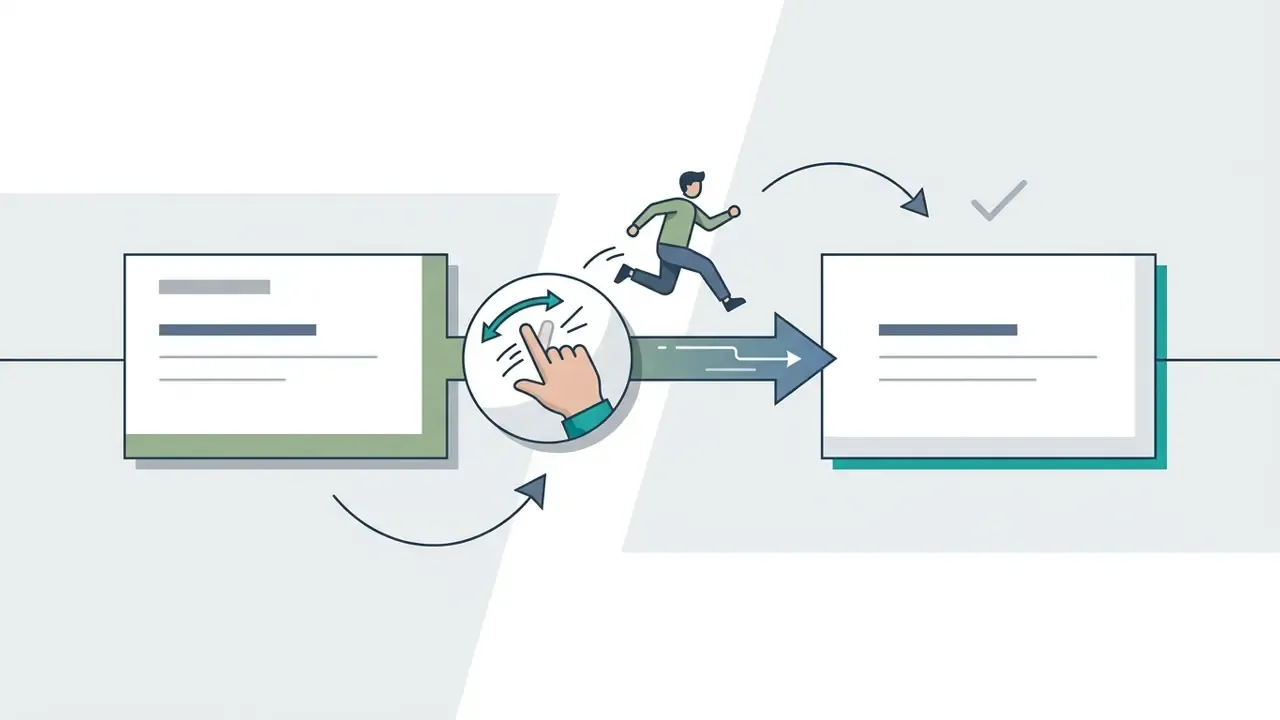
For physical transitions such as finger snaps, hand swipes, or covering the lens, keep the camera position static.
Trending filters, effects, and sounds: slow motion, Green Screen, and time-warp style effects circulate in waves. Joining a wave is faster than starting one, though creating your own sound has a compounding benefit: every video built on it credits your account as the original source, which pushes profile traffic and new TikTok followers back to you.
Can You Edit a TikTok Video After Posting?
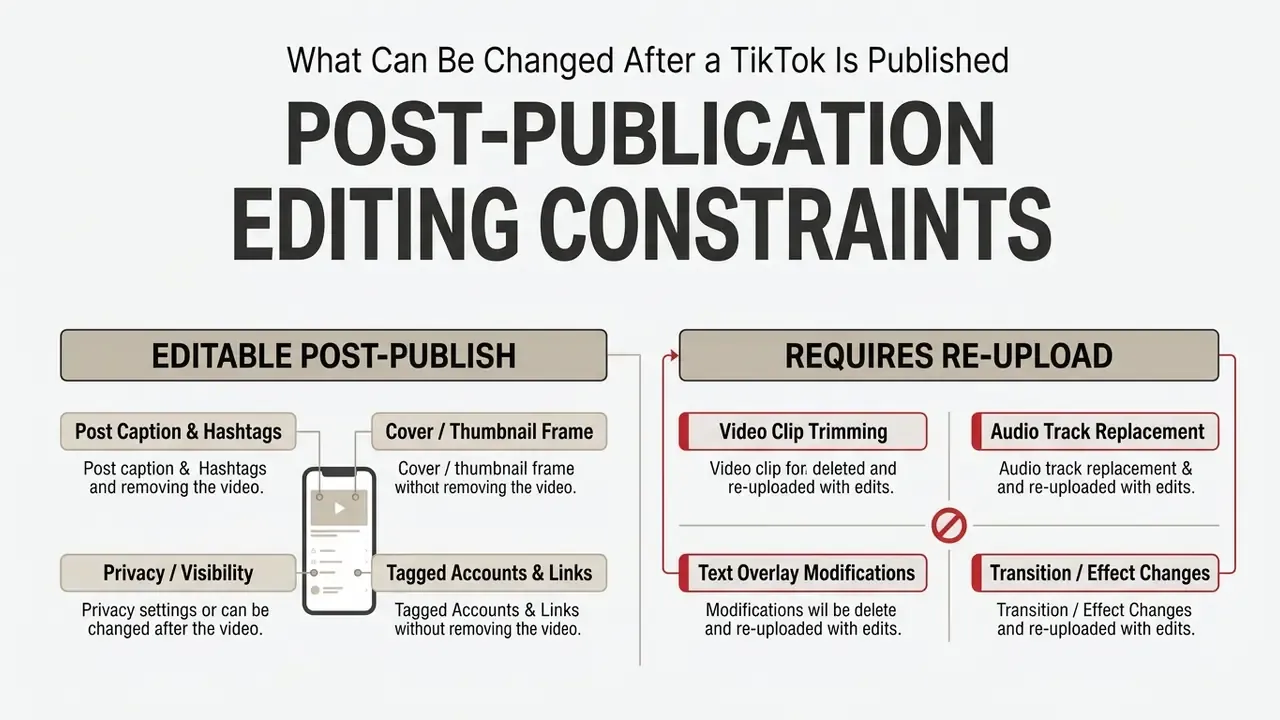
No. You cannot replace or modify the core video file of a TikTok post once it is published. Platform architecture limits post-publication changes to metadata: captions, cover frame selection, tagged accounts, and privacy settings.
What Can Be Changed After a TikTok Is Published
After a TikTok video goes live, you can open post settings to edit the text description, change hashtags and mentions, update visibility permissions, or select a different cover thumbnail. If the footage, transitions, or background audio need substantive edits, the only route is to delete the original post and complete a re-upload of the revised video file.
Workaround: How to Update Published Video Content
Need to fix an editing mistake on an already published video without rebuilding your text styles or visual timing from scratch? Use the save-and-re-upload route:
- Open the published TikTok on your profile and tap the three dots (…) icon.
- Select Save Video to download the rendered file, including burned-in text, stickers, and effects, to your phone gallery.
- Delete the original post, or set its privacy to Only Me if you want to keep the analytics record.
- Tap the + (Create) button, upload the saved clip from your gallery, and use the trim, split, and delete tools to remove the problem section or overlay corrected text.
- Re-attach or replace the sound through Sound, then Replace, if the audio needs changing, then publish.
Two caveats. The saved file is a re-encode of an already compressed upload, so quality drops slightly with each round trip. And any video saved this way loses its original engagement history. When the correction matters enough to affect the message, re-export from your source project instead, and reserve this workaround for cases where the raw files are simply gone.
FAQ: What's the Easiest Way to Edit TikTok Videos?
The easiest way to edit TikTok videos as a beginner is the native TikTok in-app editor, which puts trim, split, clip reorder, and background music in one workflow. If you prefer ready-made designs, CapCut templates or automated AutoCut tools deliver fast, music-synced assembly with one-click export.
Editing quality compounds with distribution, and distribution rewards small accounts more than many creators assume.
«Increased viewer traffic produced a 289.81% rise in new followers for small creators in a randomized field experiment.» Viewer Traffic Allocation for Small Creator Development: Experimental Evidence from Short-Video Platforms, SSRN (2024). https://ssrn.com/
What is the fastest video editor for TikTok beginners?
The native TikTok in-app editor is the fastest option for basic edits, because it needs no external download and its trim, split, reorder, speed, sound, and transition tools sit on one screen. For automated trend editing, CapCut supplies pre-built video templates synced to popular audio with direct one-click sharing to TikTok. If your raw material is a long interview or webinar, a transcript-based editor is faster still, since you cut video by deleting words.
Can I use pre-made video templates for TikTok?
Yes. You can apply ready-made templates through TikTok's native AutoCut tool or via external applications such as CapCut and Canva. Templates arrange clip timing automatically, apply transitions, and sync visual cuts to the selected music track. After the template renders you can still return to the timeline and change clips, text, or music, so a template acts as a starting structure rather than a locked output.
How do I fix a typo in my TikTok video after publishing?
If the typo sits in the post caption, edit the caption directly through post settings. If it is inside a text overlay rendered onto the footage, you must either re-export from your original project and re-upload, or use the save-and-re-upload workaround above: save the published video to your gallery, delete or hide the original post, then upload the saved file and cover or replace the faulty overlay before publishing again.
Does editing videos outside of TikTok reduce reach or views?
No published TikTok policy penalizes videos edited in third-party software, and the platform's documentation attributes ranking to user interactions, video information, and device or account settings rather than to the editing tool used. In practice, files hold up when they meet platform specifications (9:16 aspect ratio, 1080×1920 resolution, H.264 or HEVC codec, AAC audio) and carry no visible watermarks from competing platforms. Watermarked or heavily letterboxed uploads are the usual cause of underperformance blamed on "outside editing." This is an observed pattern rather than a formally published rule, so verify current guidance in the TikTok Help Center.
How long should a TikTok video be?
Target 21 to 34 seconds for most content, since roughly one in four top-performing TikToks falls in that window. Deliver the hook in the first 1 to 3 seconds, front-load the payoff inside the first quarter of the runtime, and exceed 35 seconds only when the format genuinely requires it, such as a tutorial or an expert explainer.
How do I make my TikTok loop seamlessly?
Match your first and last frames. Keep subject, angle, lighting, and background identical across the opening and closing half-second, write the script so the final sentence flows into the first, split the audio exactly at the boundary to remove silence, then trim two to four frames at a time until the restart is invisible on repeat playback.
Where should I put text so TikTok's interface doesn't cover it?
Keep text inside the central 50 to 80% of the frame. Avoid the top 120 px or so (search and feed tabs), the bottom 20 to 25% (handle, caption, and music ticker), and the right-hand action rail. Auto-captions occupy that lower band, so manual text usually reads best around 60 to 75% down the frame.
How do I keep quality when I upload an edited file from a computer?
Export at 1080×1920, H.264, Rec.709, AAC audio, 30 or 60 fps, and upload through the web interface when the file exceeds the mobile ceiling. Compress by bitrate, not by resolution, and check the final post on a phone once it is live, since server-side re-compression can reveal banding that the local file never showed.
Internal Hub Navigation
Explore additional operational guides, editor comparisons, and publishing workflows: