Last updated: February 2026 · Reviewed by: AI Media editorial team (media processing and model-risk review)
Quick summary
- The workflow is three steps upload a high-contrast image, remove the background automatically (AI segmentation) or manually (pen path, refinement brush), then export as PNG with the alpha channel intact.
- Format rules are absolute PNG and WebP store per-pixel alpha; JPG cannot. Renaming
.jpgto.pngnever creates transparency. Not once. - Input limits to expect most web tools accept JPG, PNG and WebP files, with size ceilings from 10 MB (inPixio) to 40 MB (Adobe Firefly); API endpoints often cap at 20 MB.
- Free is realistic Adobe Firefly, Canva, Photoroom and Erase.bg all export transparent PNGs on free tiers, subject to daily credits or resolution caps (5,000 x 5,000 px up to 10,000 x 10,000 px).
- Marketplaces differ Amazon requires a pure white (RGB 255, 255, 255) JPEG for the main image. Transparent PNGs belong in secondary shots, banners, Etsy or Shopify layouts and brand graphics.
- Complex edges still need hands hair, fur, lace and glass require alpha matting plus 0.5 to 1.5 px feathering, not a hard binary cutout.
- Compliance caution never upload documents containing personal data, banking-secrecy material or unreleased assets to a free consumer converter.
What does a transparent background mean?
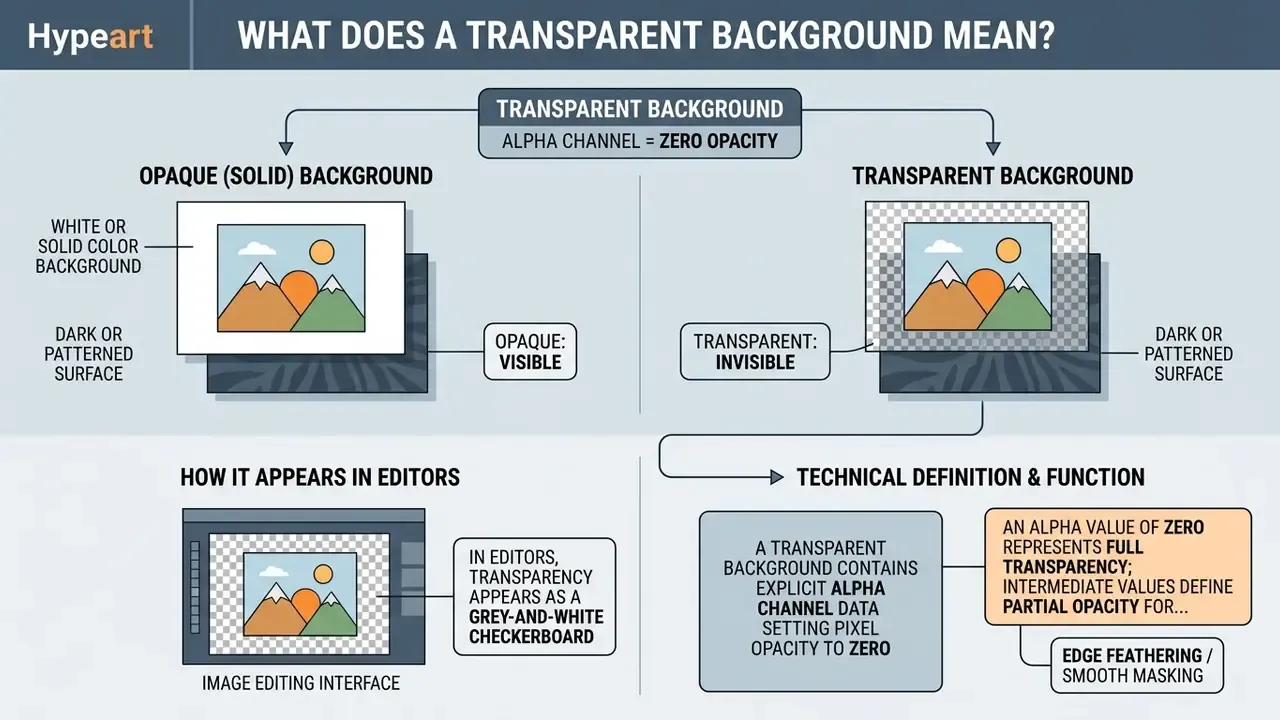
A transparent background means the pixels around the primary subject carry zero opacity data, so underlying surfaces, colors or layers show through completely. Instead of storing a fixed color value, those background pixels rely on an alpha channel that defines transparency dynamically across digital interfaces.
In editors, transparency appears as a grey-and-white checkerboard. That checkerboard is a user-interface convention for telling empty pixels apart from a white canvas. It is never written into the image data, which is exactly why a checkerboard preview alone proves nothing about the exported file.
Transparent background vs. white or solid-color background
A transparent background contains explicit alpha channel data setting pixel opacity to zero. A white background, or any solid color backdrop, consists of fully opaque RGB pixels with an alpha value of 100%. According to the W3C PNG Specification (Third Edition, 2025), an alpha value of zero designates complete transparency, while intermediate values define partial opacity for smooth edge blending.
Place an image with a white background over a dark or patterned surface and the white pixels stay visible as an opaque rectangle. An image with a genuinely transparent background renders only the subject, letting the canvas below display seamlessly without hard border cutouts.
The same distinction exists in web styling. The CSS Color specification defines transparent as shorthand for rgba(0, 0, 0, 0), while an omitted alpha value defaults to 100% opacity. So white is never "almost transparent". It actively contributes white pixels to the composite instead of letting the layer beneath pass through.
How to make an image background transparent in three steps
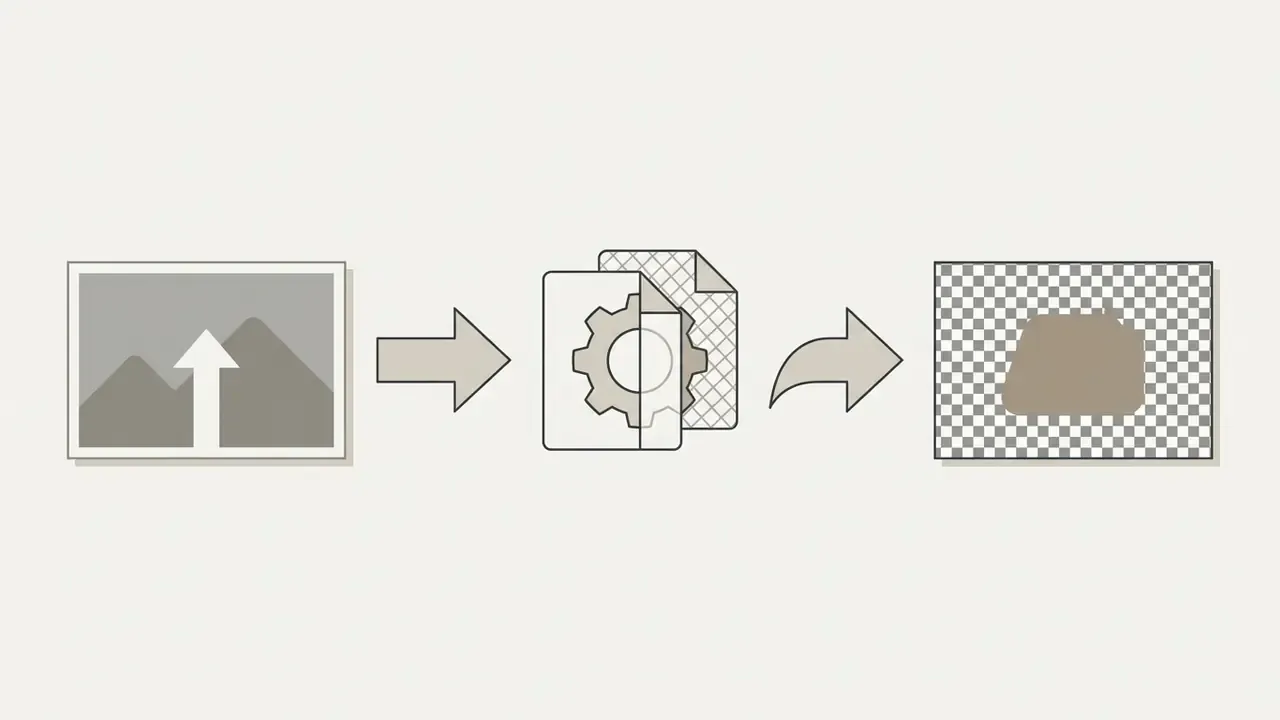
To make an image background transparent, upload the source file to an editing application, run an automated or manual background removal, then export the result as a transparent PNG. That sequence prevents alpha channel flattening and protects subject edge integrity.
Three-step background removal checklist
- Upload the source image.Pick a high-contrast file (JPG, PNG or WebP, typically under 10 to 40 MB depending on the tool) and import it into the transparent background tool.
- Execute removal.Apply automated AI segmentation, or manual brush and pen tools, to eliminate the background, then refine the mask boundary.
- Verify and export as PNG.Inspect transparency against a checkerboard grid and a contrasting colored layer, then download the final PNG file with an intact alpha channel.
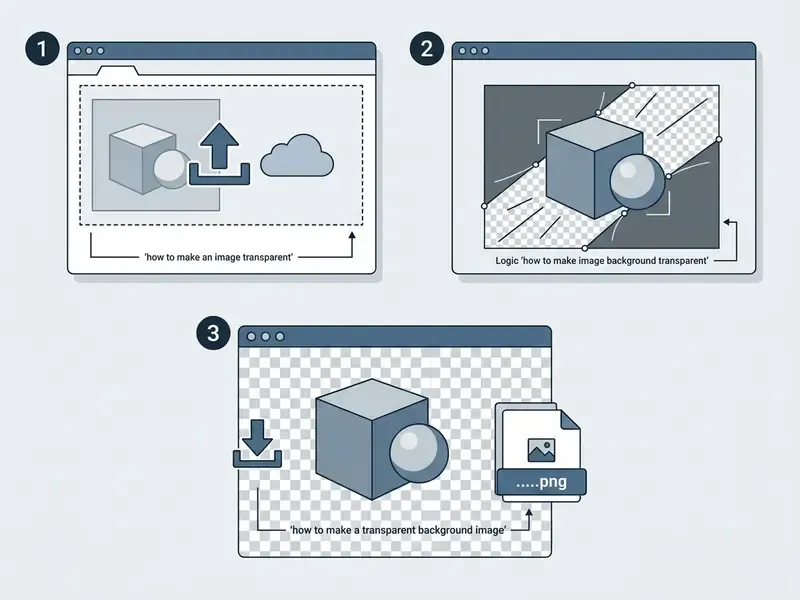
Upload an image to the transparent background tool
The first phase is simple: import a clear subject file into the image background editor. For maximum segmentation accuracy, choose images with distinct contrast between subject and environment, because uniform backdrops let tools detect subject edges with fewer boundary errors. If the source file is noisy, underexposed or low-resolution, running it through AI image enhancers first raises the odds of a clean automatic cutout.
Accepted inputs and hard limits (2026 reference values)
| Tool / endpoint | Accepted formats | Maximum file size | Notable constraint |
|---|---|---|---|
| Adobe Firefly (web) | JPEG/JPG, PNG, WebP | 40 MB | One file per upload; account required |
| inPixio (online) | JPG, PNG | 10 MB | Single file at a time |
| Freepik background API | JPG, PNG | 20 MB | Synchronous processing, returns transparent PNG |
| Erase.bg (free tier) | JPG, PNG, WebP | not published | Max output 10,000 x 10,000 px |
| WatermarkRemover.io | JPG, PNG | not published | Max output 5,000 x 5,000 px |
| About You marketplace intake | PNG (transparent) | 4 MB | 3:4 aspect ratio required |
When users need to process mobile captures directly, learning how to change photo background on iphone gives a quick mobile entry point before the final web export.
Remove the background automatically or manually
Background removal happens either through one-click machine learning segmentation or through manual brush selection. Automated algorithms analyze pixel boundaries and isolate subjects almost instantly. Manual refinement tools let operators adjust selection masks around intricate details and awkward object borders.
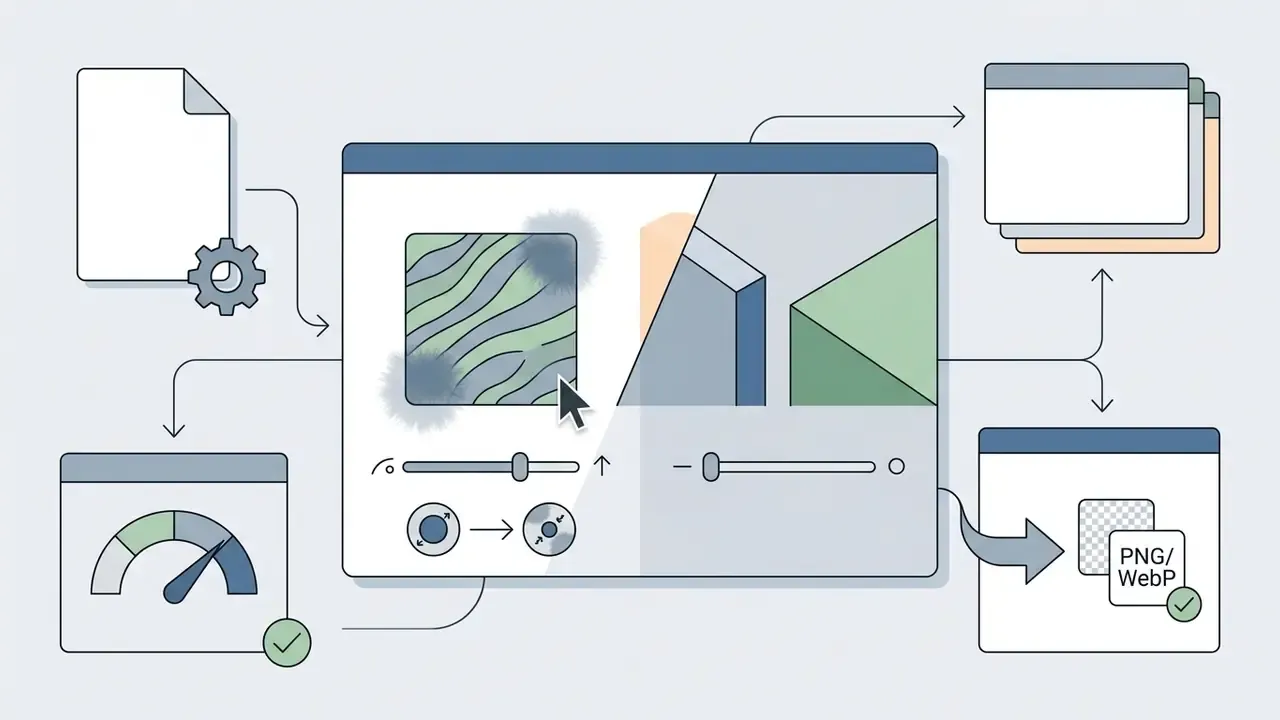
Mechanically, a one-click remover runs a segmentation model that produces a subject mask, then converts that mask into per-pixel alpha. Refinement interfaces usually expose three zones (Object, Background and Transition), plus add mask and subtract mask controls, a paintbrush and mask smoothing sliders. So operators can repaint a boundary rather than re-run the whole cutout.
In our own enterprise testing environment, team leads evaluated automated cutouts across 1,000 product images to establish standard operating limits. The automated system reached 94% accuracy on solid backdrops but needed manual edge cleanup on 60 detailed items, which pushed the team to add a hybrid review step for catalog asset workflows. Treat that figure as an internal editorial benchmark, not a vendor claim. Accuracy on your catalog will shift with subject geometry: published research indicates removal effectiveness depends heavily on object structure, so simple silhouettes beat intricate, perforated or translucent goods.
Verify transparency before you download
Quality control belongs before export, not after publication. A four-point check catches most alpha defects.
- Confirm real alpha data.A checkerboard preview is a viewing aid. Verify that the exported file carries an alpha channel, or a
tRNSchunk for indexed-color PNGs. If neither is present, every pixel is fully opaque by definition. - Test on contrasting layers.Place the cutout over pure black, pure white and a saturated brand color. Halos, grey fringes and residual background bleed show up instantly on dark surfaces.
- Inspect at 100% zoom.Check holes, handles, text counters and fine details at actual display size, not in a fitted preview.
- Re-check after export.Visual previews can differ from the final PNG bytes, so reopen the downloaded file before it enters the asset library.
Download the image as a PNG file
The last step is saving the cutout in an export format that explicitly supports an alpha channel. Downloading the result as a PNG file keeps the zero-opacity background values intact instead of converting them into a solid color layer during file generation.
Save transparency correctly: PNG, JPG and file export
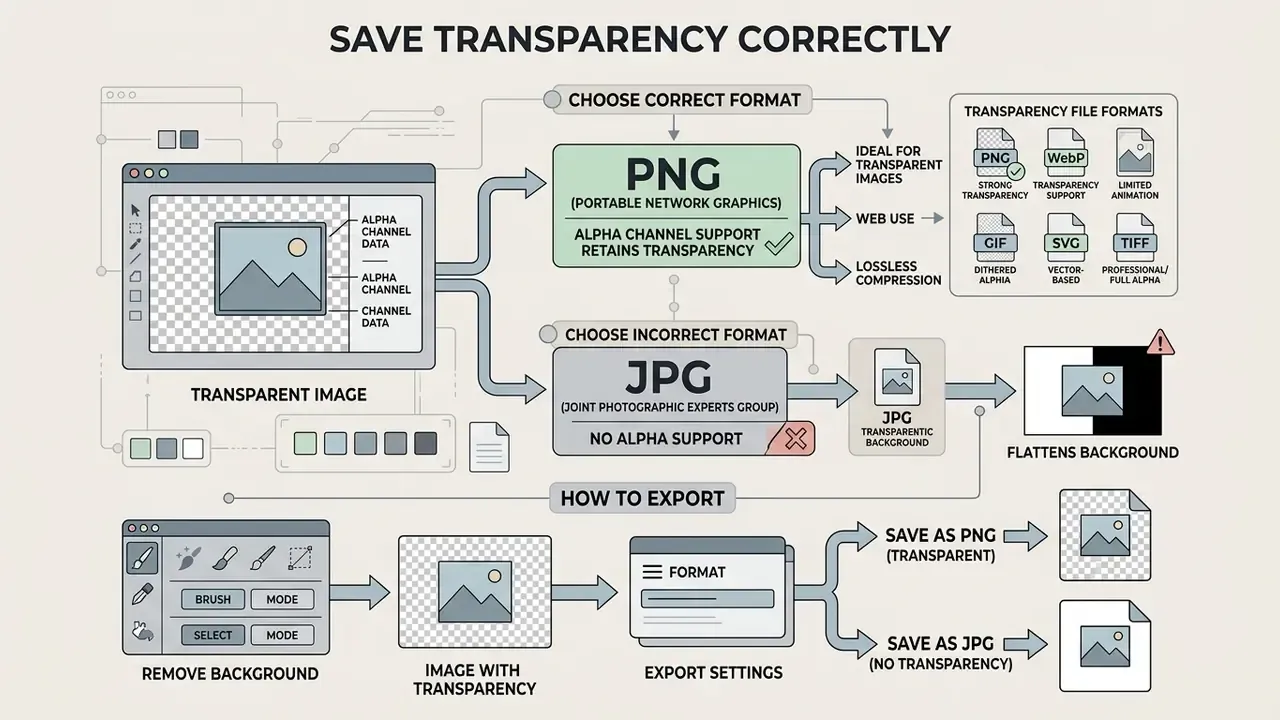
Preserving background transparency depends on choosing a file format engineered to retain alpha channel data through compression and export. An incompatible format permanently flattens transparent pixels into an opaque solid color. There is no recovery step afterwards.
Transparency file formats: PNG vs. WebP, GIF, SVG and TIFF
PNG (ISO/IEC 15948) remains the default for visual cutouts, yet modern web pipelines mix in other containers depending on output requirements.
| Format | Alpha support | Compression | Best use | Watch out for |
|---|---|---|---|---|
| PNG-24/32 | 8-bit alpha (256 opacity levels per pixel); 16-bit variants available | Lossless | High-resolution cutouts, complex edge matting, master files | Largest file sizes; web tool input caps of 10 to 40 MB |
| PNG-8 (indexed) | Transparency via tRNS chunk (per-palette-entry alpha) | Lossless, palette-limited | Flat UI graphics, simple icons | Banding on gradients and soft shadows |
| WebP | Full alpha in both lossy and lossless modes | Lossy and lossless | Web delivery; roughly 25% to 35% smaller than PNG | Legacy print and RIP workflows may reject it |
| GIF | Binary transparency only (0% or 100%) | Lossless, 256 colors | Simple animated overlays | Hard halos on hair, fur and anti-aliased logos |
| SVG | Vector opacity and masks | Text-based, infinitely scalable | Logos, iconography, typography | Not suitable for photographic cutouts |
| TIFF | Alpha channel supported | Lossless (LZW/ZIP) | Print production, archival masters | Very large files; GS1 intake allows exactly one alpha channel |
| JPG/JPEG | None (no alpha component in ISO/IEC 10918-1) | Lossy | Photographic images on opaque backdrops; Amazon main images | Any transparency is flattened to white or black |
Why a PNG file is used for transparent images
A PNG file is the universal web standard for transparent images because it combines lossless compression with dedicated alpha channel architecture. Transparent regions stay transparent across browsers, design software and publishing platforms, with no quality decay on re-save.
The specification adds a second mechanism, the tRNS chunk, which stores either a single transparent color for grayscale and truecolor images or per-entry alpha values for palette images. Without an alpha channel or a tRNS chunk, every pixel is fully opaque. PNG was standardized as ISO/IEC 15948 and as a W3C Recommendation, and the current Third Edition was published on 24 June 2025. The U.S. National Archives (NARA) also lists PNG as an acceptable preservation format, which is why it doubles as an archival master for cutouts.
When publishing assets online, generating a stable host link via how to create a url for an image lets design teams embed transparent PNGs straight into web applications.
How to convert a JPG after removing its background
To convert a standard JPG into a transparent image, import the file into an editor, run background removal, then export the processed result as a PNG. Renaming a file extension from .jpg to .png creates no alpha channel and removes no background pixels. It only changes the label on the box.
The reliable four-step conversion sequence:
- Upload the JPG or JPEG into a background-removal editor.
- Remove the original background. The transparent region is created by the edit, never by the format change.
- Export or download the result as PNG (Adobe Firefly, Canva and Photoroom all offer a direct "transparent PNG" download).
- Verify the output on a non-white background to confirm the PNG really preserved transparency.
When building full interactive web properties, teams often fold these visual assets into layout work by exploring how to create a website with ai to speed up design component deployment.
Choose the best tool to make an image transparent
The right tool depends on whether your project needs high-speed automated processing, fine-grained control over subject edges, or plain browser accessibility with nothing installed. Automated AI engines deliver instant cutouts for high-volume tasks. Full-featured photo editors give precise manual masking for difficult subjects.
| Tool category | Best use case | Edge precision | Processing speed | Transparency support | Data handling and cost signals |
|---|---|---|---|---|---|
| AI background remover | E-commerce product photos, social media posts | High on simple silhouettes; moderate on hair and fur | 0.5 to 5 seconds per image | Exports native PNG with alpha channel | Server-side upload; check retention window (often 1 to 2 hours) and per-image or credit pricing |
| Online photo editor | Logos, graphics, quick creative edits | High with manual brush refinement | 5 to 30 seconds per edit | Full PNG, WebP and canvas export options | Account-linked storage; deletion controlled by user or account removal |
| Browser-local (WebAssembly) tool | Sensitive internal assets, offline work | Moderate to high, model-dependent | Near-instant after model load | PNG with alpha, client-side encode | No upload: image data stays on the device; works offline once loaded |
| Desktop graphic suite | Print production, intricate masks, blurred boundaries | Very high (pixel-level alpha matting) | Variable, hardware-dependent | Complete lossy and lossless alpha support | Local processing; licence or subscription cost, no third-party transfer |
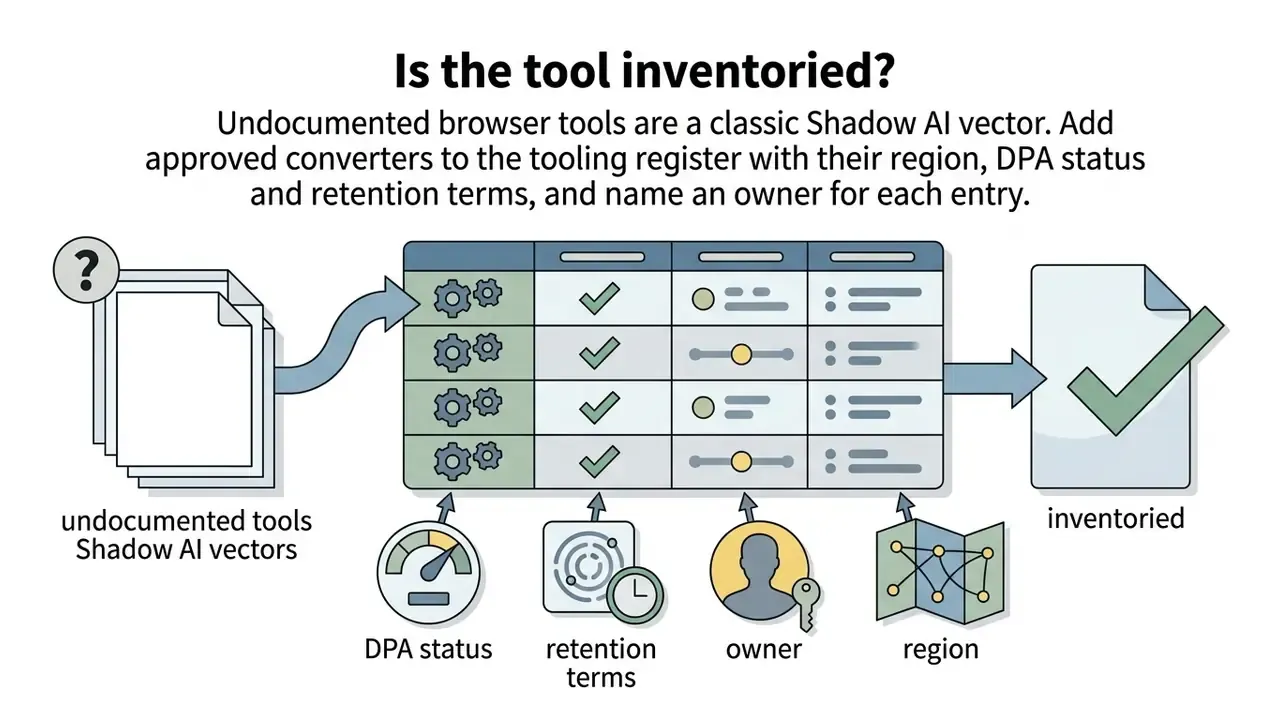
| Batch / API pipeline | Catalog-scale automation | Depends on model; hybrid QA recommended | roughly 450 ms to 2 s per asset at model level | Returns transparent PNG programmatically | Per-call pricing; review DPA, retention and region terms before onboarding |
Short version of that table: automation for volume, manual editing for edges, local processing for anything confidential.
For teams that want a broader survey of browser tooling before committing, our overview of online photo editors maps feature sets, export ceilings and pricing tiers side by side.
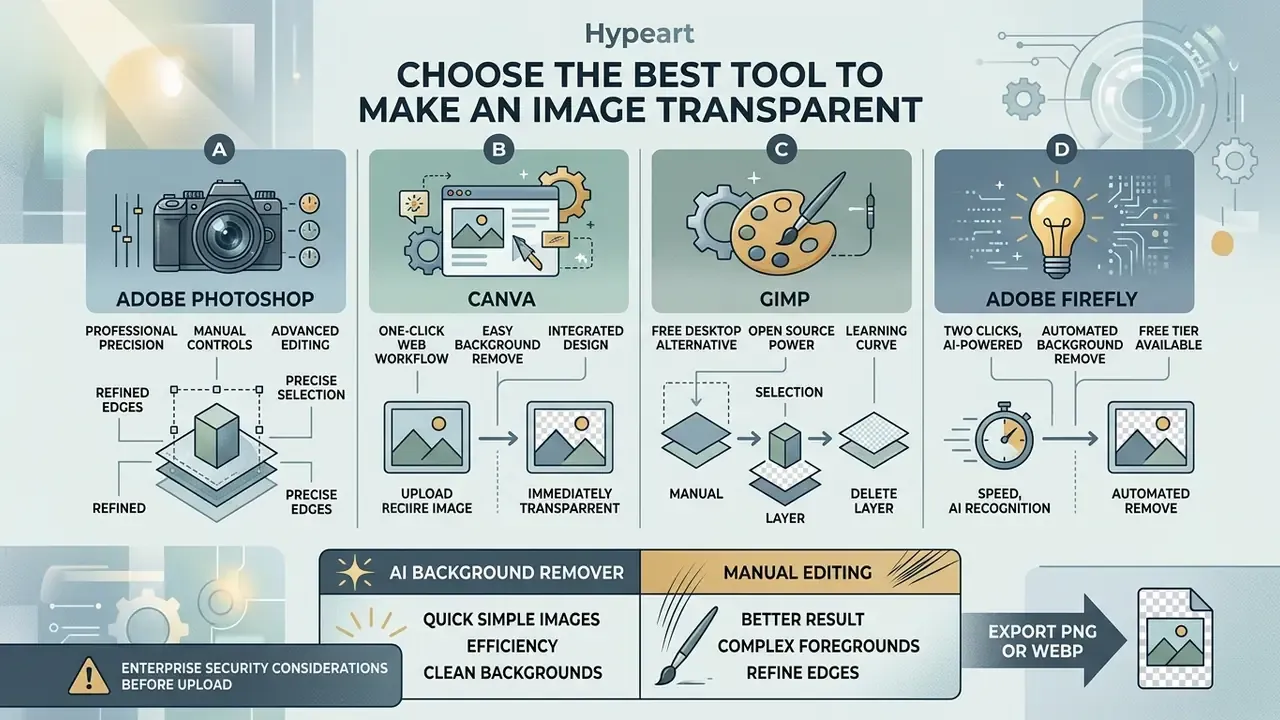
Quick workflows for popular software
Option A: Adobe Photoshop (professional precision)
Option B: Canva (one-click web workflow)
Option C: GIMP (free desktop alternative)
Option D: Adobe Firefly (two clicks, free tier)
- Open the image (
Ctrl+OorCmd+O) and duplicate the background layer (Ctrl+JorCmd+J). - Click Select > Subject in the top menu bar to start AI boundary detection.
- Click Select and Mask… and work the Refine Edge Brush Tool over soft hair or fur; adjust Radius to match the image type so boundary detail survives.
- Set Output to Layer Mask, then choose File > Export > Quick Export as PNG.
- Upload the asset to the editor and select the image on the canvas.
- Click Edit Image on the top toolbar and choose BG Remover.
- Inspect the edges against the checkerboard grid, then click Share > Download.
- Tick the Transparent background (PNG) checkbox before you export. Canva's wider AI toolset is covered in our Canva AI Generator overview.
- Open the file, then run Layer > Transparency > Add Alpha Channel. Skip this and GIMP simply cannot store transparency.
- Use Tools > Selection Tools > Foreground Select, or the Paths tool for logos, to isolate the subject.
- Invert the selection (
Ctrl+I), pressDeleteto clear the background, and apply Select > Feather at 0.5 to 1.5 px. - Choose File > Export As…, type a
.pngextension, and confirm Save color values from transparent pixels is unchecked for clean edges. - Sign in to Firefly with an Adobe ID, hover Image in the Quick Actions sidebar, then click Edit image.
- Upload a JPEG, PNG or WebP file up to 40 MB.
- Select Remove background from the Quick Actions menu.
- Click Download to save the result as a PNG with a transparent background.
When to use an AI background remover
An AI background remover suits large batches of product photos and social graphics with clear subject contrast. Modern segmentation models typically return cutouts in roughly 0.5 to 5 seconds. Photoroom reports around 450 ms at the model level for in-browser inference, while cloud round-trips in third-party reviews land closer to 5 seconds per image. Either way, turnaround for standard catalog assets is fast enough to run inside a daily publishing cycle.
Domain specialization measurably improves results on non-photographic subjects:
A caveat worth repeating in procurement meetings. Vendor-published accuracy figures, for instance the widely quoted "about 95% on people and products", are self-reported marketing claims without an independent, reproducible methodology. Read them as directional, never contractual, and validate on a sample of your own catalog before signing anything.
When manual editing gives a better result
Manual editing in a specialized photo editor becomes necessary with complex logos, semi-transparent glassware or low-contrast boundaries. Manual selection tools such as pen paths and refinement brushes let operators build precise alpha mattes, which prevents edge clipping and kills residual background halos. A shortlist of AI photo editors that expose manual matting controls helps teams keep both speed and precision in one pipeline.
Concrete cases that justify hand work: rebuilding small logo elements by tracing edges with the Pen Tool and nudging anchor points; separating irregular, perforated or lace-like silhouettes; recovering blurred boundaries where motion or shallow depth of field destroyed a crisp contour; and isolating glass or acrylic where the background must stay partially visible through the subject.
For organizations evaluating end-to-end design platforms, comparing features via an AI Media Comparison helps technical leads choose tools that support compliant asset handling and reproducible export standards.
Enterprise security considerations before you upload
The same determinism applies to data handling. Before a free converter enters a corporate workflow, risk and compliance owners should answer four questions.
If the cutout step is wired into an automated agent, apply the same discipline you would apply to any digital worker: a defined owner, an approved role, access limits, a logged trail and a shutdown path. Teams designing that layer can start with how to create ai agents and keep human approval at the publish step.

How to get clean edges on hair, fur, logos and products
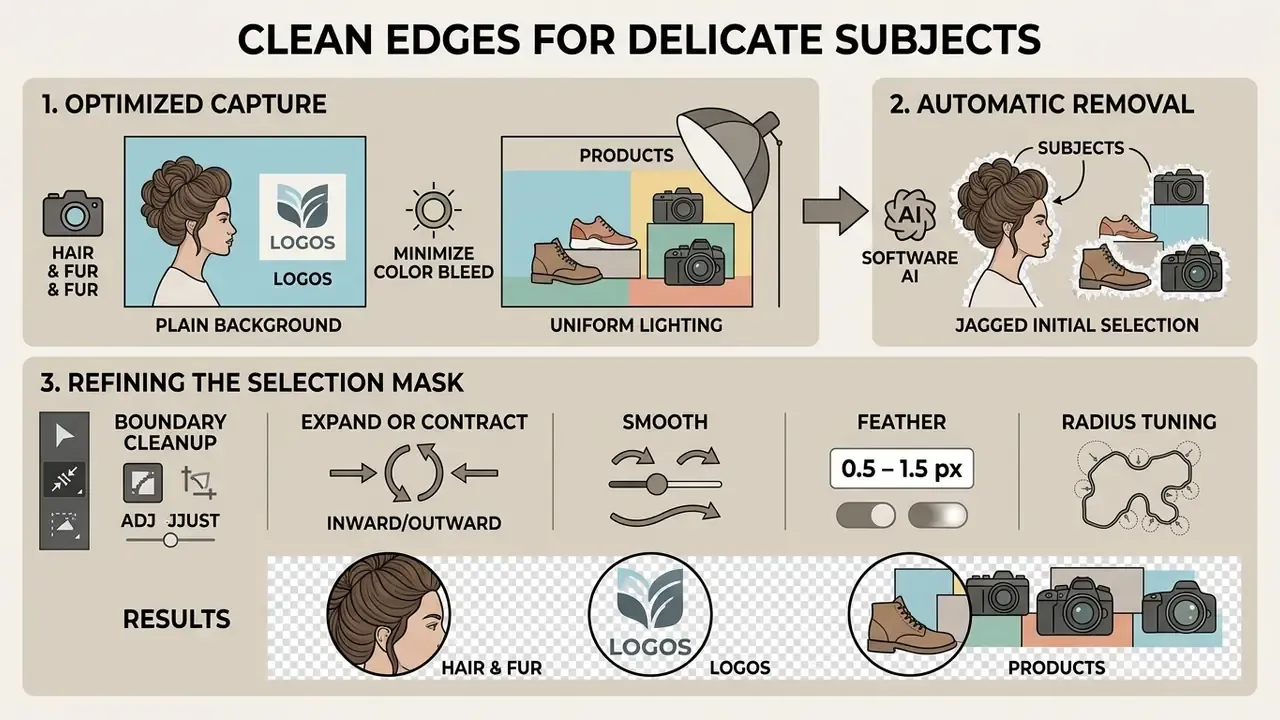
Clean edges around delicate subjects come from two things: minimizing background color bleed during capture, and refining the selection mask after removal. Fine strands of hair, animal fur and detailed logo text need alpha matting techniques rather than hard binary cutouts.
Professional practice treats these subjects as an alpha matte problem, not a cut-out problem. Per-pixel transparency preserves semi-opaque strands, while threshold or magic-wand approaches destroy them. The same logic covers glass and acrylic, where native transparency must survive into an alpha-capable container, and print workflows, where the Ghent Workgroup's transparency best practices flag native transparency as a recurring source of RIP failures.
Prepare product photos on a plain background
| Subject color / material | Recommended shooting backdrop | Colors to avoid (prevents edge bleed) |
|---|---|---|
| Red or warm-tone products | Neutral grey (#808080) or light beige | Red, orange, deep pink |
| Glassware and translucent items | Matte high-contrast black | Textured white or patterned boards |
| White or off-white packaging | Mid-tone cyan or solid grey | Pure white, cream, ivory |
| Dark or black packaging | White or light grey seamless paper | Charcoal, navy, deep brown |
| Hair and fur portraits | Uniform high-luminance backdrop | Multi-tone or cluttered environments |
| Chrome and reflective metal | Light grey with diffused side light | Mirrored or colored surfaces that reflect into edges |
Practical capture rules that shorten editing time later: use a seamless sweep wider than the object so no backdrop edge appears in frame; keep camera, object and tripod level and use grid view to square the frame; dust both product and backdrop before shooting; photograph the smallest items first if you are shooting on paper, which reduces smudges; and keep calibration cards off the object with enough margin for later cropping. Light grey stays the safest neutral fallback when a catalog mixes light and dark goods.
Refine edges after automatic background removal
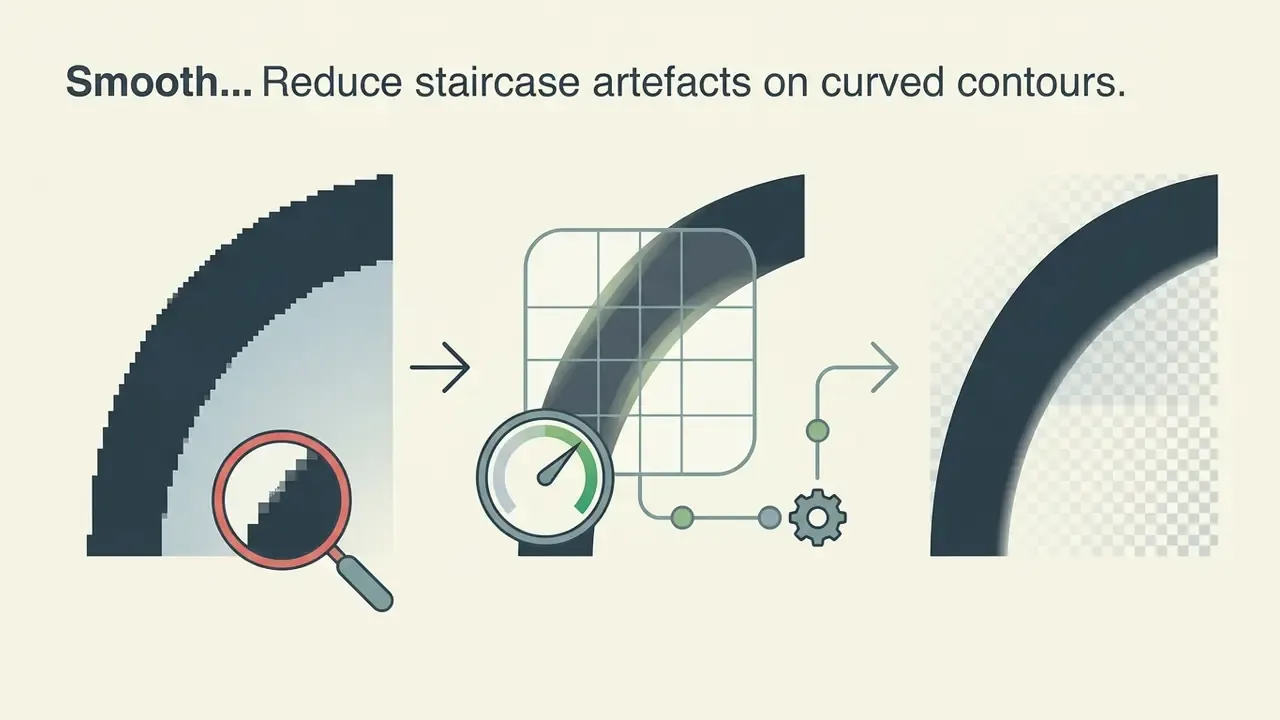
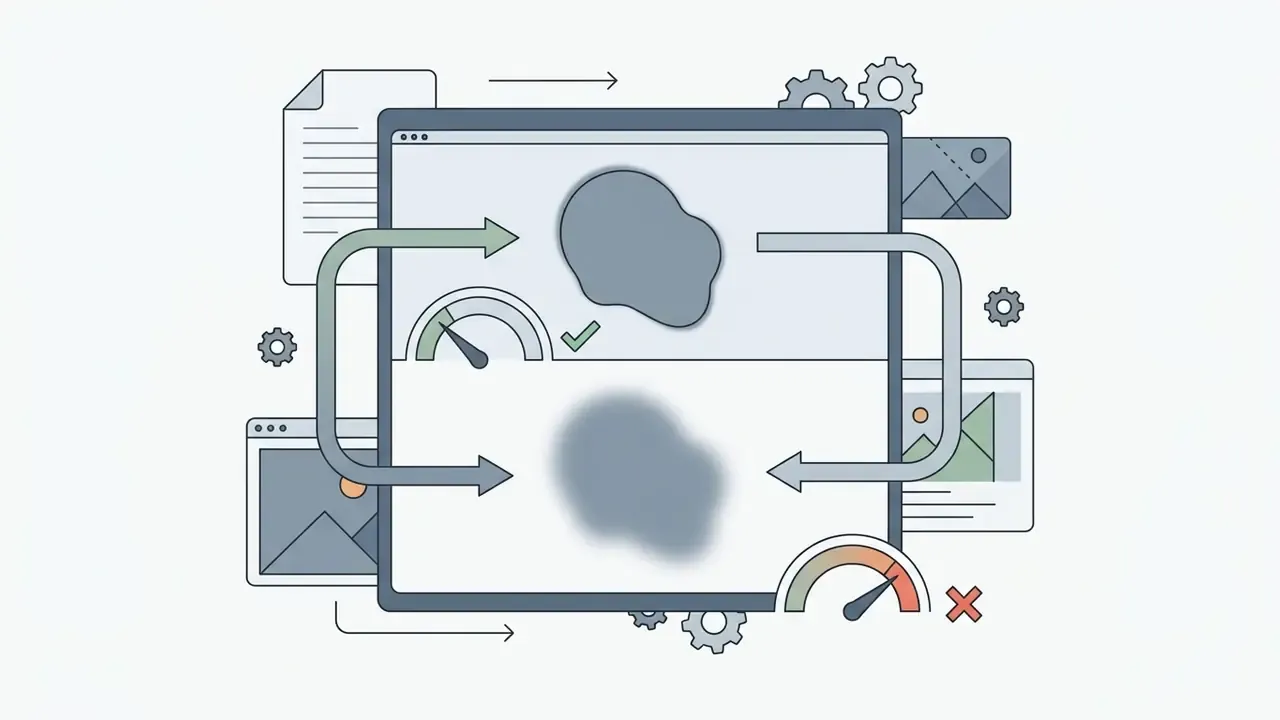
After an automated removal, inspect the subject outline at 100% zoom and correct residual pixels and soft halos. Edge feathering, typically 0.5 to 1.5 pixels, creates a gradual alpha transition zone that smooths jagged boundaries without blurring core detail. Adobe documents feathering as a blur-based transition zone measured in pixels, distinct from anti-aliasing, which reduces jaggedness without the same softening effect.
A working order of operations for edge repair:
One more caution, and it is not pedantry. Be sceptical of headline quality scores attached to these tools:

Post-removal step: adding realism with AI drop shadows
Remove a background completely and subjects can end up looking "floating", especially in lifestyle compositions and marketplace secondary images. To restore spatial realism before final export:
- Define the light source.Position a directional shadow gradient at roughly 45 degrees beneath the contact points, matching the highlight direction already visible on the product.
- Apply soft feathering.Set shadow blur between 12 px and 25 px with opacity held to 20% to 35%, so the shadow grounds the object without reading as a harsh cutout.
- Keep contact shadows tight.Add a second, much smaller and darker shadow right at the base where the object meets the surface. That small detail is what sells physical weight.
- Export a combined alpha asset.Make sure the shadow layer is integrated into the alpha channel mask during PNG export, otherwise the shadow vanishes when the cutout is layered onto a new backdrop.
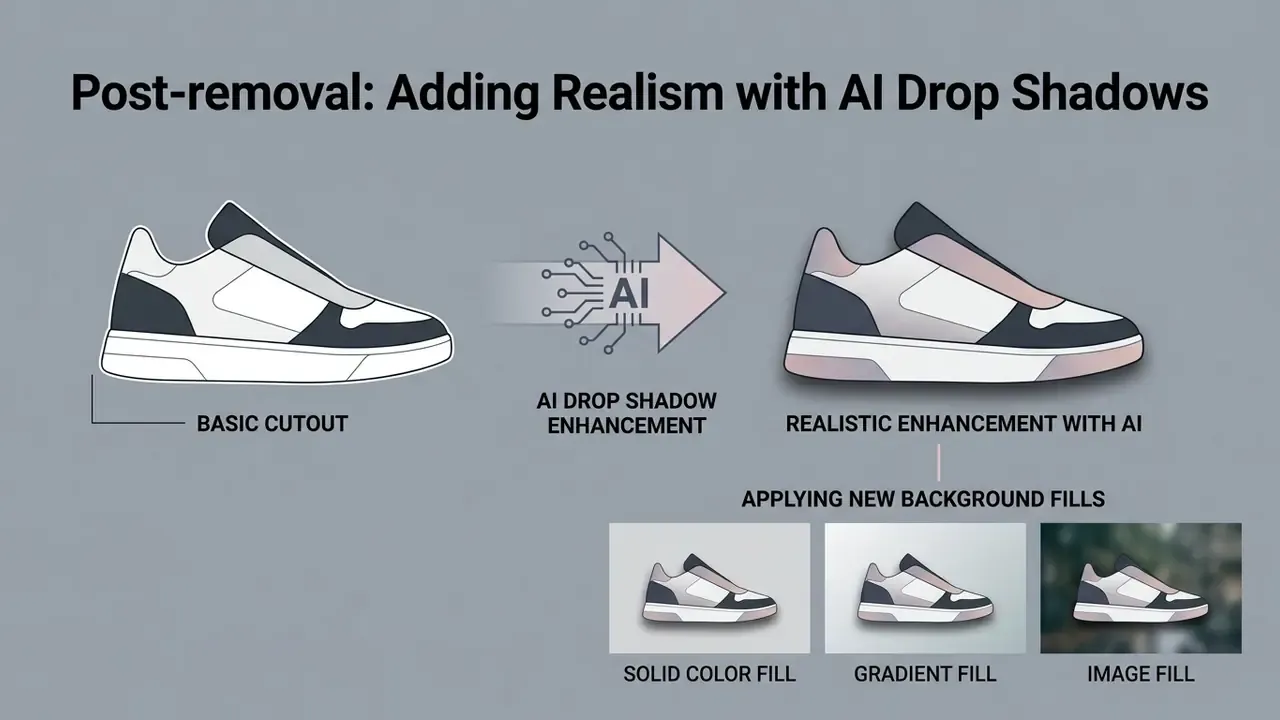
Substituting a new background
Once a subject sits on transparency, replacement backgrounds fall into three fill types, all standard in mainstream editors:
- Solid color fill. Brand color or marketplace-mandated white; the fastest route to a compliant hero image.
- Gradient fill. Linear or radial, with control over direction and blend; useful for banners and story overlays.
- Image fill. A lifestyle photo, studio sweep or generated scene placed on a lower layer. Teams that need extra canvas around the subject before compositing often reach for AI outpainting tools to extend the scene rather than reshoot it.
Use transparent images for products, logos and social media
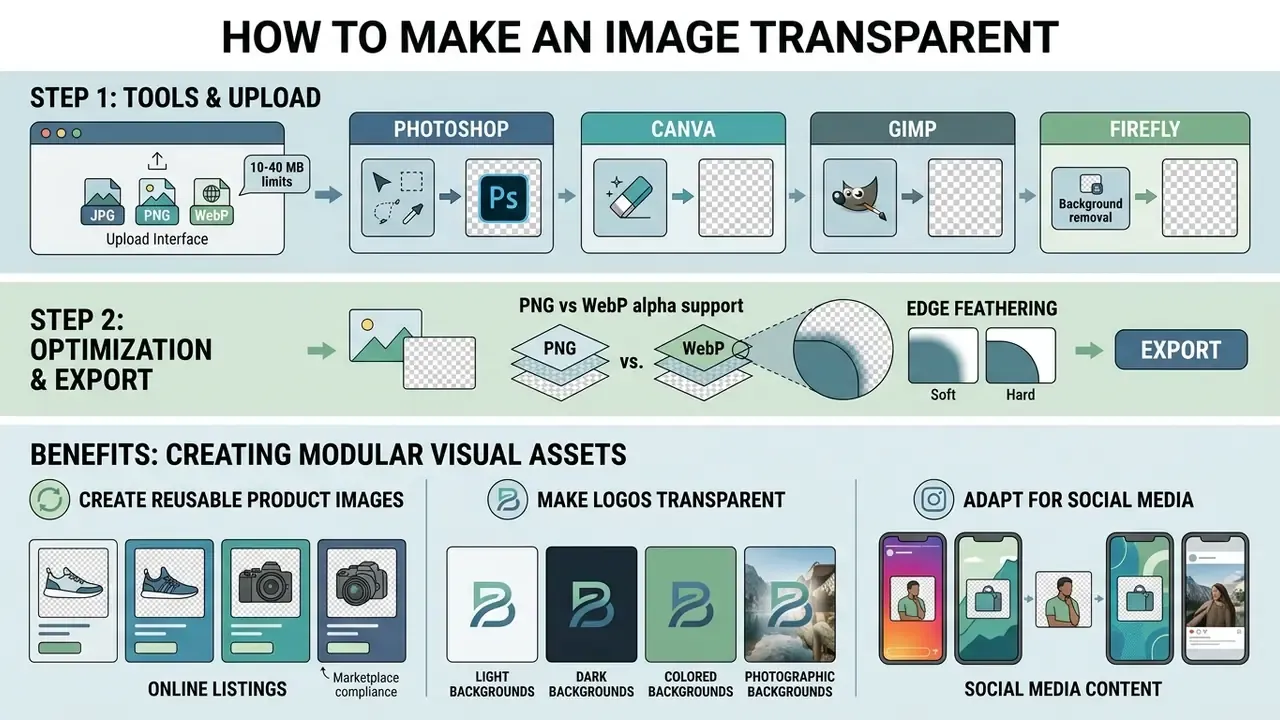
Transparent images work as modular visual assets that drop onto any backdrop, marketing layout or digital storefront. Removing fixed backgrounds keeps visual consistency across brand touchpoints and layout configurations, which is the whole point of building a master file once.
Multi-platform asset deployment. A single transparent PNG master branches into three destinations: a marketplace listing (exported to pure-white JPEG), a branded social story overlay (PNG over a gradient or video layer), and a dark-mode website header (PNG with no white box). One cutout, three compliant outputs, zero reshoots.
Create reusable product images for online listings
Isolated product shots become versatile masters that adapt to different marketplace requirements and seasonal promotional themes. Clean subject isolation also helps downstream machine vision: research on MobileNetV2 leaf image classification showed that removing complex backgrounds improved object classification accuracy by nearly three percentage points.
The benefit is not universal, which matters when you are budgeting a catalog-wide cleanup:
Marketplace compliance note. A transparent PNG is ideal for site design and layered graphics, yet major marketplaces enforce strict background rules for primary images. Amazon requires the main product photo to sit on a pure white background (RGB 255, 255, 255) saved as a JPEG. Use your transparent master to export that white JPEG for Amazon's main slot, and use the PNG directly for secondary images, lifestyle overlays and Etsy or Shopify banners. Etsy and Shopify accept transparent PNGs far more liberally, and several fashion channels, About You among them, actively require transparent PNGs up to 4 MB in a 3:4 ratio.
Data-standard bodies converge on a similar intake profile. GS1's Product Image Specification permits transparent backgrounds provided the PNG is alpha-channel compatible, recommends RGB source files, and allows exactly one alpha channel per asset. Contour products in particular are expected to arrive on transparency. Always verify current category-level rules for each channel before a bulk upload, since requirements shift by platform and by product category.
Make a logo transparent for different backgrounds
A transparent logo prevents the ugly "white box" effect when a mark lands on dark, colored or textured layouts. Exporting brand logos as transparent PNGs keeps vector typography and symbol edges blending cleanly against any color backgrounds, without blocking the design elements underneath. Brand teams that still need to produce or refresh a mark can start with AI logo generators and export straight to transparency.
A compliant logo set holds at least three variants, because transparency alone does not guarantee legibility:

Deliver digital logo files as PNG (raster), SVG or PDF (vector) with no white matte baked into the edges. Never distribute JPG for overlay use, because the format has no alpha channel and a white rectangle becomes unavoidable.
For enterprise teams managing commercial media libraries, reviewing AI Media Commercial-Use frameworks helps confirm that generated assets comply with licensing and brand governance guidelines.
FAQ about making an image transparent
Can I make an image transparent for free?
Yes. Plenty of browser-based applications and editing suites offer free background removal with basic PNG export. Some free platforms cap maximum export resolution or daily processing volume, but standard web-resolution cutouts cost nothing. Adobe Firefly grants free daily generations with an Adobe account, Canva and Photoroom both allow free transparent PNG downloads, Erase.bg advertises HD output up to 10,000 x 10,000 px, and WatermarkRemover.io caps output at 5,000 x 5,000 px. Tools such as TinyWow meter usage through daily free credits instead. Our comparison of free photo editors details where watermarks, resolution caps and upgrade prompts actually appear. To analyze processing costs and computational overhead for large-scale media operations, developers reference dedicated calculators for infrastructure estimation.
Can I make an image transparent without installing software?
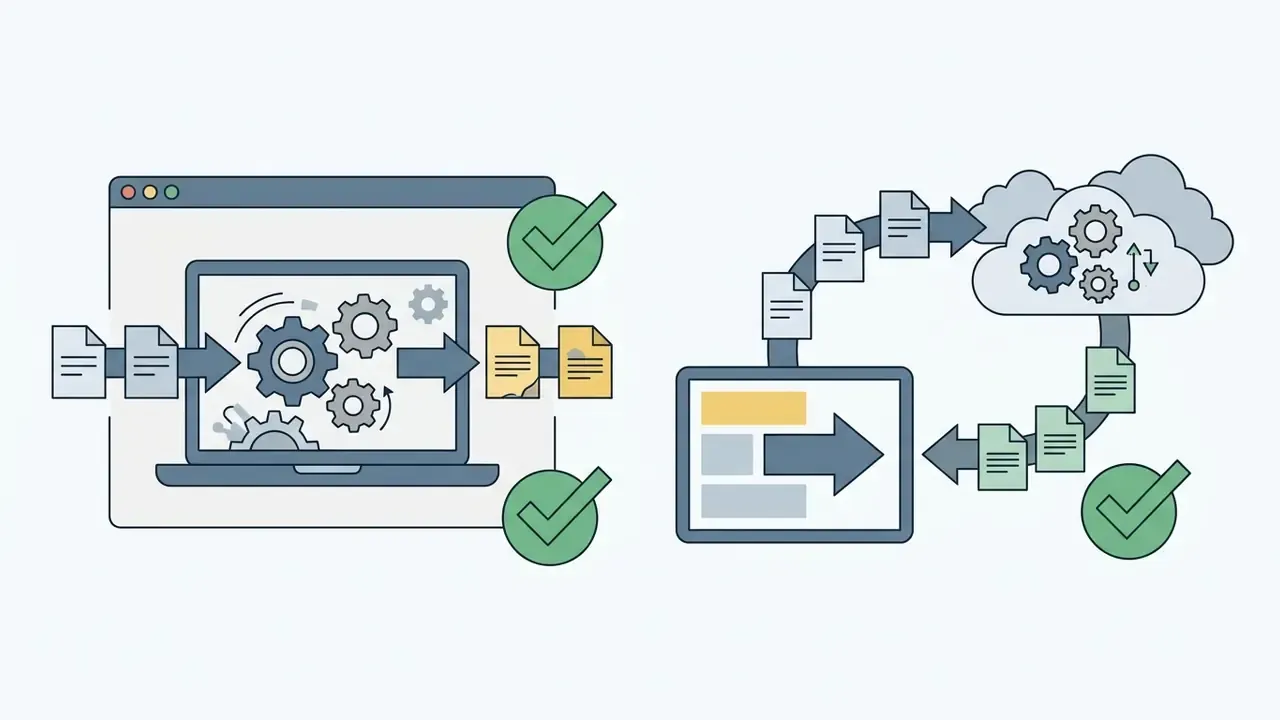
Yes. Modern web applications run AI background removal directly inside the browser, no local install required. These tools use cloud-based neural networks or client-side WebAssembly models to process uploaded images on the spot. Client-side implementations carry three practical advantages: image data never leaves the device, there is no network round-trip so results feel instant, and some models keep working offline once loaded. For broader web editing workflows, reviewing how to change the background of a picture offers additional techniques for swapping backdrops after the initial removal.
Does background removal keep fine details like hair and fur intact?
Modern segmentation models trace fine edges automatically, including hair, flyaways, fur and semi-transparent materials, but only when the source frame provides contrast. For the cleanest result, shoot against a uniform high-luminance backdrop, refine the mask with a transition brush, then apply feathering of 0.5 to 1.5 pixels. Below 0.5 px the cutout reads as a hard paste with visible staircase artefacts; above roughly 2 px individual strands dissolve into a soft grey fringe. Increase the Select and Mask radius selectively over hair regions while leaving hard product contours alone, and always audit the result over both black and white layers, because halos are invisible on white.
Can a JPG be transparent, and does renaming it help?
No. Standard JPG files cannot store transparency, since ISO/IEC 10918-1 defines no alpha component. The format's advantages are smaller file size and universal compatibility on opaque images. Changing the extension from .jpg to .png alters the filename only: it creates no alpha channel and removes no pixels. Remove the background in an editor, then export as PNG or WebP.
What happens to images uploaded to an online background tool?
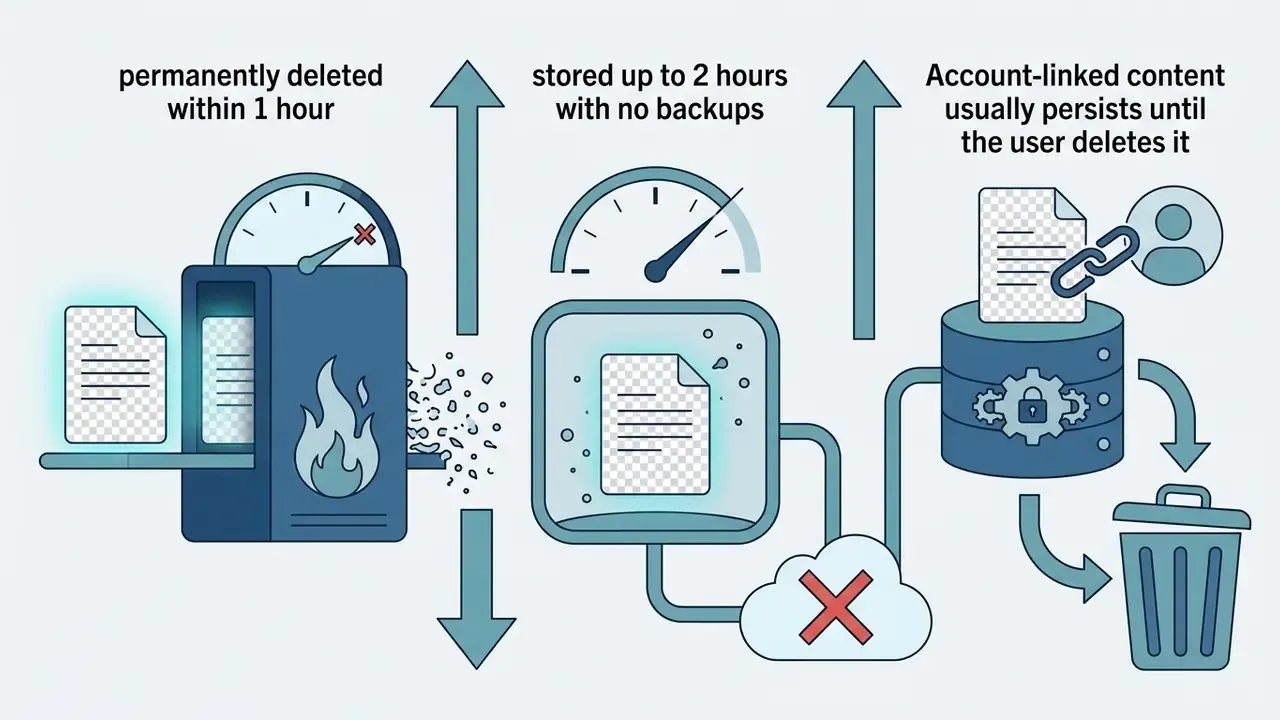
Reputable online editing tools process uploads over encrypted connections and keep files only as long as the removal requires. Standard privacy policies usually state that non-account uploads are permanently deleted from temporary processing servers within 1 to 2 hours. Published examples span that range: Imagitool states uploads are processed without human access and permanently deleted within 1 hour, while FreePDFEditor.io stores uploaded and output files for up to 2 hours with no backups. Account-linked content behaves differently. With Google services, for instance, deletion is user-initiated through activity controls, individual product deletion or full account deletion.
«Privacy-preserving processing of outsourced data is technically achievable, yet consumer tools rarely publish verified security protocols.» (TAMMIE: Privacy-Preserving Content-Based Medical Image Retrieval, IEEE Transactions on Services Computing, 2022) Practical rule for regulated teams: treat any free consumer converter as a public channel. Do not upload identity documents, customer PII, banking-secrecy material, medical imagery or unreleased product designs. Route those assets through a contracted API with a signed data-processing agreement, or use a browser-local tool that runs inference on-device with no upload at all. Disclaimer: this information is general in nature and does not substitute for professional legal, compliance or data-protection advice. Verify each vendor's current terms and your organization's internal policy before processing regulated or confidential material. Technical leads evaluating automated media pipelines consult AI Media API Guides to review data security protocols and server retention standards.
Can I add a new background after making an image transparent?
Yes. Once the subject sits on a transparent background, you can insert any solid color, gradient or new background image behind the subject layer. Graphic editors let you place new visual elements on lower canvas layers while the transparent cutout stays on top. Generative tools go further and build a described scene from a prompt, which helps when you need lifestyle variants of one studio cutout. Add a grounding shadow afterwards so the composite does not look pasted. Organizations evaluating computational performance across segmentation models rely on AI Media Benchmarks to measure speed and boundary precision.
Is a transparent background accepted by marketplaces like Amazon or Etsy?
Partially. Many marketplaces accept transparent PNGs for secondary and lifestyle images, but primary-image rules vary by platform and category. Amazon's main slot requires a pure white (RGB 255, 255, 255) background delivered as JPEG. Etsy and Shopify are considerably more permissive, and some fashion channels mandate transparent PNGs outright. The reliable workflow is one transparent master file plus per-channel exports: white JPEG for Amazon's hero slot, transparent PNG everywhere else.
Which format should I publish: PNG or WebP?
Publish PNG as the archival master and WebP as the web delivery format wherever your stack supports it. WebP keeps full alpha in both lossy and lossless modes while cutting file weight by roughly 25% to 35% against PNG, which helps Core Web Vitals on image-heavy category pages. Keep PNG for print hand-offs, marketplace intake forms that whitelist only PNG or TIFF, and long-term archives, since NARA recognizes PNG as a preservation-safe format.
Appendix A: troubleshooting common transparency failures
Most "the transparency disappeared" tickets trace back to a handful of causes. This table is the quick triage sheet we keep next to the asset pipeline.
| Symptom | Likely cause | Fix |
|---|---|---|
| Downloaded file shows a white box on a dark layer | Exported as JPG, or the editor flattened the composite | Re-export as PNG or WebP; confirm the alpha channel exists in the file, not just the preview |
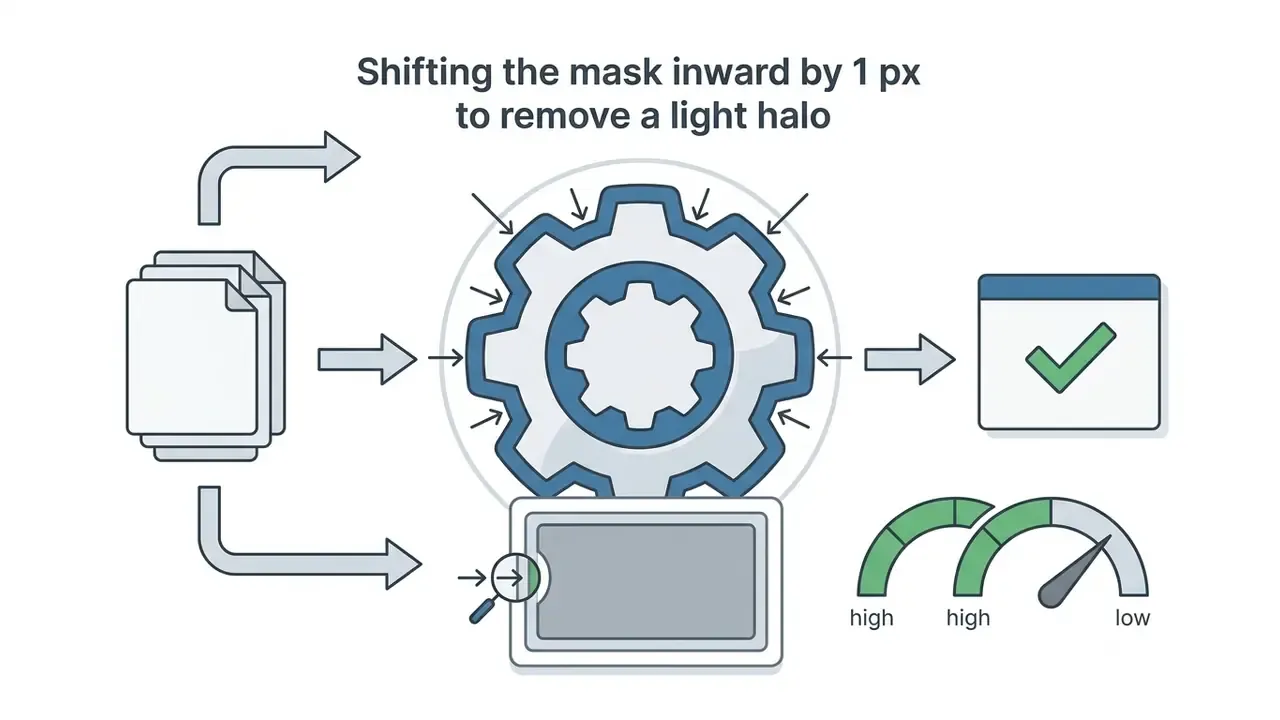
| Grey or light fringe around hair and fur | Background color bleed plus a hard binary mask | Contract the mask by 1 px, then feather 0.5 to 1.5 px; re-shoot on a contrasting backdrop when possible |
| Shadow vanishes after compositing | Shadow layer excluded from the alpha mask at export | Merge the shadow into the exported alpha asset before download |
| Marketplace rejects the upload | Channel requires white JPEG or a fixed aspect ratio | Export a white-background JPEG for the hero slot; keep the PNG master for secondary images |
| Banding on gradients and soft shadows | PNG-8 indexed palette with tRNS transparency | Re-export as PNG-24/32 or WebP with full 8-bit alpha |
| Print RIP drops or misrenders the cutout | Native transparency unsupported downstream | Supply TIFF with a single alpha channel, or flatten against the approved print background |
Two editorial clarifications that belong here rather than in the body. First, ICAO Portrait Quality guidance governs identity photography, so we cite it only for the optical principle of background uniformity and pair it with product-specific capture advice. Second, the 0.5 to 5 second removal range is a descriptive benchmark drawn from vendor statements and third-party reviews; no reproducible public methodology backs it, which is why peer-reviewed accuracy data sits alongside it.