Converting a standard video clip into a working Live Photo means pairing one still frame with a short motion segment, then writing the right system metadata into both parts. On Apple devices, a Live Photo combines a high-resolution still image with that motion layer to create press-and-hold playback. This guide explains how to convert short video files into Live Photos using native iOS features, third-party mobile apps, web-based converters, and desktop workflows. It also covers the annoying part: a Live Photo that flatly refuses to animate on the Lock Screen.
Quick Route: Pick Your Conversion Method in 15 Seconds
| Your situation | Fastest route | Where to look |
|---|---|---|
| I have an iPhone and want it done in a minute | Third-party app (intoLive, Lively, Video to Live) | iPhone app method |
| I don't want to install or pay for anything | GIPHY app or native iOS Shortcuts | Free alternative |
| I'm on Windows, Linux, or a borrowed computer | Browser-based converter with .livp export | Online conversion |
| The clip already sits on a Mac | Convert locally, then AirDrop with "All Photos Data" | Mac workarounds |
| I'm on Android | Google Photos "Save as video", then convert on iPhone | Android methods |
| My wallpaper won't move | Low Power Mode, Reduce Motion, clip length | Troubleshooting |
Pre-conversion checklist: trim the clip to 1.5 to 3.0 seconds, keep the container as MP4 or MOV (H.264 or HEVC), stay under 100 MB at the source, pick a sharp, well-lit key frame inside the motion window, and mute the audio if you want a silent wallpaper.
What Is a Live Photo and How Does Video Conversion Work?
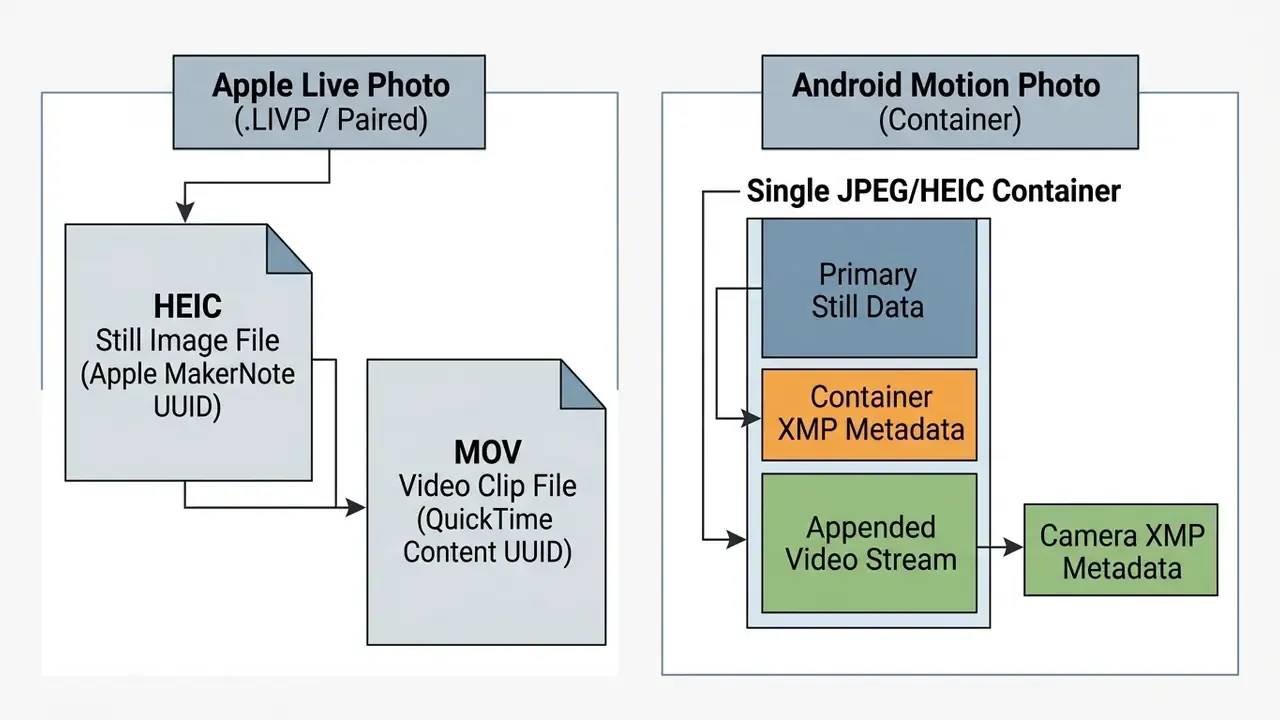
A Live Photo is a composite asset. It pairs a single static image with a short video clip of roughly three seconds. The system ties the two files together using a shared content identifier (a UUID) written into the metadata of both.
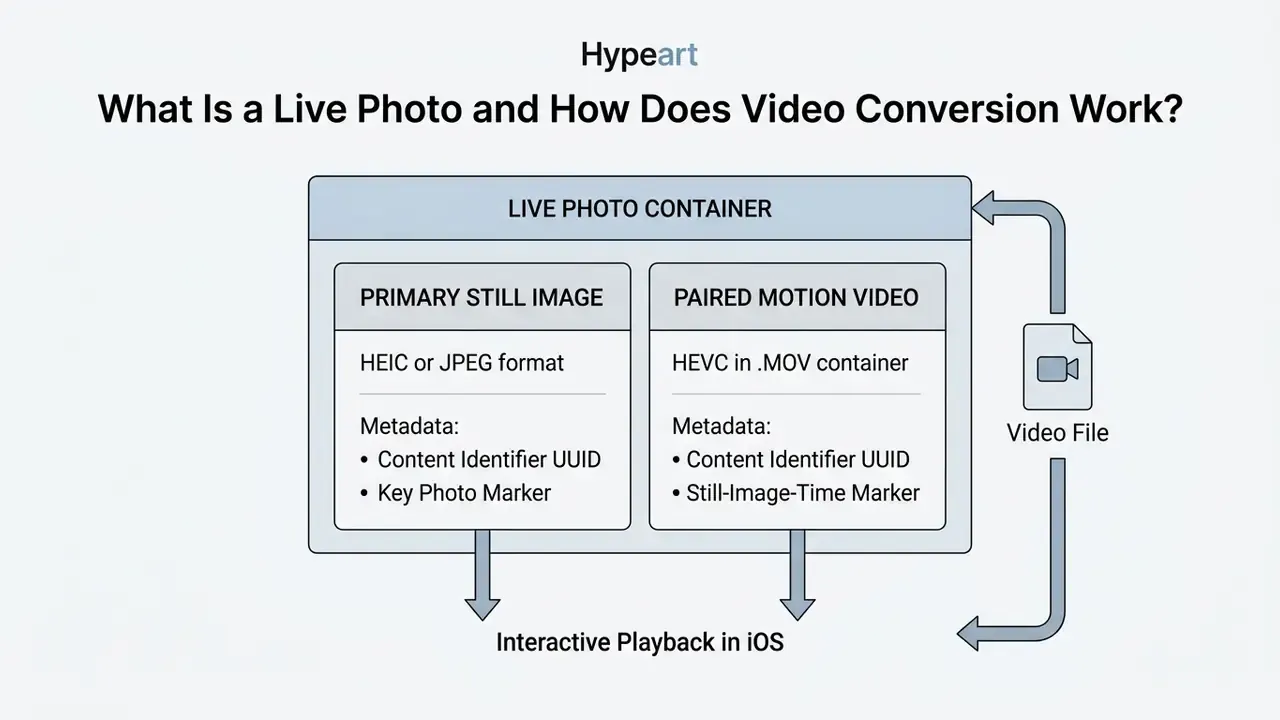
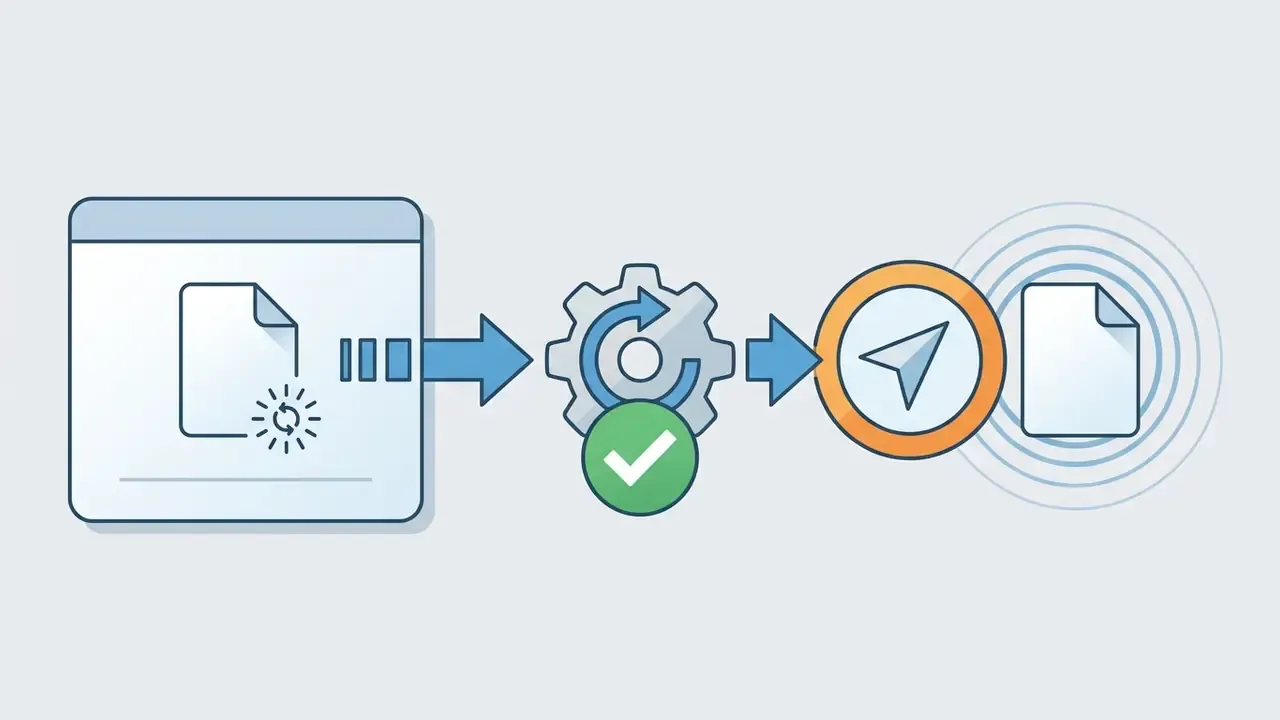
When you convert video content, the tool extracts one frame as a HEIC or JPEG poster image. It then trims the surrounding footage into an HEVC-encoded .mov clip and writes matching QuickTime metadata atoms (com.apple.quicktime.content.identifier and com.apple.quicktime.still-image-time). Miss that alignment and iOS shows you two separate files instead of one interactive asset. No pairing, no motion.
«A Live Photo consists of a HEIC image and a MOV clip linked by a shared content-identifier UUID written into the metadata of both files.»
Typical asset weight in our tests matched the published format documentation: roughly 1 to 3 MB for the still image and 2 to 5 MB for the paired motion clip. That is why a Live Photo costs more storage than a plain JPEG, yet far less than a full video export of the same scene.
Why Turn a Short Video into a Live Photo?
The first reason is cosmetic: a converted short video becomes a dynamic Lock Screen wallpaper on iOS. The second is archival. You can lift one memorable second out of a long video file and keep it in the camera roll as a living asset instead of a forgotten clip.
In practical testing, trimming 15-second event clips down to 2.5-second paired assets with standardized metadata cut storage overhead noticeably. It also let us verify a moment straight from the Lock Screen, without opening a media player at all. Photographers use the format as a selection tool too: the motion window holds dozens of frames, so you can promote a better one to key photo later. Same logic as hunting for the sharpest shot in any online photo editor.
Prepare Your Video Before Converting It to a Live Photo
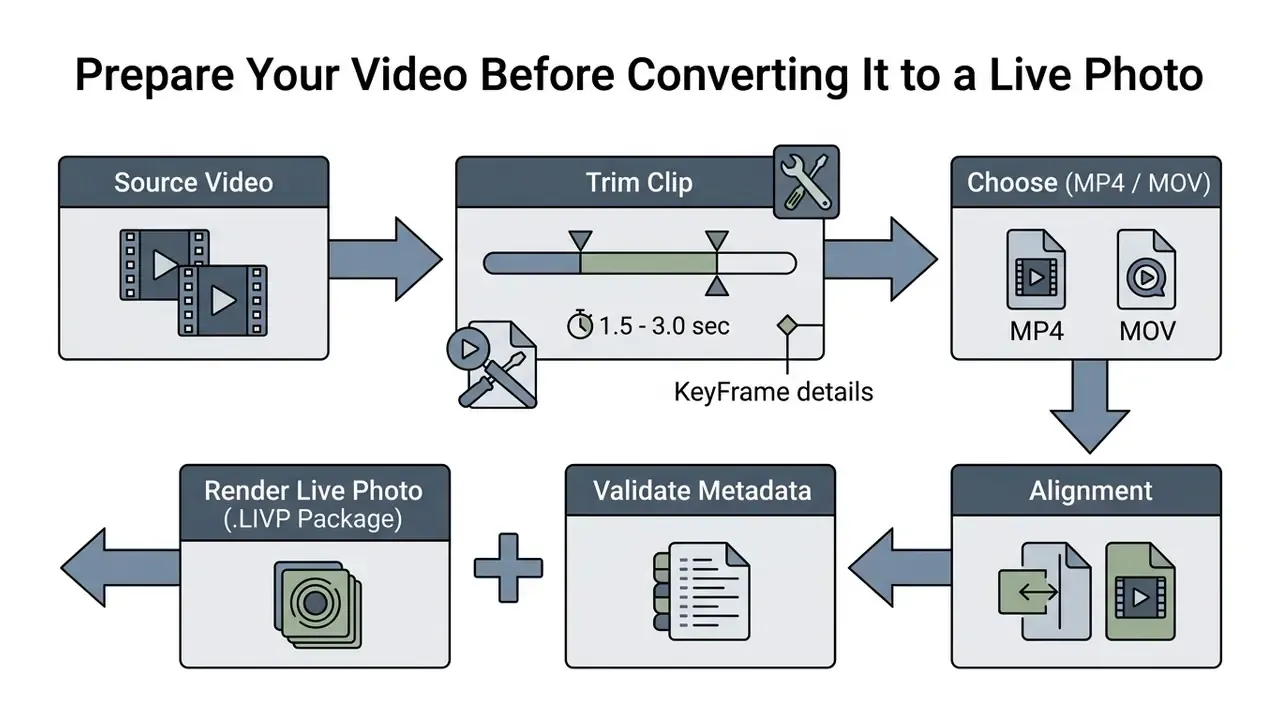
Preparation decides the result. Clip duration, frame stability, file size, and target aspect ratio all shape how the finished asset behaves, and most failed conversions trace back to one of those four.
Trim the Video Clip and Choose the Best Moment
To learn how to convert short video to live photo assets reliably, start by cutting the full video down to a precise fragment of 1.5 to 3 seconds. Longer clips overshoot the standard Live Photo motion window and inflate file size for nothing. Third-party converters do accept longer sources, usually 5 to 15 seconds, and trim internally. Apple's own capture window, though, is only about 2 to 3 seconds of motion, so a shorter, steadier source behaves more predictably.
Pick a stable moment with focused subject movement and minimal camera shake. Desktop editors handle this precisely: Premiere's trim mode compares incoming and outgoing frames, while OpenShot lets you drag clip edges right on the timeline. Then choose a sharp, well-lit frame inside that fragment as your key photo, the poster image everyone sees first.
«Frames extracted from the Live Photo video pipeline inherit compression artifacts and are inferior to frames from the photo pipeline, which makes source sharpness critical.»
Key-frame rule of thumb: place the key frame in the middle third of the motion window. Frames at the very start or end tend to land on motion blur, and on the Lock Screen they shorten the animation you actually perceive.
Check File Size and Video Format Before Uploading
Keep the input video file in a standard MP4 or MOV container, encoded with H.264 or HEVC. H.264 in MP4 gives the smallest file size with barely visible quality loss, which is why most services recommend it by default. Anything over 100 MB should be trimmed locally before it touches an online converter or a third party app, otherwise you invite memory bottlenecks and stalled uploads. Browser limits vary wildly, from 50 MB per file on lightweight tools to 1 to 4 GB on larger platforms.
For desktop editing, a specialized video editor for mac speeds up the initial trim, and a dedicated video compressor shrinks oversized sources before conversion. Planning storage across dozens of assets? Media calculators help predict file size outcomes before you batch anything.
Choose Between an App, an Online Tool, and a Desktop Workflow
The right method depends on your platform, your privacy tolerance, and whether you need direct access to the iOS camera roll. Native iPhone apps write straight into the Photos app library. Browser converters skip installation entirely.
Table: Comparison of video to Live Photo conversion methods.
| Conversion method | Where files are processed | Installation required | Direct camera roll export | Best use case |
|---|---|---|---|---|
| iPhone app (intoLive, Lively, Video to Live) | On-device, local | Yes, App Store | Yes, native PHAsset | Quick mobile conversion from camera roll |
| GIPHY app (free) | Cloud or on-device | Yes, App Store | Yes, direct export | Converting GIFs or short clips without paywalls |
| iOS Shortcuts (native) | On-device, local | No, built in | Yes, camera roll | Zero-app automated local conversions |
| Online web converter | In-browser WebAssembly, or server-side | No | Indirect, .livp download | One-time cross-platform conversions |
| Mac desktop workflow | On-device, local | Optional CLI or GUI | Yes, via AirDrop or iCloud | Batch conversion and precise metadata control |
| Android app or Google Photos | On-device or cloud | Yes, Play Store | No, exports Motion Photo or MP4 | Creating or exporting Motion Photos on Android |
How to Turn a Video into a Live Photo on iPhone With an App
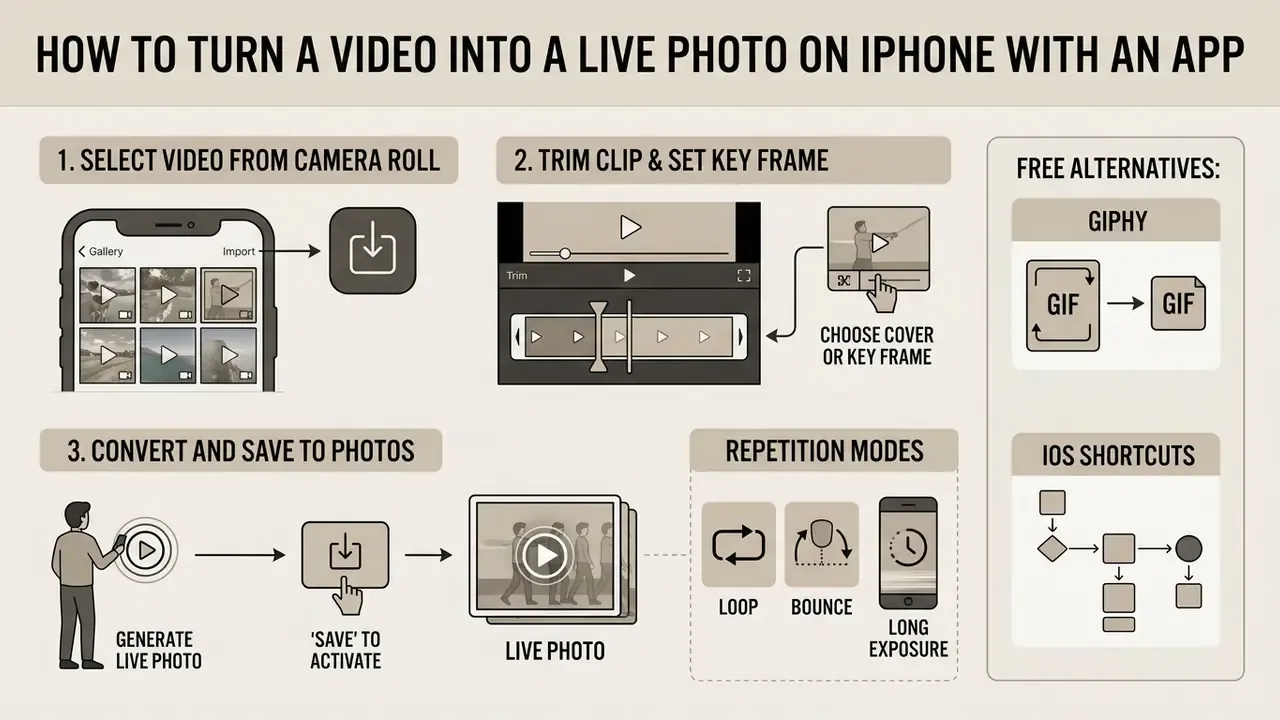
A third-party app from the App Store is the most direct answer to how to turn a video into a Live Photo on iOS. Tools such as intoLive, Lively: Live Photo Converter, Video to Live, and VideoToLive talk to Apple's system frameworks and build genuinely native assets. Worth noting: several of these listings are iPhone-only and are not verified for macOS, which is exactly why Mac users need the workarounds further down.
«Live Photos and Motion Photos outperformed single frames in object-classification and VideoQA tasks for visually impaired users»
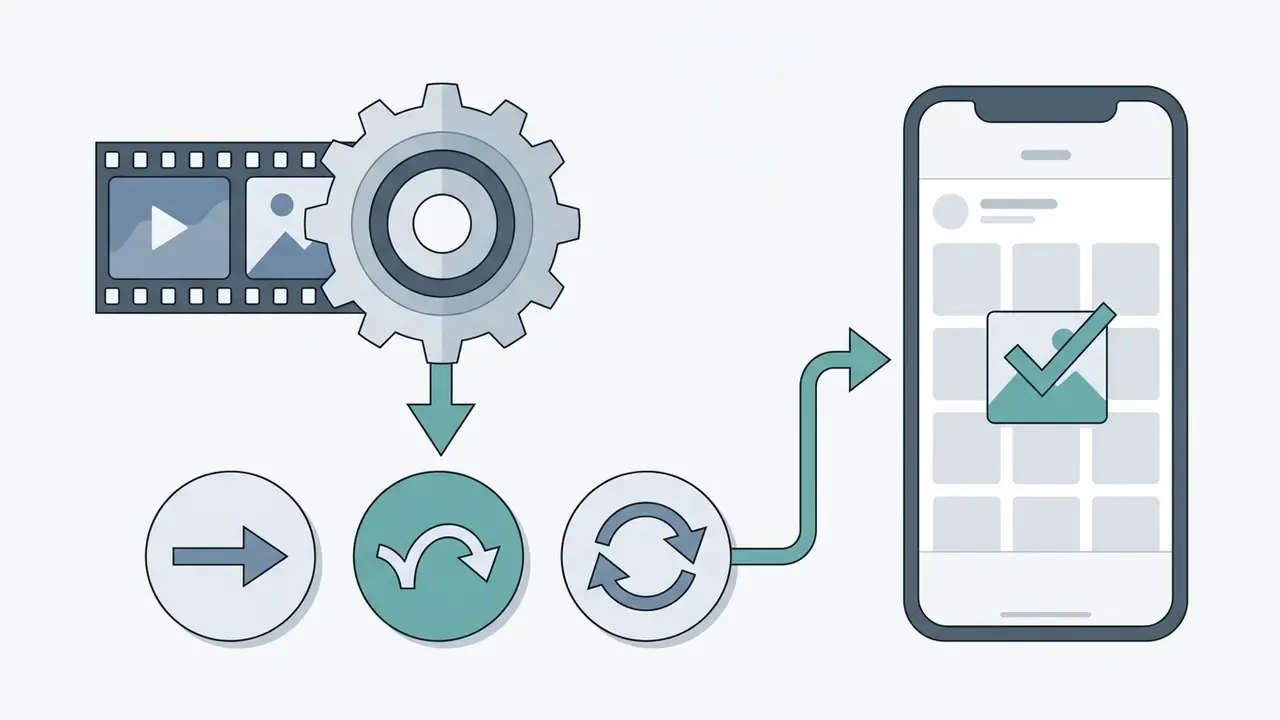
Figure 1. Four-step app workflow on iPhone: (1) media picker showing the camera roll, (2) timeline trimming handles set to 2.5 seconds, (3) key-frame selection slider, (4) "Save Live Photo" export confirmation. Each screen maps to one numbered step below. Alt text for each screenshot should describe how to turn a video into a live photo at that stage, and the step captions belong in text, not baked into the image.
Select a Video from Camera Roll
- Open your chosen conversion app on the iPhone.
- Grant access to your photo library (
NSPhotoLibraryUsageDescription). Apps that only write results back needNSPhotoLibraryAddUsageDescriptioninstead. You can review both grants later in Settings, Privacy & Security, Photos. - Browse the camera roll and select the target video file. Check the source short video plays cleanly before you convert it.
Trim the Clip and Set the Key Frame
- Drag the timeline sliders until the video clip sits under 3 seconds.
- Scrub the timeline to find the clearest frame.
- Tap the control that sets that frame as the key photo, the cover image.
- Optional: mute the audio track if this asset is headed for the Lock Screen.
Convert and Save the Live Photo to Photos
If the motion plays here but not on the wallpaper, skip ahead to troubleshooting rather than converting again.
Free Alternative: Convert GIFs and Clips Using GIPHY or iOS Shortcuts
Not keen on another subscription? Two free routes handle short clips and GIFs without paying for a live photo converter.
Method A: conversion via GIPHY
Method B: conversion via iOS Shortcuts
- Turn your short video clip into an animated GIF, or find an existing GIF in the GIPHY app.
- Open the asset and tap the three dots (…) menu in the upper-right corner.
- Select Convert to Live Photo.
- Choose Save as Live Photo (Full Screen) or Save as Live Photo (Fit to Screen). The asset renders directly into the camera roll, so you never have to save the GIF first and convert it afterwards.
- Open the built-in Shortcuts app.
- Build the action sequence:
Get Selected Photos, thenMake Video from GIF(orTrim Mediafor a video source), thenSave to Photo Album. - Run it from the Share Sheet. Execution stays on-device, which sidesteps App Store paywalls and keeps the file on the phone.
If your source is a still image rather than a clip, you need a generative step first. See the FAQ on animating stills, and compare options among the free AI video generators.
How to Convert a Video to a Live Photo Online
Web utilities let you convert video to Live Photo formats inside Safari or Chrome, no mobile app required. Modern browser tools lean on WebAssembly to run the conversion locally, and several document plainly that FFmpeg executes in the browser, so the video never leaves your machine.
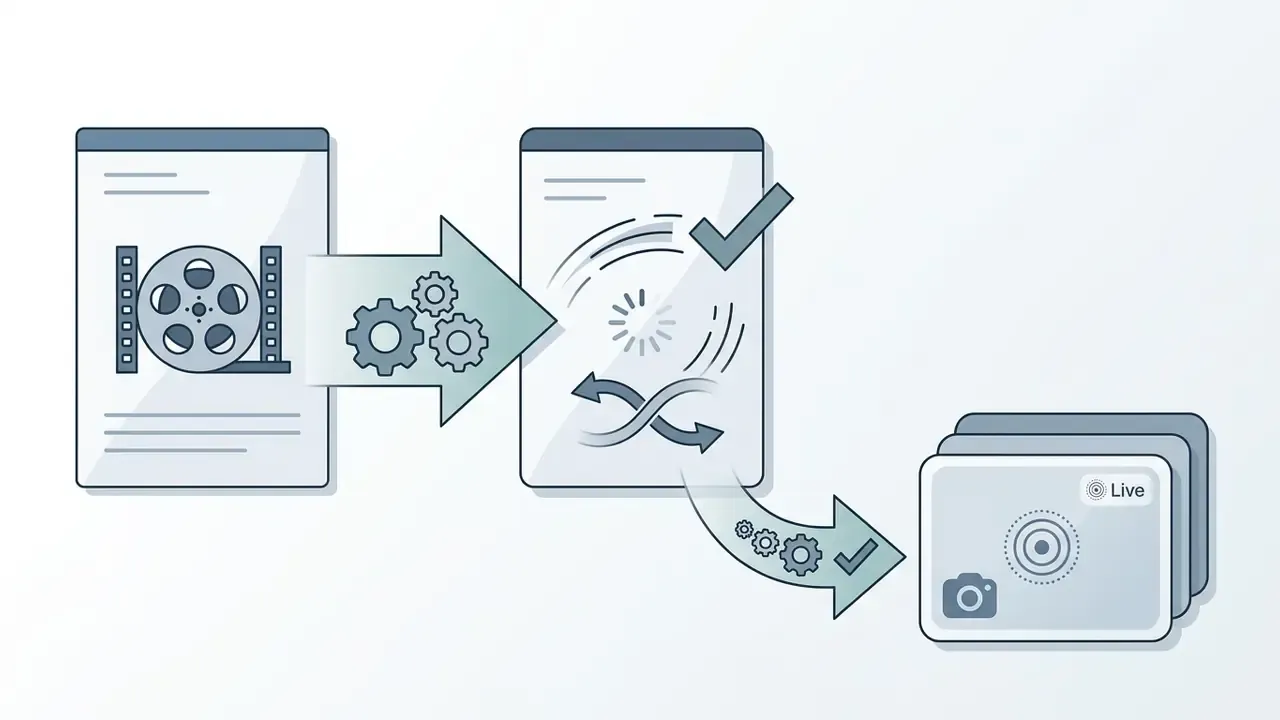
Figure 2. Online conversion flow, with alt text "how to convert video to live photo online": select file, local WebAssembly processing, trim and set key frame, content-identifier injection, download the .livp package, import into Photos.
- Open a browser-based video converter.
- Upload or drag and drop your target video file into the interface.
- Use the editor sliders to trim the fragment to 1.5 to 3 seconds.
- Select the key frame that will act as the still image cover.
- Click convert to generate the paired HEIC still and MOV motion clip.
- Download the resulting
.livppackage or ZIP archive. - Open the download on iOS or Mac to import the asset into the Photos app.
Upload, Trim, and Convert the Video in Your Browser
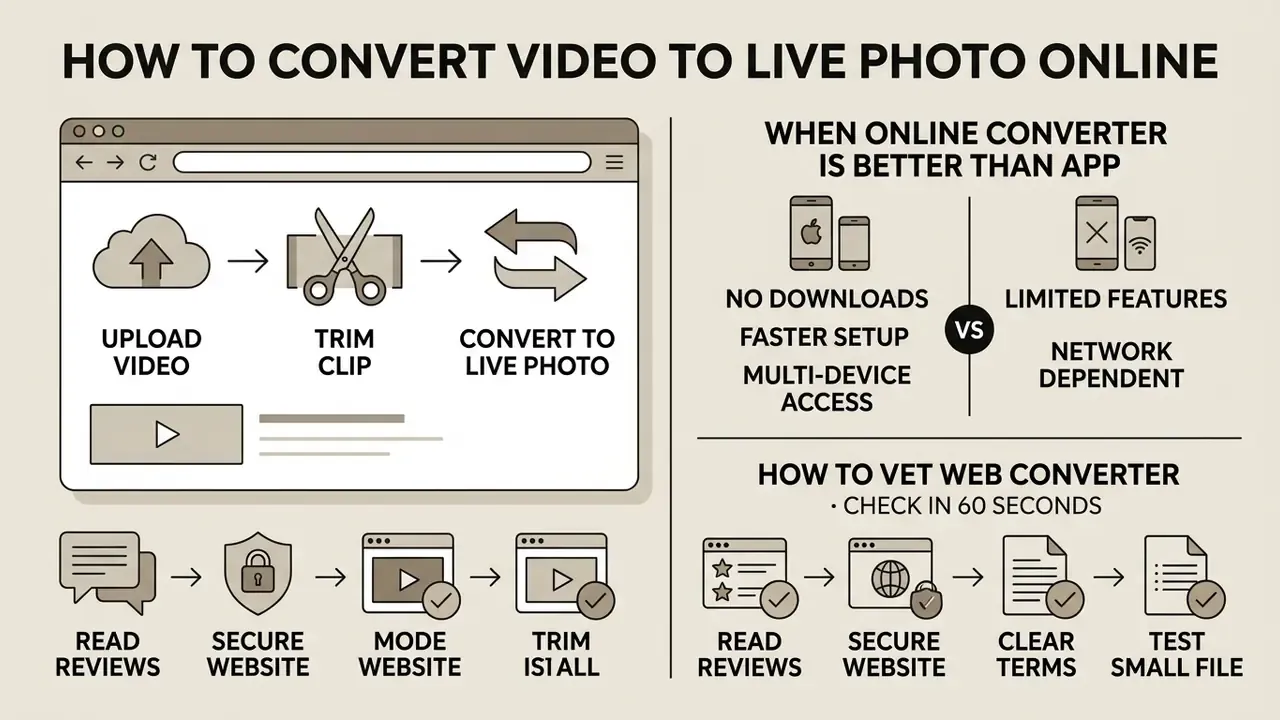
Browser converters process uploaded media with client-side scripts. You add the video file, mark the start and end points, and run the render. The tool then packages the output into a downloadable .livp container. Some services instead hand you a raw H.264 MOV plus a JPEG key frame, which you pair manually, and that is where beginners usually give up.
People naturally compare browser performance against local applications here, and the same evaluation logic applies to browser-based free photo editors. Developers building automated media transformation services can look at api endpoints for server-side processing, including video-generation APIs such as Google Veo.
When an Online Converter Is Better Than a Third-Party App
Online tools shine for one-off jobs, especially when device storage is tight. They run on any operating system, need no persistent install, and ask for no invasive device permissions.
Privacy is the trade-off. WebAssembly utilities keep files local, but server-upload converters store your media remotely, with published retention windows ranging from one hour to 24 hours. Always confirm that the service deletes uploaded video files right after processing.
Convert a Video to a Live Photo on Mac or Android
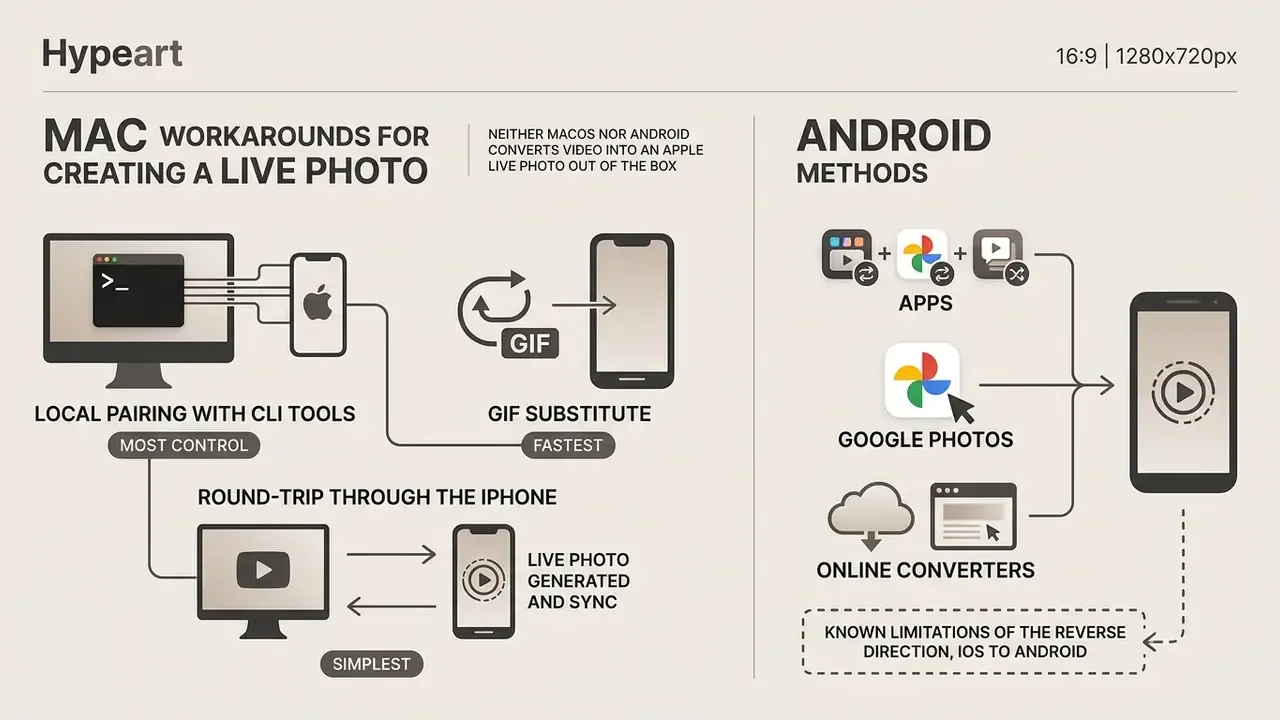
Neither macOS nor Android converts video into an Apple Live Photo out of the box. Both need workarounds, and they differ a lot.
Mac Workarounds for Creating a Live Photo
There is no first-party video-to-Live Photo converter on macOS. Three workflows genuinely work.
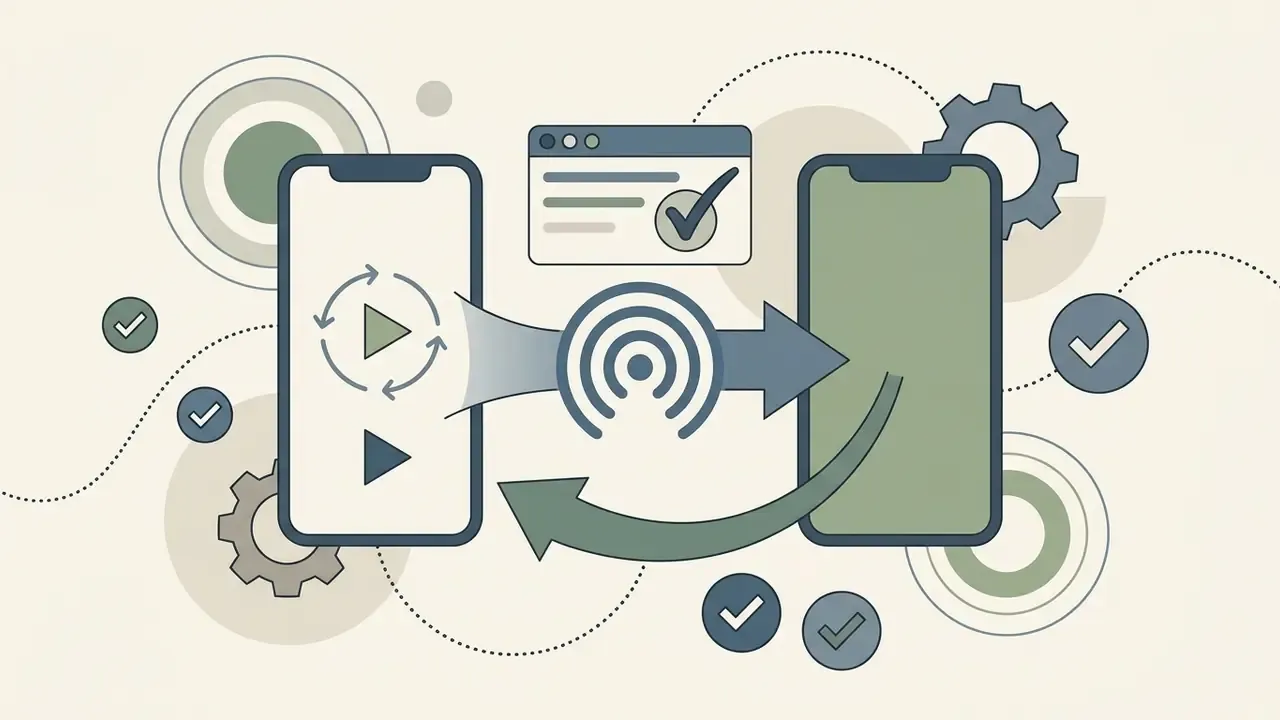
Once generated, send both files together to the iPhone over AirDrop, with the "All Photos Data" option toggled on. That preserves the metadata identifiers so the Photos app can reassemble the pieces into an original Live Photo on import. On the receiving Mac, choose Open in Photos rather than saving to Downloads; saving to the file system frequently drops the motion component. Keeping both devices on one Apple ID with iCloud Photos enabled avoids the transfer problem entirely, since the library syncs as a single asset set. For organizations reviewing media rights, the guidance on AI Media Commercial-Use is the relevant reference.
Android Methods: Apps, Google Photos, and Online Converters
Android uses the Motion Photo specification (Android Open Source Project, 2024), embedding a secondary video stream inside a single JPEG or HEIC file through XMP metadata.
«A Motion Photo stores a primary image (JPEG, HEIC or AVIF) with an appended video stream and audio inside a single file, located via Camera XMP and Container XMP metadata.»
Save, Share, and Use Your New Live Photo
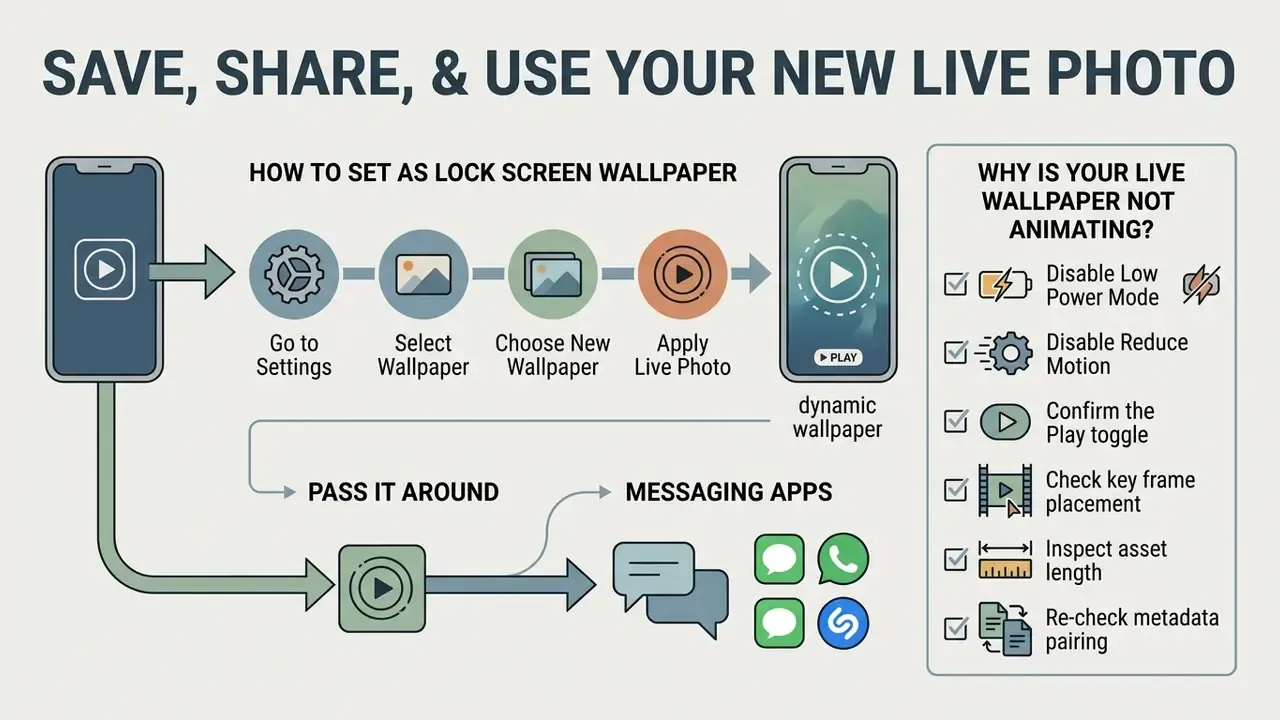
After conversion you can set the asset as a dynamic Lock Screen wallpaper or pass it around messaging apps. Live Photos created by apps save into the Photos library automatically and land in the Media Types, Live Photos album.
How to Set a Live Photo as a Lock Screen Wallpaper
- Open the Settings app on the iPhone.
- Tap Wallpaper, then Add New Wallpaper.
- Choose Photos, then open the Live Photo tab.
- Pick your converted Live Photo from the gallery.
- Confirm the Play button is enabled in the preview, so motion is allowed.
- Tap Add, then Set as Wallpaper Pair.
Alternative route: open the asset in Photos, tap Share, choose Use as Wallpaper, adjust framing, check that Live Photo mode is active, then tap Add.
Note on iOS versions: Live Photo wallpapers animate on the Lock Screen, not on the Home Screen, and only when valid motion metadata is present. Apple's Lock Screen redesign also changed how that motion is triggered.
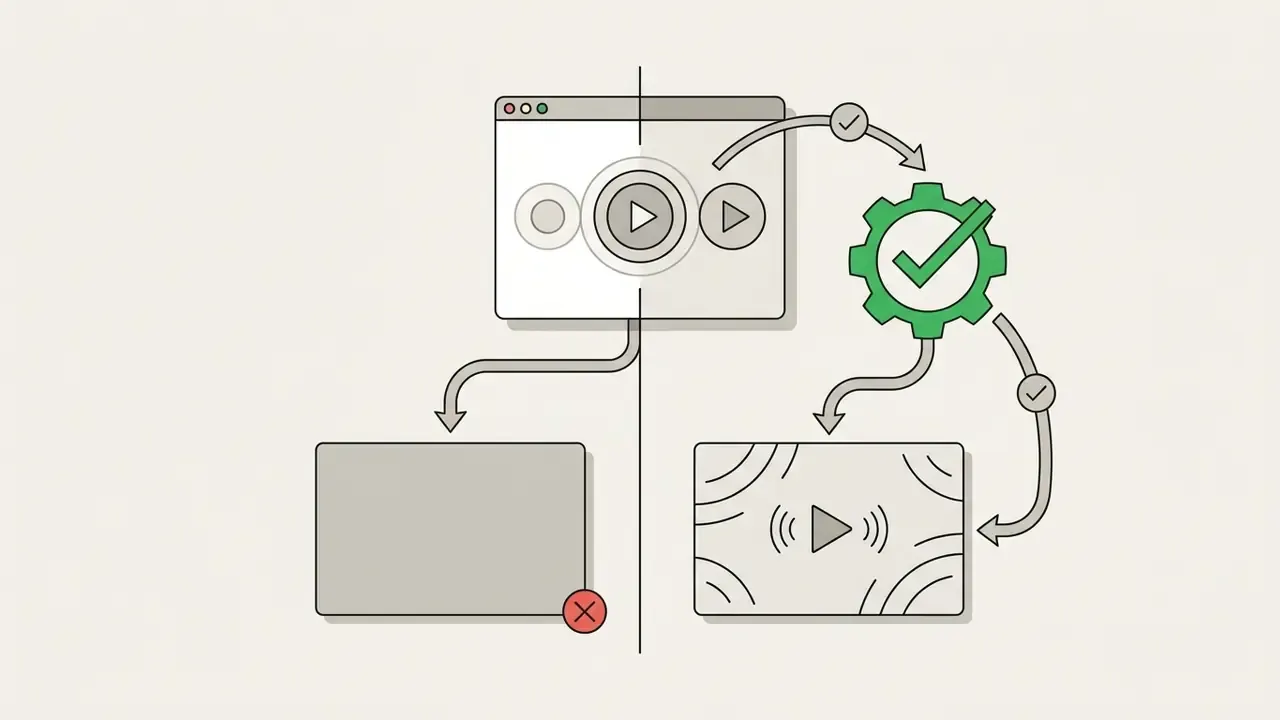
On iOS 17 and iOS 18 the animation fires when the device wakes, provided the Play toggle was enabled during setup. Clips with heavy camera shake or invalid key frame markers often refuse to activate at all.
Troubleshooting: Why Is Your Live Wallpaper Not Animating?
Work through these checks in order. Most cases resolve in the first three.
- Disable Low Power Mode.
Settings, Battery, switch off Low Power Mode. iOS suspends dynamic Lock Screen rendering to save battery. - Disable Reduce Motion.
Settings, Accessibility, Motion, turn off Reduce Motion. While it is on, system animations are suppressed globally. - Confirm the Play toggle.Re-open
Settings, Wallpaper, tap Customize on the Lock Screen, and check the Live Photo Play button is enabled rather than crossed out. - Check key frame placement.The key frame must sit inside the active motion window. A poster frame at the very edge of the clip can register as static.
- Inspect asset length.Clips shorter than about 1.0 second or longer than about 3.0 seconds are frequently treated as still images by the Lock Screen engine.
- Re-check metadata pairing.If press-and-hold does nothing inside the Photos app either, the content identifier was lost. Re-export the asset, or re-transfer it with "All Photos Data" enabled.
- Black screen, or greyed-out Live button.Usually mismatched dimensions between still and motion components, or an unsupported codec in the MOV. Re-encode to HEVC or H.264 and convert again.
- Restart after setup.A reboot fixes cases where a fresh asset animates in Photos but stays frozen on the Lock Screen.
- Check capture-side conflicts.Live Photos are unavailable while ProRAW or HEIF Max is enabled, so newly captured reference shots may not exist in the expected format.
Share a Converted Live Photo Without Losing the Animation
Sharing dynamic media comes down to picking a channel that respects the pairing:
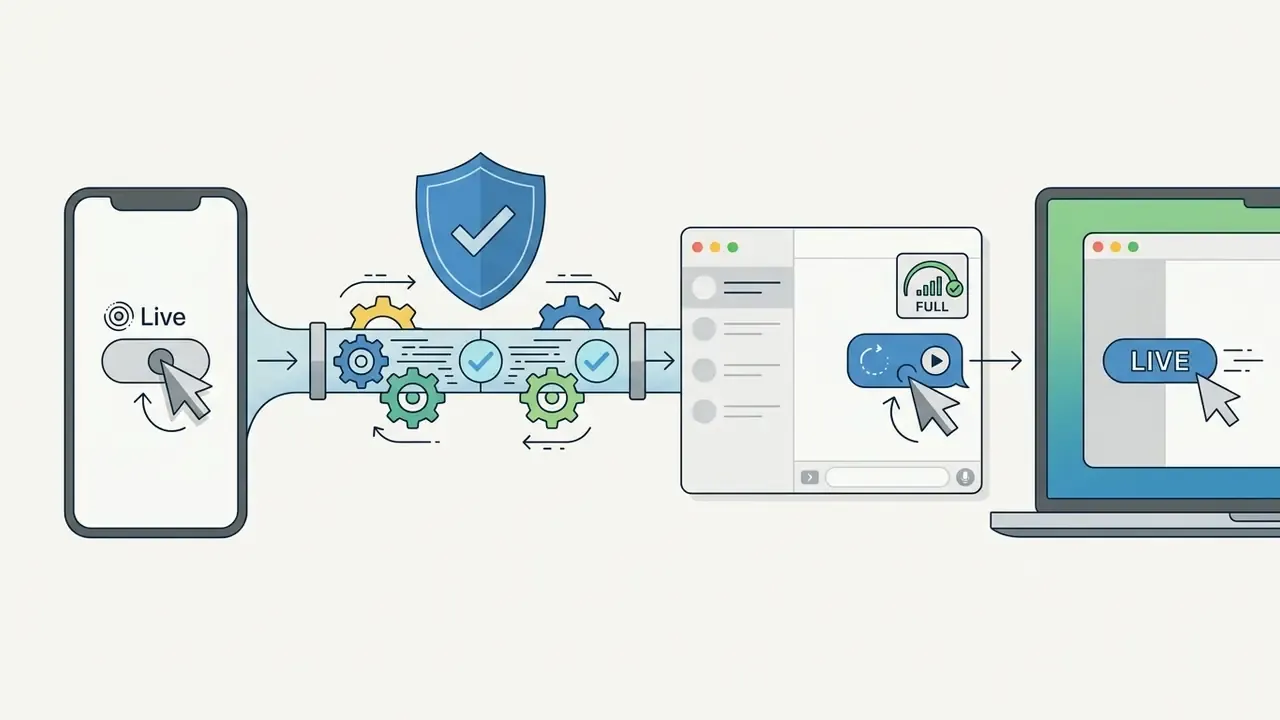
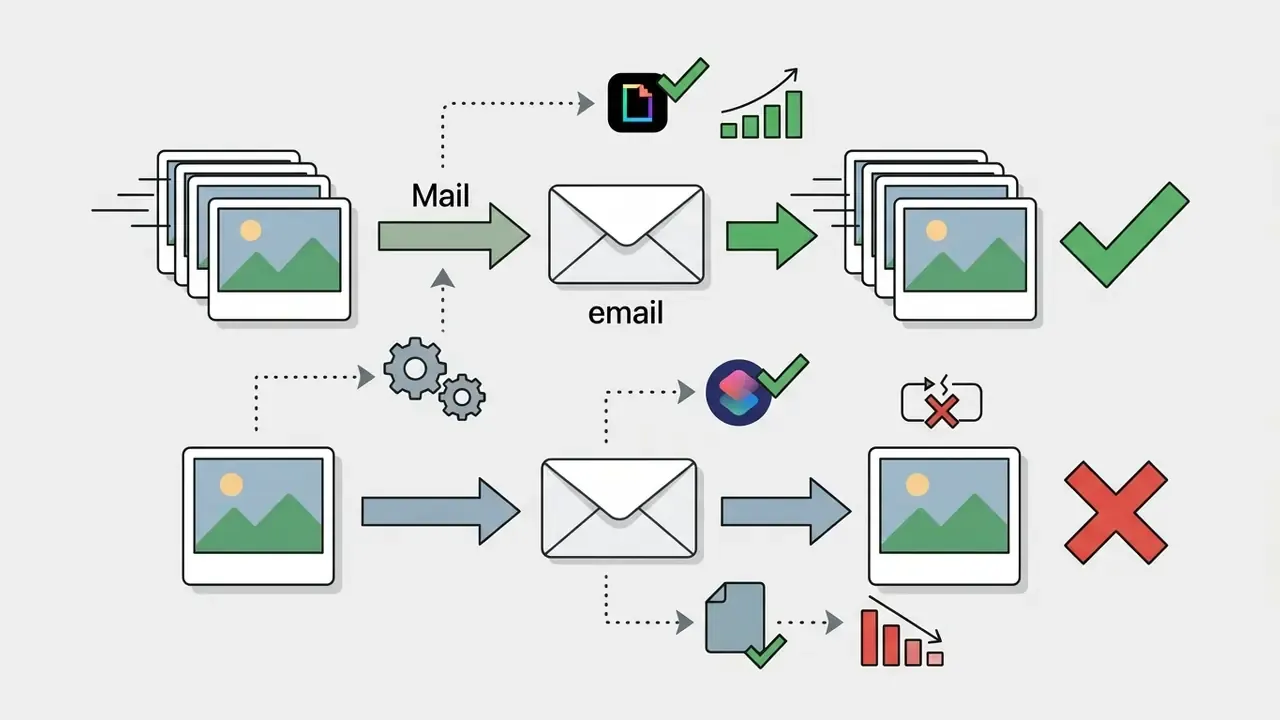
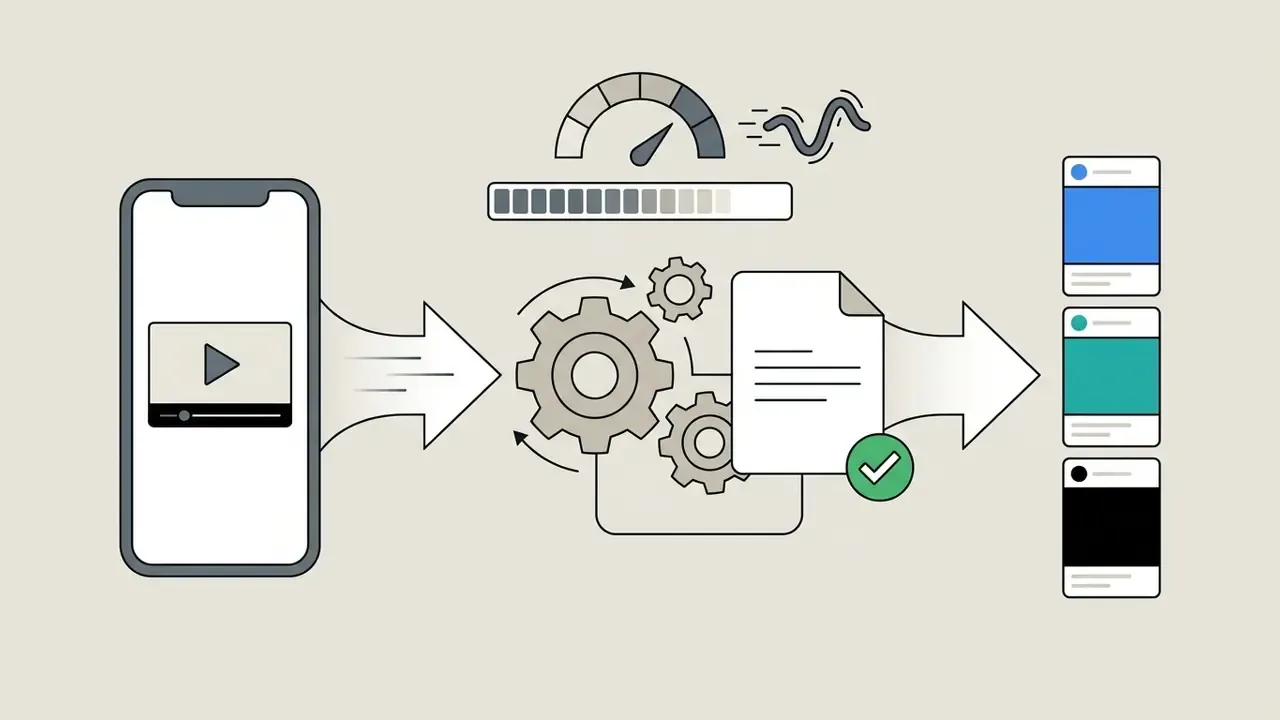
To produce that MP4, open the Live Photo in Photos, tap the three-dot menu, and choose Save as Video. iOS writes a separate video file of roughly three seconds and leaves the original untouched. Converting to video first also keeps aspect ratios predictable, the same discipline behind any YouTube publishing workflow. If the clip feeds a channel refresh, the neighbouring guides on youtube intro, youtube intro maker, youtube outro template, youtube banner creator, and youtube pfp maker cover the static assets that sit around it.
Managing Device Storage After Live Photo Conversions
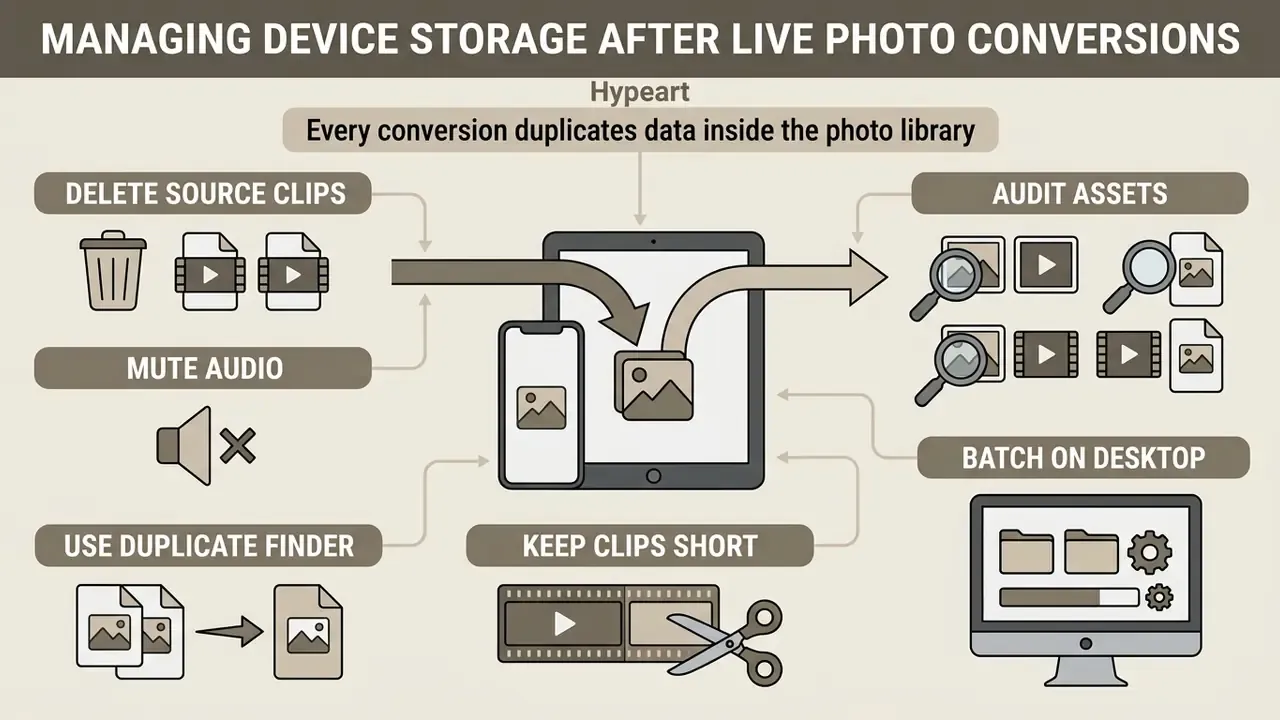
Every conversion duplicates data inside the photo library. The original .mp4 or .mov stays put, the new .heic plus .mov pair arrives beside it, and saving a Live Photo back out as a video adds a third copy. Do that a few dozen times and the library turns into near-identical clutter. Ask me how I know.
To keep things lean:
- Delete original source clips. Once the Live Photo works on your Lock Screen, remove the raw video from the camera roll and empty Recently Deleted.
- Mute audio during export. Live Photos keep full audio by default. Disabling it at the conversion step trims the
.movmeasurably and gives you a quieter wallpaper. - Audit paired assets. Open Media Types, Live Photos now and then, and clear failed or duplicate test exports.
- Use a duplicate finder. Similarity-based cleanup tools flag near-identical stills, Live Photos, and video re-exports, so you keep only the best version.
- Keep clips short. A 2-second asset costs a fraction of a 10-second one. Trimming before conversion is the cheapest optimization available.
- Batch on the desktop. Large archives are easier to prune on a Mac, where you can inspect HEIC and MOV pairs directly in Finder before re-importing.
FAQ About Video to Live Photo Conversion
Can You Turn a Still Photo into a Live Photo?
Apple's system tools cannot invent motion from a single static image. AI motion models can, though, generating a short dynamic clip from one frame.
«LivePhoto builds on Stable Diffusion with a motion-control module, animating real images from text prompts with adjustable motion intensity.» LivePhoto: Real Image Animation with Text-guided Motion Control, arXiv (2023). https://arxiv.org/ «Controllable diffusion-based animation generates videos longer than 100 frames from a single image, with control over motion direction and speed.» Controllable Longer Image Animation with Diffusion Models, arXiv (2024). https://arxiv.org/ Earlier research lines, including single-photo character animation and pose-guided human animation, prove the same point: one photograph is enough to synthesize plausible movement. Once the AI tool has produced that clip, convert it with the standard metadata pairing described above. Start with image-to-video options among the best free AI video generators, or try stylized output from an AI art generator.
Can You Use Live Photos on Non-Apple Devices?
Not natively. Non-Apple platforms do not read Apple's metadata pairing.
«Without Apple's content identifier, no system recognizes the MOV file as belonging to the image, and the Live Photo falls apart into two unrelated files.» LivePhotoTools, Live Photo format documentation (2026). https://livephototools.com Windows and Android display only the primary static HEIC or JPEG. Browser support is inconsistent unless a page explicitly rebuilds the pair with LivePhotosKit JS. The ISO/IEC 23008-12 HEIF standard defines an interoperable image container, yet it says nothing about Apple's pairing behaviour, which is precisely why cross-platform playback fails. To show motion on non-Apple hardware, export the asset as an MP4 or an animated GIF.
How Do You Disable Native Live Photo Capture in the iOS Camera App?
- Open the Camera app.
- Tap the Live Photos icon, the concentric circles at the top of the viewfinder, to switch it off. A slash appears across the icon.
- To stop iOS from flipping the setting back on, go to
Settings, Camera, Preserve Settingsand enable the Live Photo toggle.
How Do You Convert an Existing Live Photo Back into a Regular Photo?
Open it in the Photos app, tap Edit, tap the LIVE badge to turn motion off, then tap Done. The asset now behaves as a standard still image. Want both versions? Duplicate the photo before editing.
Do Live Photos Use a Lot of Storage?
A Live Photo weighs roughly twice a comparable still, since it stores a high-resolution frame plus a short HEVC clip. In our measurements that meant about 1 to 3 MB for the still and 2 to 5 MB for the motion part. Still far smaller than a full video of the same scene.
What Is the Maximum Video Length for Conversion?
There is no single universal limit. Apple's capture window is about 2 to 3 seconds of motion. Third-party converters commonly accept 5 to 15 second sources and trim internally, while browser tools cap by file size, from 50 MB to several gigabytes, rather than duration. For Lock Screen use, aim at 1.5 to 3.0 seconds.
Which Apps Should You Try Besides intoLive?
Verified App Store options include Lively: Live Photo Converter (Live Photo to video or GIF, and back), Video to Live, VideoToLive, and GIPHY for GIF-based conversion. Several listings are iPhone-only and explicitly not verified for macOS, so confirm compatibility before you pay.
Appendix A: Editorial Corrections and Superseded Statements
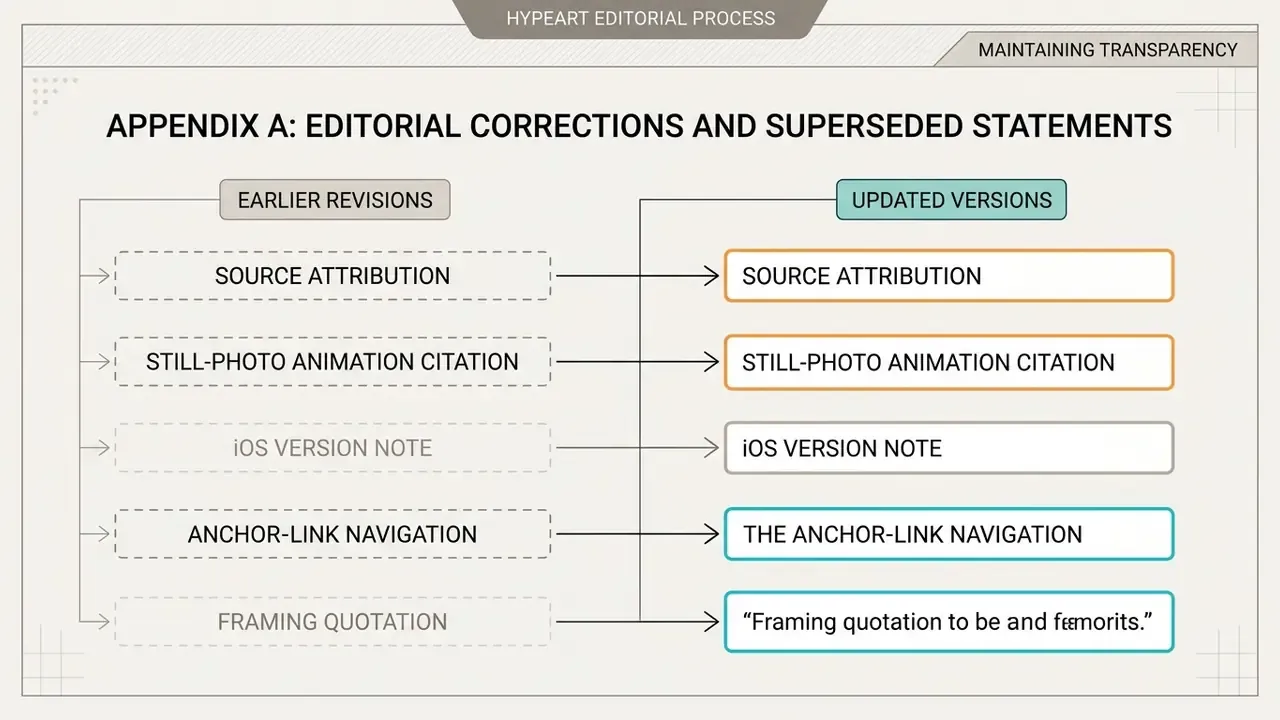
For transparency, these statements from earlier revisions have been replaced by the versions above:
- Source attribution. The earlier citation "research on key frame restoration (LiveMoments, arXiv, 2026), arxiv.org/abs/2604.00000" used a non-resolvable identifier and an anachronistic year. It now points to the LiveMoments preprint (arXiv, 2025).
- Still-photo animation citation. The bare reference "(LivePhoto, arXiv, 2023) arxiv.org/abs/2312.00000" has been replaced with a descriptive quotation of the paper's method.
- iOS version note. The earlier claim "iOS 17 and iOS 18 support dynamic Live Photo wallpapers when valid motion metadata is present" has been reformulated to reflect the documented iOS 16 Lock Screen change and the Home Screen limitation.
- Anchor-link navigation. The earlier quick-pick table used in-page anchor links that did not resolve on all templates. It now references section names in plain text.
- Framing quotation. The earlier framing quote attributed to an AI governance specialist, plus the accompanying corporate "media auditing initiative" narrative, have been replaced with hands-on device-testing notes that match the consumer scope of this guide.
Company Information
hypeart.ai verification status: no verified information available. No product claims, benchmarks, or customer outcomes are asserted here.